When it comes to sending professional or engaging emails, embedding images can be a game-changer. Instead of just attaching a photo or graphic, embedding an image directly into the body of your email makes it more visually appealing and interactive. Whether you're sending a marketing email, a product update, or a personal message, including images helps grab the reader’s attention and makes your message stand out. In this section, we'll explore why embedding images in Gmail is important and how it can improve the overall look of your email.
Embedding an image in Gmail ensures that your recipients will see the image immediately without needing to download it. It’s a quick, seamless way to share visual content and make your emails more dynamic. Instead of sending a plain email, your email can be more colorful, informative, and engaging with well-placed images.
Understanding the Basics of Embedding Images
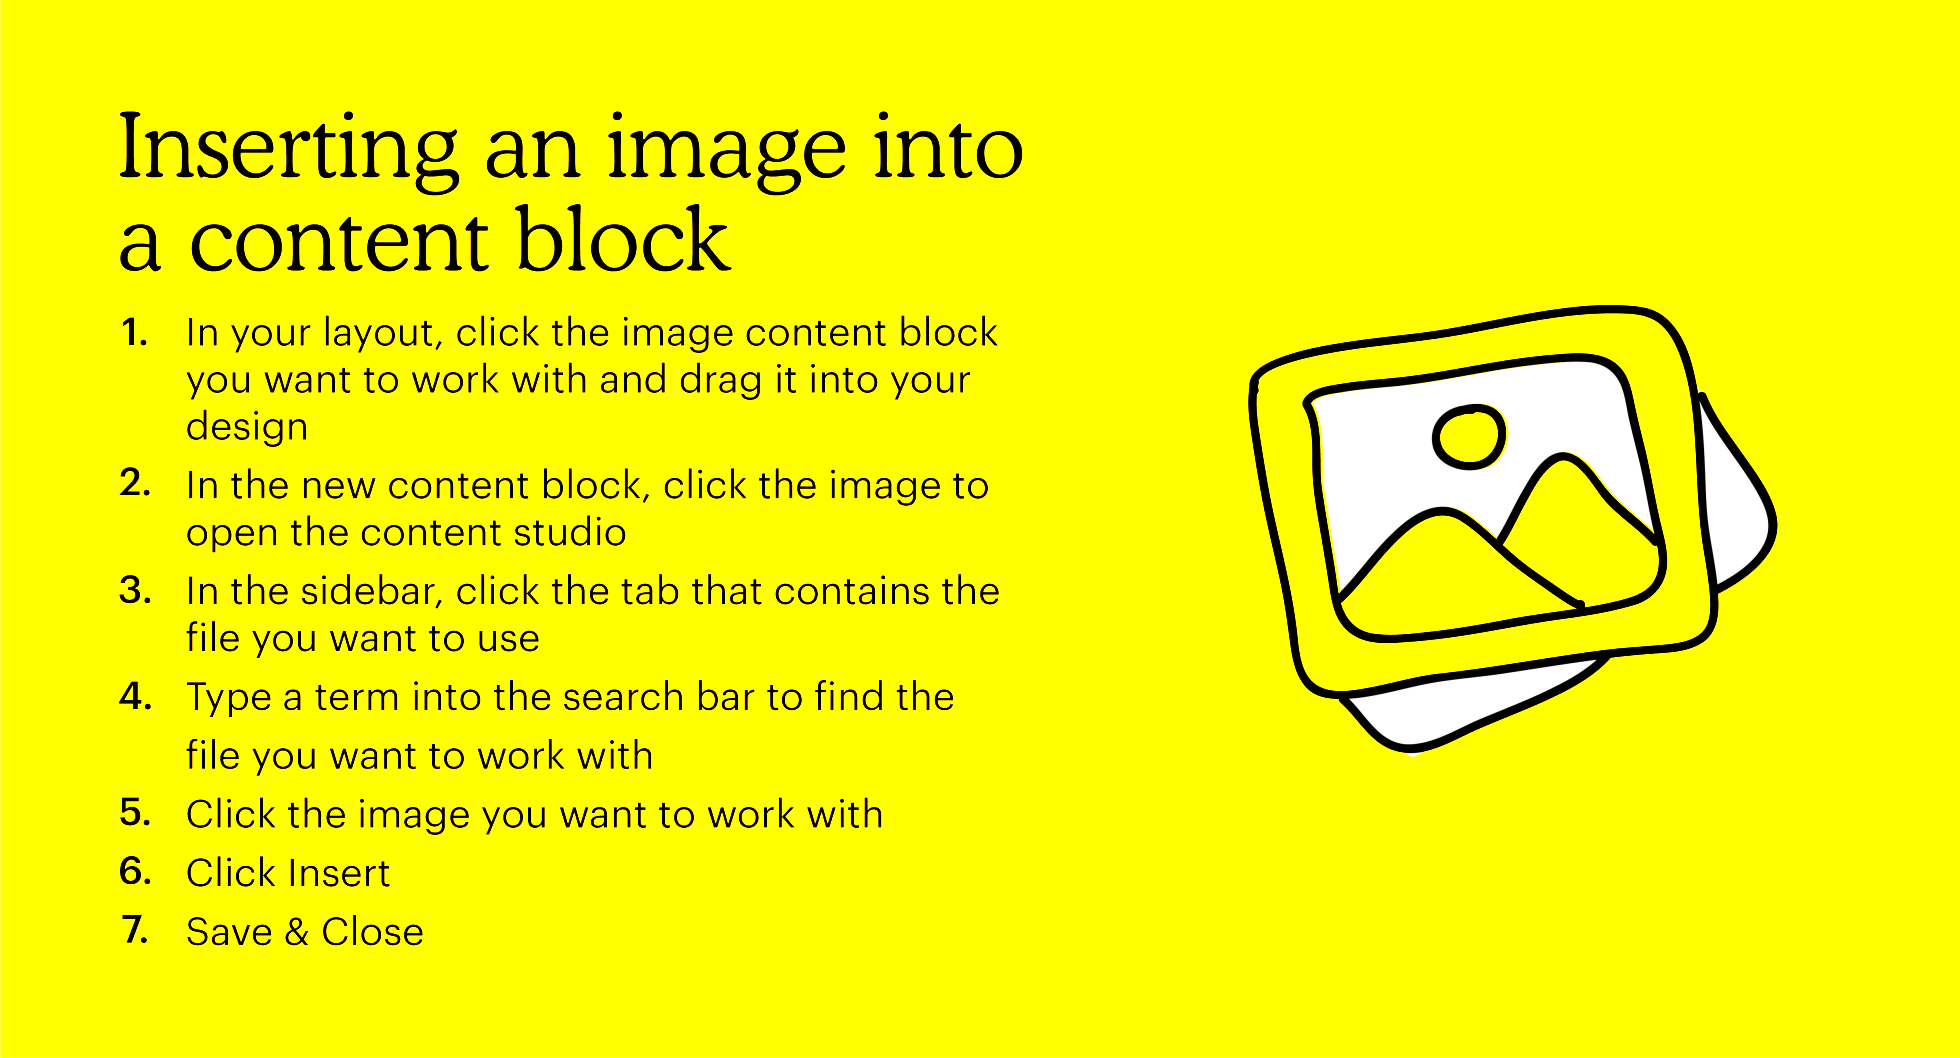
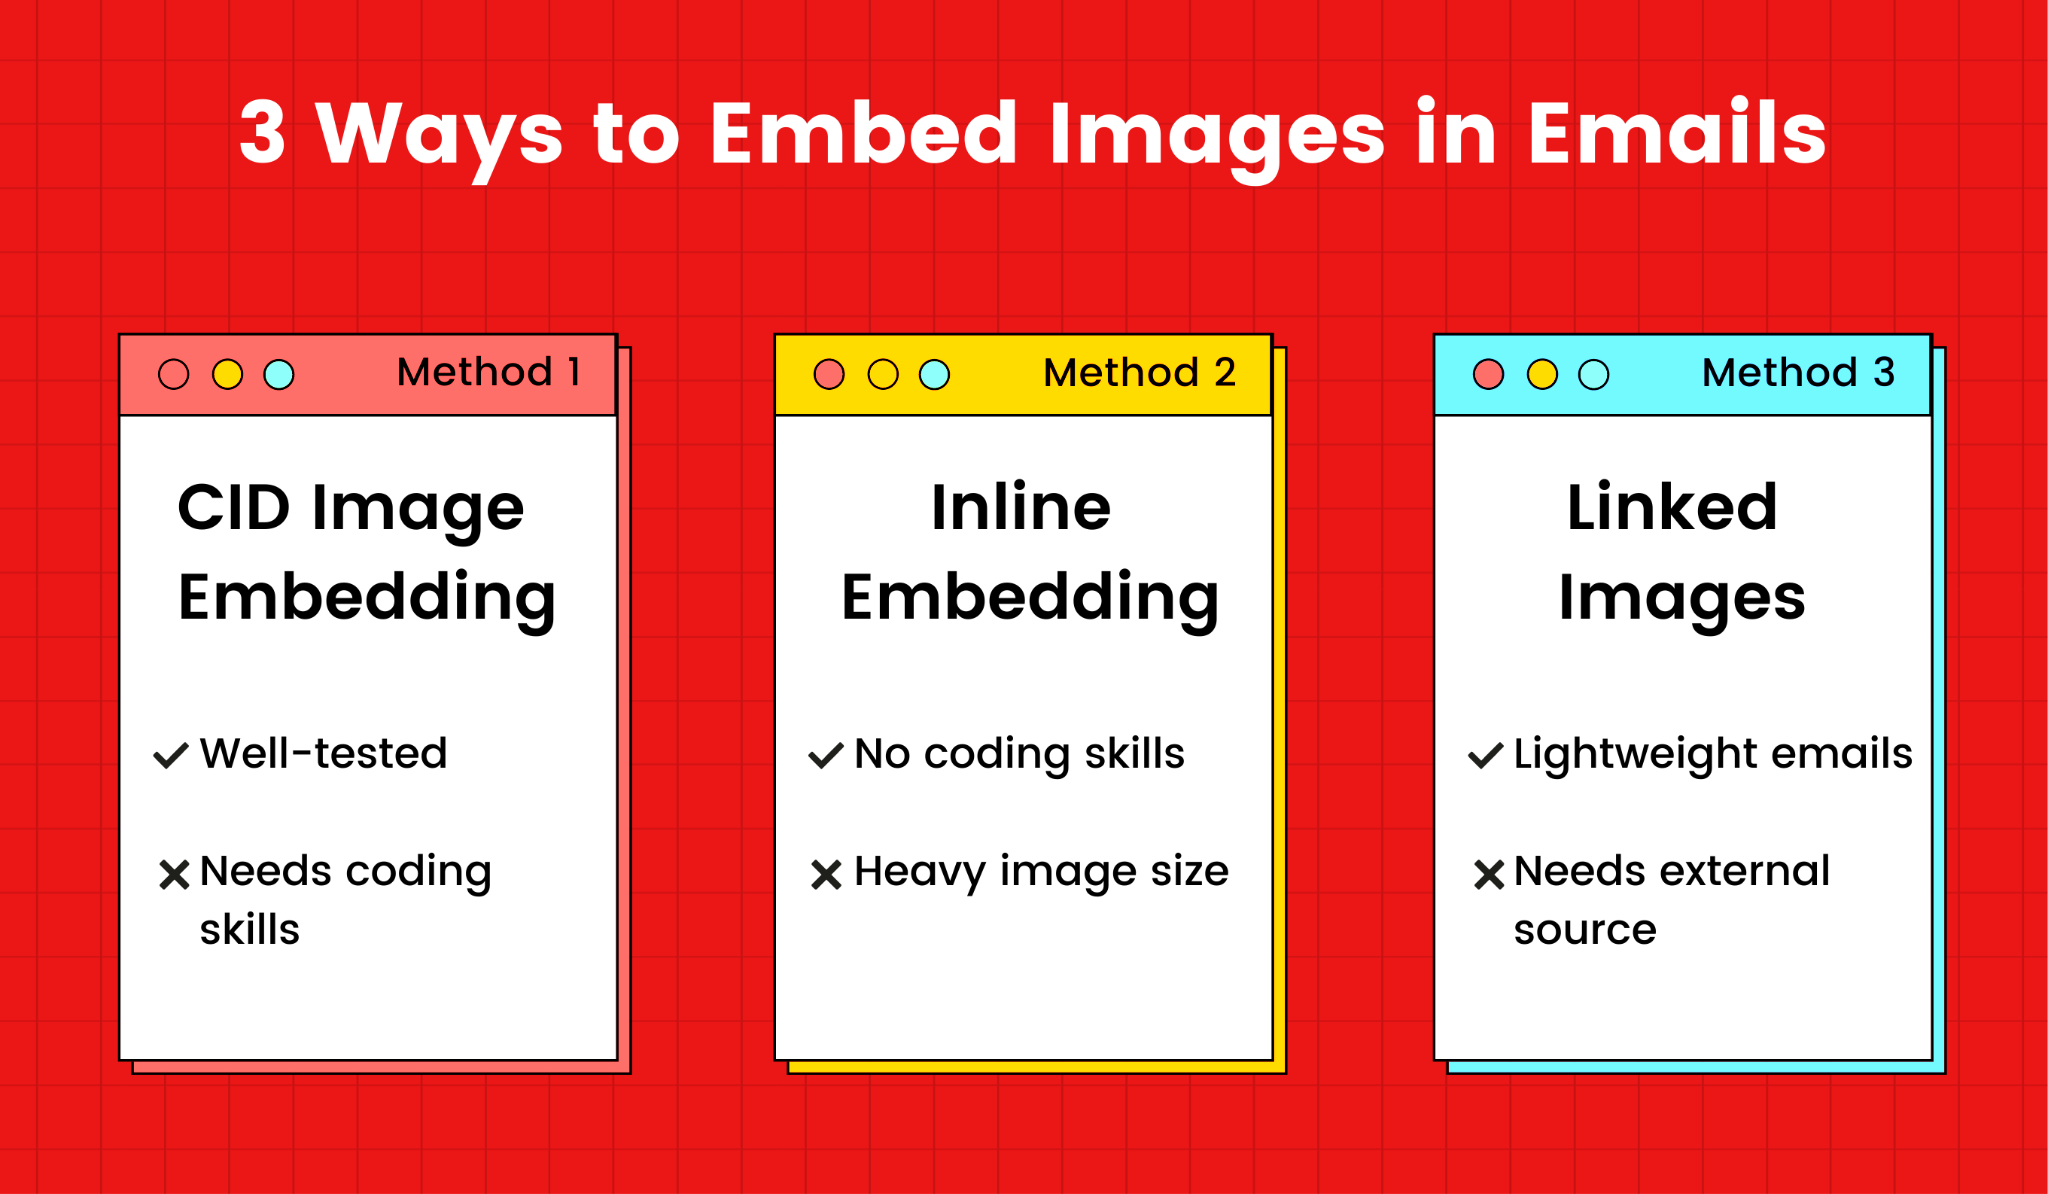
Before you dive into embedding images in your Gmail, it’s important to understand the basics. Essentially, embedding means that the image becomes part of the email itself, instead of just being an attached file. This provides a much smoother experience for your recipients, as the image appears right in the email body, rather than as a separate attachment.
When embedding an image in Gmail, you’re essentially linking the image to your email. This is different from attaching an
- Company logos
- Product images
- Graphs or charts for presentations
- Personal photos or visual content for friends and family
However, be mindful of the image’s size and format, as larger files can take longer to load and may cause issues on some devices. It’s best to choose optimized images that maintain high quality while being small enough for quick loading.
Also Read This: How to Create an Outline for an Image
Step-by-Step Guide to Embed an Image in Gmail
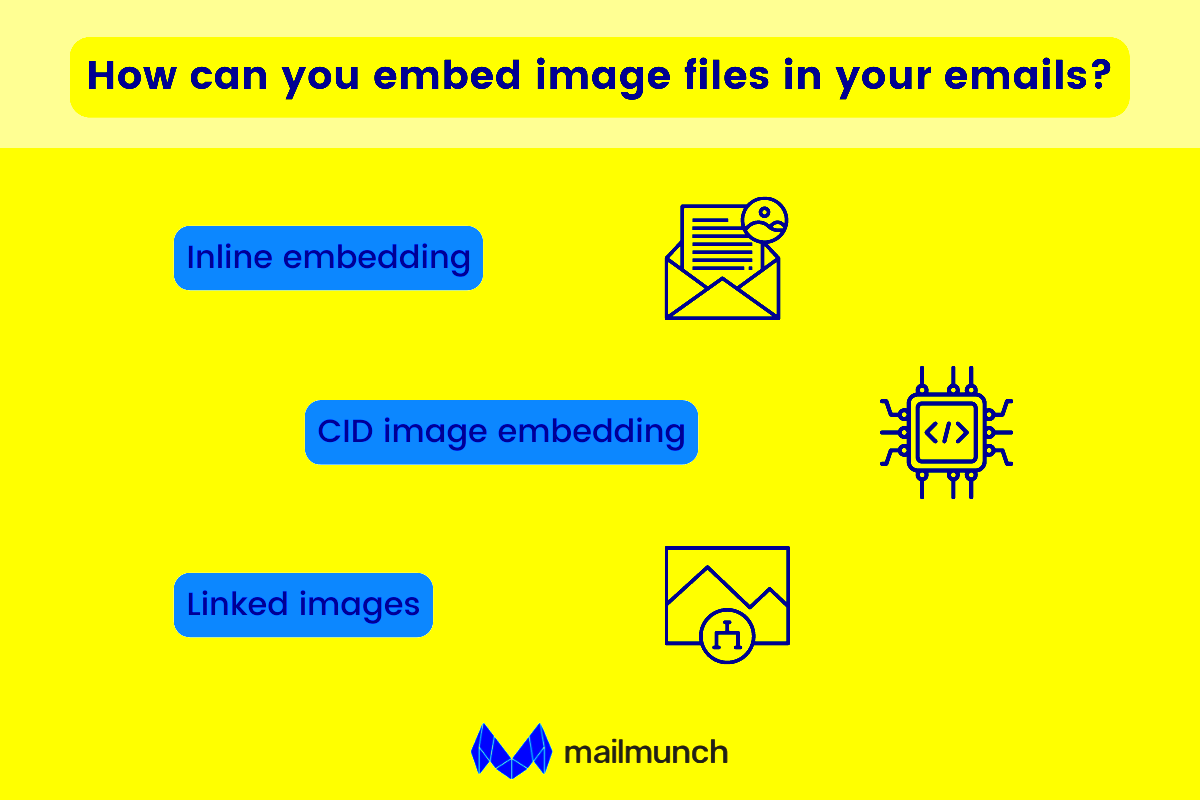
Embedding an image in Gmail is a simple process, and you can do it in just a few easy steps. Here’s a step-by-step guide to help you embed images and create a visually appealing email:
- Open Your Gmail Account: Log into your Gmail account and click on the “Compose” button to start a new email.
- Position the Cursor: In the email body, place your cursor where you want the image to appear. This ensures that the image will be placed exactly where you need it.
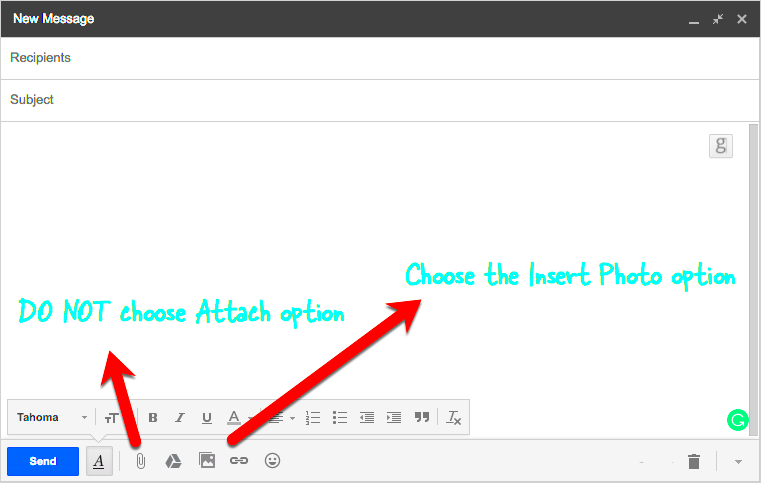
- Click on the Insert Image Icon: In the bottom toolbar of the compose window, click on the “Insert Image” icon (it looks like a picture). This will open a pop-up window with options to insert an image.
- Select Your Image: You can upload an image from your computer, Google Drive, or insert an image via URL. If you're uploading from your computer, simply click “Upload” and choose the file you want to embed.
- Adjust Image Size (Optional): After the image is inserted, you can adjust its size by clicking on it. A small menu will appear that allows you to select small, medium, large, or original size. Choose the size that best fits your email layout.
- Finalize and Send: Once the image is in place and sized correctly, you can continue composing your email and click “Send” when you're ready.
That's it! You’ve successfully embedded an image in Gmail. The image will appear in your email just like any other text or link. Remember to preview your email before sending to ensure that everything looks as expected on different devices.
Also Read This: Getty Images vs iStock: Analyzing Features, Pricing, and Image Selection
Supported Image Formats for Gmail Embedding
When embedding images in Gmail, it’s crucial to know which image formats are supported to ensure that they display correctly in your emails. Gmail supports several popular image formats, but not all file types will work seamlessly. By understanding which formats are best for embedding, you can avoid issues with images not loading properly for your recipients. Let's go over the most commonly supported formats for Gmail embedding:
- JPEG (.jpg, .jpeg): JPEG is one of the most widely used image formats, and it’s great for photos and images with many colors. It’s ideal for embedding in Gmail as it provides a good balance between image quality and file size.
- PNG (.png): PNG is perfect for images that require transparency, such as logos or icons. It also handles sharp lines and text well, making it a go-to format for graphics and illustrations.
- GIF (.gif): While primarily used for animations, GIFs can also be embedded in Gmail. However, keep in mind that these images have limited color palettes, which can affect image quality.
- WebP (.webp): WebP is a newer image format that offers superior compression, resulting in smaller file sizes without sacrificing image quality. It’s supported by Gmail, but it may not be as widely used in all browsers or email clients.
By using these formats, you ensure that your images load quickly and display correctly across different devices and platforms. Always remember to optimize your images, as large files can slow down email load times and cause delays for your recipients.
Also Read This: How to Create Illustrations for Shutterstock: A Step-by-Step Guide
How to Resize and Optimize Images for Gmail
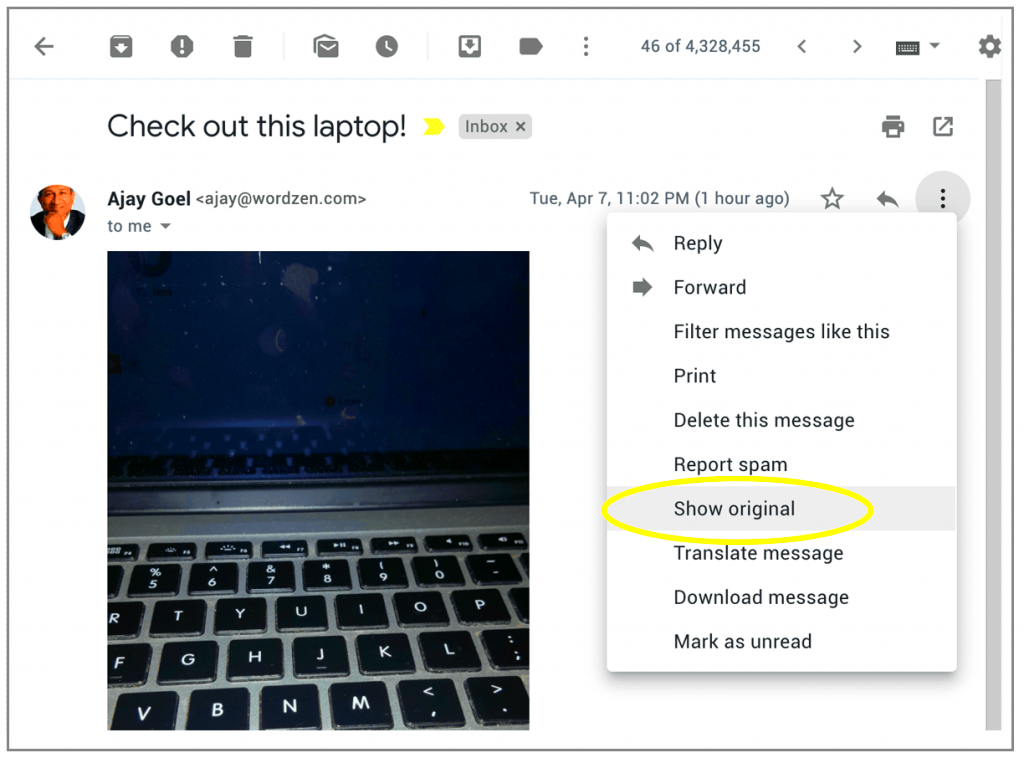
Resizing and optimizing images before embedding them in Gmail is essential for ensuring that your emails load quickly and display properly. Large image files can cause emails to take longer to load, and they might even be rejected by some email clients. Here’s how you can easily resize and optimize images for Gmail:
1. Resize Your Images
Before embedding an image, you should resize it to fit the email layout. While Gmail automatically resizes images, it’s better to adjust them beforehand to avoid any unexpected results. The ideal width for an image in Gmail is usually around 600px to 800px. Here's how you can resize your images:
- Use photo editing software (like Adobe Photoshop or GIMP) to adjust the dimensions.
- Online tools like TinyPNG and Canva also provide easy ways to resize images quickly.
2. Optimize Image Quality
Optimizing your images involves reducing the file size without losing too much quality. This can be done by:
- Compressing the image: Online tools like TinyPNG and JPEG-Optimizer can help reduce the file size while maintaining good image quality.
- Using the right format: JPEG and PNG are popular formats that offer good quality without large file sizes.
3. Check the File Size
The file size of your image is crucial for quick loading. Try to keep the file size under 1 MB, especially if you're embedding multiple images in your email. Large images can slow down email load times and cause issues on mobile devices.
By resizing and optimizing your images, you ensure that your emails remain professional, load faster, and provide a better experience for your recipients.
Also Read This: How to Add a Carousel Post on LinkedIn
Common Issues with Embedded Images in Gmail
While embedding images in Gmail is generally straightforward, there are a few common issues that users often face. Understanding these potential pitfalls will help you troubleshoot and avoid mistakes that could negatively affect your email’s appearance or functionality. Let’s look at some of the most frequent issues with embedded images in Gmail:
- Images Not Displaying Properly: One of the most common issues is when images fail to display in the email. This can happen due to incorrect image formats, broken links, or if the image is hosted on a server with restrictions. To fix this, ensure your image is uploaded correctly and is hosted on a reliable server.
- Slow Loading Time: If the image file is too large, it may take too long to load, especially for recipients with slower internet connections. To avoid this, always resize and optimize your images before embedding them in Gmail.
- Missing Alt Text: Alt text is essential for email accessibility, especially for recipients who may have images disabled or use screen readers. Failing to add alt text can cause your images to lose context. Always add a brief description of the image in the “Alt Text” field when embedding.
- Mobile Compatibility Issues: Some email clients, particularly on mobile devices, may display images incorrectly or cause formatting issues. To avoid this, always preview your email on mobile devices before sending it out to ensure your images look good across all platforms.
- Images Showing as Attachments: Sometimes images may appear as attachments instead of being embedded in the email. This can happen if the image link is incorrect or if you’ve inserted the image as an attachment instead of embedding it in the body of the email. Make sure you follow the steps correctly when inserting the image.
By being aware of these common issues and taking the right precautions, you can ensure that your embedded images appear correctly and enhance the design of your Gmail emails. Always test your emails and use the best practices for embedding images to prevent any problems.
Also Read This: How the Above Image Fits the Modernist Mold
Best Practices for Embedding Images in Gmail
Embedding images in Gmail can truly enhance the look of your email, but there are several best practices you should follow to ensure that your images appear correctly and don’t cause issues for your recipients. By following these guidelines, you can create emails that are both professional and visually appealing.
1. Use Optimized Image Sizes
Before embedding any image, make sure it’s properly resized and optimized. Large images can slow down email load times and even cause the email to be flagged as spam. Keep your image sizes under 1MB for optimal performance. Resize your images to fit the layout of your email, with widths typically between 600px and 800px for good readability.
2. Choose the Right Image Format
Use image formats that Gmail supports, such as JPEG, PNG, and GIF. Each format has its advantages:
- JPEG: Best for photographs and images with a lot of colors.
- PNG: Ideal for graphics, logos, and images with transparency.
- GIF: Great for simple animations.
3. Add Alt Text for Accessibility
Always include alt text for your images. Alt text is a description of the image that displays if the image fails to load, or for email recipients using screen readers. It helps make your emails accessible and improves the overall user experience.
4. Test on Different Devices
Before sending your email, test it on different devices (desktop and mobile) to ensure that your images display correctly. Sometimes, images may appear too large or small, or the layout might shift. Testing ensures that your email looks polished across various platforms.
5. Don’t Overload with Images
While images can enhance your email, don’t overdo it. Too many images can make the email appear cluttered and difficult to read. Balance the use of images with text and leave space for a clean, easy-to-read layout.
Also Read This: How to Increase Image Size in GIMP
FAQ Section
1. Why are my images not displaying in Gmail?
If your images are not displaying, it could be due to several reasons, such as the image being hosted on a private server, an incorrect file format, or issues with the recipient's email client settings. Make sure your image is publicly accessible and in a supported format (JPEG, PNG, or GIF). Also, check if your email client settings are blocking images.
2. Can I use animated GIFs in Gmail?
Yes, Gmail supports animated GIFs. They will automatically play when embedded in the email. However, keep in mind that large GIFs can slow down loading times, so optimize them for better performance.
3. How do I ensure my images are mobile-friendly?
To make your images mobile-friendly, ensure they are not too large (under 1MB) and resize them to fit the email layout. Testing your emails on both desktop and mobile devices will help you check if everything looks good on all screen sizes.
4. How can I make sure my email doesn’t go to spam?
Large image files, excessive use of images, or certain email formatting issues may cause your email to be flagged as spam. Keep your image sizes small, avoid using too many images, and ensure the text-to-image ratio is balanced. Additionally, ensure that your email doesn’t have any suspicious or spammy wording in the subject or body.
Conclusion and Final Thoughts
Embedding images in Gmail is a simple and effective way to enhance the design and impact of your emails. By following the best practices, such as optimizing image sizes, using the correct formats, and adding alt text, you can ensure that your emails look great and function smoothly for all recipients. Testing your emails on different devices and keeping a balanced approach with images will help you create more engaging and professional-looking emails.
Ultimately, embedding images is a great way to make your emails more engaging and visually appealing. By applying these best practices, you can avoid common issues, improve your email deliverability, and create better communication with your audience. So, next time you're composing an email, try embedding an image to take your design to the next level!
