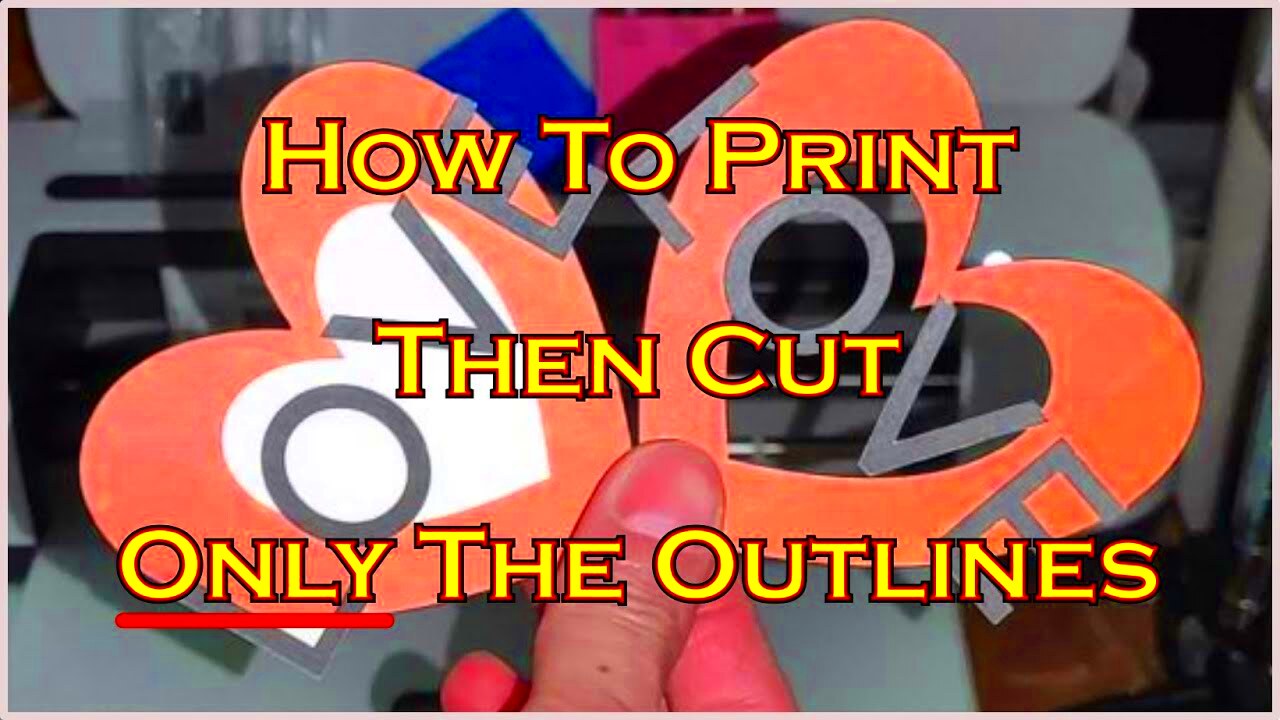
Cutting the outline of an image on a Cricut machine is an essential skill for anyone looking to make precise, professional-quality crafts. Whether you’re working with vinyl, paper, or other materials, the Cricut machine can help you achieve intricate, detailed cuts with ease. But how do you get the perfect cut every time? This guide will walk you through the process, from setting up your Cricut machine to choosing the right image and adjusting settings for the best results. By the end of this post, you’ll have all the tips and tricks you need to create flawless cuts that will elevate your crafting game.
Setting Up Your Cricut Machine for Precise Cuts
Before diving into cutting, it's important to properly set up your Cricut machine. A smooth setup ensures that your cuts are clean, sharp, and accurate. Here’s how you can get your Cricut machine ready for precise outline cutting:
- Connect your Cricut to the computer or mobile app: Make sure you have Cricut Design Space installed and your machine connected properly. You can use a USB or Bluetooth connection.
- Choose the right blade: For precise cutting, the Fine-Point Blade is generally your best option. It's great for most materials and will give you clean edges.
- Set the cutting mat: Place your material onto the Cricut cutting mat, ensuring it’s properly aligned. A gridded mat helps to keep the material in place while cutting.
- Adjust material settings: Choose the correct material setting on the Cricut machine based on what you’re cutting, whether it’s paper, vinyl, or something else.
Once these steps are done, you’re ready to start cutting. Keep in mind that precise cutting requires careful preparation, so don’t rush the setup process.
Choosing the Right Image for Cutting
Not every image is ideal for cutting out with a Cricut. The best images for Cricut cutting are those with clean, clear outlines. When selecting an image, keep these tips in mind:
- Opt for high-contrast images: Images with high contrast between the foreground and background make it easier for the Cricut machine to detect and cut out the outline accurately.
- Avoid complex details: Intricate designs with too many small details might result in jagged edges when cut. Simpler images work best for smooth, clean cuts.
- Use vector images: Vector images (such as SVG files) are ideal because they contain clear paths that Cricut machines can follow without losing quality. Avoid using low-resolution raster images like JPEGs or PNGs, as these can cause blurry cuts.
- Check for clean edges: Ensure the outline of the image is smooth and continuous. If there are any gaps or breaks in the outline, the Cricut may struggle to cut accurately.
Once you’ve selected the right image, you’re ready to move on to preparing it in Cricut Design Space. The cleaner the image, the easier it will be to get that precise cut you’re looking for!
Preparing the Image for Cutting
Before your Cricut machine can cut the image, it needs to be properly prepared in Cricut Design Space. This process ensures that the image is ready to be transformed into a precise cut, eliminating any issues that may arise during the cutting process. Here's a step-by-step guide to get your
- Upload your image: First, upload your image to Cricut Design Space. You can do this by clicking on the "Upload" button and selecting the image file from your computer or device.
- Remove the background: If your image has a background, you'll want to remove it to isolate the outline. Cricut Design Space allows you to use its background remover tool, especially if you're working with a PNG image. If your image is a vector, the background will usually be transparent already.
- Choose the cut type: After the image is uploaded, you can choose the type of cut you want: "Simple," "Moderate," or "Complex." For clean, simple outlines, choosing "Simple" will be your best bet.
- Trace the outline: If you're working with a raster image (like a JPEG or PNG), use Cricut's "Trace" feature to create an outline around your image. This will allow the machine to know exactly where to cut.
Once you’ve prepared the image in Cricut Design Space, you can proceed to adjust the image's outline and ensure that the cutting will be as precise as possible.
Adjusting the Image's Outline for Precision
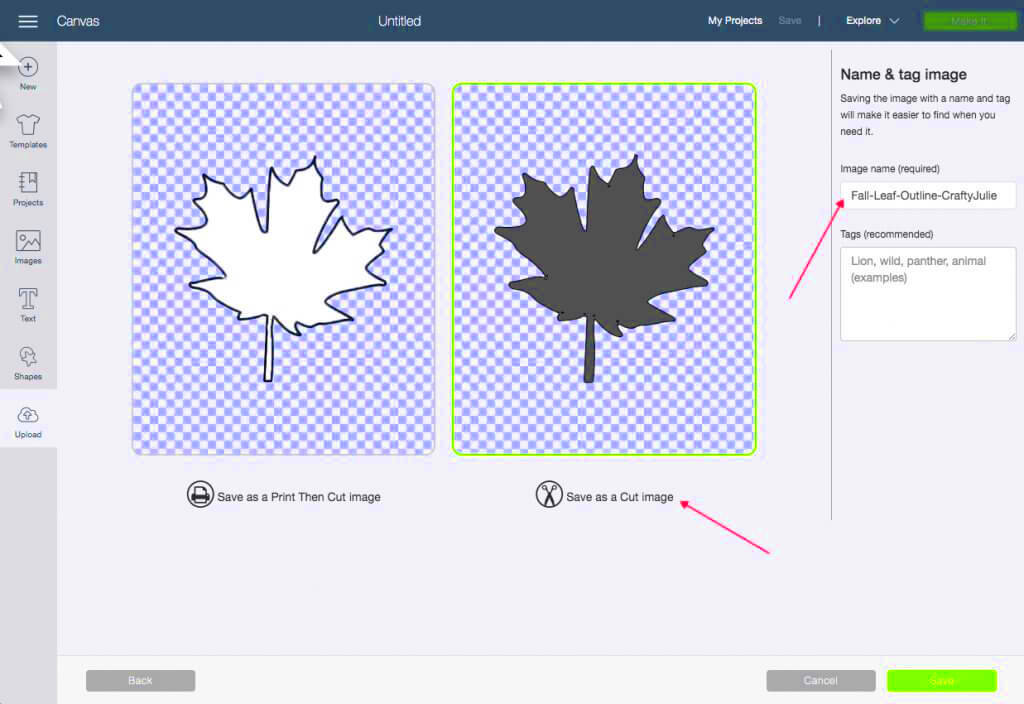
Now that your image is prepared, it’s time to adjust the outline to ensure precision. The cleaner and sharper the outline, the better your Cricut machine can cut. Here’s how to fine-tune the outline of your image:
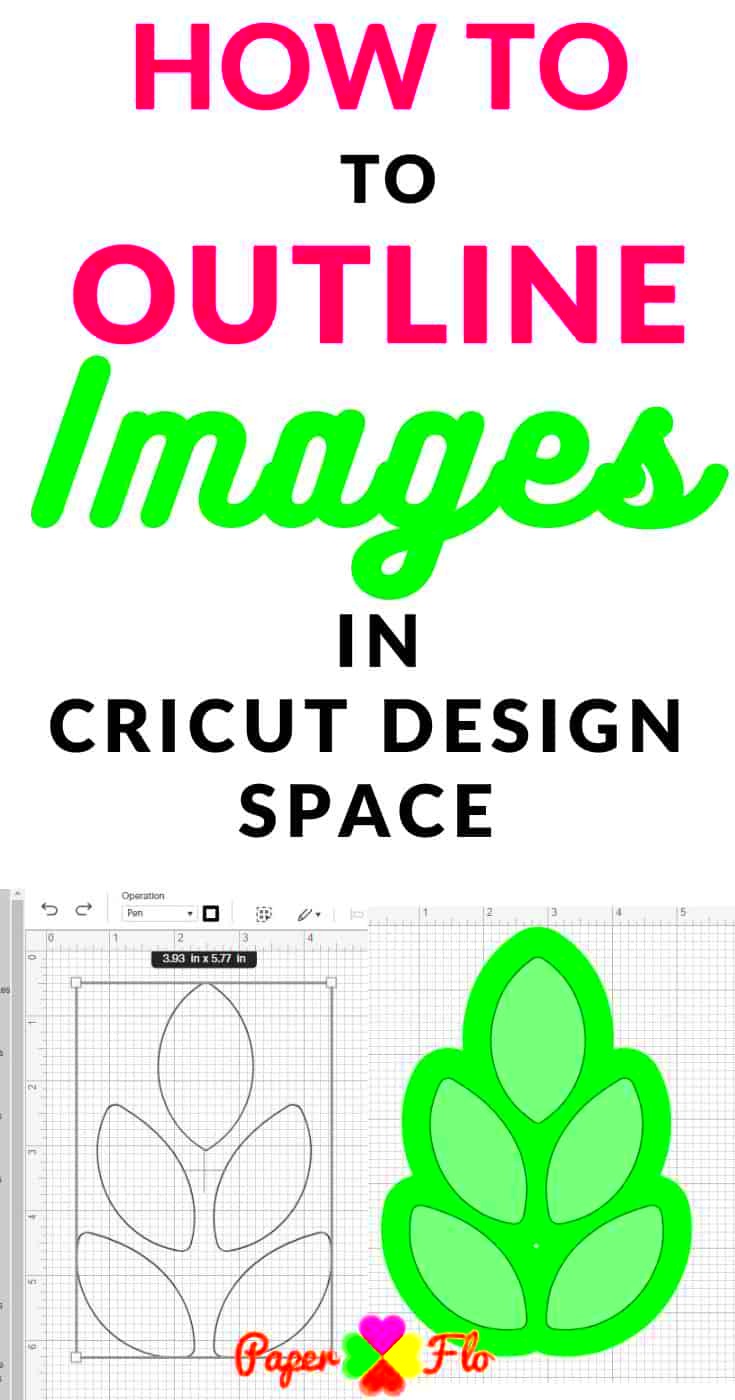
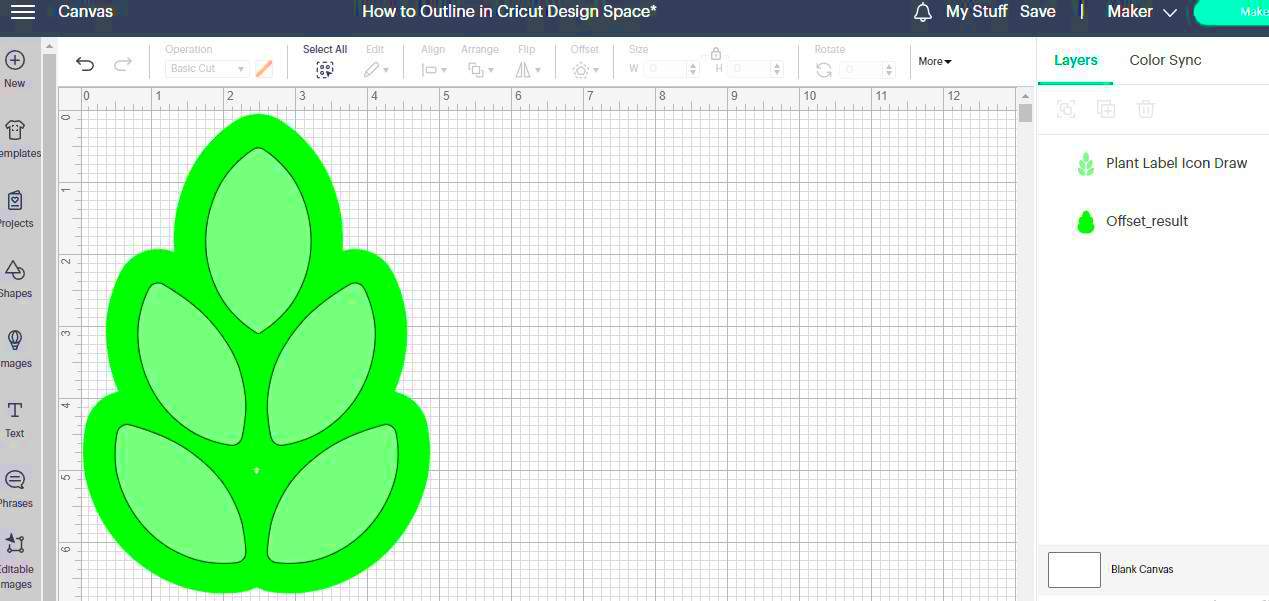
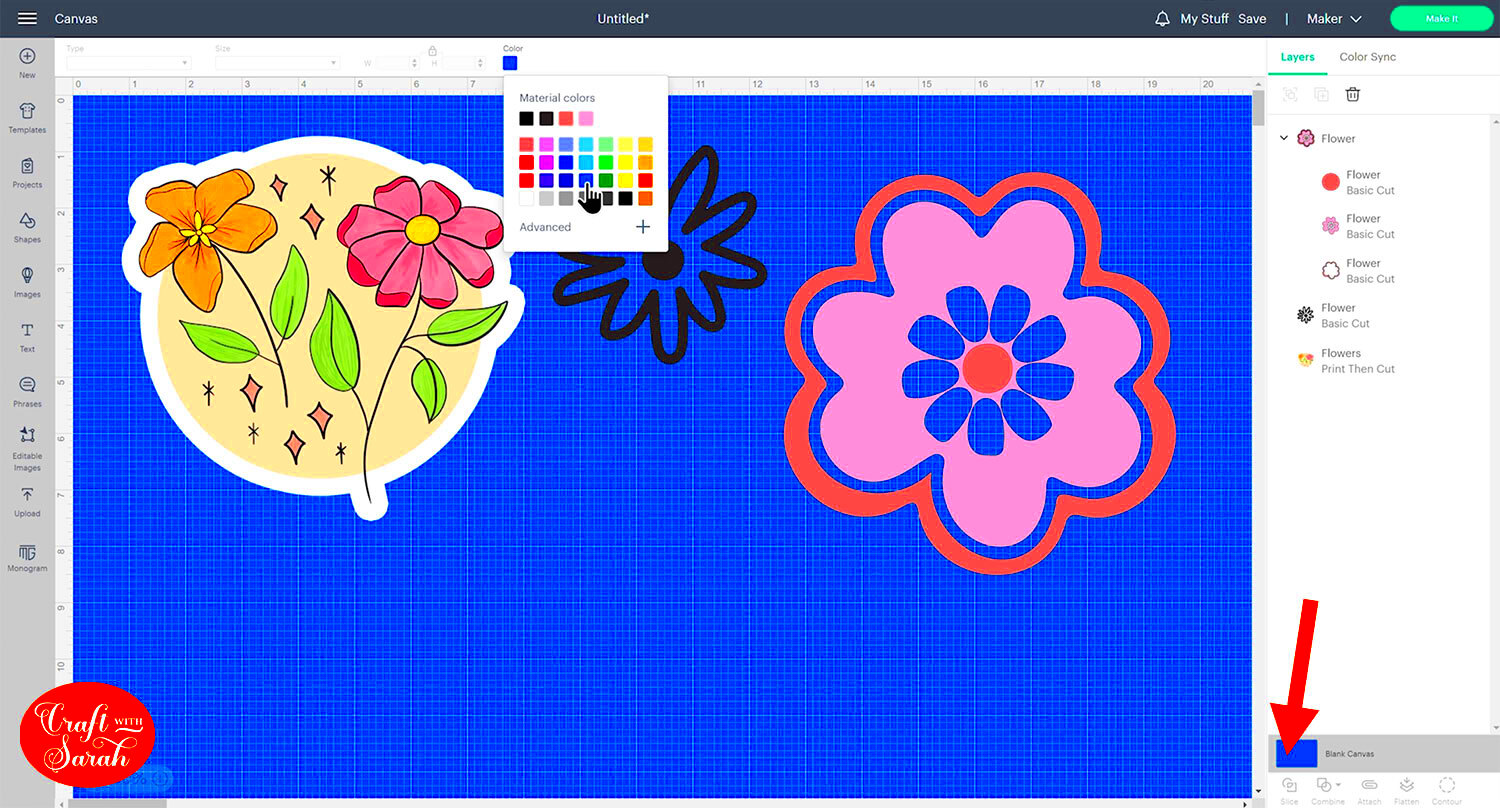
- Use the "Offset" tool: Cricut Design Space offers an “Offset” tool that lets you add an outline to your image, creating a clean and consistent border. This is especially useful if your image has a messy or uneven edge.
- Simplify the design: If there are unnecessary small elements or complex paths, remove them. Simplifying the design helps Cricut focus on cutting the most important parts of the image.
- Use the “Weld” tool: The Weld tool is perfect for combining multiple elements into a single, continuous cut line. This ensures your design doesn’t have any breaks in the outline, which could result in uneven cuts.
- Check for overlapping paths: Ensure that all paths are clean and do not overlap in unwanted places. Overlapping paths can confuse the machine, resulting in a messy cut.
Once the image’s outline is adjusted and refined, you’ll have a smooth, clean path that will be perfect for your Cricut machine to follow, leading to precise cuts.
Cutting the Image with Cricut
With your image prepared and the outline adjusted, you're now ready to start the cutting process. Here’s how to load your image into the Cricut machine and get started:
- Load your cutting mat: Place your material (vinyl, paper, cardstock, etc.) onto the Cricut cutting mat. Ensure it’s securely in place and aligned with the edges of the mat to avoid shifting during the cut.
- Select your material settings: In Cricut Design Space, choose the material type you're using. The Cricut will automatically adjust the cutting pressure and speed based on the material, but you can also manually adjust these settings for more control.
- Insert the mat into Cricut: Once everything is set, load the cutting mat into the Cricut machine by pressing the “Load” button. The machine will automatically position the mat and prepare for the cut.
- Start the cut: Press the “Go” button in Cricut Design Space to begin the cutting process. The Cricut will carefully follow the outline you’ve created, cutting out your image with precision.
Throughout the cutting process, make sure to keep an eye on the machine. Once the cutting is complete, unload the mat and gently remove the cut material. With your clean outline cut, you’re ready to move on to finishing your project!
Common Mistakes to Avoid When Cutting Outlines
Even experienced Cricut users can make mistakes when cutting outlines. To ensure you get the perfect cut every time, it’s important to avoid these common errors:
- Incorrect Blade Choice: Using the wrong blade for your material can result in incomplete cuts or ragged edges. Always use the appropriate blade for your material—typically the Fine-Point Blade works for most projects, but for thicker materials, you may need a Deep-Point Blade.
- Not Removing the Background Properly: If you don’t remove the background or any unwanted parts of your image, the Cricut will cut them along with the outline. Make sure to clean up the image before uploading it to Cricut Design Space.
- Ignoring Material Settings: Failing to select the correct material settings for your project can lead to inaccurate cuts. Always double-check that the material setting matches what you’re cutting to avoid issues like incomplete cuts or damaged materials.
- Skipping the “Preview” Step: Before you cut, use the “Preview” function in Cricut Design Space to check that the image and outline are set correctly. This can help spot any issues, such as misalignment or unwanted cuts, before you begin.
- Not Using the Right Mat: Using a mat that’s too worn out or too sticky can cause your material to shift during cutting. Ensure you’re using the correct mat for your material’s thickness and that it’s in good condition.
- Overloading the Machine: Don’t try to cut intricate designs on materials that are too thick or hard for your Cricut machine to handle. If the design is too detailed or the material too heavy, the machine may struggle to make accurate cuts.
Avoiding these mistakes can save you time, money, and frustration, ensuring your projects are flawless every time.
Final Touches After Cutting the Outline
Once your Cricut has finished cutting the outline, the fun isn’t over! You need to give your project some final touches to ensure it looks perfect and is ready to use. Here’s what to do:
- Remove the Material from the Mat: Gently peel the material from the cutting mat. If you're working with a delicate material, use a spatula tool to lift it off carefully without causing any tears.
- Weed the Excess Material: If you’re working with vinyl or any material with small details, use a weeding tool to remove any excess pieces. Be especially careful around the outline to avoid pulling off any parts of the design you want to keep.
- Check for any Imperfections: After removing the excess material, closely inspect the cut edges. If there are any areas that need extra attention or cleaning, use a craft knife or scissors to make adjustments.
- Apply Transfer Tape (for vinyl): If you’ve cut vinyl, apply transfer tape over the design to make it easier to transfer to your project surface. Make sure the design is properly aligned and pressed down to avoid air bubbles.
- Press and Finalize Your Design: Depending on your material, you may need to apply heat (for iron-on vinyl) or glue (for paper or cardstock). Follow the manufacturer’s instructions for applying heat or adhesive to secure the design onto your project.
By paying attention to these final steps, you can ensure that your cut outline is neat, clean, and ready to shine in your project.
FAQ
Here are some frequently asked questions about cutting outlines with a Cricut machine:
- What if my Cricut isn’t cutting all the way through?
Check that you’ve selected the correct material setting. If the material is thicker, you may need to use a stronger blade or make multiple passes. Always test on a scrap piece first. - How do I fix a jagged cut edge?
If you notice jagged edges after cutting, it might be due to a dull blade or an incorrect material setting. Try replacing the blade or adjusting the material settings for a cleaner cut. - Can I cut detailed images with Cricut?
Yes, but intricate designs with too many small details can be tricky. Ensure your image has a clear outline and use the “Weld” tool to ensure continuous cutting paths. - What type of material is best for outline cuts?
Materials like vinyl, paper, and cardstock are perfect for precise outline cuts. Thicker materials like wood or leather may require a different blade and deeper cutting settings. - Can I adjust the cut after it’s started?
Once the cutting process begins, it’s not recommended to stop or adjust it mid-cut. If you realize there’s an error, you may need to cancel the job and make adjustments before starting over.
These answers should help clear up some of the most common questions, making your Cricut experience smoother and more enjoyable.
Conclusion
Cutting the outline of an image on Cricut is a straightforward process once you understand the necessary steps. By setting up your machine correctly, choosing the right image, preparing it in Cricut Design Space, and making the final adjustments, you can achieve clean, precise cuts every time. Avoiding common mistakes, such as incorrect material settings or a dull blade, will ensure that your designs turn out perfectly. Remember, taking the time to carefully finish your project with the right techniques, like weeding and applying transfer tape, will elevate your craft. With these tips in hand, you're ready to start creating beautiful, professional-quality crafts with your Cricut machine!
