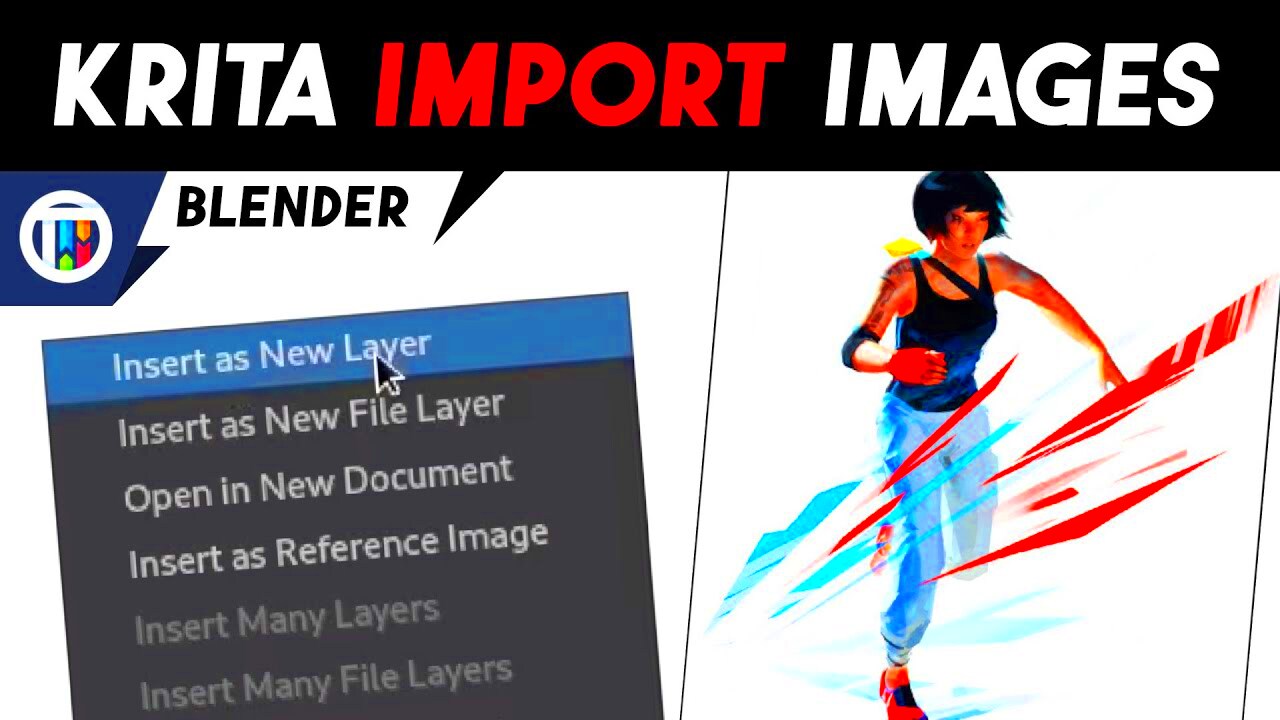
Importing images into Krita is the first step in creating stunning artwork. Whether you're working on digital painting, photo manipulation, or seamless artwork, knowing how to import your images efficiently can make your creative process much smoother. Krita offers several methods to bring images into your project, and we'll guide you through them. By the end of this section, you’ll feel comfortable importing images and be ready to start adding them to your masterpiece.
Understanding Krita's Image Import Options

Krita provides a range of options to import images into your projects. Knowing how to use them is essential for streamlining your workflow. Below are the primary methods you can use to import your images:
- Drag-and-Drop: Simply drag the image file from your file explorer and drop it into your Krita workspace. It's the quickest method if you already have the image open on your computer.
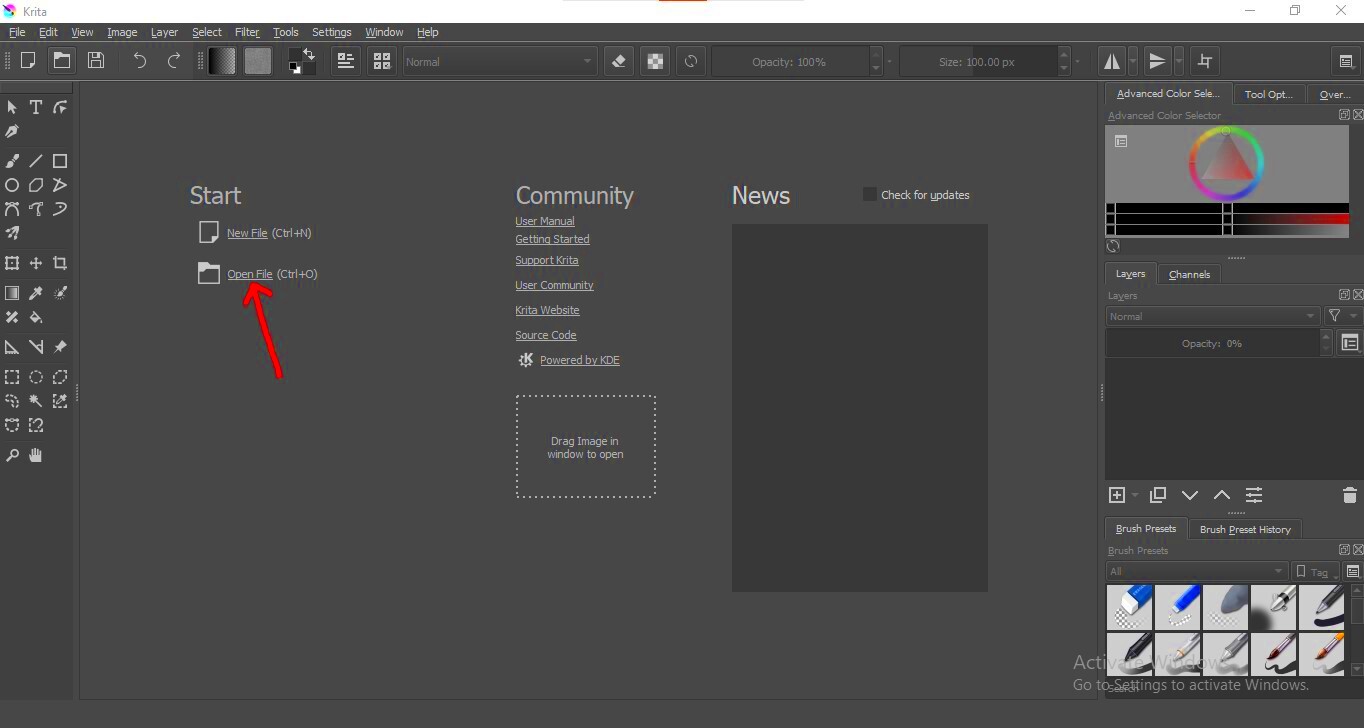
- File Menu: Go to File > Open or File > Import, depending on your needs. This allows you to browse through your files and select the image you want to import.
- Clipboard Import: If you’ve copied an image to your clipboard, you can paste it directly into Krita using Ctrl + V.
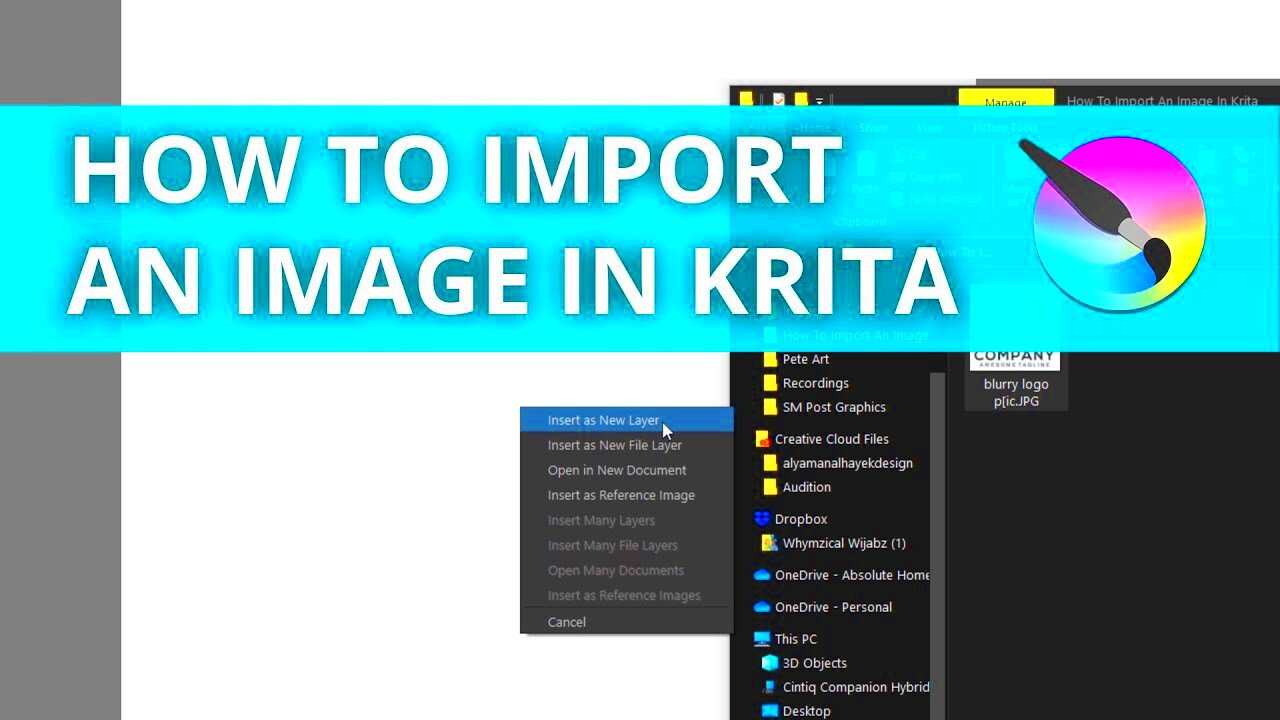
- Layer Import: You can import an image directly into a new or existing layer by using File > Import As Layer.
Each of these options has its benefits depending on the task at hand. Drag-and-drop is the fastest, while the file menu options provide more control, especially when working with multiple images or complex projects. It's always a good idea to familiarize yourself with these methods to save time and effort.
Also Read This: How to Turn an Image into a Sticker
Preparing Your Images for Seamless Artwork

Before you start working with your images in Krita, it's crucial to ensure they are properly prepared for seamless integration. Proper image preparation makes your workflow smoother and ensures that the final artwork looks polished and professional. Here are some essential steps to take:
- Check Image Resolution: Higher resolution images are generally better for quality, but large files can slow down your computer. Try to keep the resolution between 300 DPI (dots per inch) for print quality or 72 DPI for web use, depending on your needs.
- Adjust Image Size: Ensure that the image dimensions fit within your project. If your images are too large or too small, resizing them in Krita may cause distortion. Use image editing tools like GIMP or Photoshop to adjust sizes before importing.
- Choose the Right File Format: Krita supports a variety of formats such as PNG, JPEG, TIFF, and more. For high-quality work, PNG is often preferred because it supports transparency. JPEGs are smaller in size but may lose quality due to compression.
- Remove Unnecessary Backgrounds: If you're working with images that have backgrounds you don’t need, use tools in Krita or external editors to remove them. This is especially important for seamless artwork where the background could disrupt the flow of the design.
- Color Space and Mode: Make sure the color profile and mode of the image are compatible with your project. RGB is commonly used for digital artwork, while CMYK is ideal for print projects.
By preparing your images properly before importing them into Krita, you'll save time and ensure that your artwork flows seamlessly. The better your images are prepared, the less time you'll spend fixing issues down the line.
Also Read This: Creating Image URLs in Easy Steps
Using Layers to Organize Your Artwork
One of the most powerful features in Krita is the ability to work with layers. Layers allow you to separate different elements of your artwork, making it easier to edit and organize your project. Whether you're combining multiple images, painting, or adding effects, layers give you the flexibility to make changes without affecting other parts of your artwork. In this section, we’ll explore how to use layers effectively in Krita to keep your project neat and manageable.
Here’s why layers are so important and how to use them:
- Separation of Elements: Each layer holds a different part of your artwork, such as backgrounds, characters, or effects. This lets you work on each element independently, reducing the risk of making mistakes.
- Layer Types: Krita offers various types of layers, such as paint layers, vector layers, and filter layers. Choosing the right layer type can enhance the flexibility of your project.
- Opacity and Blending Modes: You can adjust the opacity of a layer to control how transparent it is or experiment with different blending modes to combine layers creatively.
- Grouping Layers: To keep your workspace organized, group related layers together. This helps when working with multiple layers, as it makes navigation easier.
- Layer Masking: Krita also supports layer masking, which allows you to hide or reveal parts of a layer without permanently erasing content.
Using layers will significantly streamline your workflow in Krita, allowing you to manage complex artwork and make detailed adjustments without affecting other parts of your project.
Also Read This: Can You Screen Record YouTube Videos?
Aligning Images for a Seamless Flow
Creating seamless artwork often requires careful alignment of different elements. If you’re working with multiple images, ensuring they are perfectly aligned will help achieve a smooth and cohesive flow throughout your artwork. Krita offers several tools and techniques to help you align images with ease. Let’s look at some ways to align images effectively and create a professional-looking final result.
Here’s how to align your images for a seamless flow:
- Using the Move Tool: Krita’s move tool allows you to click and drag images to adjust their position. This is useful for simple alignment tasks, but for more precise adjustments, consider using guides or snapping options.
- Snap to Grid: Enable the “Snap to Grid” feature to automatically align images along a grid pattern. This is particularly helpful when you need to ensure even spacing or symmetry.
- Guides: You can add horizontal and vertical guides to your canvas to act as reference points when aligning images. These guides ensure your images line up correctly.
- Alignment Tools: Krita offers alignment options under the “Transform” menu. Here, you can quickly align multiple layers to the left, center, or right, or even distribute them evenly.
- Using the Transform Tool: Krita’s transform tool can be used to precisely position and resize your images. You can rotate, scale, and distort images to match your vision while maintaining alignment.
By taking advantage of these alignment tools, you’ll be able to create seamless compositions with minimal effort, ensuring a smooth flow between different elements of your artwork.
Also Read This: How to Sell Photos on Depositphotos: A Comprehensive Guide
Editing and Enhancing Imported Images in Krita
Once you’ve imported your images into Krita, the real fun begins! Editing and enhancing these images allows you to make adjustments that can improve your artwork and make it stand out. Krita is equipped with a wide range of powerful editing tools that can help you modify your images, fix issues, and add effects. In this section, we’ll walk through some of the key editing tools in Krita and show you how to enhance your imported images.
Here are some common editing techniques you can use in Krita:
- Crop and Resize: If your image doesn’t fit the composition, you can crop or resize it using the crop tool. This allows you to focus on the parts of the image that matter most.
- Adjusting Brightness and Contrast: Krita offers simple tools for adjusting brightness, contrast, and saturation. These adjustments can help bring out the details in your image or make it match the overall tone of your artwork.
- Color Correction: If your imported image has color issues, you can use the color balance and levels adjustment tools to fine-tune the colors and get the perfect look.
- Filters and Effects: Krita includes a variety of filters and effects that can enhance your images. From blurring to sharpening, you can apply these effects to change the mood or texture of your artwork.
- Clone and Healing Brush: The clone tool allows you to copy parts of an image and apply them elsewhere, while the healing brush can be used to remove imperfections or unwanted elements.
- Adding Text and Shapes: Krita also lets you add text and geometric shapes to your images. This is great for creating logos, adding annotations, or introducing graphic elements to your composition.
These editing tools give you total control over your imported images. Whether you need to fix small issues or completely transform an image, Krita’s editing capabilities will help you get the job done quickly and effectively.
Also Read This: Creating YouTube Videos on Your Phone with Limited Storage Space
Saving Your Seamless Artwork for Future Use
Once you’ve finished creating your seamless artwork in Krita, it’s important to save your work properly to ensure that you can easily continue editing or share it with others. Krita offers multiple options for saving your artwork in different formats, depending on how you plan to use it. Whether you’re saving it for print, web, or for further editing, the right saving practices can make all the difference in maintaining your artwork’s quality and usability.
Here are the main options you have for saving your seamless artwork:
- Save as Krita File (.kra): This is the best option if you want to continue editing your artwork in Krita. It saves all your layers, settings, and other project-specific information. Use this format when you plan on revisiting your work for future edits.
- Export as Image: If you need to share your artwork or use it outside of Krita, export it to a common image format like PNG, JPEG, or TIFF. These formats flatten all your layers into a single image. Choose PNG for lossless quality (ideal for web use or transparency) or JPEG for a smaller file size with some quality loss.
- Export for Print: For print projects, save your artwork in high resolution (300 DPI or more) and choose formats like TIFF or PDF, which preserve the highest image quality and color integrity.
- Saving for Animation: If your artwork is part of an animation, Krita allows you to export your frames as individual image sequences or video files (like MP4).
- File Versioning: It’s a good idea to save different versions of your project if you plan to experiment with changes. Use names like “Artwork_v1.kra” to keep track of edits.
By saving your artwork in the appropriate format, you ensure that you retain quality and flexibility for any future work or use.
Also Read This: Darkening Images in Photoshop for Better Visuals
Common Issues and Troubleshooting Tips
While working with Krita, you may encounter some common issues. These problems can range from image import errors to performance lags. Understanding how to troubleshoot and resolve these issues will help keep your workflow smooth and productive. In this section, we’ll go over some of the most common challenges users face and how to fix them.
Here are a few common issues you might run into, along with tips on how to address them:
- Performance Issues (Lag or Slow Response): If Krita is lagging or running slowly, consider reducing the size of your canvas or using fewer layers. You can also try lowering the resolution of imported images to reduce memory usage.
- Importing Images Not Working: If you can’t import an image, make sure the file format is supported by Krita. If the image is corrupt or too large, try opening it in an external image editor and saving it in a different format before importing again.
- Missing Layers or Images: If a layer or image disappears, check your layer visibility settings. It’s possible that the layer is hidden or accidentally locked. Use the layers docker to manage visibility and lock settings.
- Image Alignment Problems: If you’re having trouble aligning images correctly, make sure that the snapping options and guides are enabled. Use the “Snap to Grid” feature to make alignment easier, or manually adjust the layers using the transform tool.
- Unwanted Artifacts or Pixelation: If you notice unwanted artifacts or pixelation in your imported images, check the resolution and make sure the image quality is high enough for your project. It may help to resize or adjust the image before importing it into Krita.
- Color Issues: If the colors in your imported image don’t look right, ensure that the image's color profile matches Krita’s settings. You may need to adjust the color space or use Krita’s color correction tools.
If you encounter an issue that isn’t listed here, the Krita community forums and documentation are great resources for troubleshooting more complex problems.
Also Read This: how to put images side by side in google docs
FAQ
Here are answers to some frequently asked questions about importing images and creating seamless artwork in Krita:
- How do I import images from other programs into Krita? You can import images into Krita by using the File > Open menu or simply dragging the image from your file explorer into the Krita workspace. Krita supports a wide range of image formats like PNG, JPEG, and TIFF.
- Can I edit the images once they’re imported? Yes! Once your images are imported into Krita, you can edit them freely using various tools like resizing, cropping, adjusting brightness/contrast, and applying filters.
- Can I use layers when importing images? Absolutely! Krita allows you to import images as separate layers. This gives you more flexibility in editing and adjusting the images individually without affecting others.
- What if my image looks pixelated after importing? If your image becomes pixelated, it's likely due to its resolution being too low. Try importing higher-resolution images or resizing the image properly before importing it into Krita.
- How do I export my seamless artwork for the web? To export your artwork for web use, go to File > Export, and choose a format like PNG or JPEG. Ensure the resolution is set to 72 DPI for faster loading times while maintaining quality.
- Can I save my work in Krita without losing quality? Yes! Krita allows you to save your work in the .kra format, which preserves all layers and project data for future editing. If you want to share or print, you can export it to other image formats.
Conclusion
In conclusion, importing and working with images in Krita is a straightforward process that opens up a world of creative possibilities. Whether you're using layers to organize your artwork, aligning images for a seamless flow, or enhancing the quality of your imports, Krita provides all the tools you need to create professional-looking art. By understanding the different image import options, preparing your images properly, and utilizing Krita’s powerful editing features, you can create stunning seamless artwork with ease. Remember to save your work correctly, troubleshoot common issues, and explore the various options Krita offers to improve your workflow. With practice, you’ll be able to harness Krita’s full potential to bring your creative ideas to life.


