If you're looking to personalize your emails and make them stand out, adding an image signature in Apple Mail on your iPhone is a great way to do so. Whether you're using it for your business or personal emails, an image signature adds a unique touch and helps leave a lasting impression. In this guide, we'll walk you through the steps to easily add your
Step-by-Step Guide to Add an Image Signature in Apple Mail

Adding an image signature in Apple Mail on iPhone might seem complicated, but it's actually very simple. Here's a step-by-step guide to help you get started:
- Prepare Your Image: Before you begin, ensure you have the image you want to use saved on your iPhone. It can be a logo, your business card, or any other image you'd like to include in your email signature.
- Open Apple Mail: Launch the Mail app on your iPhone.
- Go to Settings: In the Mail app, tap on the "Settings" option, which is typically located in the app’s menu.
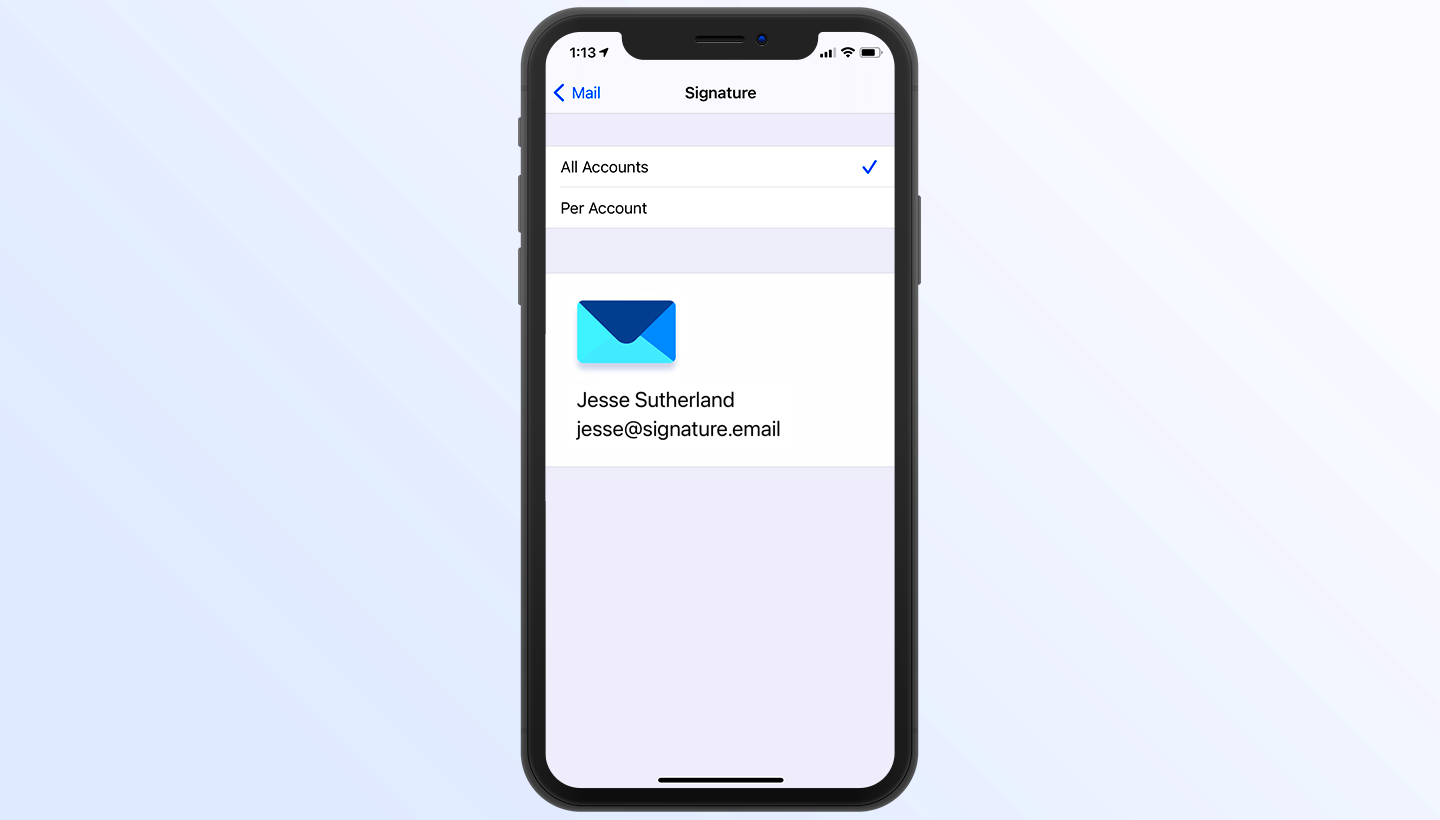
- Access Signature Settings: Scroll down to find the "Signature" section under "Mail" settings.
- Enable Multiple Accounts (if applicable): If you use multiple email accounts, you may want to set different signatures for each one. Choose your preferred account.
- Insert Image: To insert the image, you’ll need to copy it to your clipboard first. Open the image, tap and hold to copy it, then paste it into the signature text box.
- Save Changes: After inserting your image and any other details, make sure to save your changes.
Now, your image signature will automatically appear in every email you send from Apple Mail. It’s quick and easy!
Also Read This: How to Sell Stock Footage to Adobe Stock
Why You Should Add an Image Signature in Apple Mail

There are several reasons why adding an image signature to your Apple Mail can be beneficial. Here are a few key advantages:
- Branding and Professionalism: An image signature, especially one with your company logo or contact details, helps establish your brand and boosts your professional appearance.
- Memorable Touch: People are more likely to remember your email if it includes a well-designed image signature. It’s a subtle way to make a lasting impression.
- Convenience: Once set up, your image signature is automatically added to every email you send. This saves you time and ensures consistency.
- Personalization: Adding an image to your signature can make your emails feel more personal, especially if you use a photo or a unique design element.
By adding an image signature, you’re not only enhancing the appearance of your emails but also contributing to your branding efforts. It's a small change that can make a big impact on how your emails are perceived.
Also Read This: Read This Blog to Discover if Rumble Has Shorts
How to Create an Image Signature for Apple Mail on iPhone
Creating an image signature for Apple Mail on your iPhone is easier than it sounds. The key is to have a high-quality image ready, whether it's your logo, a photo, or a branded graphic. Here’s how you can design and prepare the perfect image signature:
- Choose the Right Image: First, make sure the image you’re using fits your style and represents you or your brand well. It could be a logo, a headshot, or even a custom design.
- Optimize the Size: Keep your image under 1MB in size for quick loading and email deliverability. A large image might slow down the loading time or even fail to display properly on some devices.
- Use a Transparent Background: If possible, choose an image with a transparent background to make your signature look more professional and neat in any email layout.
- Test the Image: Before using it as your signature, test how it looks on different devices (iPhone, iPad, or computer). This will help you ensure that your signature appears properly across all platforms.
Once you’ve created the image and optimized it for size, you’re ready to add it to Apple Mail. Don’t forget, you can always update or change it later if needed.
Also Read This: How to Use Getty Images for Licensing and Usage Rights as a Beginner
Setting Up the Image Signature in Apple Mail Settings
Now that you’ve created your image signature, it’s time to set it up in Apple Mail. Follow these steps to add it to your email account:
- Open Settings: On your iPhone, go to "Settings" and scroll down to the "Mail" section.
- Go to Signature Settings: Under the "Mail" settings, select "Signature." This will allow you to customize your email signature.
- Copy the Image: Open the image you’ve created and tap and hold to copy it. You need to have it copied to your clipboard before adding it to your signature.
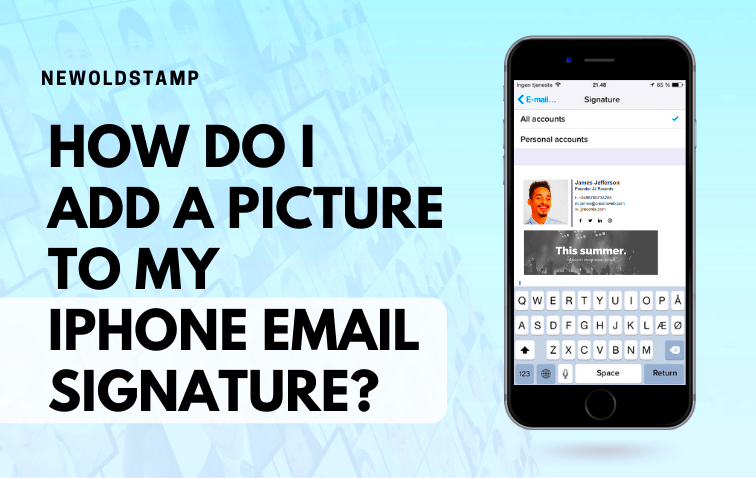
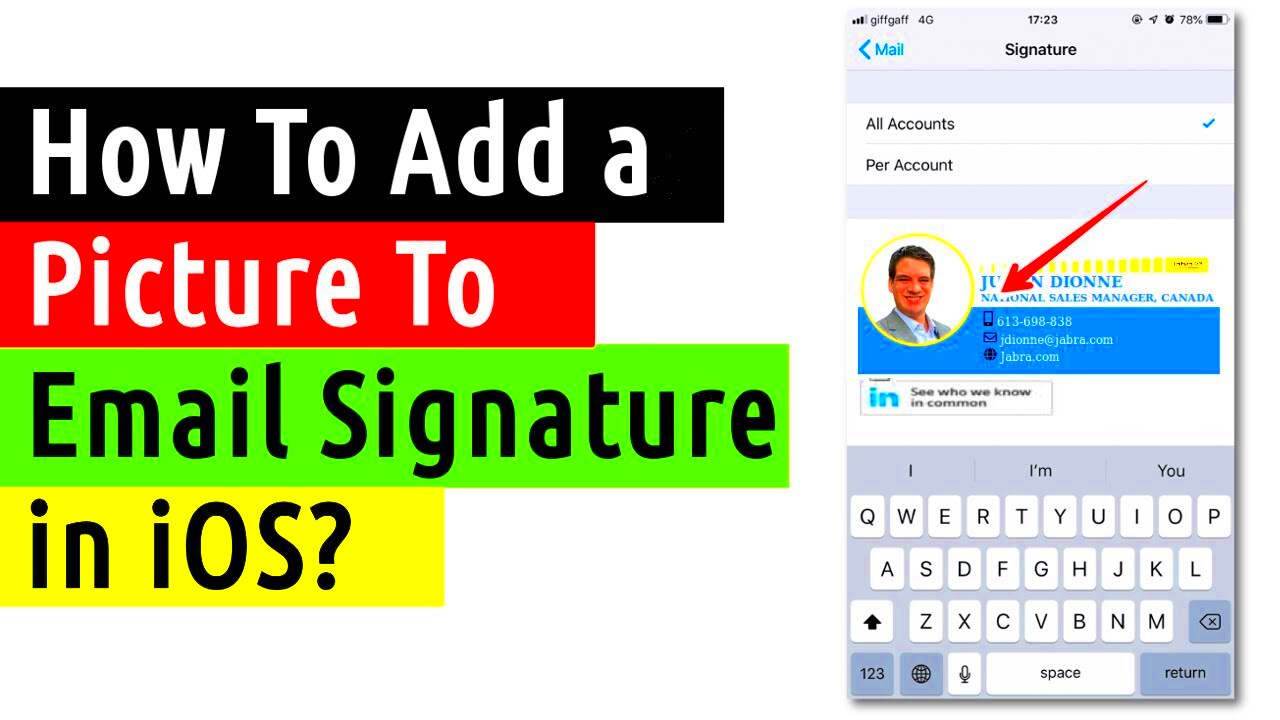
- Paste the Image in the Signature Box: In the "Signature" settings, tap and hold the text box where your signature should go. Paste your image directly into the box.
- Customize Your Signature: You can add additional text, like your name, job title, or contact info. The image will appear along with this text every time you send an email.
- Save and Exit: Once you’re happy with your signature, make sure to save your changes and exit settings.
Your new image signature will now automatically appear in every email you send from Apple Mail. It’s that simple!
Also Read This: How to Mirror Print Images in PDF Format
Common Issues When Adding an Image Signature and How to Fix Them
Even though adding an image signature in Apple Mail is straightforward, there are a few common issues that might crop up. Here’s a list of typical problems and how to solve them:
- Image Doesn’t Show Up: If your image isn’t appearing in the signature, make sure the image is correctly copied and pasted into the signature box. If it's still not showing, try resizing or using a different image format, such as PNG or JPG.
- Image is Too Large: Large images can slow down email delivery or may not show up on all devices. To fix this, reduce the image size using a photo editor on your iPhone or use an online image resizer.
- Signature Not Displaying on All Devices: Sometimes, the signature might look fine on your iPhone but not on other devices. This could be due to compatibility issues. To fix this, ensure the image is not too large and consider testing it across multiple devices to ensure consistency.
- Signature Only Showing Text: If only the text appears but not the image, make sure the email is set to send in HTML format. Plain text emails will not display images properly.
- Formatting Issues: If the image appears blurry or poorly formatted, try re-copying the image and pasting it again into the signature box. Sometimes, simply re-inserting the image can solve these issues.
By troubleshooting these common problems, you can ensure that your image signature looks great and functions correctly across all devices and email clients.
Also Read This: How to Rotate Images Using GIMP
Alternatives to Image Signatures in Apple Mail
While image signatures are a great way to personalize your emails, they aren’t the only option available in Apple Mail. Some users may prefer a more straightforward or text-based approach for various reasons, such as simplicity or avoiding image loading issues. Here are a few alternatives to consider:
- Text-Based Signatures: A simple, clean text signature can still be effective. Include your name, title, phone number, and website, or even a personal quote to make it more unique. Text signatures are lightweight and work well across all devices.
- HTML-Based Signatures: If you want something more visually appealing than plain text but without an image, you can create an HTML signature with links, bold text, and different fonts. This option gives you more flexibility in design while avoiding the complexity of an image.
- Personalized Signature with Emoji: Adding a small emoji to your signature can be a fun and modern way to personalize your emails. Whether it’s a smiley face, a thumbs-up, or a favorite icon, it’s an easy and casual way to stand out.
- Contact Information Only: For a professional yet minimalistic approach, include only your contact information or a basic sign-off. This approach works best for business emails where simplicity and clarity are key.
- Social Media Links: Instead of using an image, include text links to your social media profiles. This is a great way to encourage recipients to connect with you on platforms like LinkedIn, Twitter, or Instagram.
Choosing an alternative to an image signature depends on your personal or professional preferences, and each option has its benefits. Consider what aligns with your communication style and the impression you want to leave.
Also Read This: How to Make an Image Low Quality for Smaller File Sizes
How to Edit or Remove an Image Signature in Apple Mail
If you ever want to change or remove your image signature in Apple Mail, the process is straightforward. Whether you want to update the image, adjust the text, or remove the signature altogether, here’s how you can do it:
- Open Settings: First, open the "Settings" app on your iPhone.
- Access Mail Settings: Scroll down and tap on "Mail," then tap "Signature" to open the signature settings.
- Edit Your Image Signature: If you want to change the image in your signature, first copy the new image to your clipboard. Then, paste it into the signature box, replacing the old one. You can also update the text if needed.
- Remove Your Image Signature: To remove the image signature entirely, simply delete the image by selecting it and pressing the delete key, or delete the entire signature text. You can leave the signature box empty or enter a new text-only signature.
- Save Your Changes: After editing or removing your signature, be sure to save your changes by exiting the settings. Your updated signature will now appear in future emails.
Editing or removing an image signature is easy and allows you to keep your email setup fresh and up-to-date, whether you’re making a seasonal update or changing your contact details.
Also Read This: Does Alamy Accept AI-Generated Images? Exploring the Submission Criteria
FAQ
Here are some frequently asked questions about adding, editing, and troubleshooting image signatures in Apple Mail on iPhone:
- Can I use a GIF as my image signature?
- Yes, you can use a GIF, but keep in mind that some email clients may not support animated GIFs. It’s best to test how it appears across different platforms before deciding to use one.
- Why is my image signature not displaying on other devices?
- There could be several reasons, including issues with the email format or image size. Make sure you’re sending emails in HTML format, as plain text emails will not display images.
- Can I add an image signature for multiple email accounts in Apple Mail?
- Yes, you can set up different signatures for each email account in the "Signature" settings under the "Mail" app. Just select the account and configure the signature separately.
- How do I make sure my image signature looks professional?
- To ensure your image signature looks professional, keep the image size small and ensure it’s properly aligned with your text. It’s also a good idea to use a high-quality image with a transparent background for a clean look.
- Can I add a hyperlink to my image signature?
- Unfortunately, you cannot add clickable hyperlinks directly to an image in Apple Mail’s signature settings. However, you can include a hyperlink next to your image in the signature text.
- What should I do if my image signature is too large?
- If your image is too large, you can resize it using an image editor or an online tool. Aim to keep it under 1MB for optimal performance in emails.
These FAQs should help you troubleshoot and fine-tune your image signature setup in Apple Mail, ensuring that your emails look exactly how you want them to.
Conclusion
Adding an image signature to Apple Mail on your iPhone is a simple way to enhance your email communication. It allows you to present a professional image, improve brand recognition, and create a more personalized touch in every email you send. Whether you choose to use an image or opt for a text-based signature, the key is to ensure that it is clear, relevant, and appropriate for your audience. Don’t forget to test how it looks on various devices to ensure that your signature displays properly across platforms. With the steps outlined in this guide, you’re well on your way to creating a signature that adds value and leaves a lasting impression.


