Halloween is a fun and spooky time of year, perfect for expressing creativity through drawings. Whether you're a beginner or an experienced artist, drawing Halloween images can be an enjoyable way to celebrate the season. From ghosts and pumpkins to witches and monsters, the possibilities are endless. This guide will help you get started with some easy-to-follow ideas and techniques for creating your own Halloween-themed artwork.
Essential Tools for Drawing Halloween Images

Before you begin drawing your Halloween creations, it’s important to gather the right tools. While you can create Halloween images with basic supplies, some tools will make your drawings stand out more. Here's a list of essential tools to get you started:
- Pencils: A set of pencils with varying hardness (2B, 4B, 6B) is great for sketching and shading your Halloween designs.
- Ink Pens: Fine-tip ink pens are perfect for outlining your drawings to make them more defined and bold.
- Colored Pencils or Markers: Use colored pencils or markers to add vibrant colors to your images. Common Halloween colors include orange, black, purple, and green.
- Eraser: A good eraser helps correct mistakes, especially when you're fine-tuning details or cleaning up your sketches.
- Digital Tools (Optional): If you prefer drawing digitally, use programs like Adobe Illustrator, Procreate, or Photoshop, which offer great flexibility and tools for creating detailed designs.
Having these basic tools will make your drawing experience easier and help you create professional-looking Halloween images. You can also experiment with other materials like charcoal or watercolors, depending on your preferred style.
Also Read This: View Velocity: Tips on Getting More Views on eBay Listings
Basic Halloween Image Ideas for Beginners

If you’re just starting out with Halloween drawings, it's a good idea to begin with simple designs. These easy Halloween images will help you practice basic shapes and techniques. Here are some ideas to get you going:
- Jack-o'-Lantern: A classic Halloween symbol. Start with a simple round shape and carve out a spooky face using triangles for eyes and a jagged mouth.
- Ghost: Draw a simple, flowing shape with rounded edges, then add eyes and a mouth. For extra spookiness, use shading to give it a glowing effect.
- Bats: Bats are easy to draw with their characteristic wing shape. Start with a simple bat outline and add details like eyes and wings with jagged edges.
- Spider: A cute or creepy spider can be drawn by first sketching a round body and then adding eight long legs. You can make it spooky by adding fangs or a web behind it.
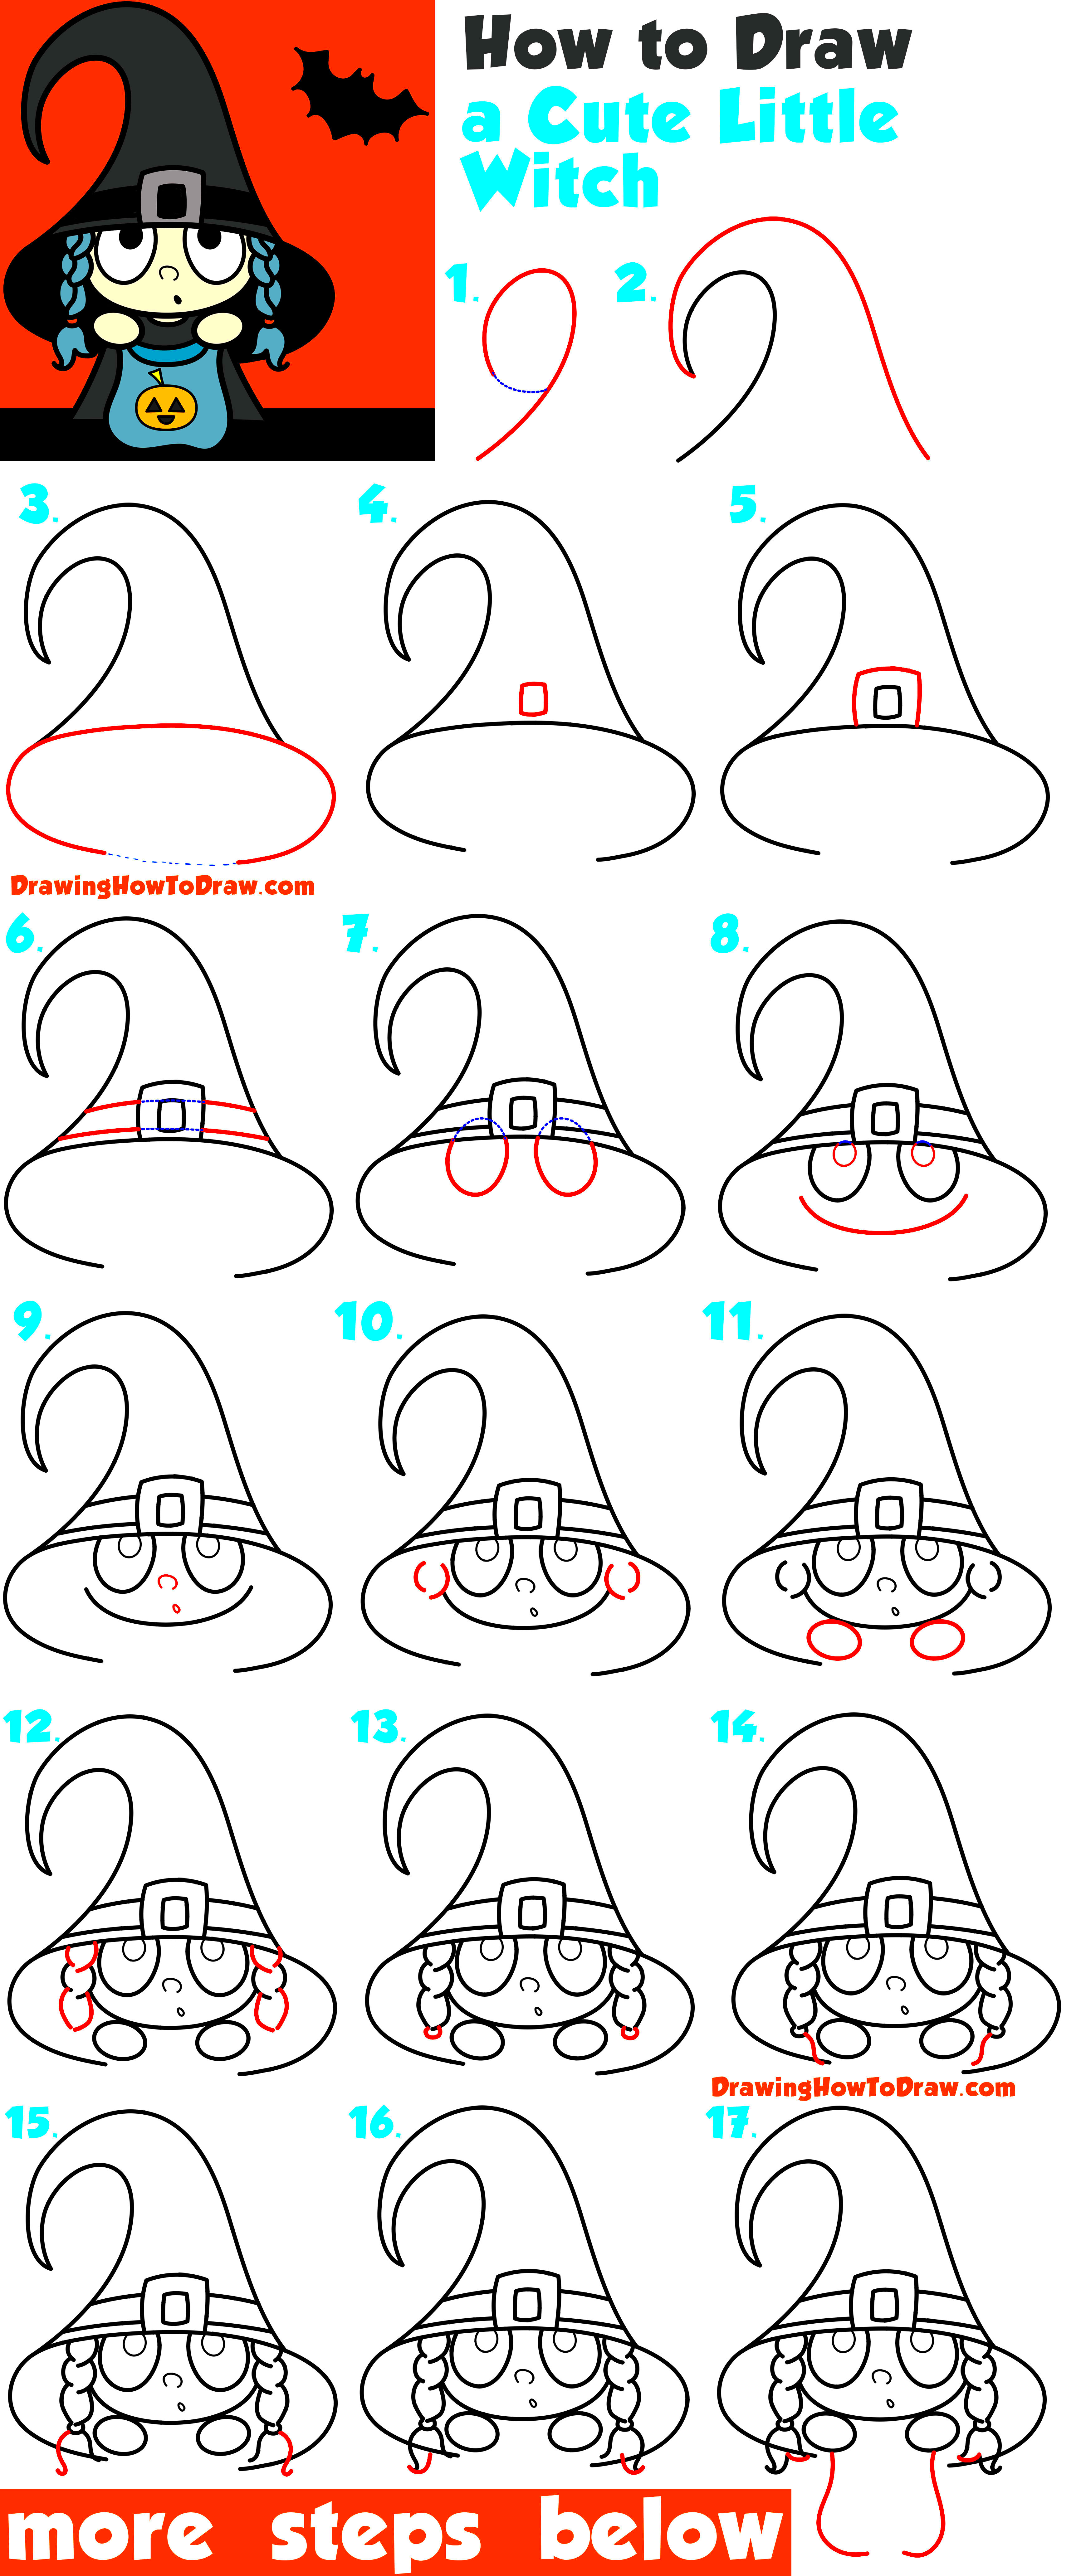
- Witch's Hat: Draw a tall, pointy hat with a wide brim. Add simple details like a buckle or stars to give it character.
These beginner-friendly designs will help you get comfortable with the basic shapes and lines needed to draw Halloween images. Don’t worry about perfection at this stage—just focus on having fun and experimenting with different ideas.
Also Read This: How to Build a Following on Likee: Tips and Tricks
Step-by-Step Guide for Drawing Halloween Characters
Drawing Halloween characters can be one of the most exciting parts of celebrating the spooky season. Whether you're aiming for a friendly pumpkin or a frightening skeleton, breaking down each character into simple steps will make it easier. Here’s a step-by-step guide to help you draw some popular Halloween characters:
- Witch: Start by drawing the pointy hat, then sketch the body and broomstick. Add details like the face, hair, and a flowing robe. You can make her look more menacing by adding a crooked nose or long fingers.
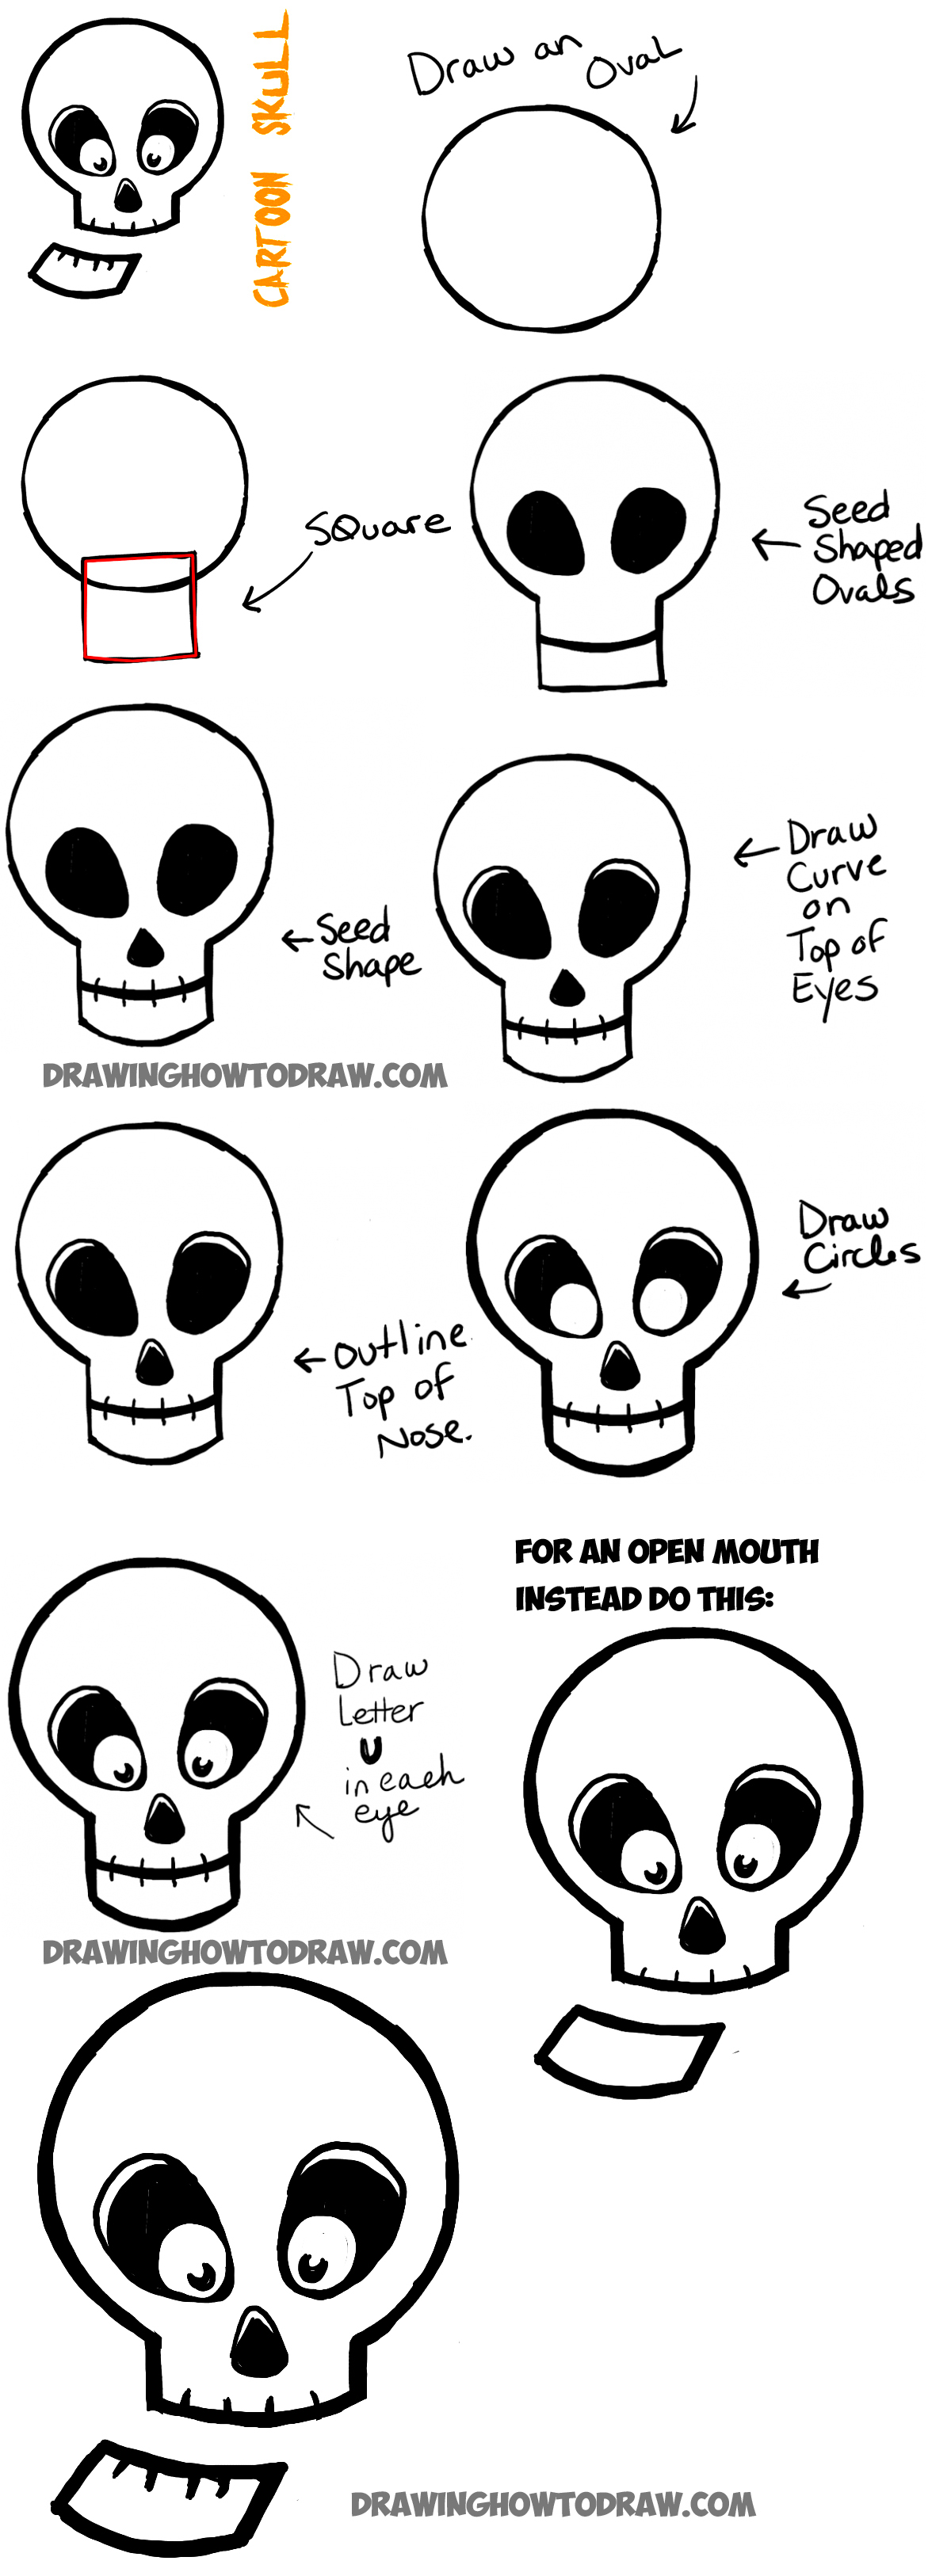
- Skeleton: Begin by sketching the head as a circle. Then, draw the ribcage, spine, and limbs. Focus on getting the proportions right, and don’t forget to add the skull features. To make it spooky, emphasize the ribs and add cracks.
- Zombie: Start by drawing the basic head and body shape. Add details like ragged clothes, rotting skin, and hollow eyes. Use rough, uneven lines to give the appearance of decay.
- Vampire: Draw a sharp, angular face with pointed ears and elongated fangs. A flowing cape and slick hair can add a more dramatic effect. Don’t forget the red eyes or blood drops around the fangs!
By following these easy steps, you'll be able to bring spooky characters to life on paper. The more you practice, the more details you can add to make your Halloween characters even more eerie!
Also Read This: Alamy vs Shutterstock Which Stock Photo Platform Is Better
Adding Details and Spooky Effects to Your Drawings
Once you’ve got the basic outline of your Halloween drawing, it’s time to add some spooky details to bring it to life. Small additions like shadows, textures, and glowing effects can take your image from good to eerie. Here’s how to make your Halloween drawings even spookier:
- Shadows: Adding shadows under characters or objects can create depth and make your drawing look more realistic. Use a soft pencil or shading tool to gently blend shadows around areas like the face, under the arms, or beneath objects like pumpkins.
- Textures: For a ghostly or decayed effect, use cross-hatching or stippling to add texture. For example, a zombie’s skin can be textured with rough lines to give it a decayed appearance.
- Glowing Effects: To make things look more haunted, add glowing effects around eyes or certain parts of your drawing. You can do this by lightly shading around the area with a white or yellow pencil, or by digitally enhancing it in editing software.
- Smoke and Fog: Add swirling lines around your drawing to create a foggy or haunted atmosphere. These effects give the illusion of movement and mystery.
Details and spooky effects are what will make your Halloween drawings stand out and feel more atmospheric. Experiment with different techniques to add your own personal twist!
Also Read This: How to Print Your LinkedIn Profile – A Step-by-Step Guide
Using Colors to Enhance Halloween Images
Color plays a huge role in setting the tone for your Halloween drawings. Using the right color palette can instantly make your artwork feel more festive, spooky, or eerie. Here are some tips for using colors to enhance your Halloween images:
- Classic Halloween Colors: The colors most closely associated with Halloween are orange, black, purple, green, and red. Orange represents pumpkins and autumn, black is associated with darkness and mystery, while purple and green are often linked to witches and monsters.
- Highlighting Features: Use brighter colors like yellow or white to highlight specific areas of your drawing, like glowing eyes or a pumpkin’s face. This helps draw attention to key elements.
- Creating Mood with Color: Darker colors, like black, gray, or deep purple, can make your drawing feel more ominous. On the other hand, warm oranges and yellows can create a more playful or festive vibe.
- Shading and Depth: When using colored pencils or markers, add layers of color to give depth to your drawing. For example, darken the areas around the edges and leave the center lighter to create a glowing effect.
Using colors thoughtfully will help you evoke the perfect Halloween atmosphere. Don’t be afraid to experiment and mix different hues to see what works best for your artwork!
Also Read This: Mastering Behance Project Editing for an Enhanced Portfolio
Common Mistakes to Avoid When Drawing Halloween Images
Even experienced artists make mistakes, and Halloween-themed drawings are no exception. Avoiding a few common pitfalls will help improve the quality of your drawings and make them look more professional. Here are some mistakes to watch out for:
- Overcomplicating the Design: While it’s tempting to add a lot of details, sometimes less is more. Focus on the key elements of your Halloween drawing rather than trying to make everything complex. Simple shapes with bold outlines often make the image stand out more.
- Ignoring Proportions: Getting the proportions wrong can make your characters look awkward. Make sure the head, body, and limbs are balanced, especially in characters like witches, zombies, and skeletons.
- Forgetting to Use Shading: Shading is essential to create depth and make your Halloween images look three-dimensional. A flat drawing can feel lifeless, so don’t skip the shadows around key features.
- Skipping the Background: A drawing can feel incomplete without a proper background. Whether it’s a spooky graveyard or a dark sky with a full moon, a well-crafted background enhances the overall atmosphere of your drawing.
- Using the Wrong Color Palette: Halloween colors like orange, purple, and black are iconic, but using them incorrectly can ruin the vibe. Be sure to balance your colors to avoid an overwhelming or unnatural look. For instance, too much bright green may make a character look too cartoonish.
By being aware of these common mistakes and making small adjustments, you’ll be able to create Halloween images that are much more visually appealing and spooky!
Also Read This: An Easy X Video Download Method for Free
Tips for Improving Your Halloween Drawing Skills
Improving your Halloween drawing skills is all about practice, observation, and experimenting with different techniques. Whether you’re new to drawing or looking to enhance your skills, these tips will help you take your Halloween art to the next level:
- Practice Basic Shapes: Every Halloween character, from pumpkins to ghosts, can be broken down into simple shapes. Start by practicing circles, triangles, and rectangles before adding details. Mastering these shapes will make your characters more proportionate and easier to draw.
- Study References: Look at real-life references or photos of Halloween-themed items for better understanding. Whether it’s the texture of a pumpkin or the way a witch’s hat sits, observation will help you draw more accurately.
- Use Different Techniques: Try varying your drawing techniques, such as hatching, cross-hatching, or stippling, to add texture and dimension to your artwork. These techniques will help make your Halloween images feel more lifelike.
- Take Breaks: Don’t rush your drawing. Taking breaks allows you to come back with fresh eyes and spot areas that need improvement. This also gives you a chance to refine your details and add spooky effects.
- Experiment with Digital Tools: If you're drawing digitally, experiment with different brushes and textures in programs like Procreate or Photoshop. Digital art opens up new possibilities for shading, coloring, and adding special effects.
Improvement comes with patience and practice. By following these tips, you can consistently enhance your Halloween drawing skills and create artwork that stands out.
Also Read This: Guide to Canceling Your Adobe Stock Trial
FAQ
Here are some answers to frequently asked questions that can help guide you through your Halloween drawing process:
- What are some easy Halloween images to draw? Simple designs like pumpkins, bats, and ghosts are great starting points. These easy shapes allow you to focus on basic techniques like sketching and shading.
- Do I need expensive supplies to draw Halloween images? Not at all! You can create great Halloween artwork with just a pencil, eraser, and a set of colored pencils. However, if you want to experiment with different styles, digital tools or professional markers may offer additional options.
- How can I make my Halloween drawings look more spooky? Adding elements like shadows, glowing effects, and textured lines can make your images feel more eerie. Focus on creating dramatic lighting and using colors that evoke a spooky atmosphere.
- Can I draw Halloween images without much experience? Yes, absolutely! Start with simple designs and gradually increase the complexity as you gain confidence. The key is to practice regularly and not be afraid to make mistakes.
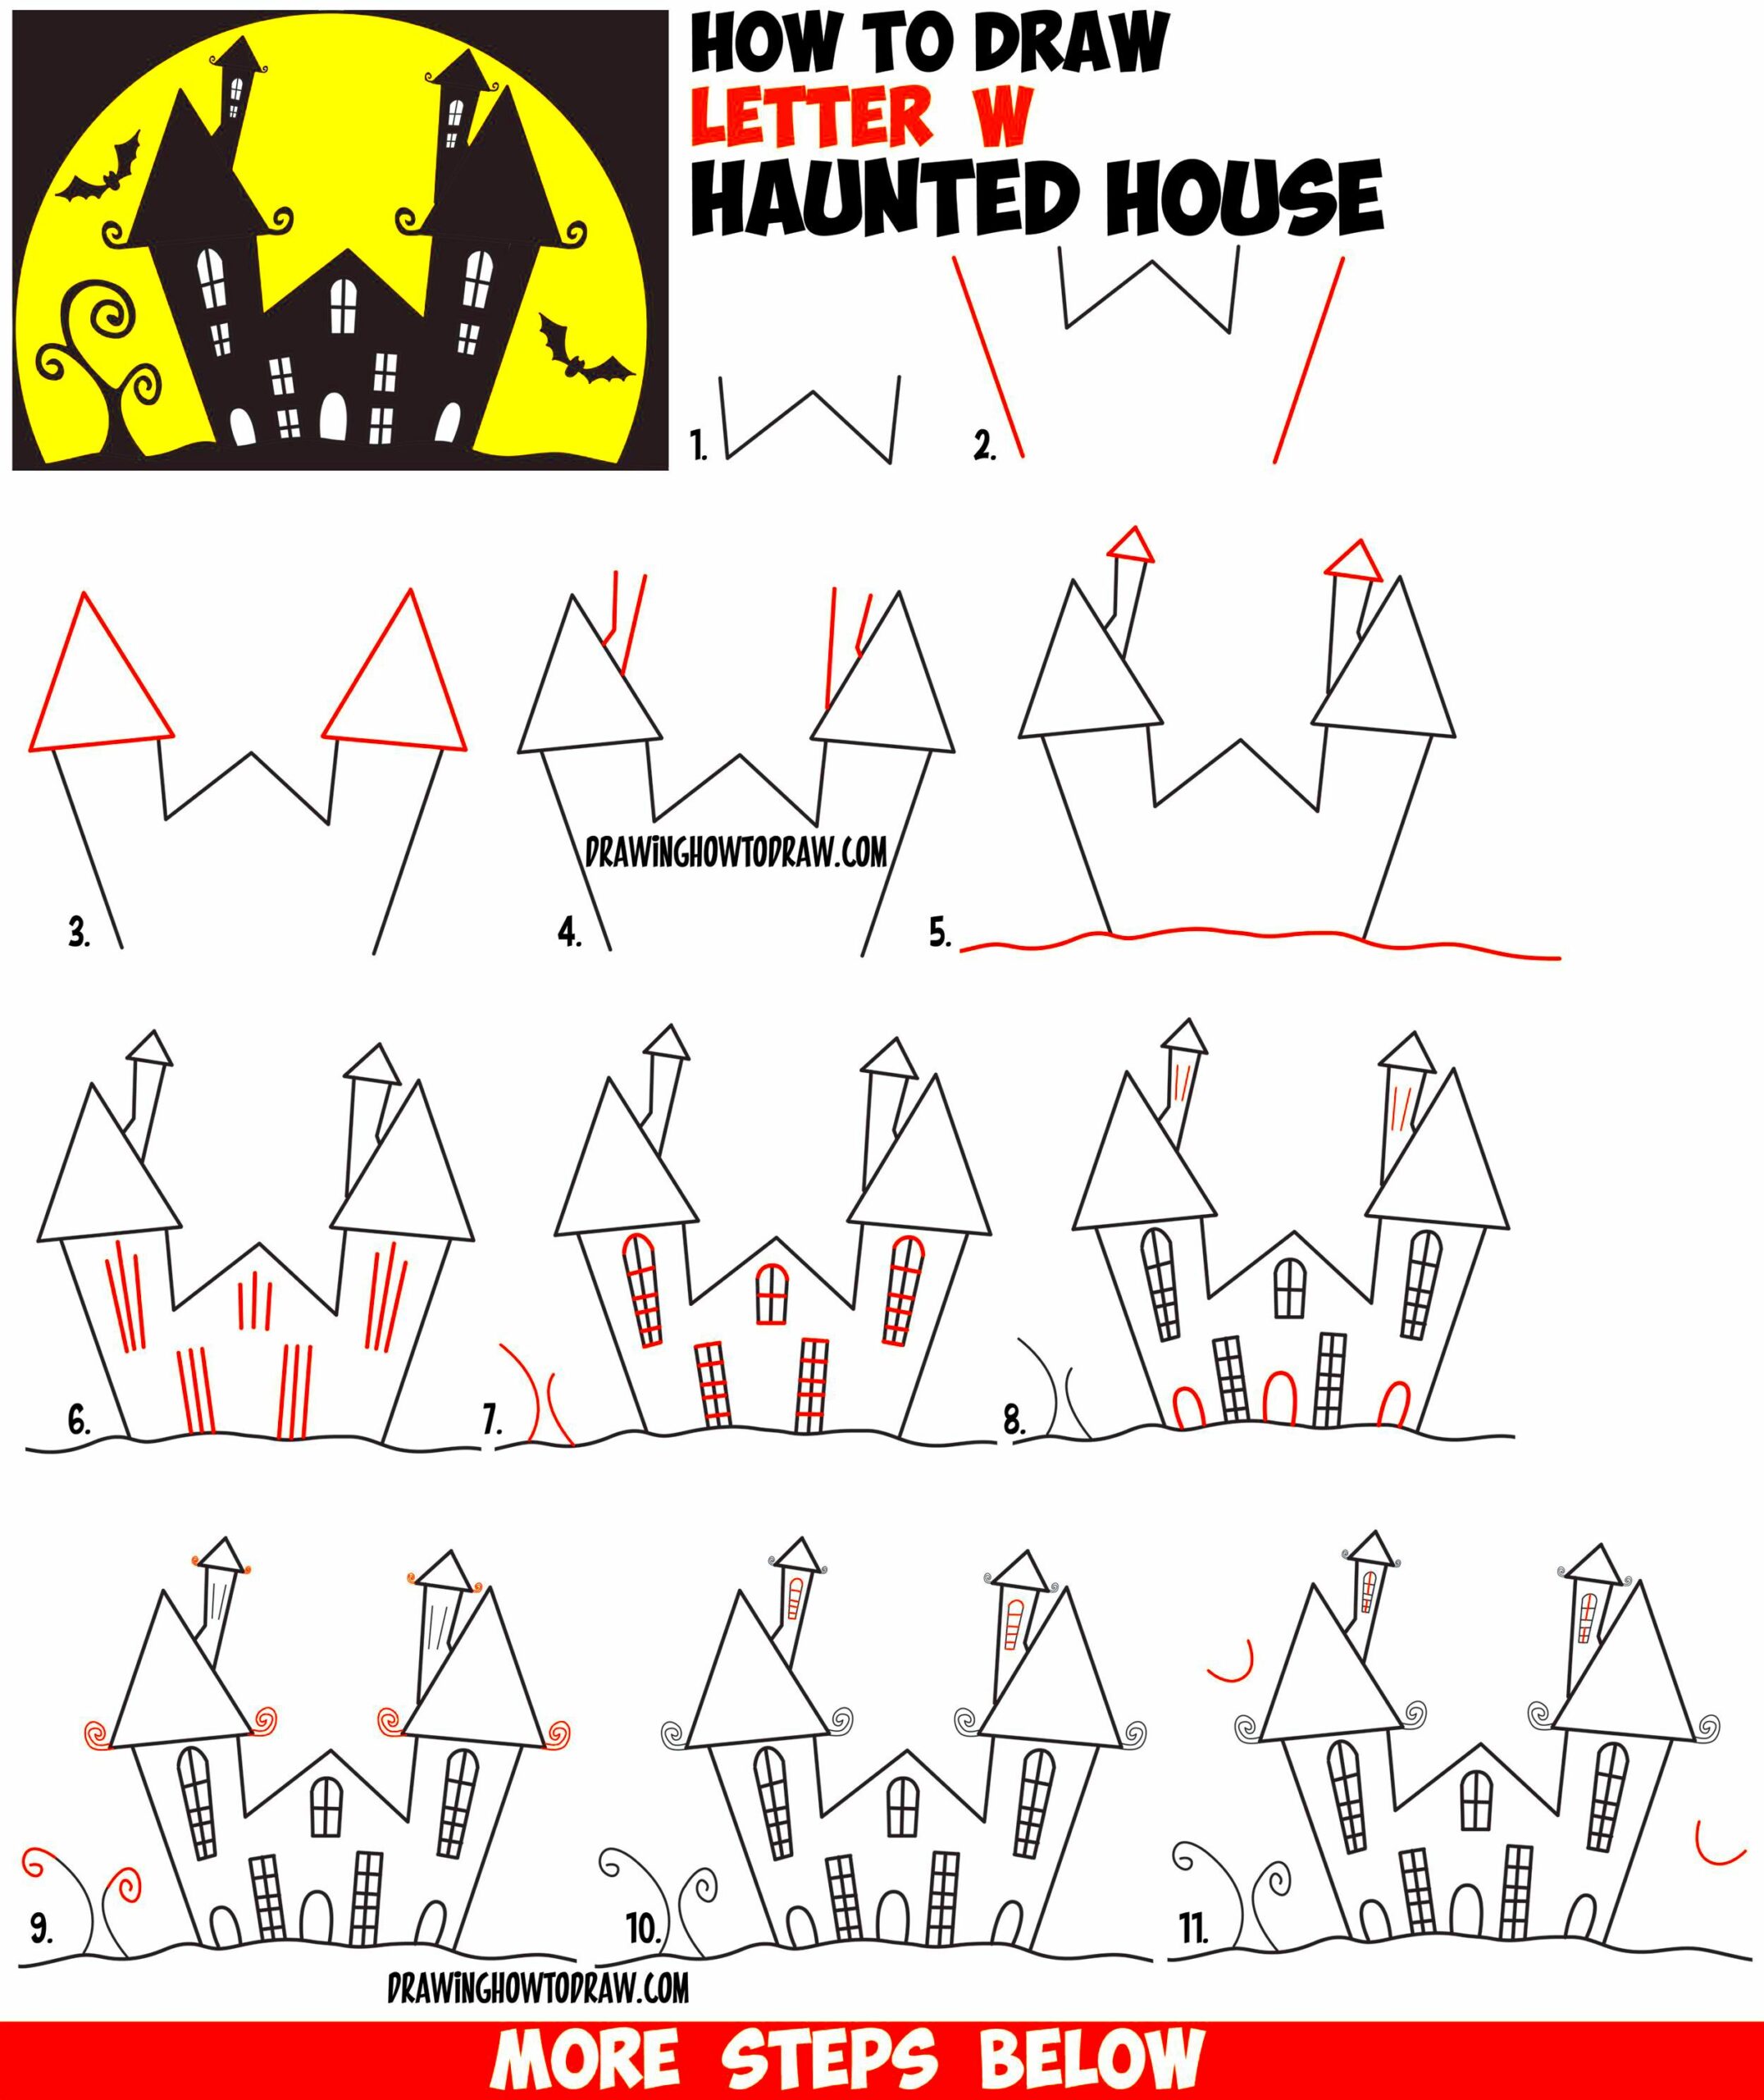
- How do I add a background to my Halloween drawings? To add a background, consider using simple, eerie settings like a full moon, haunted house, or graveyard. Don’t overcomplicate it; just focus on enhancing the mood of your drawing.
These FAQs should help you navigate any challenges you might encounter while drawing Halloween images. Don’t forget, the more you practice, the better your skills will get!
Conclusion
Drawing Halloween images is a fun and creative way to celebrate the spooky season. By using the right tools, practicing basic techniques, and adding unique details to your artwork, you can create exciting and eerie images that capture the Halloween spirit. Remember, practice is key—don't be afraid to make mistakes and keep experimenting with different styles and ideas. Whether you're a beginner or an experienced artist, Halloween offers endless possibilities to explore your creativity. So grab your pencils, markers, or digital tools and start creating your own spooky masterpieces!


