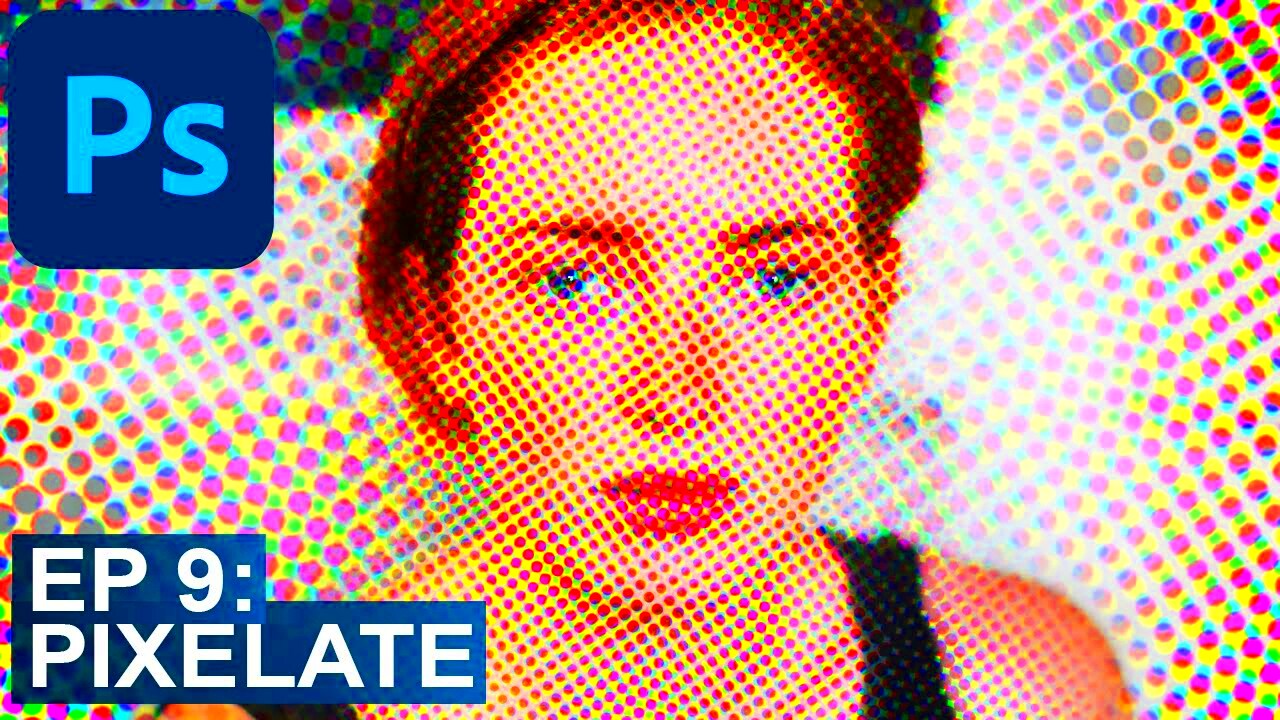
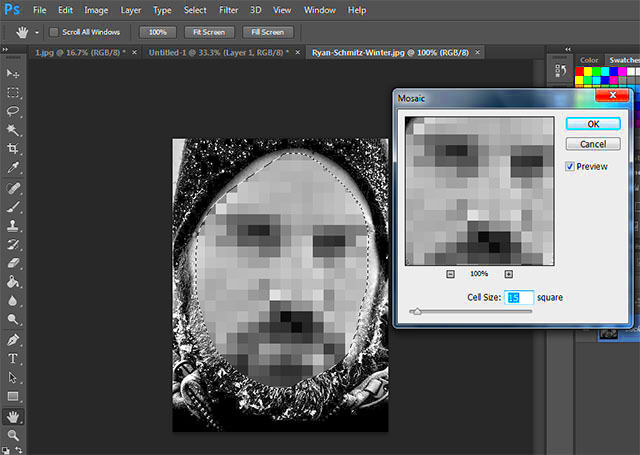
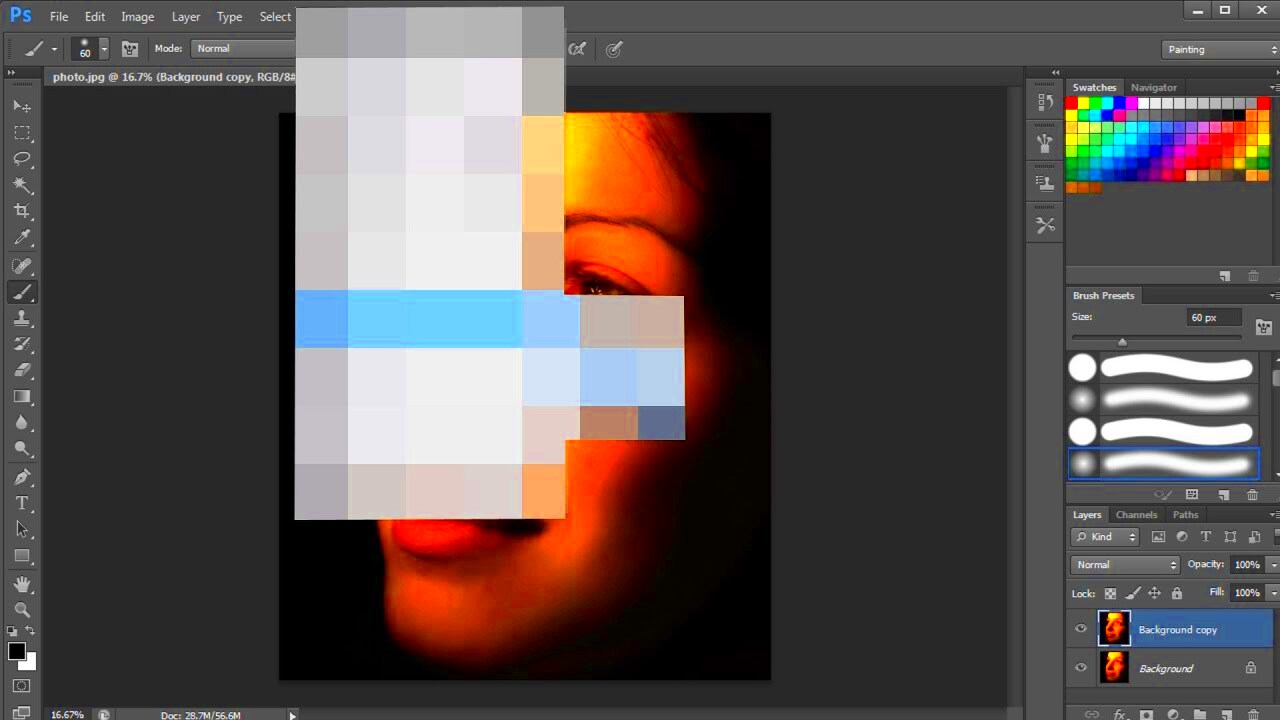
Image pixelation involves blurring or reducing the resolution of specific parts of an image. This effect creates a grid of large, visible pixels, which can obscure details or add an artistic touch. It’s widely used for privacy and creative purposes.
When it comes to privacy, pixelation is often applied to sensitive information, such as faces, license plates, or confidential documents. On the creative side, it can give photos a unique and retro feel, mimicking the aesthetic of early digital art or video games.
Here’s why pixelation is so handy:
- Privacy: It helps hide personal or sensitive information in an image.
- Artistic Style: Pixelation can make images stand out with a stylized, retro vibe.
- Focus Control: Pixelation shifts the viewer’s attention to other areas of the image.
Whether for protecting privacy or creating eye-catching visuals, pixelation is an easy-to-use and versatile effect.
Popular Tools You Can Use for Pixelating Images

Pixelating images doesn’t require expensive software. Several tools make the process simple and accessible for everyone. Here are some popular options:
| Tool | Platform | Key Features |
|---|---|---|
| Canva | Web, Mobile | Easy-to-use interface, customizable pixelation options. |
| Photoshop | Desktop | Professional editing tools with advanced pixelation effects. |
| GIMP | Desktop | Free and open-source with manual pixelation tools. |
| Pixelate | Web | Dedicated online tool for quick pixelation. |
Each tool offers unique benefits. For example, Canva is perfect for quick edits, while Photoshop suits more complex projects.
Also Read This: How to Legally Use Storyblocks Content on Your YouTube Channel
Steps to Pixelate an Image Using Canva

Canva is a user-friendly platform that makes pixelating an image quick and simple. Here’s a step-by-step guide:
- Open Canva: Log in to your Canva account or create one if you’re new.
- Upload Your Image: Click on “Uploads” in the toolbar and drag your image into Canva.
- Add the Pixelation Effect:
- Select your image and click on “Edit Image” in the top menu.
- Scroll through the effects or use the search bar to find the pixelation effect.
- Adjust the intensity of the pixelation using the slider for the desired look.
- Save Your Work: Click on the “Share” button and select “Download.” Choose the format you prefer and save the file to your device.
With Canva’s intuitive tools, you can achieve a professional pixelated look in just a few minutes.
Also Read This: Guide to Removing the Background of an Image in GIMP
Tips for Achieving Better Results with Pixelation

Pixelation might seem simple, but achieving the perfect effect requires some thought. Whether you’re working for privacy or artistic appeal, a few tips can enhance your results and save time.
Here are some practical suggestions to get the best out of pixelation:
- Choose the Right Area: Only pixelate the necessary parts of an image. For instance, blur just the faces or sensitive details without affecting the entire photo.
- Adjust Pixel Size: Experiment with the size of the pixels. Larger pixels work well for privacy, while smaller ones maintain some level of detail for artistic effects.
- Maintain Image Quality: Always use a high-resolution image. Even after pixelation, the rest of the image should remain sharp and visually appealing.
- Combine Effects: Don’t hesitate to mix pixelation with other effects like gradients, color overlays, or borders to create a unique look.
- Test Different Tools: Each software has unique pixelation settings. Explore options like Canva, Photoshop, or GIMP to find what suits your project best.
With a bit of experimentation and these tips, your pixelated images can look professional and impactful.
Also Read This: Don’t Judge a Book by Its Cover on Dailymotion
Situations Where Pixelating an Image is Helpful

Pixelation is a versatile tool that can serve many purposes, from protecting sensitive information to creating artistic visuals. Below are common scenarios where it is especially useful:
- Protecting Privacy: It’s ideal for hiding faces, license plates, or sensitive details in photos before sharing them online.
- Confidential Documents: Pixelate sections of documents like addresses or account numbers when sharing screenshots.
- Focusing Attention: Blur background details to highlight the main subject in creative projects or advertisements.
- Artistic Design: Add a retro, digital vibe to images for unique marketing campaigns or personal projects.
- Gaming and Animation: Pixelation is commonly used in game design and animations for a nostalgic, pixel-art style.
From practical applications to creative projects, pixelation is a flexible and valuable technique in both personal and professional settings.
Also Read This: How Long Will It Take to Get Monetized on YouTube
Alternatives to Pixelation for Privacy or Effects
Pixelation is not the only method for achieving privacy or creative image effects. Depending on your needs, other techniques might be more suitable. Here are some effective alternatives:
| Technique | Best For | How It Works |
|---|---|---|
| Blurring | Softening details | Uses smooth transitions to obscure sensitive areas without visible pixels. |
| Black Bars | Strict privacy | Covers parts of an image with solid black rectangles for a straightforward privacy solution. |
| Overlay Effects | Creative projects | Adds patterns or designs over parts of the image to obscure details stylishly. |
| Masking | Selective editing | Allows you to hide or reveal parts of an image with adjustable opacity or layers. |
| Cutting or Cropping | Removing sensitive areas | Simply eliminates unwanted sections from the image entirely. |
By considering these alternatives, you can choose the best approach for your specific privacy or design needs.
Also Read This: How to Add Promotion to LinkedIn with Ease
Frequently Asked Questions
Here are some common questions people ask about pixelating images, along with clear and concise answers to help you understand the process better.
1. Can I reverse pixelation to reveal the original image?
No, pixelation is a permanent alteration. Once the details are reduced to visible blocks, it’s nearly impossible to recover the original image. This ensures privacy and security when used appropriately.
2. Is pixelation better than blurring?
It depends on your purpose. Pixelation is great for artistic effects or drawing attention to specific areas, while blurring offers a smoother, less noticeable way to obscure details.
3. Are there free tools for pixelating images?
Yes, there are several free options like Canva (with basic features), GIMP, and online tools such as Pixelate.org. These platforms make pixelation accessible without requiring paid software.
4. Can I pixelate images on my phone?
Absolutely! Apps like Canva, Snapseed, and PicsArt allow you to apply pixelation effects directly on your smartphone. These apps are available for both Android and iOS devices.
5. Does pixelation affect the file size of an image?
Pixelation typically does not significantly reduce the file size. However, if combined with compression or resizing, it can make the file smaller.
These answers should cover most concerns, but feel free to explore tools and experiment to learn more about pixelation techniques.
Conclusion
Pixelation is a simple yet versatile tool for privacy and creative designs. By understanding its uses, tools, and alternatives, you can easily incorporate it into your projects. Whether you're protecting sensitive details or adding an artistic flair, pixelation remains a practical and effective solution.


