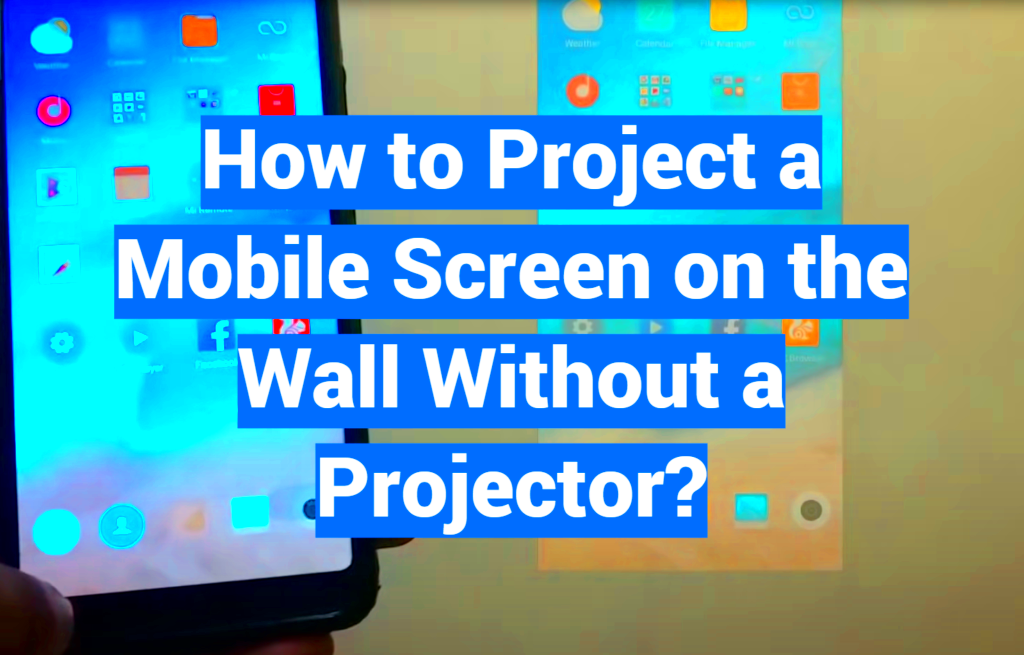
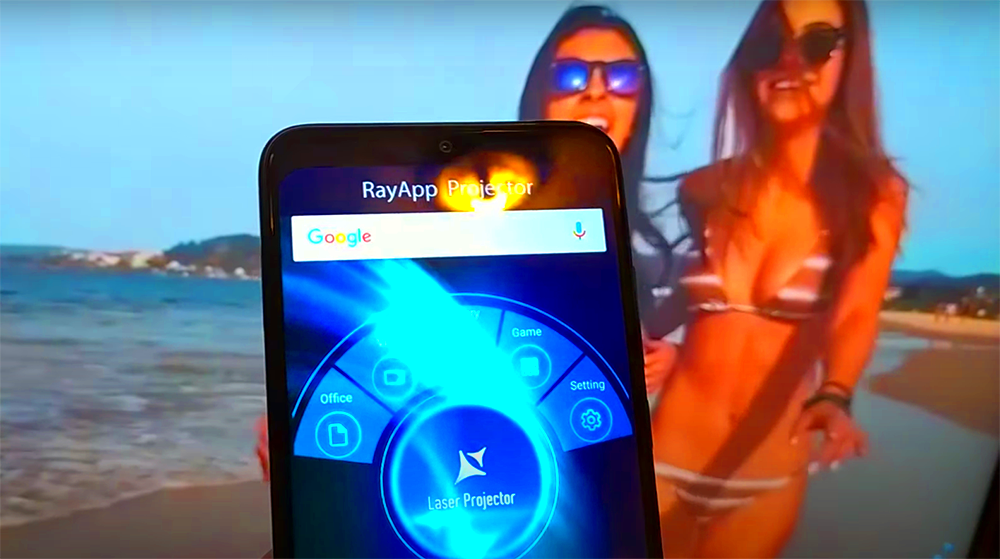
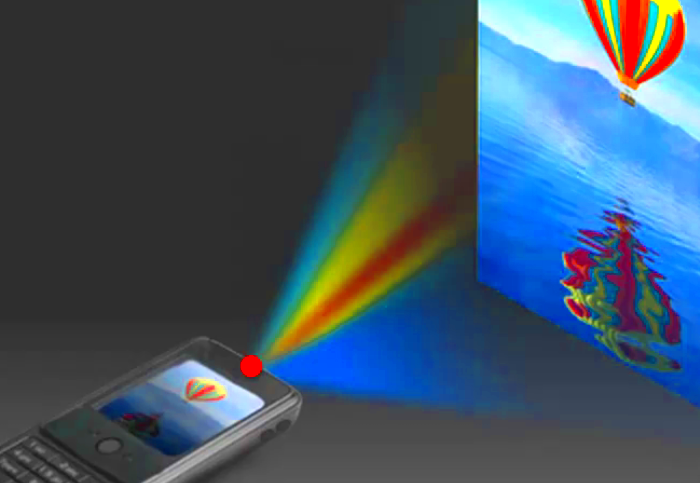
Projecting an image from your phone is a simple and effective way to share your visuals in a larger format, whether it's for a quick presentation, sharing photos, or even displaying artwork. It’s a great solution when you don't have access to a computer or if you're on the go and need a quick setup. With just a few steps, you can project your images onto a wall, making your content more engaging and easier for your audience to view.
The process is fairly straightforward, but you’ll need to make sure you have the right equipment and understand how to connect your phone to the projector. This guide will walk you through everything, ensuring that your presentation goes smoothly without technical hiccups.
Understanding the Basic Requirements

Before you begin, there are a few basic things you need to have in place to ensure your image projection works seamlessly. Here are the key requirements:
- Projector: The most important piece of equipment. You can use a traditional projector or a mini projector, depending on your preference.
- Phone with compatible software: Your phone must support either HDMI, USB, or wireless connectivity options for projecting images.
- Cables or wireless connection: Depending on your projector and phone, you may need specific cables, such as a USB-C to HDMI cable, or you can opt for wireless methods like screen mirroring or using Bluetooth.
- A blank wall or projection screen: The surface onto which the image will be projected should be smooth and clear for best results.
Make sure to check these requirements before you attempt to project an image. Once you have everything ready, you’ll be set for a smooth projection experience.
Preparing Your Phone for Projection

Now that you know what equipment you need, it’s time to prepare your phone for projection. Here’s a simple guide to ensure your phone is ready:
- Check compatibility: Ensure that your phone is compatible with the projector. Some projectors connect via HDMI, while others may support wireless connections like Miracast or AirPlay. Double-check your projector's manual to confirm which options work with your device.
- Enable screen mirroring or casting: If you're connecting wirelessly, make sure to enable screen mirroring on your phone. This setting allows your phone to send its display to the projector. For Android phones, you’ll usually find this option under “Cast” in the quick settings menu. iPhones use AirPlay for this.
- Adjust screen orientation: Most projectors work best when your phone is in landscape mode, so rotate your phone to avoid a vertically stretched or distorted image.
- Check image quality: Ensure the image or presentation you're projecting is clear and well-sized on your phone’s screen. It's always a good idea to test it before the actual presentation.
By taking these simple steps, you’ll be all set to project your images or presentations smoothly. Whether you're sharing photos or presenting a business slide deck, your phone is now ready to deliver a bigger-than-life display.
Connecting Your Phone to the Projector

Once your phone is prepared for projection, the next step is to connect it to the projector. There are a few methods to do this, depending on the type of projector you have and the connectivity options available on your phone. Whether you’re using a wired connection or a wireless setup, the process is simple and quick. Here's how you can connect your phone to the projector:
- Wired connection: If you prefer a reliable wired connection, you’ll likely need a cable to connect your phone to the projector. Most modern projectors have HDMI ports, so you’ll need a compatible cable. For Android phones, this could be a USB-C to HDMI cable, while iPhones require a Lightning to HDMI adapter. Once plugged in, your phone should automatically recognize the projector.
- Wireless connection: For a more flexible setup, many projectors support wireless connections via technologies like Miracast or AirPlay. On Android devices, go to the "Cast" or "Screen Mirroring" option in the settings and select the projector. For iPhones, swipe down from the top-right corner to access the Control Center and tap on “Screen Mirroring” to select the projector.
- Bluetooth connection: Some newer projectors offer Bluetooth connectivity, allowing you to pair your phone directly with the projector. This method is more suitable for audio, but it can also be used to mirror content.
Make sure to check that both devices are fully connected before you move on to adjusting settings. If the projector doesn't detect your phone automatically, ensure that you're using the correct cable or wireless setting and try reconnecting.
Adjusting Image Settings for the Best Display
To ensure your image looks clear and sharp when projected, you’ll need to adjust the display settings on both your phone and the projector. By fine-tuning a few settings, you can achieve a crisp, well-lit projection that’s easy to see and engaging for your audience. Here’s how to do it:
- Phone display settings: Start by adjusting the brightness and contrast on your phone. For most projectors, a higher brightness setting will help your image stand out, especially if you're projecting in a well-lit room. You may also want to increase the screen resolution if your phone allows it, ensuring the best image quality possible.
- Projector settings: Once connected, adjust the projector's settings as well. Ensure that the focus is sharp, and if your projector has an option for image aspect ratio (16:9, 4:3), choose the one that matches your content. You should also check the keystone correction if the image appears skewed.
- Color calibration: Some projectors allow you to adjust color settings. If the image looks off, tweak the color saturation, contrast, or color temperature to improve the display.
Make sure to test the settings before starting your presentation to avoid any surprises. Properly adjusting these settings will help make the image pop, ensuring your audience gets the best experience.
Projecting the Image on the Wall
Now that everything is connected and your settings are adjusted, it’s time to project the image onto the wall. The final step is making sure the image is clear, well-positioned, and large enough for everyone to see. Follow these tips to project the best image:
- Choose a good projection surface: The surface you’re projecting onto plays a significant role in the image quality. A smooth, white wall works best. If you have a projector screen, that’s even better. Avoid surfaces with a lot of patterns, as they can distort the image.
- Position the projector properly: Set up the projector at a suitable distance from the wall. Most projectors have a recommended distance range for the best image size and clarity. Adjust the projector’s height and angle if needed to avoid distortion and ensure the image fits within the frame of the projection area.
- Adjust focus: Once you have the projector in position, use the focus ring to make the image sharp and clear. Most projectors have a manual or automatic focus adjustment, so make sure to fine-tune it until you get the clearest possible image.
- Check for ambient light: The less ambient light in the room, the better the image will look. If possible, dim the lights or close curtains to reduce reflections and increase the visibility of the projected image.
Now that everything is set up, your image should be successfully projected on the wall. Whether you’re presenting a slideshow, showing photos, or just displaying a video, the image will be large, clear, and easy for your audience to see. Enjoy your presentation!
Troubleshooting Common Issues
Even with all the right equipment and settings, sometimes things don't go as smoothly as planned. Don’t worry – most projection issues are easy to fix. Here are some common problems you might encounter and how to solve them:
- No Image Displayed: If your projector isn’t showing anything from your phone, double-check the connection. For wired setups, ensure the cable is plugged in properly. For wireless connections, make sure both devices are connected to the same network or Bluetooth pairing. You may also need to select the correct input on the projector.
- Fuzzy or Blurry Image: A blurry image is often a focus issue. Adjust the focus ring on your projector until the image becomes clear. Also, check the resolution settings on your phone to make sure it’s outputting the highest possible resolution.
- Image Cutoff or Distortion: If part of the image is missing or distorted, it could be due to incorrect aspect ratio settings. Adjust the aspect ratio on both your projector and phone to match each other. Some projectors also have keystone correction to adjust for distortion caused by angles.
- Audio Issues: If the audio isn't coming through, check your phone's volume settings and ensure it’s set to output sound to the projector (via Bluetooth or HDMI). Some projectors may require separate speakers if they don't have built-in audio support.
- Projector Not Turning On: If the projector isn’t powering up, make sure it’s properly plugged in and that the power cable is functional. Try using a different outlet to rule out electrical issues.
By following these troubleshooting tips, you’ll be able to solve most common issues quickly and keep your presentation on track.
Additional Tips for a Successful Presentation
To make your presentation even more effective and smooth, here are some additional tips that can help you avoid distractions and engage your audience better:
- Test Everything First: Before you start, always test the entire setup. Make sure your phone connects properly to the projector and the image is displayed as expected. Check for any issues with the sound and visuals and address them before going live.
- Prepare for Interruptions: It's always a good idea to have a backup plan. If your phone’s battery is low, plug it in, or have a portable charger ready. If you’re using a wireless connection, make sure the network is stable.
- Control Your Environment: If possible, dim the lights in the room to enhance the visibility of your projected image. A darkened room improves contrast and helps your audience see the image clearly.
- Keep Distance in Mind: If you’re presenting in a large room, make sure the projected image is large enough for everyone to see. Adjust the projector's distance from the wall and use zoom features if available to get the right image size.
- Use a Remote or App: For added convenience, use a remote control or presentation app to move through your slides without having to touch your phone. This can make your presentation smoother and more professional.
- Stay Calm: Technical issues happen from time to time. If something goes wrong, stay calm and quickly troubleshoot. Your audience will appreciate your composure and flexibility.
With these tips, you’ll be able to run your presentation confidently and ensure that everything goes smoothly, making a positive impression on your audience.
FAQ
Here are some frequently asked questions to help clarify any uncertainties you may have about projecting images from your phone:
- Can I project images wirelessly from my phone?
Yes, you can project images wirelessly using technologies like AirPlay for iPhones or Miracast for Android phones. Many projectors support wireless connections, so make sure your projector is compatible with these features. - Do I need special software to project from my phone?
For most devices, you don’t need special software. You can use built-in screen mirroring options in your phone’s settings. However, some projectors may come with their own app for easier connection. - Can I project video or just images?
Yes, you can project both images and videos from your phone. Just make sure the video is in a supported format, and check the projector’s resolution for optimal playback. - How can I adjust the focus if the image is blurry?
Use the focus ring on your projector to adjust the image clarity. If the projector doesn't have a manual focus, check the settings in the projector's menu for autofocus options. - Can I use my phone as a remote control?
Yes, many apps allow you to use your phone as a remote for presentations. Alternatively, Bluetooth-enabled projectors may come with their own remote app to control the projector functions.
If you have any other questions, feel free to consult the projector's user manual or reach out for further assistance!
Conclusion
Projecting an image from your phone is a convenient and effective way to share content with a larger audience. Whether you're preparing for a presentation, sharing photos with friends, or showing off artwork, the ability to quickly project an image can be a valuable tool. By understanding the basic requirements, preparing your phone, and connecting to the projector, you can ensure a smooth setup and successful projection. Troubleshooting common issues and following additional tips for a professional touch will help you stay confident throughout your presentation. With these steps in mind, you’re ready to project your images and make a lasting impression.

 admin
admin


