Creating 3D images from 2D images is an exciting way to bring depth and life to your visuals. Whether you're working on design projects, marketing materials, or just having fun with your photos, turning flat images into dynamic 3D visuals can help capture attention and spark interest. With the right tools and techniques, you can easily transform your 2D images into 3D representations that look realistic and engaging.
This guide will walk you through the process step-by-step, from understanding the basics to choosing the right tools and techniques. You'll learn how to add depth, shadows, and textures to your images, as well as how to adjust lighting and angles to make them truly stand out.
Understanding the Basics of 3D Imaging
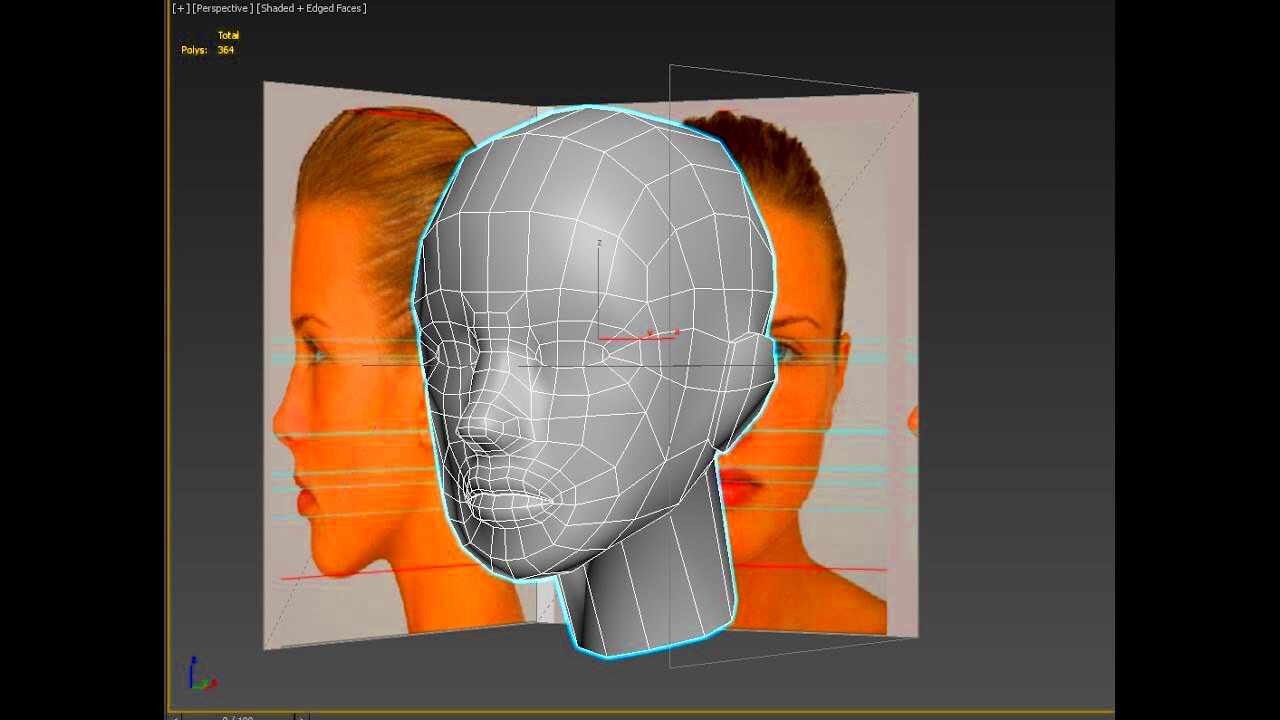
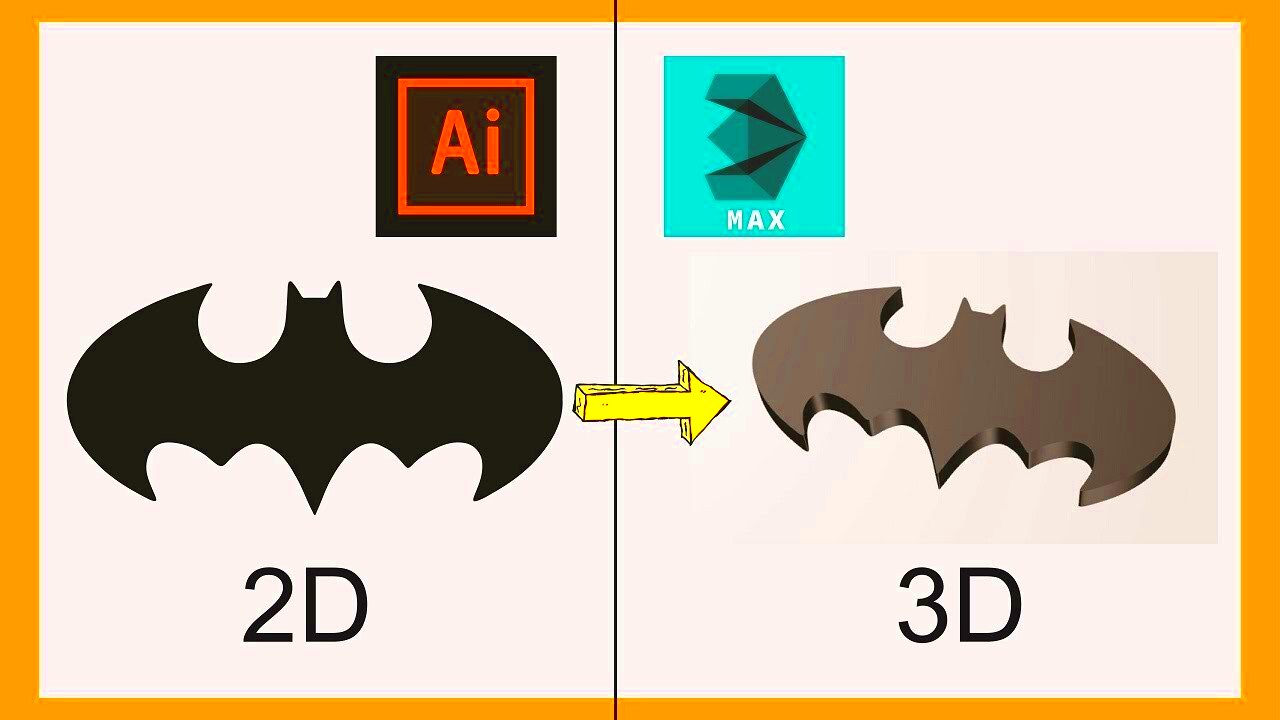
Before diving into the steps of creating 3D images, it’s important to understand the fundamental differences between 2D and 3D visuals. A 2D image only has two dimensions—height and width—whereas 3D images add a third dimension: depth.
In 3D imaging, depth is what gives an image its sense of volume and space. This can make an image appear as though it is coming out of the screen, creating a more immersive and realistic effect. The main components of 3D imaging include:
- Depth: Adds the illusion of distance between objects, making them appear closer or farther away.
- Perspective: Helps to give the image a natural look based on the viewer’s point of view.
- Lighting: Influences how shadows and highlights are cast on objects, enhancing their 3D appearance.
- Texture: Applies surface detail to give a more lifelike effect.
In simple terms, creating 3D images from 2D involves adding these elements to your flat image, making it appear as though it exists in the real world with depth and dimension.
Also Read This: Secure and Ethical Methods to Maximize Your Online Presence
Step 1: Choose the Right Tools for Creating 3D Images
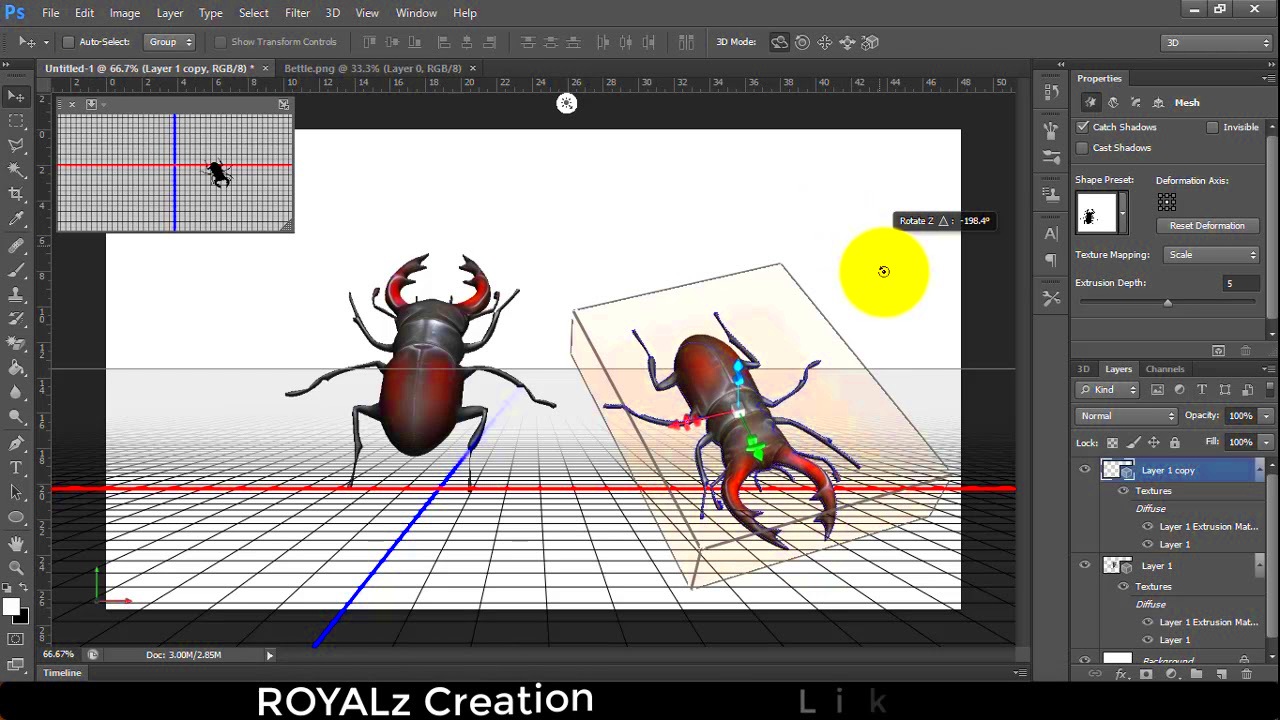
The first step in transforming a 2D image into a 3D model is choosing the right tools. There are many software options available, ranging from beginner-friendly tools to professional-grade programs. The key is finding one that suits your needs and skill level.
Here are a few popular tools you can use:
| Tool | Skill Level | Best For |
|---|---|---|
| Photoshop | Intermediate | Basic 3D effects, texturing, and lighting adjustments |
| Blender | Advanced | Creating full 3D models and animations |
| Autodesk Maya | Advanced | Professional-grade 3D modeling and rendering |
| Fotor | Beginner | Quick 3D effects for simple images |
Each of these tools offers different features and capabilities. For beginners, tools like Fotor or Photoshop are great for adding basic 3D effects and textures. If you're looking to create more complex models or animations, you may want to explore more advanced tools like Blender or Autodesk Maya.
Once you have your tool chosen, you'll be ready to start the process of converting your 2D images into dynamic 3D visuals. Remember, the more familiar you are with your tool, the smoother the process will go!
Also Read This: How to Check Scheduled Posts on LinkedIn
Step 2: Preparing Your 2D Image for 3D Conversion
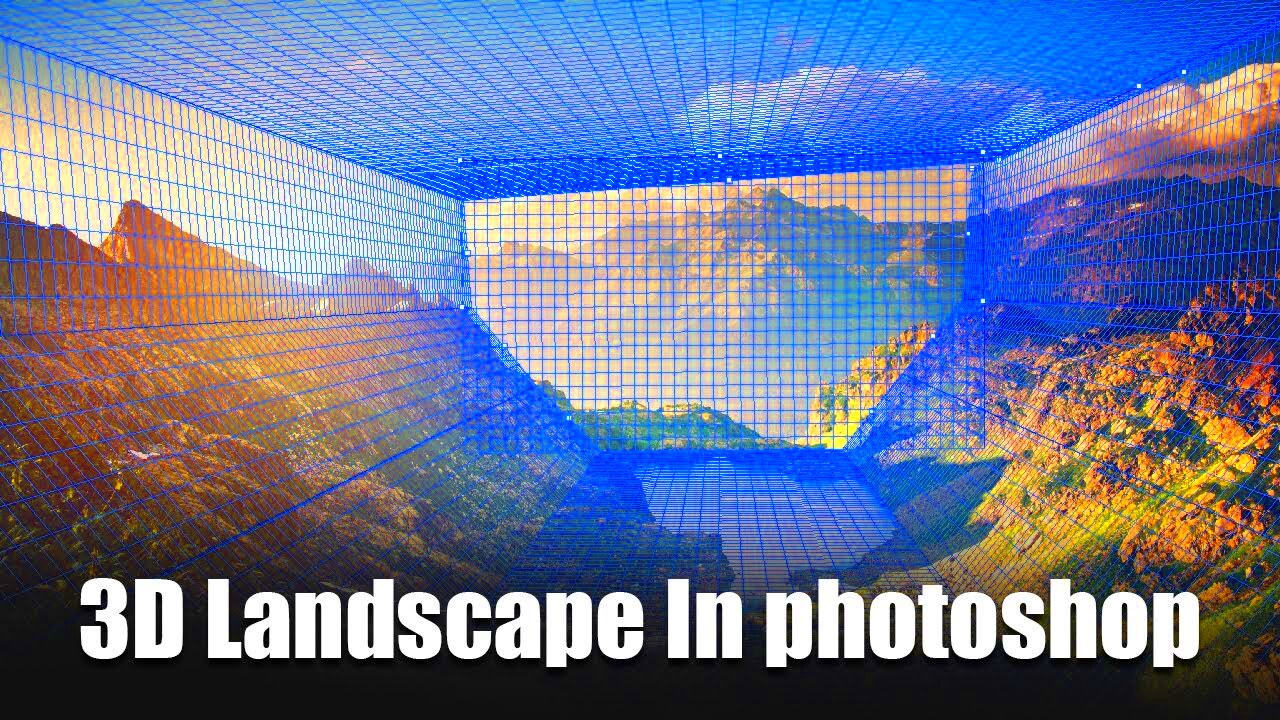
Before diving into the 3D conversion process, it's crucial to properly prepare your 2D image. This step ensures that your image is optimized and ready for transformation, resulting in a smoother and more accurate 3D effect. Here’s how to get started:
1. Clean Up the Image: Remove any unwanted elements or distractions from your image. Use editing tools to crop, erase, or adjust sections of the photo that aren’t needed. A cleaner image will make the conversion process easier and help the 3D effect stand out.
2. Enhance the Image Quality: Make sure your image is high-quality and has clear details. You can adjust brightness, contrast, and sharpness to make your image more visually appealing before adding depth. Avoid using low-resolution images as they may not convert well to 3D.
3. Separate Elements for Layering: If your image has multiple objects, like a person standing in front of a background, it’s helpful to separate them into different layers. This way, you can manipulate the depth of each element independently when applying the 3D effect.
4. Choose the Right Image for 3D: Not all 2D images are ideal for 3D conversion. Images with strong contrast between foreground and background work best. Also, look for images with clear subject separation, as this will make it easier to create depth and perspective in the final 3D result.
Once your image is clean and prepared, you'll be ready to move on to the next step of adding depth and dimension. Proper preparation sets the foundation for a successful 3D transformation!
Also Read This: How to Do Makeup at Home Step by Step with Easy Tips for Beginners
Step 3: Using 3D Tools to Add Depth and Texture
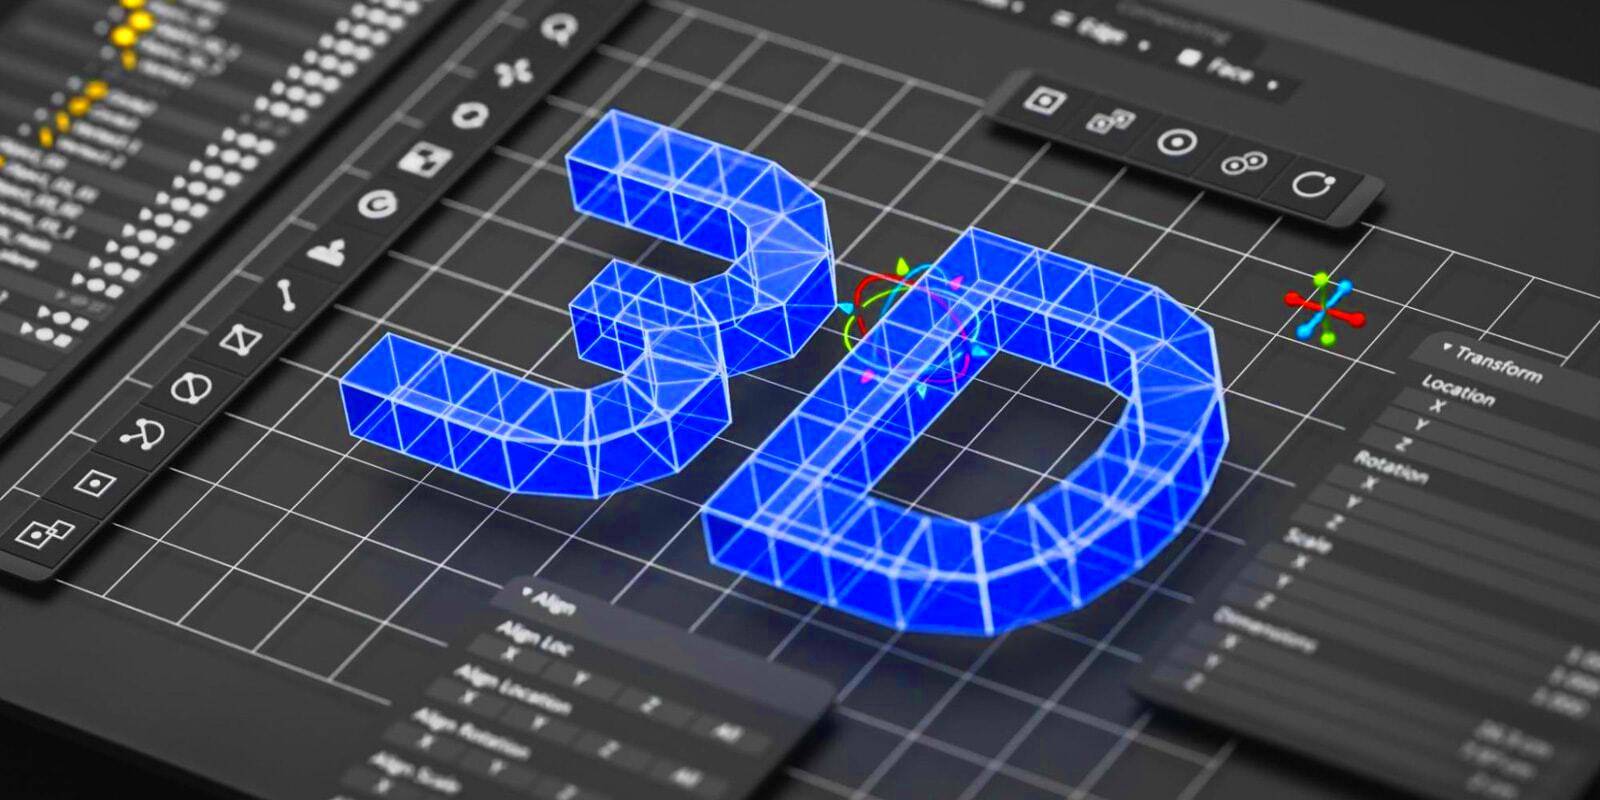
Now that your 2D image is prepared, it’s time to bring it to life by adding depth and texture. This step is where the magic happens, and with the right tools, your flat image will begin to look more dynamic and realistic. Here's how to use 3D tools to enhance your image:
1. Add Depth Using Layers: The first thing you’ll do is create multiple layers of your image. These layers represent different planes of depth. For example, the background layer will be farthest from the viewer, while the foreground elements will appear closer. The greater the difference in the layers' positions, the more depth your 3D image will have.
2. Apply 3D Models and Surfaces: Using 3D software, you can turn your 2D elements into 3D objects by adding surfaces or volume. For example, you can transform a flat image of a building into a 3D model with walls, windows, and textures. This adds a sense of dimension to each part of the image.
3. Add Texture: To make your 3D image feel more realistic, apply textures to different parts of your image. For example, you might add a brick texture to a wall or a fabric texture to clothing. This creates the illusion that the objects have real-world materials.
4. Adjust Depth with the Z-Axis: The Z-axis is what gives your 3D image its third dimension—depth. Adjusting this axis will make objects appear closer or farther away from the viewer. Most 3D tools allow you to manipulate this to give a more realistic effect to the scene.
As you play with these 3D tools, you'll begin to see your 2D image evolve into a more dynamic and realistic representation. The depth and texture will make it feel like the image is no longer flat but exists in a 3D space!
Also Read This: How to Create Card Videos for Crafting Inspiration on Dailymotion
Step 4: Refining the 3D Effect with Lighting and Angles
After adding depth and texture to your image, the next step is to refine the 3D effect with proper lighting and angles. These elements are crucial for enhancing the realism of your image and making it appear as though it's truly three-dimensional. Here's how you can take your 3D image to the next level:
1. Adjust Lighting for Realism: Lighting plays a huge role in 3D imaging, as it determines how shadows and highlights are cast on objects. Use lighting to simulate real-world conditions, such as sunlight or artificial light. Experiment with different light sources, angles, and intensities to see how they affect the 3D look of your image.
2. Create Shadows and Reflections: Shadows are key to making your 3D image look grounded and realistic. When you place a light source in your scene, ensure that shadows are cast properly based on the light's position. Similarly, you can add reflections if your scene includes reflective surfaces like water or glass.
3. Fine-Tune the Angle and Perspective: The angle at which the viewer sees the image is critical in 3D creation. Adjust the camera angle to give your 3D image the perspective you want. You can rotate the image or shift its viewpoint to create a more dynamic effect. Remember, the goal is to make it feel like the viewer can look around and explore the scene.
4. Simulate Depth of Field: Another technique for refining the 3D effect is simulating depth of field. This effect blurs the background or foreground while keeping the focal point sharp, mimicking how our eyes perceive distance in the real world. Applying depth of field helps your 3D image feel more immersive.
Lighting and angles are essential in perfecting your 3D creation. By adjusting these elements, you’ll give your image the final touches needed to make it appear lifelike and visually compelling!
Also Read This: illustrator how to embed images
Step 5: Exporting and Using Your 3D Image
Once you've completed all the steps of creating a 3D image, the final task is to export it and use it in your projects. Exporting your 3D image correctly ensures that it maintains the quality and details you’ve worked hard to achieve. Here's how to handle the exporting process:
1. Choose the Right Format: Depending on how you plan to use your 3D image, choosing the right export format is crucial. Common formats include:
- JPEG: Great for static 3D images for use on websites or in digital designs.
- PNG: Ideal for images requiring transparent backgrounds, such as logos or icons.
- OBJ: A 3D object format used for models that may need to be imported into other 3D software or 3D printing.
- GLTF/GLB: A popular format for web-based 3D applications or virtual reality projects.
2. Adjust Image Settings: Before exporting, make sure to double-check the resolution, dimensions, and quality settings. For digital images, higher resolution ensures sharpness and detail, while a lower resolution can be used for quick loading times on websites.
3. Test the Export: After exporting your 3D image, it's always a good idea to preview it in different settings. Whether you’re using it for print or digital media, testing helps ensure that it appears as expected without any issues.
4. Implement the Image: Once your image is exported, you can use it in various ways. Whether you're adding it to a website, a presentation, or a marketing campaign, your 3D image can now enhance your content and captivate your audience.
Exporting and using your 3D image correctly allows you to share your work with others and integrate it into your projects with ease. The final steps bring everything together for a polished, professional result!
Also Read This: Mastering the Canon 60D for Dailymotion A Beginner’s Guide to DSLR Photography
FAQ
Here are some frequently asked questions about creating and using 3D images:
- What software should I use to create 3D images? Popular options include Photoshop, Blender, and Autodesk Maya. For beginners, tools like Fotor or Canva can be a good start.
- Can I create 3D images from any 2D image? While most 2D images can be converted to 3D, images with distinct layers and strong contrast work best for creating effective 3D effects.
- What file format is best for 3D images? The best format depends on your use case. For digital use, JPEG or PNG are great. For 3D models, OBJ or GLTF/GLB are popular choices.
- How do I add texture to my 3D image? Texturing is done through the 3D software you're using. You can apply surface textures like fabric, wood, or metal to your image for a more realistic look.
- Can I use my 3D image in augmented reality (AR)? Yes, many 3D formats, like GLTF/GLB, are compatible with AR platforms, allowing you to use your 3D images in interactive experiences.
Conclusion
Creating 3D images from 2D visuals is an exciting way to transform ordinary images into dynamic, engaging content. By following the steps in this guide—from preparing your image to using the right tools, adding depth and texture, and finally refining with lighting and angles—you can create stunning 3D visuals that stand out.
Whether you're working on a personal project or something professional, the ability to convert flat images into 3D opens up many creative possibilities. With the right tools and techniques, you can enhance your visuals, making them more eye-catching and lifelike.
Remember, practice makes perfect! The more you experiment with different tools and techniques, the better your 3D images will become. So, go ahead, take these steps, and start creating impressive 3D images from your 2D photos today!
 admin
admin


