When you share your website link on social media, the image that appears next to the URL can make a big difference. A well-chosen image can grab attention, improve engagement, and increase traffic to your site. In Yoast SEO, you have control over the
In this guide, we’ll walk you through the steps to change the image next to your URL in Yoast SEO, so you can make your website stand out when shared online.
Understanding Yoast SEO and Its Features

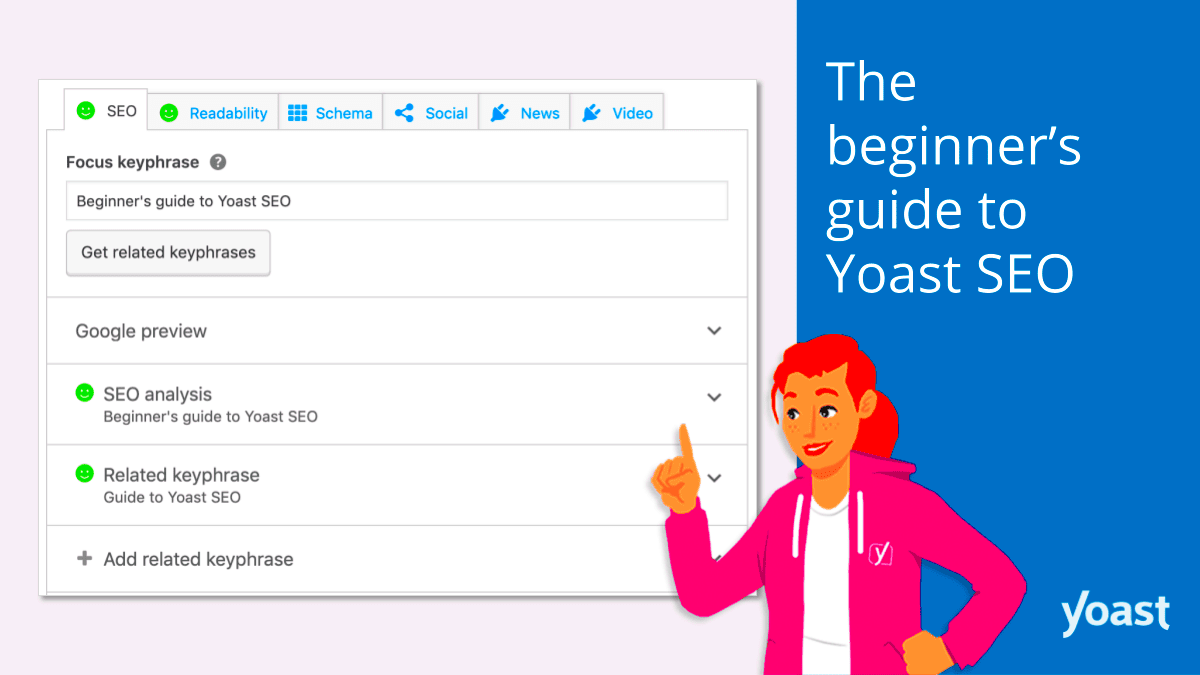
Yoast SEO is one of the most popular plugins for WordPress users. It helps optimize your website for search engines like Google, making it easier for your content to rank well in search results. Yoast SEO offers a wide range of features, from keyword optimization to readability analysis, and it’s known for being user-friendly, even for beginners.
Some key features of Yoast SEO include:
- Content Analysis: Helps ensure your content is optimized for search engines.
- Social Media Integration: Allows you to customize how your content appears on social media platforms.
- Breadcrumbs: Helps improve site navigation for both users and search engines.
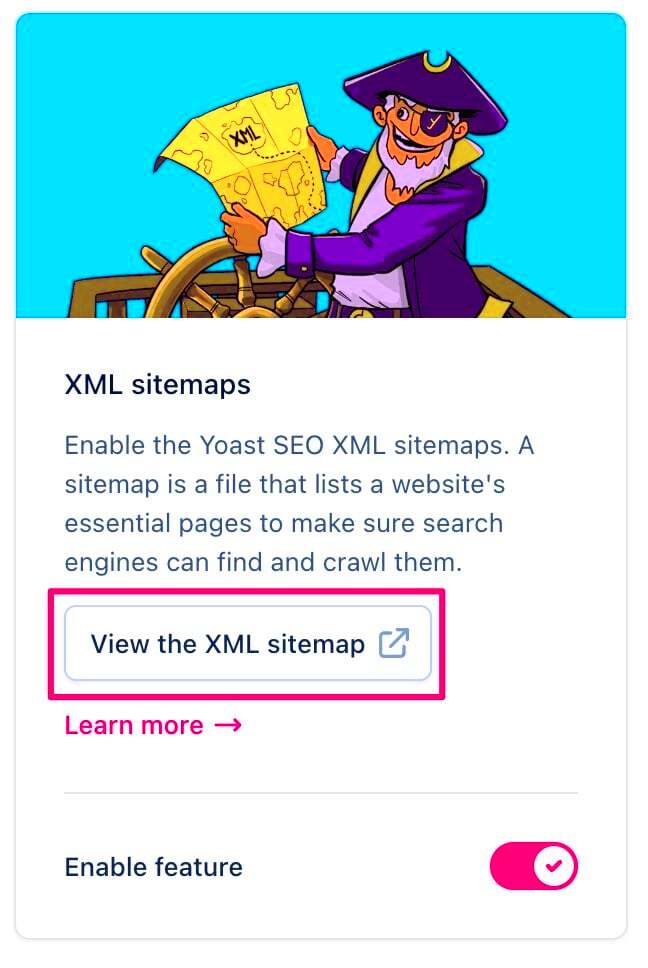
- XML Sitemaps: Automatically generates sitemaps that make it easier for search engines to crawl your site.
One of the key aspects of Yoast SEO is its ability to manage how your website appears when shared on social platforms. The plugin gives you control over titles, descriptions, and images, ensuring your content looks its best across various channels.
Also Read This: The 1999 Royal Rumble Champion and Memorable Moments
Why Changing the Image Next to Your URL Matters

The image that appears next to your URL is one of the first things people notice when they see your content on social media. It plays a major role in attracting attention, increasing click-through rates, and encouraging engagement. If the image doesn’t match your content or doesn’t look appealing, users may scroll past your link without a second thought.
Here are a few reasons why changing the image next to your URL matters:
- Better Visual Appeal: A captivating image can make your content more eye-catching in crowded social feeds.
- Increased Engagement: Posts with images are more likely to get shared, commented on, or liked compared to those without visuals.
- Brand Representation: Customizing the image gives you an opportunity to showcase your brand’s personality and messaging visually.
- Improved SEO: Search engines, like Google, take into account social signals. More shares and clicks can contribute to higher search rankings.
By carefully selecting and changing the image that appears with your URL, you’re improving not just the appearance of your content, but also its reach and impact on both search engines and users. In the next sections, we’ll dive deeper into how you can easily change this image using Yoast SEO.
Also Read This: Learn How to Download Anything from IMDB App with This Easy Trick
Steps to Change the Image in Yoast SEO
Changing the image that appears next to your URL in Yoast SEO is a simple process. With just a few steps, you can customize how your content looks when shared on social media, ensuring that your website stands out. Let’s go through the steps to make this change happen.
Here’s how you can change the image in Yoast SEO:
- Install and Activate Yoast SEO: If you haven't already, install the Yoast SEO plugin from the WordPress plugin directory and activate it on your site.
- Go to the Post or Page: Navigate to the post or page where you want to change the image. Open the editor for that specific page or post.
- Scroll to the Yoast SEO Meta Box: Once you're in the editor, scroll down to the Yoast SEO meta box (usually located below the content editor).
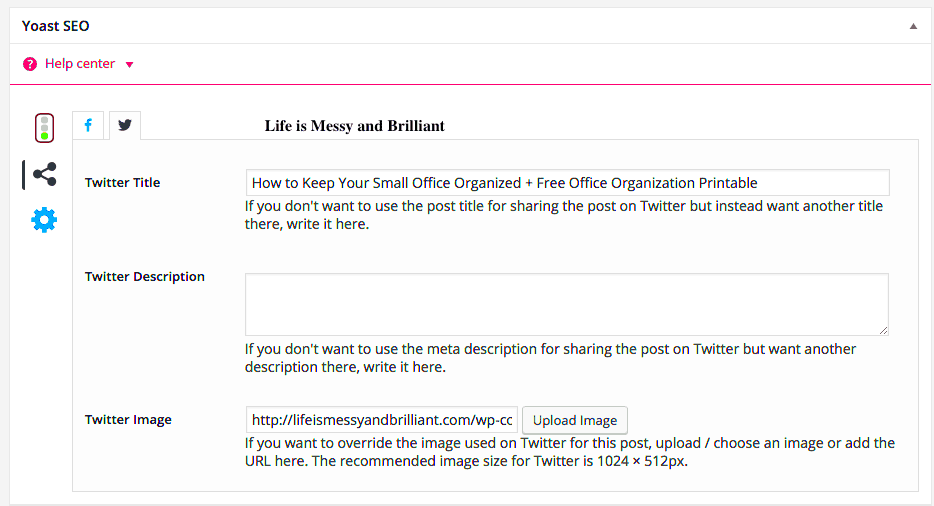
- Select the Social Tab: Click on the "Social" tab in the Yoast SEO meta box. This is where you can control how your content appears on social media platforms.
- Upload Your Image: In the Facebook or Twitter image section, you’ll see an option to upload a custom image. Click the "Upload Image" button to select your desired image from your media library or upload a new one.
- Save Changes: After uploading the image, don’t forget to save your changes by clicking the "Update" or "Publish" button for the page or post.
That’s it! Your image will now appear next to your URL when shared on social media. It’s a quick and effective way to improve the visual appeal and engagement of your posts.
Also Read This: Train Your Dragon Live Action: IMDb Insights
Choosing the Right Image for Your URL
The image you choose to represent your URL can make a huge difference in attracting attention and encouraging clicks. It’s essential to select an image that complements your content and aligns with your branding. Here are some tips on choosing the right image:
- Relevance: Ensure the image reflects the content of your post or page. For example, if you're sharing a blog about home decor, choose a high-quality photo related to interior design.
- Quality: Always use a high-resolution image. A blurry or pixelated image can make your content look unprofessional and may turn users away.
- Size: Choose an image with dimensions that are optimized for social media sharing. A recommended size is 1200 x 630 pixels, as this fits well on platforms like Facebook and Twitter.
- Branding: Include your logo or brand colors to help reinforce your identity. Consistency is key for building brand recognition.
- Emotion: People are more likely to engage with images that evoke emotion. Choose an image that connects with your audience on an emotional level.
By selecting the right image, you’re not just improving the look of your URL but also boosting its ability to engage and convert visitors. A good image can entice users to click and explore your content further.
Also Read This: Discovering Technology-Focused Cities Leading the Innovation Wave in the USA
Common Mistakes to Avoid While Changing the Image
While changing the image next to your URL in Yoast SEO is a straightforward process, there are a few common mistakes people make that can affect how their content appears on social media. Let’s look at some of these mistakes and how to avoid them.
- Using Low-Quality Images: A blurry or pixelated image can hurt your reputation and decrease the likelihood of users engaging with your content. Always opt for high-resolution, clear images.
- Choosing Irrelevant Images: If the image doesn’t reflect the content or theme of the page, users may feel confused or misled. Keep the image relevant to your topic or message.
- Not Testing the Image: Sometimes, the image you upload might not display properly on social media. Make sure to test how it looks on platforms like Facebook, Twitter, and LinkedIn to ensure it's showing up as expected.
- Overloading with Text: Avoid using images that are too cluttered with text. A clean, simple image is usually more effective and easier for users to engage with.
- Using the Wrong Image Dimensions: If your image is too large or too small, it might get cropped or distorted when shared. Stick to the recommended dimensions (1200 x 630 pixels) to ensure a great-looking result.
- Ignoring Mobile Optimization: Ensure that your image looks good on both desktop and mobile devices. Images that are not optimized for mobile may appear poorly on smartphones and tablets.
Avoiding these common mistakes will help you ensure that your image is both professional and effective in driving engagement. Taking the time to select and test the right image can go a long way in boosting the success of your content.
Also Read This: How to Add an Image to an MP4 File on Mac: A Step-by-Step Guide
Testing the Image Change for Your URL
After updating the image in Yoast SEO, it's important to test how the image appears when shared on social media platforms. Sometimes, the image might not display as expected, or it could be cached incorrectly. Testing ensures that everything looks good and functions as it should. Fortunately, there are a few simple tools and steps you can take to verify your changes.
Here’s how you can test the image change:
- Use Facebook’s Sharing Debugger: Facebook often caches images, which can result in showing old images even after you update them. To fix this, use the Facebook Sharing Debugger tool. Paste your URL into the tool and click "Debug." Then, click "Scrape Again" to force Facebook to fetch the latest version of your page, including the updated image.
- Check Twitter with Card Validator: Twitter uses Twitter Cards to display images, titles, and descriptions. Use the Twitter Card Validator to test how your link will appear on Twitter. Simply paste the URL into the tool, and it will show you how the image will appear.
- Preview in Yoast SEO: Yoast SEO also provides a preview of how your post will look when shared on Facebook and Twitter. After making changes in the "Social" tab of the Yoast SEO meta box, check the preview to see if everything looks correct.
- Manually Check on Social Media: The easiest way to check is to post your URL on Facebook, Twitter, or another social platform. See if the correct image appears and if there are any issues with the formatting.
Testing your image ensures that it looks professional and appealing across all platforms. Regular testing can help avoid potential issues down the line.
Also Read This: Explore How to Get IMDB Credit for a Short Film Following This Guide
How to Troubleshoot If the Image Doesn’t Appear
Sometimes, despite your best efforts, the image may not show up correctly on social media after updating it in Yoast SEO. This can be frustrating, but don’t worry! There are a few common troubleshooting steps you can take to resolve the issue and ensure your image appears as expected.
Here’s how to troubleshoot:
- Clear Cache: Caching issues can prevent the new image from appearing. Clear your site cache (if you’re using a caching plugin) and social media caches using the tools like Facebook’s Sharing Debugger or Twitter’s Card Validator.
- Check Image Size and Format: Ensure that your image meets the recommended dimensions (1200 x 630 pixels) and format (JPEG, PNG, or GIF). Some platforms might not display images correctly if the format is unsupported or the image is too large.
- Verify Open Graph and Twitter Card Settings: Yoast SEO uses Open Graph meta tags for Facebook and Twitter Cards for Twitter to display images. Ensure that the settings are properly configured in the "Social" tab of Yoast SEO.
- Use Correct Image URL: Double-check that the image URL in the Yoast SEO settings points to the correct image file. If the URL is broken or incorrect, the image won’t load.
- Examine Site Permissions: Some image files may be restricted or blocked by your server’s permissions. Ensure that the image is accessible to the public by checking its visibility settings.
- Test on Different Platforms: If the image isn’t appearing on one platform, it may show up on others. Test it on various platforms (Facebook, Twitter, LinkedIn, etc.) to see if the issue is platform-specific.
By following these troubleshooting steps, you can resolve most image display issues and ensure that your content looks great across all social media platforms.
Also Read This: Decoding IMDb: How to Cite, Claim, and Add Your Film
FAQ
Here are some frequently asked questions that can help you better understand the process of changing and troubleshooting images in Yoast SEO:
- Why isn’t my image showing up after I updated it in Yoast SEO?
Sometimes, caching issues prevent the new image from appearing. Use Facebook’s Sharing Debugger or Twitter’s Card Validator to clear cached versions and fetch the updated content. - What is the best image size for social media sharing?
The recommended size for images shared on platforms like Facebook and Twitter is 1200 x 630 pixels. This ensures your image appears sharp and correctly sized on most devices. - Can I use any type of image for the URL image?
While you can technically use any image, it's best to use high-quality, relevant images that align with your content. Avoid using too much text on the image, as it can clutter the view. - How do I know if my image looks good on social media?
After updating your image, use testing tools like Facebook’s Sharing Debugger and Twitter’s Card Validator to see how the image will appear. You can also manually check by sharing your URL on social media platforms. - What if the image still doesn’t appear after following all troubleshooting steps?
If the issue persists, ensure the image file is publicly accessible, check your site’s cache settings, and verify that your Open Graph and Twitter Card settings are correct. If needed, reach out to your hosting provider or Yoast support.
Conclusion
Changing the image next to your URL in Yoast SEO is a simple yet powerful way to improve your social media presence and boost engagement. By carefully selecting the right image, ensuring it meets the recommended size and quality, and testing it across platforms, you can significantly enhance how your content is perceived. Avoiding common mistakes, troubleshooting issues, and understanding the tools available will help ensure your image displays correctly and effectively. In the end, taking the time to optimize the image shown with your URL is an easy win for improving your online visibility and increasing user interaction.

 admin
admin


