Blender is an open-source 3D creation tool that’s widely used for modeling, animation, rendering, and more. Its versatility makes it a favorite among both professionals and hobbyists. Whether you’re creating stunning visuals for games, movies, or personal projects, Blender offers a range of features to bring your ideas to life.
One of Blender's standout features is its ability to work with various types of media, including images. You can incorporate images as textures, references, or backgrounds, helping you design more realistic and detailed projects. The tool also supports advanced image editing options, making it a comprehensive choice for creators.
If you’re new to Blender, understanding its interface and capabilities might feel overwhelming at first. But don’t worry—once you get the hang of it, you’ll appreciate how powerful and flexible it is.
Why Adding Images in Blender Is Important

Adding images to your Blender projects can significantly enhance their quality and realism. Images can be used in various ways, such as:
- Textures: To give objects realistic surfaces like wood, metal, or fabric.
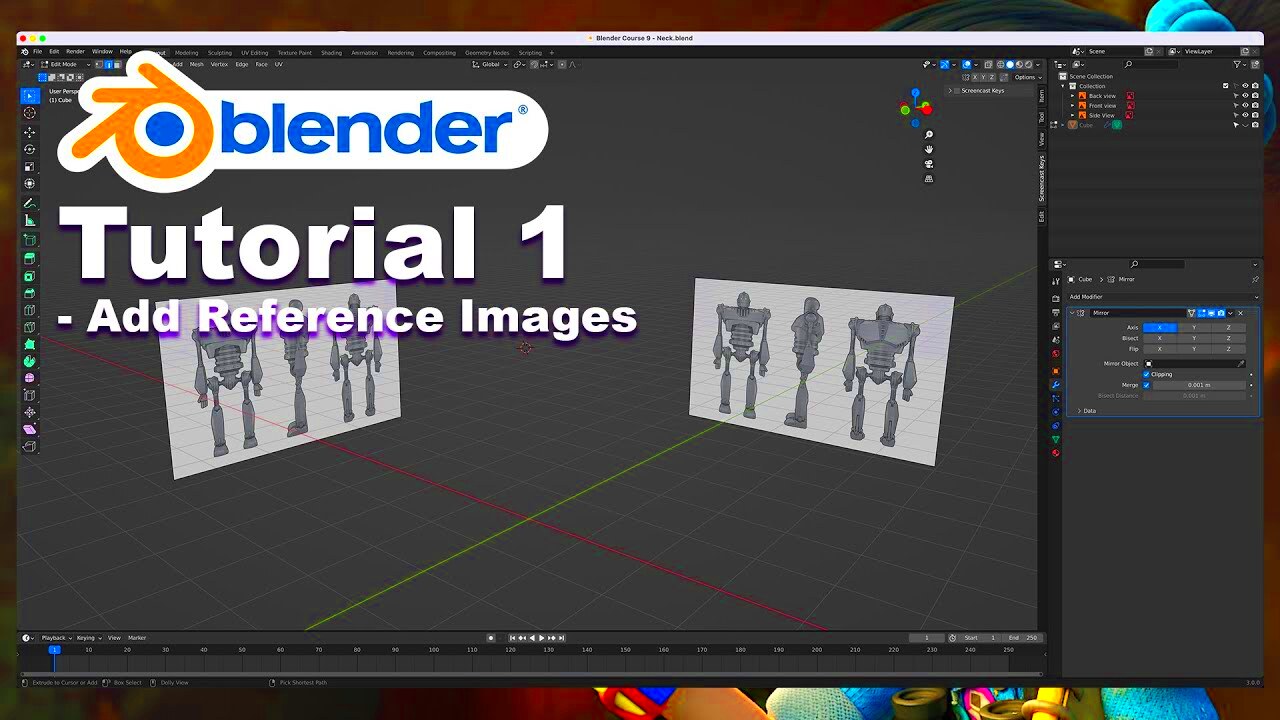
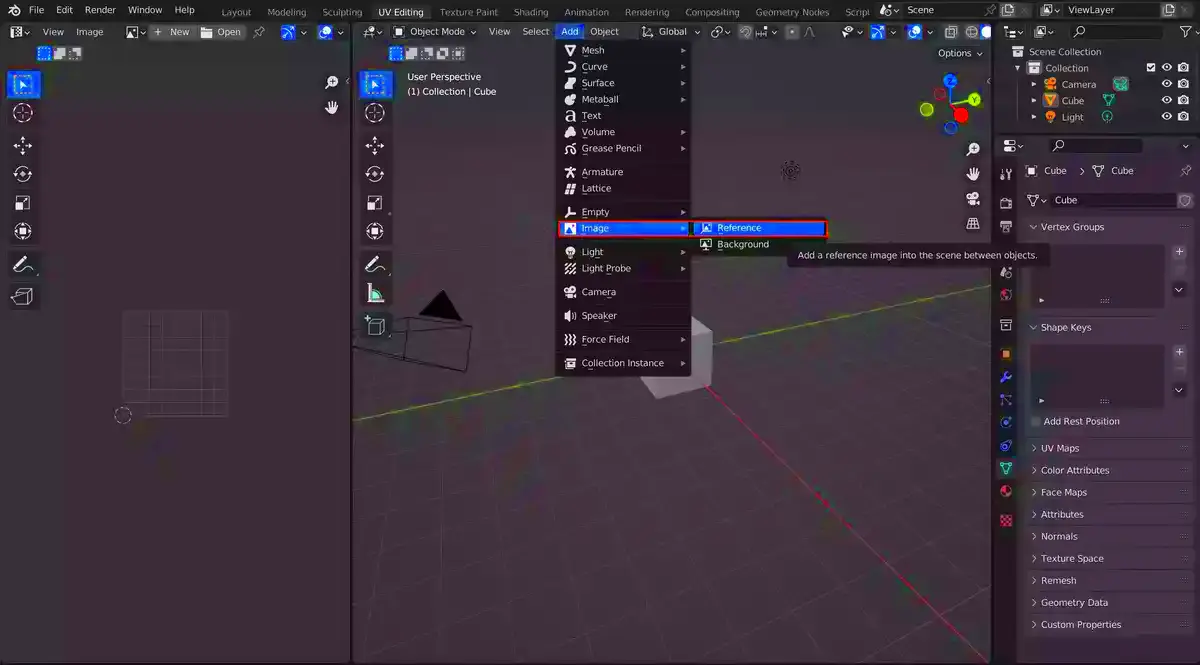
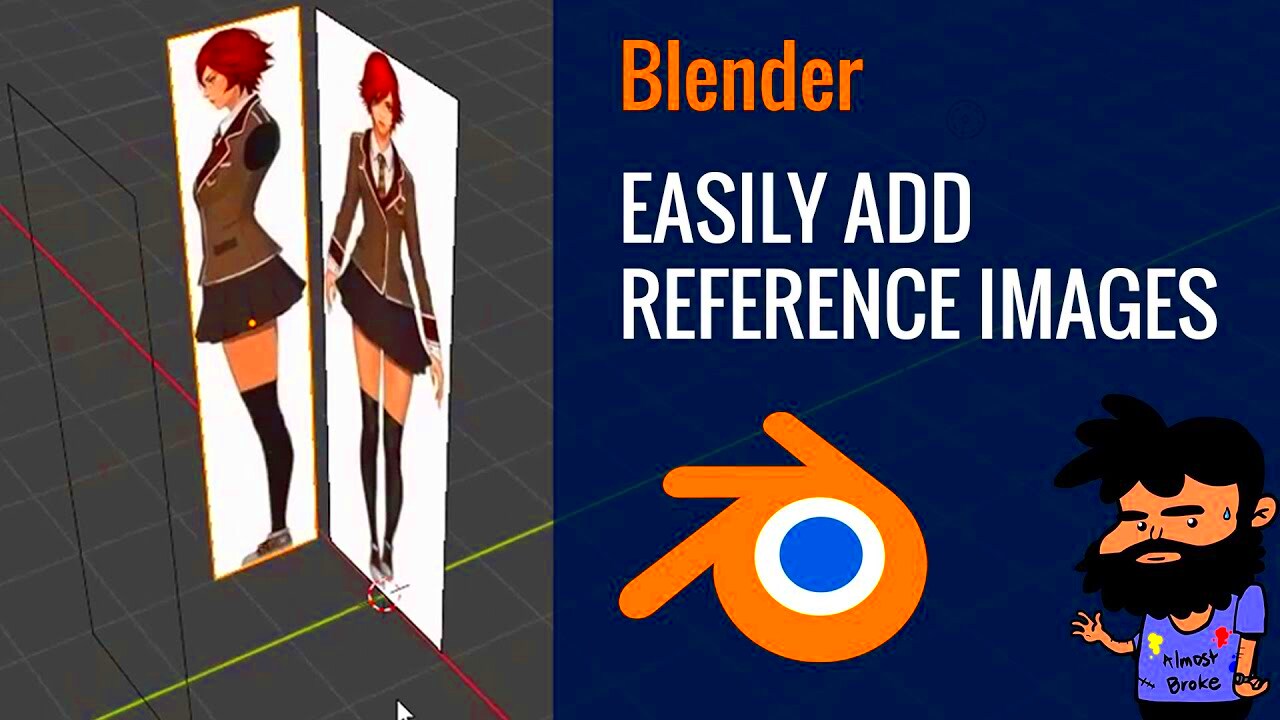
- References: To guide your modeling and ensure accuracy.
- Backgrounds: To set the scene or add depth to your render.
By incorporating images, you can save time and effort while achieving impressive results. For instance, instead of modeling a complex pattern, you can apply an image texture and tweak it to fit your project.
Images also help when collaborating with others. They provide a visual guide, making it easier for teams to work on shared designs. Whether you’re working on architecture, product design, or character creation, images are invaluable in achieving professional-grade results.
Also Read This: how to cite an image in a presentation
Steps to Add Images to Your Blender Project

Adding images in Blender is a straightforward process. Here’s a step-by-step guide to help you:
- Open Blender: Start by opening your Blender project or creating a new one.
- Switch to the Shading Workspace: Navigate to the “Shading” tab at the top of the interface.
- Add an Image Texture Node: In the shader editor, press Shift + A and select Texture > Image Texture.
- Load Your Image: Click the “Open” button in the Image Texture node, then browse and select your image file.
- Connect the Node: Link the Image Texture node to the “Base Color” input of your material node.
- Apply the Material: Assign the material to your object by selecting it and applying the texture.
These steps will help you integrate images seamlessly into your design. You can adjust the scale, rotation, and position of the image texture to suit your needs. For background images, switch to the “Viewport Background” option and load your image there.
With these simple steps, you can elevate the visual quality of your Blender projects in no time.
Also Read This: Tips for Choosing the Perfect Photos for Your Projects with Imago Images Resources
Tips for Adjusting Images in Blender
Once you’ve added images to your Blender project, fine-tuning them is key to achieving the best results. Blender offers plenty of tools to help you adjust images so they fit perfectly into your design. Whether you’re working with textures, backgrounds, or references, a few adjustments can make a big difference.
Here are some useful tips for adjusting images in Blender:
- Use UV Mapping: UV mapping lets you control how your image wraps around a 3D object. Use the UV Editor to scale, rotate, and position your image texture.
- Adjust Image Settings: In the “Image Texture” node, tweak parameters like color space and interpolation for a better fit.
- Work with the Texture Paint Tool: Use the Texture Paint mode to make edits directly on your object, such as blending edges or refining details.
- Play with Mapping Nodes: Add a “Mapping” node to control the image’s position, scale, and rotation more precisely.
- Check Lighting and Shadows: Ensure your image blends naturally into the scene by adjusting lights and shadows in the render settings.
By taking time to adjust your images, you’ll create more polished and professional-looking results. Experimenting with these tools will help you learn how to achieve exactly the look you’re going for.
Also Read This: Adding Images to Audio Files for Unique Projects
Common Mistakes to Avoid When Using Images
Working with images in Blender can be tricky if you’re not careful. Many users make simple mistakes that lead to issues like poor quality renders or mismatched designs. Understanding these common pitfalls can save you a lot of frustration.
Here are some mistakes to watch out for:
- Using Low-Resolution Images: Blurry textures can ruin the quality of your project. Always use high-resolution images for better results.
- Ignoring UV Mapping: Failing to map textures properly often leads to stretched or misaligned images.
- Overlooking File Formats: Not all file formats are ideal for Blender. Stick to formats like PNG or JPEG for compatibility.
- Forgetting to Optimize: Large images can slow down your project. Resize or compress images if they’re unnecessarily large.
- Skipping Lighting Adjustments: Without proper lighting, your image textures can look flat or out of place in the scene.
Avoiding these mistakes will save time and help you create professional-grade designs. If something looks off, revisit your image settings and make adjustments as needed.
Also Read This: Changing Image Transparency in Google Slides
Best Practices for Managing Images in Blender
Managing images effectively in Blender is crucial for maintaining a smooth workflow. Proper organization and optimization ensure your projects run efficiently and look their best. With a few best practices, you can avoid common issues and keep your designs consistent.
Here are some tips for managing images in Blender:
- Organize Your Files: Keep your image files in a dedicated folder to avoid broken links when sharing or moving projects.
- Use Relative Paths: Set relative file paths in Blender to ensure your images load correctly, even if the project folder is moved.
- Optimize Image Sizes: Resize images to fit your needs. Large, unoptimized files can slow down rendering and editing.
- Enable Image Packing: Use the “Pack Images” feature to embed image files into your Blender project, making it portable and easier to share.
- Backup Your Work: Always save backups of your image files and Blender projects in case of corruption or accidental deletion.
Following these best practices will help you work more efficiently and maintain the quality of your designs. Proper management of images is an essential skill for any Blender user.
Also Read This: How to Mirror an Image on Mac
Frequently Asked Questions About Adding Images in Blender
Working with images in Blender can raise several questions, especially for beginners. To help you navigate the process, here are answers to some commonly asked questions about adding and using images in Blender:
- Can I use any image format in Blender?
- How do I fix a blurry image texture?
- Can I edit images directly in Blender?
- How do I replace an image in Blender?
- Why is my image not showing in the render?
Yes, Blender supports most common formats like PNG, JPEG, BMP, and TIFF. However, PNG is often preferred because it supports transparency.
Blurry textures usually occur due to low-resolution images or incorrect UV mapping. Use high-resolution images and check the UV Editor to adjust the texture placement.
Yes, Blender’s Texture Paint mode allows you to make edits directly on the surface of your 3D model. It’s great for blending textures or adding custom details.
To replace an image, go to the “Image Texture” node, click “Open,” and select the new
This issue is often caused by incorrect lighting or material settings. Double-check the material node setup and ensure that your object is properly lit in the scene.
If you’re still having trouble, Blender’s community forums and tutorials can be excellent resources for troubleshooting and learning more advanced techniques.
Conclusion on Adding Images to Your Blender Designs
Adding images to your Blender projects is a powerful way to enhance your designs and bring your ideas to life. By understanding the process, avoiding common mistakes, and following best practices, you can create stunning visuals efficiently. With practice, working with images in Blender will become an essential part of your 3D design workflow.

 admin
admin


