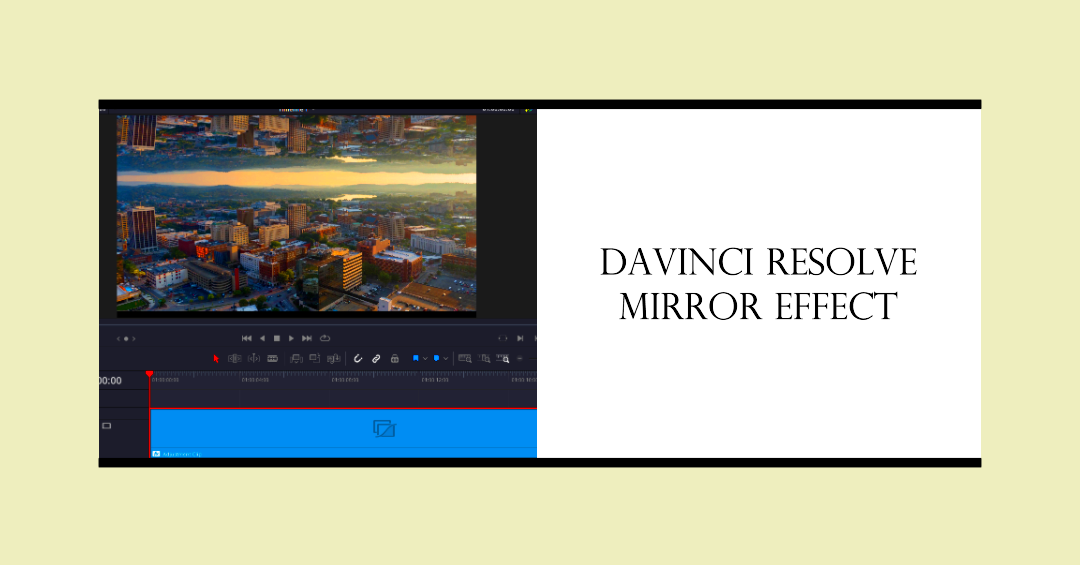
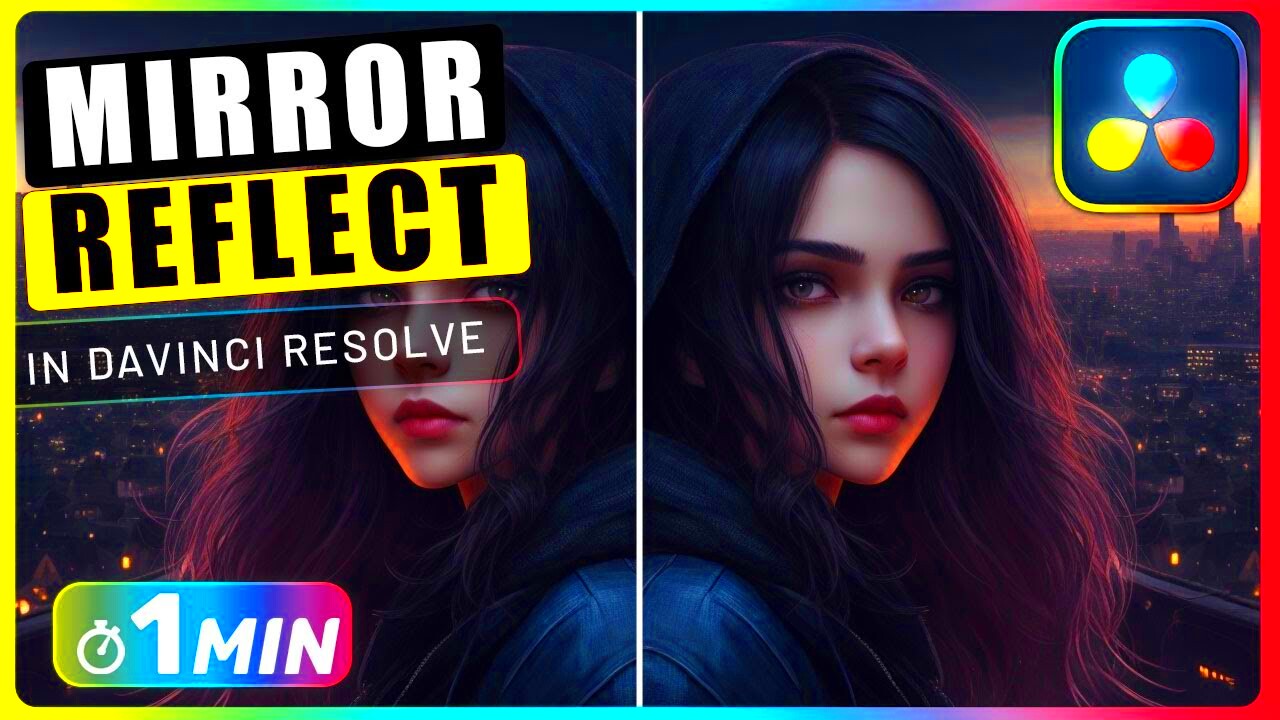
Reflecting images in DaVinci Resolve can add stunning visual effects, especially when creating mirror-like or symmetrical designs. Whether you're working on a professional video project or just experimenting with creative ideas, using the reflection effect allows you to create a sense of symmetry that can transform your visuals.
This guide will walk you through the process of reflecting images within DaVinci Resolve. With its wide range of tools, DaVinci Resolve makes it easy to manipulate visuals and achieve professional-looking results. Whether you're a beginner or have experience with the software, you'll find that the steps are simple and effective.
Understanding DaVinci Resolve and Its Tools

DaVinci Resolve is a powerful video editing and color grading software used by professionals and hobbyists alike. It provides a range of advanced features, including tools for editing, color correction, audio post-production, and visual effects.
Before diving into the process of reflecting images, it's important to familiarize yourself with the main tools in DaVinci Resolve that will help achieve this effect. Here’s a quick overview:
- Color Grading Panel: Primarily used for color correction, it can also be used to adjust the reflection settings.
- Fusion Page: Offers advanced visual effects tools, including those for manipulating and reflecting images.
- Inspector: The Inspector panel lets you adjust position, size, rotation, and other parameters of your images and videos.
- Transform Tools: Essential for reflecting and manipulating the visual layout of your images in the timeline.
By understanding these tools, you'll be better equipped to create stunning reflection effects. In the next section, we will walk you through how to use these tools to create a mirrored effect.
Also Read This: Ways to Enhance Your Creativity Using 123RF’s Stock Image Library
Steps to Reflect an Image in DaVinci Resolve

Now that you're familiar with the basic tools in DaVinci Resolve, let's dive into the steps to create a reflection effect. Follow this easy guide to add a mirrored effect to any image or video.
- Step 1: Import Your Image or Video – First, open DaVinci Resolve and import your image or video into the media pool. Drag it onto the timeline to start working with it.
- Step 2: Select the Clip and Open the Inspector – Click on the clip you want to reflect in the timeline. Open the Inspector panel by clicking on the "Inspector" button located at the top right of the screen.
- Step 3: Apply the Reflection Using the Transform Tool – In the Inspector panel, locate the "Transform" section. Here, you can flip the image horizontally or vertically. Adjust the "Flip" options to create a mirror effect. To make the reflection more precise, you can adjust the position, scale, and rotation.
- Step 4: Fine-Tune the Reflection – Once the basic reflection is in place, you can further refine the effect. You can adjust the opacity of the reflected image, create a gradient fade for a more realistic reflection, or change the angle of the mirrored image to achieve a desired look.
- Step 5: Preview and Adjust – Hit play on the timeline to preview the reflection. If you’re not satisfied with the result, go back and tweak the settings until the reflection looks perfect.
- Step 6: Export the Final Image or Video – Once you're happy with the reflection effect, export the image or video. DaVinci Resolve offers various export settings for different media formats.
These simple steps will allow you to create a flawless reflection effect in DaVinci Resolve. With just a few tweaks, you can add impressive visual elements to your projects.
Also Read This: How to Edit a Thumbnail for YouTube Making the Perfect Video Preview
Using the Transform Panel for Reflection
The Transform panel in DaVinci Resolve is a powerful tool that allows you to manipulate the position, rotation, and scale of your images or video clips. It is essential when reflecting images, as it provides the necessary controls to flip or mirror your visual elements precisely.
Here’s how to use the Transform panel to create a reflection effect:
- Flip the Image: In the Inspector panel, locate the Transform section. You'll find the “Flip Horizontal” and “Flip Vertical” options. These are the main controls for creating the mirror effect. You can choose to flip the image along the horizontal axis (left-to-right) or the vertical axis (top-to-bottom).
- Adjust Position: After flipping the image, use the position controls to move the reflected image into place. Adjust the X and Y values to position the reflection as needed. You can also use the on-screen controls in the viewer to drag the image around.
- Scale and Rotation: If you want the reflection to appear larger or smaller, use the scale slider to adjust the size. You can also rotate the image using the rotation angle control to create more dynamic effects.
The Transform panel is your go-to tool for basic reflection adjustments. It allows you to experiment with various effects, such as rotating the reflected image or even flipping it both horizontally and vertically for unique mirror effects. Mastering these controls will enable you to create clean, professional-looking reflections with ease.
Also Read This: Resizing Images in GIMP Made Easy
Adjusting Reflection Parameters for Better Results
Once you’ve flipped or mirrored your image, there are several parameters you can adjust to make the reflection look more realistic and polished. Fine-tuning these settings will help blend the reflection seamlessly with the original image, enhancing the overall effect.
Here are some key parameters to adjust:
- Opacity: To make the reflection look more natural, reduce its opacity. A full-strength reflection can seem too harsh, so lowering the opacity to around 50% or less creates a softer, more realistic effect.
- Gradient Fade: For a more natural look, add a gradient fade to the bottom of the reflection. This simulates how reflections in water or glass naturally fade out. You can do this by applying a "Linear Gradient" effect to the reflection clip and adjusting the opacity at the bottom.
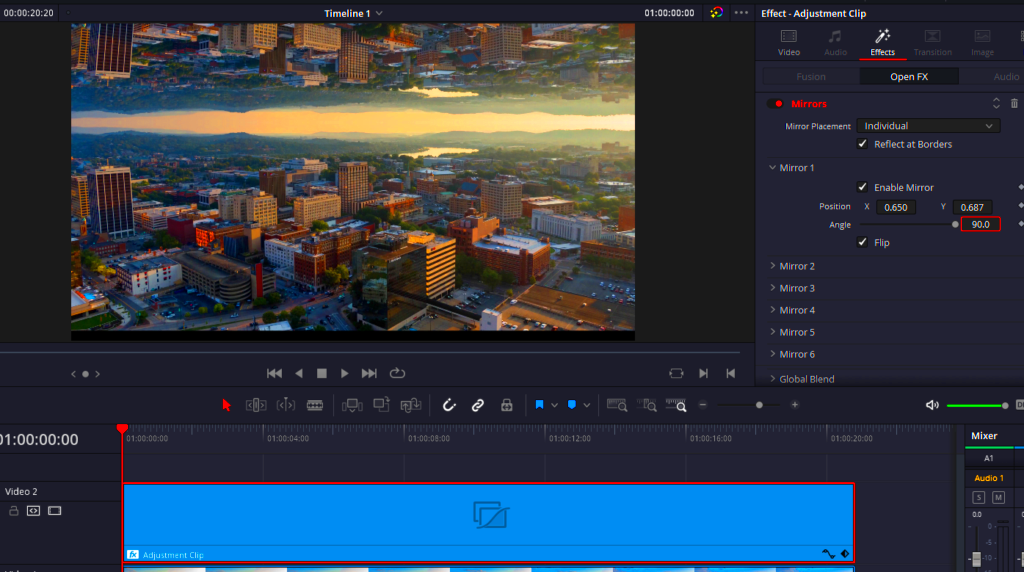
- Mirror Angle: Adjusting the angle of the reflection can create a more dynamic visual. By rotating the reflected image slightly, you can simulate different reflective surfaces, such as glass or water, for more variety in your projects.
- Reflection Distance: The space between the original image and its reflection plays a significant role in how convincing the effect looks. You can adjust the distance between the two by changing the Y position of the reflection clip. Make sure the reflection is close enough to seem realistic, but not so far that it looks unnatural.
By fine-tuning these parameters, you can refine your mirror effect to suit your project’s needs. Whether you're working on a subtle reflection or a more dramatic one, adjusting these settings can significantly improve the visual outcome.
Also Read This: Earn Money on Rumble with Effective Tips and Strategies
Common Mistakes to Avoid When Reflecting Images
While creating reflections in DaVinci Resolve is a relatively straightforward process, there are a few common mistakes that many beginners make. Avoiding these errors will ensure that your reflection effects look polished and professional.
Here are some of the most common mistakes and how to avoid them:
- Not Adjusting Opacity: One of the biggest mistakes is leaving the reflection at full opacity. A full-opacity reflection can look artificial. Always reduce the opacity to around 50% or lower to achieve a more realistic result.
- Improper Alignment of Reflection: Sometimes, the reflection looks off because it’s not properly aligned with the original image. Be sure to carefully position the reflected image using the Transform tools. The alignment of the reflection should mirror the original image as naturally as possible.
- Overusing the Reflection: Adding a reflection to every image or video clip can quickly become overdone. Reflections work best when used sparingly, especially in certain scenes or compositions. Overusing them can make the effect seem less impactful and even distracting.
- Inconsistent Reflection Quality: Sometimes, users forget to adjust the reflection to match the quality of the original image. If the reflection looks blurry or pixelated, it will stand out in a negative way. Always ensure that both the original and reflected images are of similar resolution and quality.
- Ignoring the Background: When adding a reflection effect, pay attention to how it interacts with the background. A reflection on an empty or plain background might look out of place. Consider adding a slight blur or gradient to the background to make the reflection more realistic.
By keeping these tips in mind, you can avoid these common mistakes and create more polished and effective reflection effects in DaVinci Resolve. Taking the time to adjust your settings carefully will pay off with a more convincing visual result.
Also Read This: How Many Views Does It Take to Make Money on Rumble
How to Create a Realistic Mirror Effect with DaVinci Resolve
Creating a realistic mirror effect in DaVinci Resolve involves more than just flipping an image. To make the reflection look authentic, you’ll need to pay attention to several key factors, such as opacity, positioning, and adding subtle touches like blur and gradient fades. Here’s how to perfect the mirror effect:
- Use the Transform Tools for Positioning: Begin by using the Transform panel to flip your image either horizontally or vertically. After flipping, adjust the position to align the reflection with the original image, making sure they are in proportion and correctly spaced.
- Reduce Opacity for a Subtle Reflection: A reflection that’s too bright can look unnatural. Reduce the opacity of the reflection layer to around 50% or less, depending on your needs. This makes the reflection blend more seamlessly into the scene.
- Add a Gradient Fade: Realistic reflections typically fade as they go downward, especially on surfaces like water or glass. Apply a gradient fade to the bottom of your reflection by using the "Linear Gradient" option and adjust its opacity to create a smooth transition.
- Blur the Reflection: To further enhance realism, apply a slight blur to the reflection. This mimics the effect of imperfect reflective surfaces, such as glass or water. Be cautious not to overdo it—just a subtle blur can make a huge difference.
- Match Lighting and Shadows: Ensure that the lighting on the reflection matches the original image. Add shadow effects if needed to match the direction and intensity of the light source in the scene, making the reflection feel more integrated.
By combining these elements, you can achieve a convincing and visually appealing mirror effect. Remember to preview your work regularly to ensure the reflection blends naturally with the rest of the composition.
Also Read This: Cropping an Image in Paint: A Quick Tutorial
Finalizing the Image for Export
Once you’ve applied the mirror effect and are satisfied with how the image looks, it’s time to finalize everything for export. This step ensures your project is ready for use in video or image formats, whether for web, social media, or professional use.
Here’s how to finalize your mirrored image or video for export in DaVinci Resolve:
- Check the Resolution: Before exporting, ensure that your project’s resolution matches your intended output. If you're working with a high-resolution image or video, make sure you export at the same resolution to preserve detail and quality.
- Review the Colors: Double-check the color grading and any adjustments you made to the reflection. You may want to make final tweaks to the saturation or contrast to ensure the reflection blends perfectly with the scene.
- Export Settings: When exporting, select the appropriate settings for your media type. For images, you can choose formats like PNG or TIFF, which preserve high-quality resolution and transparency if needed. For videos, select the right codec (such as H.264 or ProRes) depending on the platform you’ll be sharing it on.
- File Naming and Destination: Choose a file name and destination folder for your exported file. Organizing your files ensures that you can easily access and share them later. Consider creating separate folders for different versions of the export if necessary.
- Test the Export: After exporting, review the final product to ensure everything looks as intended. Check the reflection’s positioning, opacity, and overall quality to make sure there are no issues before you share or upload it.
Finalizing your image or video for export is a crucial step in ensuring your work looks its best. By following these tips, you can guarantee a smooth export process with high-quality results.
Also Read This: A Practical Guide on How to Change Thumbnail on LinkedIn Video
FAQ
Here are some frequently asked questions about creating mirror effects in DaVinci Resolve:
- Q: Can I add a mirror effect to both images and videos in DaVinci Resolve?
- Q: How do I make the reflection fade out gradually?
- Q: My reflection looks too harsh. How can I make it look more natural?
- Q: How do I adjust the lighting to match the reflection?
- Q: Can I use DaVinci Resolve to create mirror effects in 3D space?
A: Yes, the steps for creating a mirror effect work for both still images and video clips. Simply import your media into DaVinci Resolve, and use the same tools to flip and adjust the reflection.
A: To create a gradual fade, use the "Linear Gradient" effect on the reflection clip. Adjust the opacity from 100% at the top to 0% at the bottom, simulating how reflections naturally fade on surfaces like water.
A: If your reflection looks too harsh, reduce its opacity to around 50%. You can also apply a slight blur and add a gradient fade to make the reflection blend more seamlessly with the background.
A: You can adjust the lighting on the reflection by adding shadows and tweaking the reflection’s exposure in the Color Grading panel. Make sure the direction of the light in the original image matches the reflection for a more realistic effect.
A: Yes, DaVinci Resolve has advanced 3D compositing tools in the Fusion page that can be used to create more complex mirror effects in a 3D environment.
If you have more questions or need further assistance, DaVinci Resolve’s community and tutorials are great resources for troubleshooting and learning new techniques!
Conclusion
Creating a mirror effect in DaVinci Resolve is a powerful way to add depth and creativity to your video or image projects. By utilizing tools like the Transform panel, adjusting reflection parameters, and avoiding common mistakes, you can achieve a professional-looking and realistic mirror effect. Whether you're a beginner or an experienced user, taking the time to refine each element—from opacity to gradient fades—ensures that your reflection blends seamlessly with the rest of the composition.
With these tips in mind, you’re now equipped to experiment with mirror effects, enhancing your visuals for various creative applications. Don’t hesitate to explore DaVinci Resolve’s advanced features to take your projects to the next level.

 admin
admin


