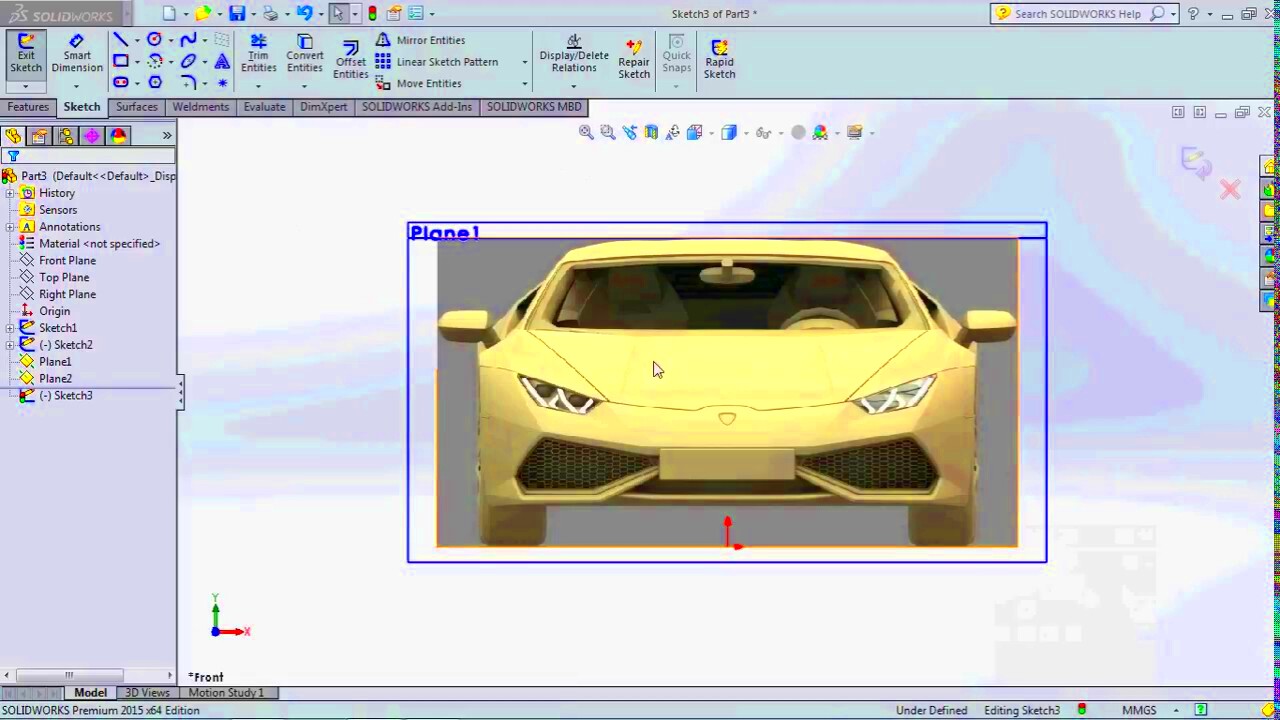
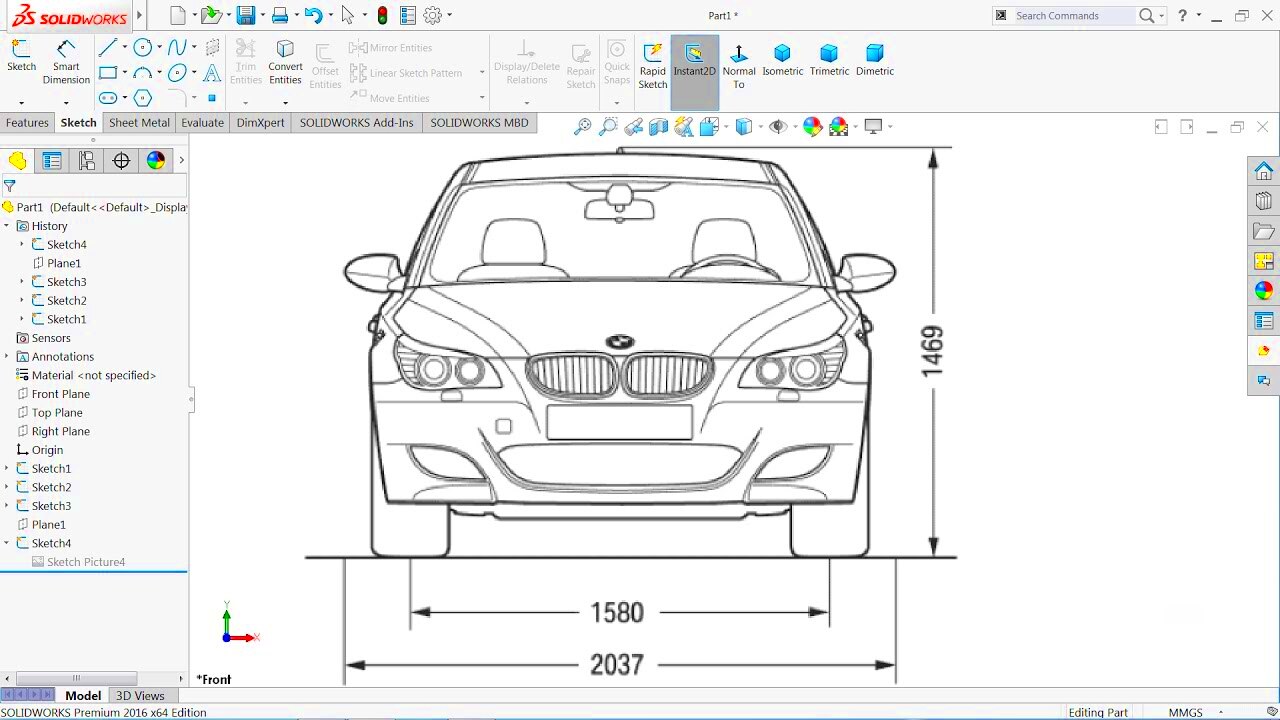
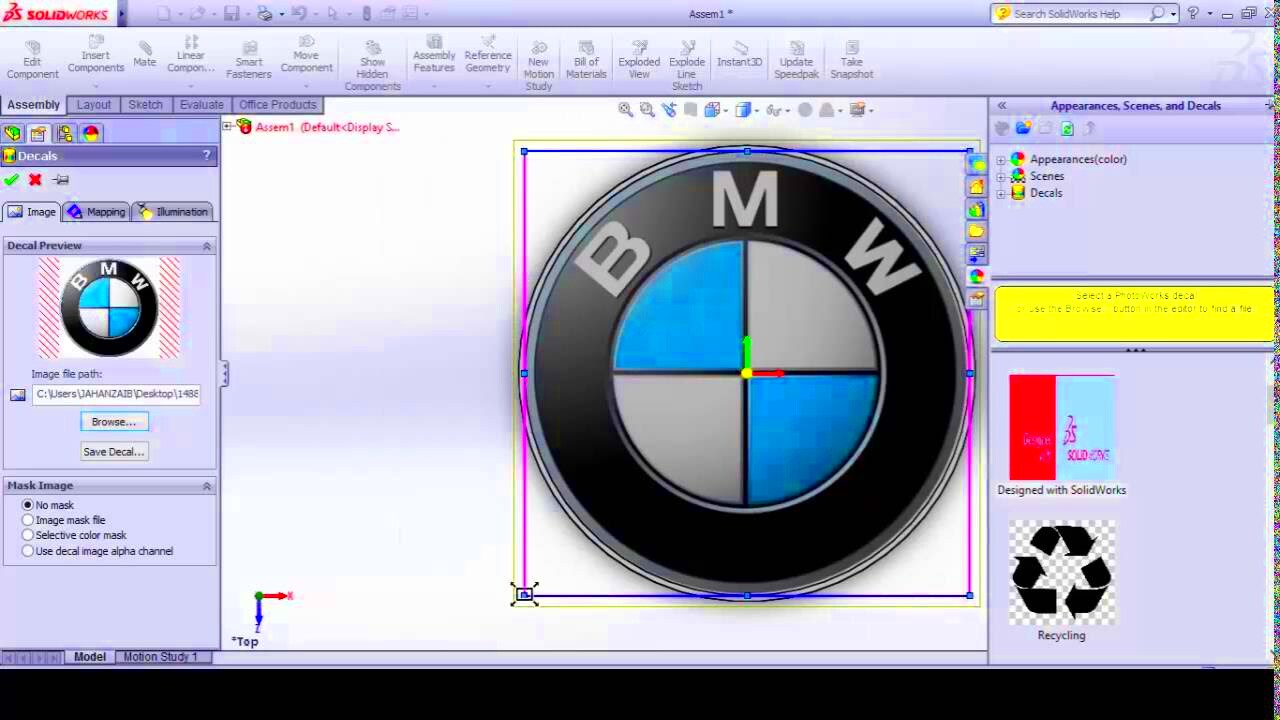
Inserting images in SolidWorks is a simple yet powerful way to enhance your design presentations. Whether you are working on a complex 3D model or creating a technical drawing, visual elements can make a big difference in how your design is perceived. Images can help illustrate concepts, add reference material, or simply make your design more visually appealing. In this section, we will explore why inserting images is important and how to get started with the process in SolidWorks.
Understanding the Importance of Visuals in SolidWorks

Visuals play a crucial role in engineering design and presentation. In SolidWorks, images can help you achieve clearer, more effective communication, both within your team and with clients. Here’s why visuals are important in SolidWorks:
- Clarity: Images help convey ideas quickly and clearly. Rather than relying solely on technical jargon or detailed 3D models, you can use images to showcase the exact look or feature you're describing.
- Better Communication: Sometimes a picture is worth a thousand words. By using images, you can provide clearer context, making it easier for others to understand your design intent.
- Improved Presentations: Visual elements can make your design presentations more professional and appealing, making them stand out during meetings or client pitches.
- Reference Material: You can insert images of sketches, diagrams, or reference photos, which serve as visual guides for your design process.
Incorporating images into your SolidWorks models can significantly enhance both the functionality and aesthetics of your designs. Let’s take a closer look at how to insert an image into SolidWorks effectively.
Also Read This: How to Remove the Getty Images Watermark with a Step-by-Step Guide
Steps to Insert an Image in SolidWorks

Inserting an image in SolidWorks is straightforward and doesn’t require advanced skills. Follow these simple steps to add images to your models:
- Step 1: Open Your SolidWorks File – Start by opening the SolidWorks document where you want to insert the image. This can be a part, assembly, or drawing file.
- Step 2: Go to the “Insert” Menu – In the top menu bar, click on the “Insert” tab. This is where you can find all the options related to adding components, files, and images to your design.
- Step 3: Select “Picture” – Under the “Insert” menu, select “Picture.” This will open a file explorer where you can choose the image you want to insert.
- Step 4: Choose Your Image – Navigate to the image file on your computer and click on it to select it. SolidWorks supports several image formats, including JPG, PNG, BMP, and more.
- Step 5: Position the Image – Once the image is inserted, you can position it in your workspace. Click and drag to move it to the desired location. You can also resize the image by dragging its corners.
- Step 6: Adjust Image Properties (Optional) – If needed, right-click on the image to adjust its properties, such as transparency or size. You can also set the image’s layer, which helps with organizing and managing your design files.
By following these steps, you can easily add images to your SolidWorks project. The next step is ensuring the image fits perfectly within your design, so let’s look at how to position and resize it effectively.
Also Read This: Trick a Monkey Image: Fun Ideas
Choosing the Right Image Format for SolidWorks
When inserting images into SolidWorks, it’s essential to choose the right file format for optimal performance and quality. Different image formats have various advantages depending on how you plan to use them in your design. Let’s explore some common formats and how to pick the best one for your project:
- JPEG (JPG): This is one of the most commonly used formats due to its small file size. JPEGs are perfect for photographs and images that don’t require transparency. However, they may lose some detail due to compression.
- PNG: PNG files are great for images that require transparency, such as logos or diagrams. They maintain high image quality without losing details, making them a good choice for graphics with sharp edges.
- BMP: Bitmap images are high-quality but tend to have larger file sizes. If image quality is your top priority and file size isn’t an issue, BMP can be a good option.
- GIF: GIFs are best used for simple graphics or animations. However, they have a limited color range, so they’re not ideal for detailed images or photographs.
For most SolidWorks applications, PNG and JPEG are popular choices. PNG is especially useful when you need transparent backgrounds or images with text, while JPEG is ideal for photographs where file size matters more than perfect quality. Choosing the right format ensures your image will look good and perform efficiently in SolidWorks.
Also Read This: How to Embed a PDF for Behance Projects
Placing and Positioning the Image in Your Design
After inserting an image into SolidWorks, the next step is to position it correctly within your design. Proper placement can greatly improve the readability and effectiveness of your visual presentation. Here are the key steps and tips for positioning images in SolidWorks:
- Drag to Position: Once the image is inserted, you can easily drag it to the desired location. Simply click on the image and move it to the right spot in your workspace.
- Use the “Mate” Feature: If you need to fix the image in a particular place relative to your 3D model, use the “Mate” feature. This allows you to attach the image to a face or plane in your design, ensuring it stays aligned.
- Align to Axes: For precision, you can align the image to your design axes. This ensures the image is placed symmetrically or in exact relation to your model’s features.
- Adjust Layer Visibility: SolidWorks allows you to organize different elements on layers. If the image is in a separate layer, you can adjust the visibility and placement on that layer to make sure it doesn’t obstruct other parts of your design.
Once the image is positioned, you can lock its placement to prevent it from accidentally being moved during later stages of your design work. Effective positioning ensures your images complement your 3D models and technical drawings without causing distractions.
Also Read This: Logo Design in Illustrator Tutorials on Dailymotion
Adjusting the Image Size and Resolution for Optimal Display
Adjusting the image size and resolution in SolidWorks is crucial for maintaining the quality of your design. Images that are too large or too small can either slow down your system or appear pixelated. Here’s how to adjust image size and resolution to ensure the best display:
- Resize the Image: To resize an image, simply click and drag the corners of the image to scale it up or down. Make sure to maintain the aspect ratio to avoid distorting the image. Holding the “Shift” key while resizing will keep the proportions intact.
- Check Image Resolution: Images with low resolution (like 72 DPI) may look blurry when scaled up in SolidWorks. For high-quality images, a resolution of 150 DPI or higher is recommended. This ensures sharpness and clarity, especially when dealing with detailed images.
- Optimize Image Size: Large images can slow down SolidWorks and increase file sizes. Before inserting an image, resize it using an image editor to a suitable size that fits your design without taking up unnecessary space.
- Adjust Transparency: For certain designs, adjusting the transparency of the image can help it blend better with the background. SolidWorks allows you to control the opacity level, which is especially useful when placing reference images or background textures.
To ensure the image fits well within your design and doesn’t negatively impact your workflow, always balance image size with the required resolution. By fine-tuning the image, you can achieve a visually appealing result without compromising performance.
Also Read This: Easy Tips to printing Four Images on One Page
Saving Your SolidWorks File with Inserted Images
After you've inserted and adjusted your images in SolidWorks, it's time to save your work. Saving the file correctly ensures that your images are embedded properly, so you don’t lose them when reopening the project. Let's look at the steps and tips for saving SolidWorks files with images:
- Step 1: Save Normally – To save your SolidWorks document, click on the “Save” button in the top-left corner or use the shortcut Ctrl + S. This will save the current state of your design, including any inserted images.
- Step 2: Save As a Different Format – If you need to save the project in a specific format (like a drawing or a part file), click on “File” and select “Save As.” You can choose between formats such as SLDPRT (part), SLDDRW (drawing), or SLDASM (assembly), which will include your inserted images.
- Step 3: Check File Size – When saving, be mindful of file sizes. Large images can increase the overall size of your SolidWorks document. If the file size becomes too large, consider compressing the images or using lower-resolution versions.
- Step 4: Ensure Image Links are Saved – If you're using linked images rather than embedded ones, make sure the image files are stored in a location that won't be moved. SolidWorks might not be able to find linked images if the file path changes.
- Step 5: Save as a Pack and Go (Optional) – If you need to share the file with someone else and want to include the images along with the SolidWorks file, use the “Pack and Go” feature. This creates a zipped file containing all the related documents, including images, making it easier to transfer.
By following these steps, you can ensure that your inserted images are properly saved and ready for future use in your SolidWorks designs.
Also Read This: How to Change Selfie Mirror Image on Your Device
Common Troubleshooting Tips for Image Insertion in SolidWorks
While inserting images into SolidWorks is generally straightforward, you may occasionally encounter some issues. Here are some common troubleshooting tips to help you resolve any problems that may arise during the image insertion process:
- Issue 1: Image Not Showing Up – If the image doesn’t appear in your SolidWorks file, it may be due to an incorrect file path or a missing file. Check that the image file is properly linked or embedded. Ensure the image format is supported (like PNG or JPG).
- Issue 2: Blurry or Pixelated Image – If your image looks blurry or pixelated, it might be due to low resolution. Ensure the image has a high enough DPI (dots per inch) for the display size. If necessary, replace it with a higher-resolution version.
- Issue 3: Image Distortion – When resizing an image, ensure you hold the “Shift” key to maintain its aspect ratio. Distortion can occur if the image is stretched unevenly. Always resize images by dragging from the corners.
- Issue 4: Slow Performance with Large Images – Large image files can slow down SolidWorks performance. If your design becomes sluggish, try resizing or compressing the image. Using an image editor to reduce the resolution before inserting it can help.
- Issue 5: Incorrect Image Layering – If the image appears behind other elements or is hard to see, check the layer settings. Ensure the image is on a visible layer and positioned correctly relative to other parts of the model.
By following these troubleshooting tips, you can easily resolve common image insertion issues and continue working smoothly in SolidWorks.
Also Read This: Ultimate Guide to Contouring a Long Face
FAQ
Q1: Can I insert a background image into my SolidWorks design?
Yes, you can insert background images into your SolidWorks workspace. This is helpful for reference images or to enhance your presentations. To do this, insert the image as a part and adjust its transparency if needed.
Q2: Why is my image not scaling properly in SolidWorks?
If your image isn’t scaling as expected, it might be due to improper resizing or a low-resolution image. Try resizing the image carefully by dragging from the corners and ensure that it has a high enough resolution for clarity.
Q3: Can I insert animated images in SolidWorks?
SolidWorks does not support animated images like GIFs directly within the design workspace. However, you can insert a series of static images as separate parts or drawings to represent frames of an animation.
Q4: How can I adjust the transparency of an inserted image?
To adjust the transparency, right-click on the image and select “Properties.” From there, you can adjust the opacity slider to make the image more transparent, which can help when layering multiple images or components in your design.
Q5: Can I use vector images in SolidWorks?
SolidWorks supports raster-based images (like JPEG and PNG), but it does not directly support vector images like SVGs. You may need to convert vector images to a raster format before inserting them into your design.
Conclusion
Incorporating images into your SolidWorks projects is a straightforward process that can significantly enhance your design presentations and provide visual clarity. By choosing the right image format, positioning it correctly, and adjusting its size and resolution, you can ensure that your images complement your design without compromising performance. Additionally, knowing how to troubleshoot common issues and properly save your files with inserted images will help streamline your workflow and prevent potential problems down the line. With these tips and steps, you are now equipped to make the most out of image insertion in SolidWorks, creating better, more effective designs that are visually appealing and easy to understand.

 admin
admin


