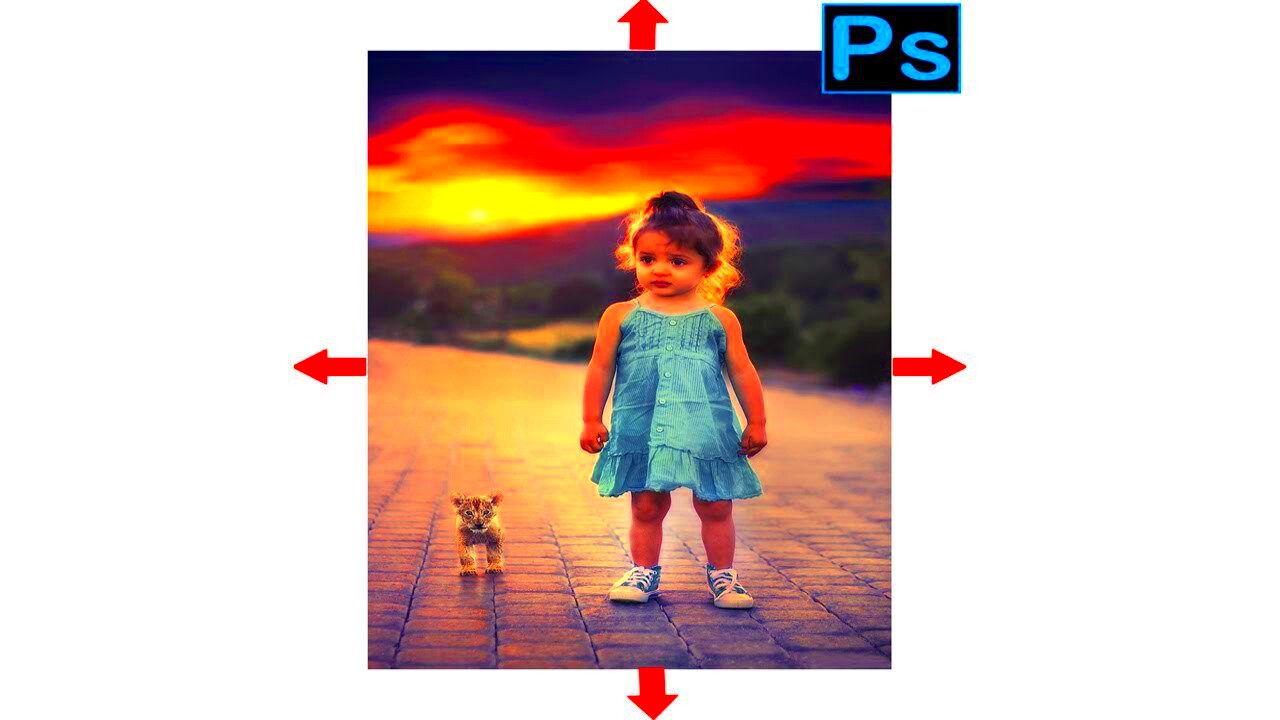
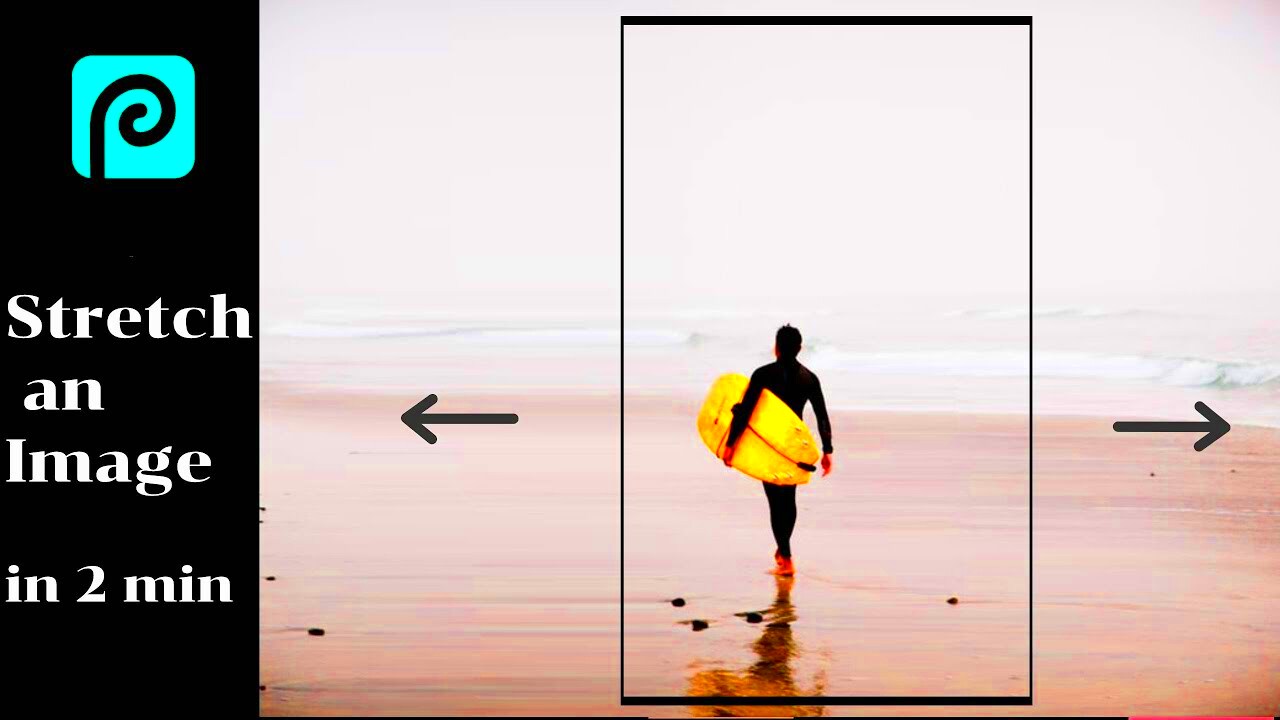
Resizing images can be tricky, especially if you want to maintain their proportions. Many times, resizing can lead to stretched or distorted images, which can affect their appearance and quality. Whether you're working on a personal project or creating content for your website, resizing images properly ensures that they look great without losing quality.
The key to resizing without stretching is understanding image proportions. When you resize an image proportionally, you adjust its width and height equally to preserve the original ratio. In this blog post, we'll explore how to resize images without stretching them and why it's so important for maintaining high-quality visuals.
Why Maintaining Image Proportions Is Important

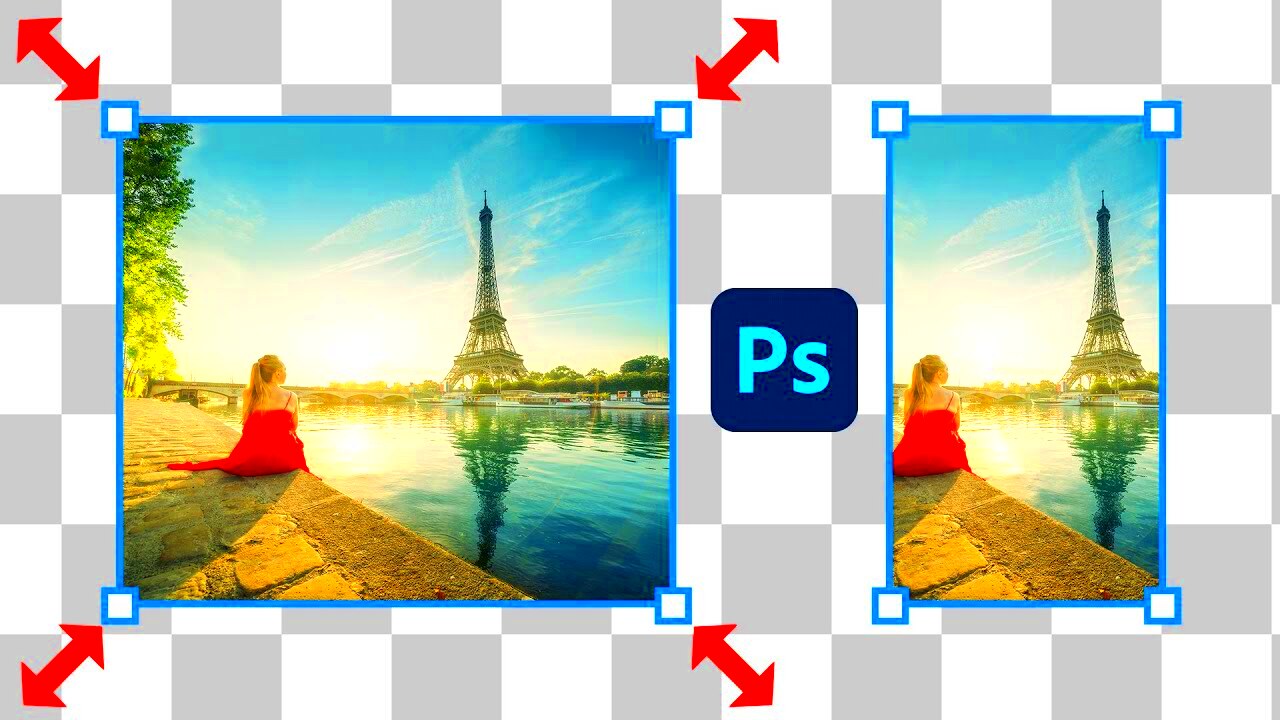
Maintaining image proportions is crucial for keeping your visuals sharp and professional. When an image is resized improperly, it can lose its natural look and become distorted. This distortion can make the
- Preserves Image Quality: Resizing proportionally keeps the image sharp and avoids pixelation.
- Avoids Distortion: Stretching or squishing an image can change its structure, making it look unnatural.
- Improves Aesthetic Appeal: Proper resizing ensures the image maintains its visual balance and appeal.
- Enhances User Experience: When images look good, they create a better experience for your audience, whether on a website or in a presentation.
By resizing your images without stretching them, you ensure that they fit well in your design or layout without losing their quality or visual integrity.
Also Read This: Cropping an Image in Photoshop Without Affecting the Background
How to Resize Images Without Stretching Using Online Tools

Online tools have made resizing images without stretching easier than ever. These tools automatically maintain the aspect ratio, ensuring that your images are resized proportionally. Below are a few popular online tools that you can use:
- PNGWing: PNGWing offers a straightforward interface to resize PNG images without distorting them. It automatically adjusts the width and height in relation to each other.
- PicResize: This easy-to-use tool allows users to upload images and resize them while keeping their proportions intact.
- ResizeImage.net: Another great tool for resizing images online. You can choose the new size and the tool will automatically adjust the proportions.
Here’s how to resize an image using PNGWing without stretching:
- Go to the PNGWing downloader page.
- Upload your image to the tool.
- Select the desired dimensions for your image.
- Ensure that the “Maintain Proportions” option is enabled to keep the aspect ratio intact.
- Download the resized image once the process is complete.
Using these tools is a quick and simple way to ensure your images are resized without any distortion. It's especially helpful when working on content for websites, presentations, or social media posts where image quality matters.
Also Read This: How to Submit Your Photos to Getty Images – A Complete Guide for Aspiring Contributors
Resizing Images Using PNGWing Downloader

PNGWing Downloader is an online tool that simplifies the process of resizing images without distorting them. It's especially useful for those who need to resize PNG images while keeping their original proportions intact. The tool is free to use, easy to navigate, and ensures that your images maintain their quality after resizing.
Here’s a step-by-step guide on how to resize an image using PNGWing Downloader:
- Step 1: Visit the PNGWing Downloader page on the website.
- Step 2: Upload your PNG image by clicking the “Upload” button.
- Step 3: Once the image is uploaded, you'll see options to resize it. You can specify either the width or height, and the other dimension will adjust automatically to maintain the proportions.
- Step 4: Choose whether you want to resize the image based on percentage or exact pixel size.
- Step 5: After choosing your desired size, click “Resize Image” to start the process.
- Step 6: Download the resized image once the tool finishes processing.
This simple process ensures that your images are resized quickly and efficiently, while keeping their proportions in check. The PNGWing Downloader tool is a great resource for anyone needing high-quality, correctly resized images for various purposes, including websites, blogs, or social media posts.
Also Read This: The Best Features of 123RF for Content Creators
How to Adjust Image Size in Photo Editing Software

Photo editing software provides a more hands-on approach to resizing images, offering greater control over the process. Whether you’re using Adobe Photoshop, GIMP, or other photo editing tools, adjusting the image size without distorting its proportions can be done easily. Here's how you can resize images in some popular photo editing software:
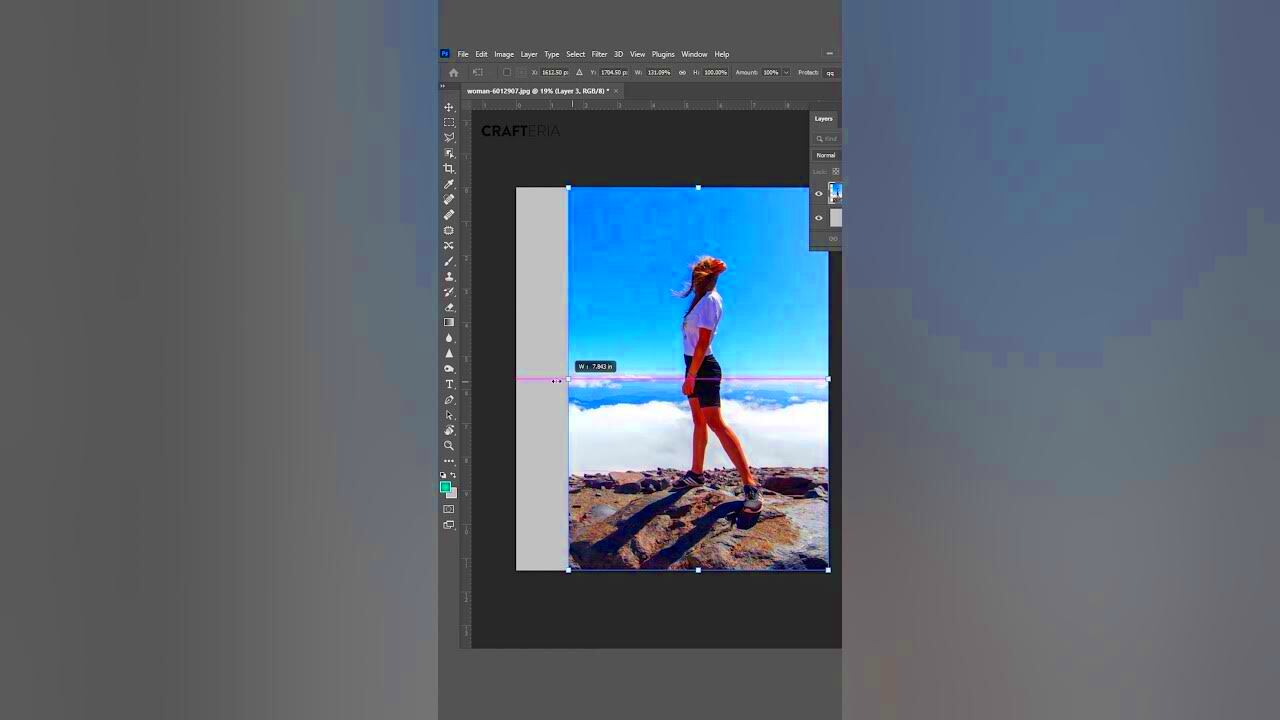
Using Adobe Photoshop
1. Open your image in Photoshop.
2. Go to the “Image” menu and select “Image Size.”
3. In the Image Size window, make sure the “Constrain Proportions” box is checked. This ensures that both the width and height adjust together.
4. Enter the new width or height and Photoshop will automatically adjust the other dimension.
5. Click “OK” to apply the changes and save your resized image.
Using GIMP
1. Open the image in GIMP.
2. From the menu, click on “Image” and select “Scale Image.”
3. In the Scale Image window, ensure the lock icon next to the width and height is locked, which keeps the proportions.
4. Adjust either the width or height, and GIMP will resize the other dimension automatically.
5. Click “Scale” and save the new image.
Adjusting image size in photo editing software is ideal when you need more advanced features like fine-tuning resolution, cropping, or adding filters. It also gives you the flexibility to work with a variety of file formats and maintain control over the final image quality.
Also Read This: Majestic Mountain Ranges Across the USA Captured in Stunning Photos
Common Mistakes to Avoid When Resizing Images
While resizing images is a relatively simple process, there are a few common mistakes that can affect the quality of the final result. Avoiding these pitfalls will help you resize your images without losing their clarity or visual appeal. Here are some of the most frequent mistakes to watch out for:
- Forgetting to Lock the Aspect Ratio: When you resize an image manually without locking the aspect ratio, the image may become distorted. Always ensure the width and height scale together to maintain the proportions.
- Resizing Images Too Much: Enlarging an image too much can lead to pixelation or blurriness. It's best to resize an image to a larger size only when necessary, and try not to stretch it beyond its original resolution.
- Ignoring Image Resolution: Resolution plays a significant role in the quality of resized images. When shrinking an image, make sure the resolution remains suitable for its intended use, whether it's for printing or web display.
- Using Low-Quality Tools: Not all resizing tools preserve image quality. Choose reliable and reputable tools, such as PNGWing Downloader, or use professional software like Photoshop or GIMP for higher control over the output quality.
- Resizing Multiple Times: Repeatedly resizing an image can degrade its quality. It's better to resize an image in one go to avoid unwanted artifacts or pixelation.
By avoiding these mistakes, you can ensure that your images remain sharp, clear, and properly resized, no matter what tool you’re using. Taking the time to check your settings and understand the limitations of your images will pay off in the end.
Also Read This: How to Post Images on LinkedIn – Tips for You to Boost Your Engagement
Tips for Keeping Image Quality Intact While Resizing
Resizing an image without compromising its quality can be challenging, but it’s definitely possible with the right approach. Whether you're reducing or enlarging an image, maintaining its sharpness and detail is essential. Here are some practical tips to ensure your image quality remains intact during the resizing process:
- Use High-Quality Source Images: Start with a high-resolution image. The clearer and more detailed your original image is, the better it will look after resizing.
- Always Maintain the Aspect Ratio: When resizing, ensure the width and height are adjusted proportionally. This prevents the image from becoming stretched or squished, which can cause it to lose its natural look.
- Avoid Enlarging Images Too Much: Enlarging an image significantly can lead to pixelation, making it appear blurry or fuzzy. If you need to enlarge an image, consider using tools like Photoshop that offer options to resample and reduce pixelation.
- Choose the Right Resizing Tool: Not all resizing tools preserve image quality. Professional tools like Adobe Photoshop, GIMP, or reliable online tools like PNGWing Downloader can ensure your image’s quality is maintained.
- Set the Right Resolution: If you're resizing for print, ensure the resolution is set to at least 300 DPI (dots per inch). For web images, 72 DPI is usually sufficient. This ensures your images retain their sharpness in their intended use.
- Don’t Resize Too Frequently: Each time you resize an image, it can lose some quality. It's best to do it once and avoid unnecessary resizes to preserve the integrity of the image.
By following these tips, you can resize your images without sacrificing quality, keeping them crisp and clear no matter the size.
Also Read This: Mastering Transparency in Adobe Illustrator with Stock Images
Benefits of Resizing Images Correctly
Correctly resizing images is important not only for maintaining quality but also for improving your content’s overall performance. Here are some key benefits of resizing images properly:
- Improved Load Time: Resized images are smaller in file size, which helps speed up website load times. Faster load times enhance the user experience and can also improve your website's SEO ranking.
- Better Visual Appeal: Properly resized images retain their sharpness and clarity, enhancing the overall look of your website or presentation. High-quality visuals help build a professional image and draw in your audience.
- Efficient Use of Space: Resizing images allows you to optimize the layout of your website or project. It helps ensure your images fit perfectly in the design, without overcrowding or leaving too much blank space.
- Improved SEO Performance: Search engines like Google consider the size of images when ranking pages. By resizing images to an appropriate size, you reduce their load time, improving your chances of ranking higher in search results.
- Better Printing Results: Resizing images to fit specific print sizes ensures the images don’t become pixelated or blurry when printed. Proper resolution and dimensions lead to clearer, sharper printed images.
- Mobile-Friendly Designs: Resized images make your content more accessible on mobile devices. Mobile screens are smaller, so it's important to resize images so they fit the screen properly without compromising quality.
When images are resized correctly, you enjoy better performance on your website, clearer visuals, and improved user experiences, whether online or in print. It's a simple yet important step in making sure your content looks great and functions properly.
Also Read This: How to Upload Photos to Depositphotos for New Contributors
FAQ
1. What is the best way to resize images without losing quality?
The best way to resize images without losing quality is by maintaining the aspect ratio, using high-resolution images, and choosing reliable tools like Photoshop, GIMP, or PNGWing Downloader that offer resampling features.
2. Can I resize an image too many times?
Yes, resizing an image multiple times can degrade its quality. It’s best to resize it only once and save a copy before further edits if needed.
3. What is the difference between resizing for web and print?
For the web, images typically need to be smaller (72 DPI), while for print, images should have a higher resolution (300 DPI) to maintain sharpness. Resizing for the intended medium ensures the best quality.
4. How do I resize images for social media?
Social media platforms often require specific image sizes. Use resizing tools to adjust images to the recommended dimensions for platforms like Instagram, Facebook, or Twitter to avoid distortion.
5. Can I resize images online?
Yes, there are several online tools like PNGWing Downloader and PicResize that allow you to resize images quickly without losing quality. These tools make the process easy and fast for anyone who doesn't have advanced photo editing software.
Conclusion
Resizing images without distorting them is crucial for maintaining quality and ensuring that your visuals look their best, whether you're working on a website, social media content, or print materials. By following the proper techniques—such as maintaining aspect ratios, using the right tools, and adjusting resolution for the intended use—you can achieve high-quality results every time. Whether you choose to resize images using online tools like PNGWing Downloader or professional software like Photoshop, the key is to understand the importance of preserving proportions and resolution.
Ultimately, correctly resizing images not only enhances the visual appeal of your projects but also improves website performance, user experience, and SEO rankings. Taking the time to resize images carefully will help you avoid common mistakes, maintain quality, and achieve professional results in all your design efforts.

 admin
admin


