Selecting images in Procreate is a powerful tool for enhancing your digital art. Whether you're a beginner or an experienced artist, knowing how to effectively select, manipulate, and integrate images into your projects can take your work to the next level. The ability to work with imported images, cutouts, and assets is crucial for creating more complex designs, digital collages, or illustrations. In this section, we’ll dive into the basics of image selection and why it’s so important for your creative process.
How to Import Images into Procreate

Importing images into Procreate is the first step in incorporating external content into your artwork. Whether you’re working on a digital painting or creating a mixed-media piece, bringing in images gives you more flexibility in your designs. Here's how you can easily import images into your canvas:
- Method 1: Using the Actions Menu
- Tap the wrench icon in the top left corner of the screen to open the Actions menu.
- Go to the 'Add' tab and select 'Insert a Photo'.
- Choose the image from your photo library or Files app.
- Method 2: Dragging from the Gallery
- Open your Procreate gallery, find the image you want to import, and drag it directly onto your canvas.
- Method 3: Using AirDrop or Files App
- If you’re transferring from another device, you can use AirDrop to send the image to your iPad or open it directly from the Files app.
Once imported, you can move, resize, or adjust the image as needed, which we'll cover in the next sections. Importing images is quick and straightforward, making it easy to start your creative journey.
Also Read This: How to Create an Outline for an Image in Canva
Understanding Layers and Image Selection

Layers are the backbone of Procreate’s flexibility when it comes to editing and selecting images. Every element in your artwork exists on a separate layer, which makes it possible to work on each aspect individually without affecting the rest of the design. This is where the real power of Procreate shines – you can select, move, and manipulate individual images or elements without disrupting the overall composition.
Here's a closer look at how layers work and how you can use them for selecting images:
- What Are Layers?
- Think of layers like transparent sheets stacked on top of one another. Each sheet holds a part of your design.
- You can have multiple layers for different images, colors, textures, and more.
- Image Selection on Layers
- When you select an image, Procreate identifies the layer it’s on, allowing you to edit only that part of the design without impacting others.
- To select an image on a layer, tap on the layer and use Procreate’s selection tools like Freehand or Rectangle Select to isolate the area you want to work with.
- Layer Visibility
- If you need to focus on one part of your design, you can hide other layers by unchecking the box next to the layer in the layers panel.
- Organizing Layers
- Group layers together to keep your workspace neat and improve workflow.
- Rename layers to stay organized, especially in complex designs.
Mastering layers and image selection in Procreate will help you create more detailed, professional-looking artwork, whether you're adding textures or combining multiple images in one piece. The better you understand how layers interact, the easier it will be to manipulate your selections and get the desired effect.
Also Read This: How to Download Licensed Images from Adobe Stock
Using Selection Tools to Fine-Tune Images
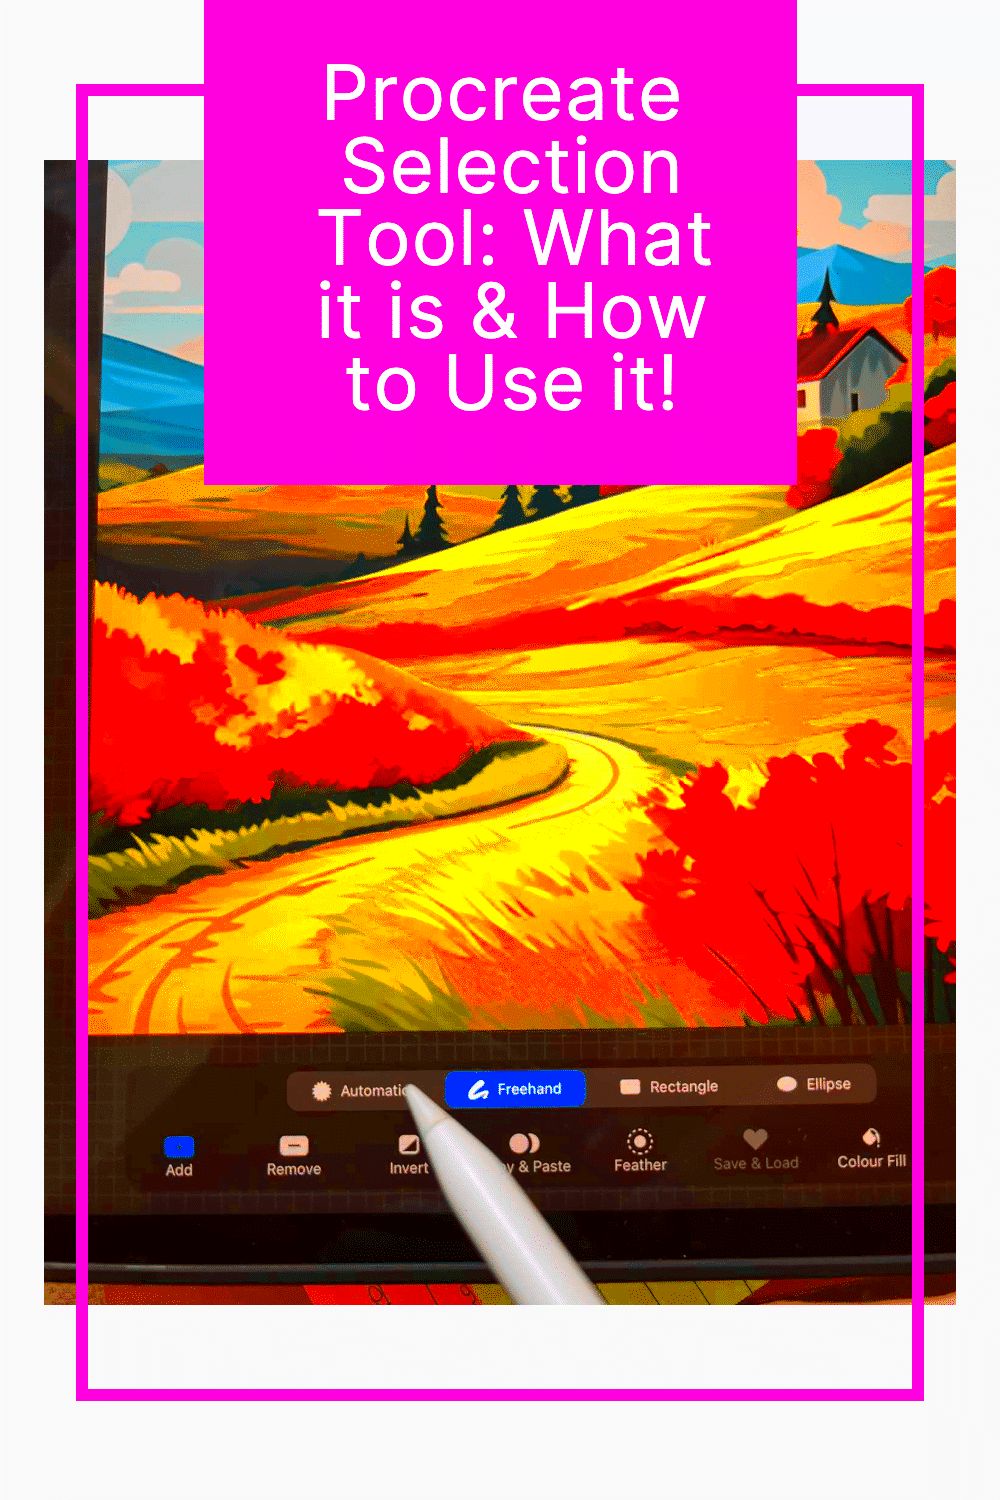
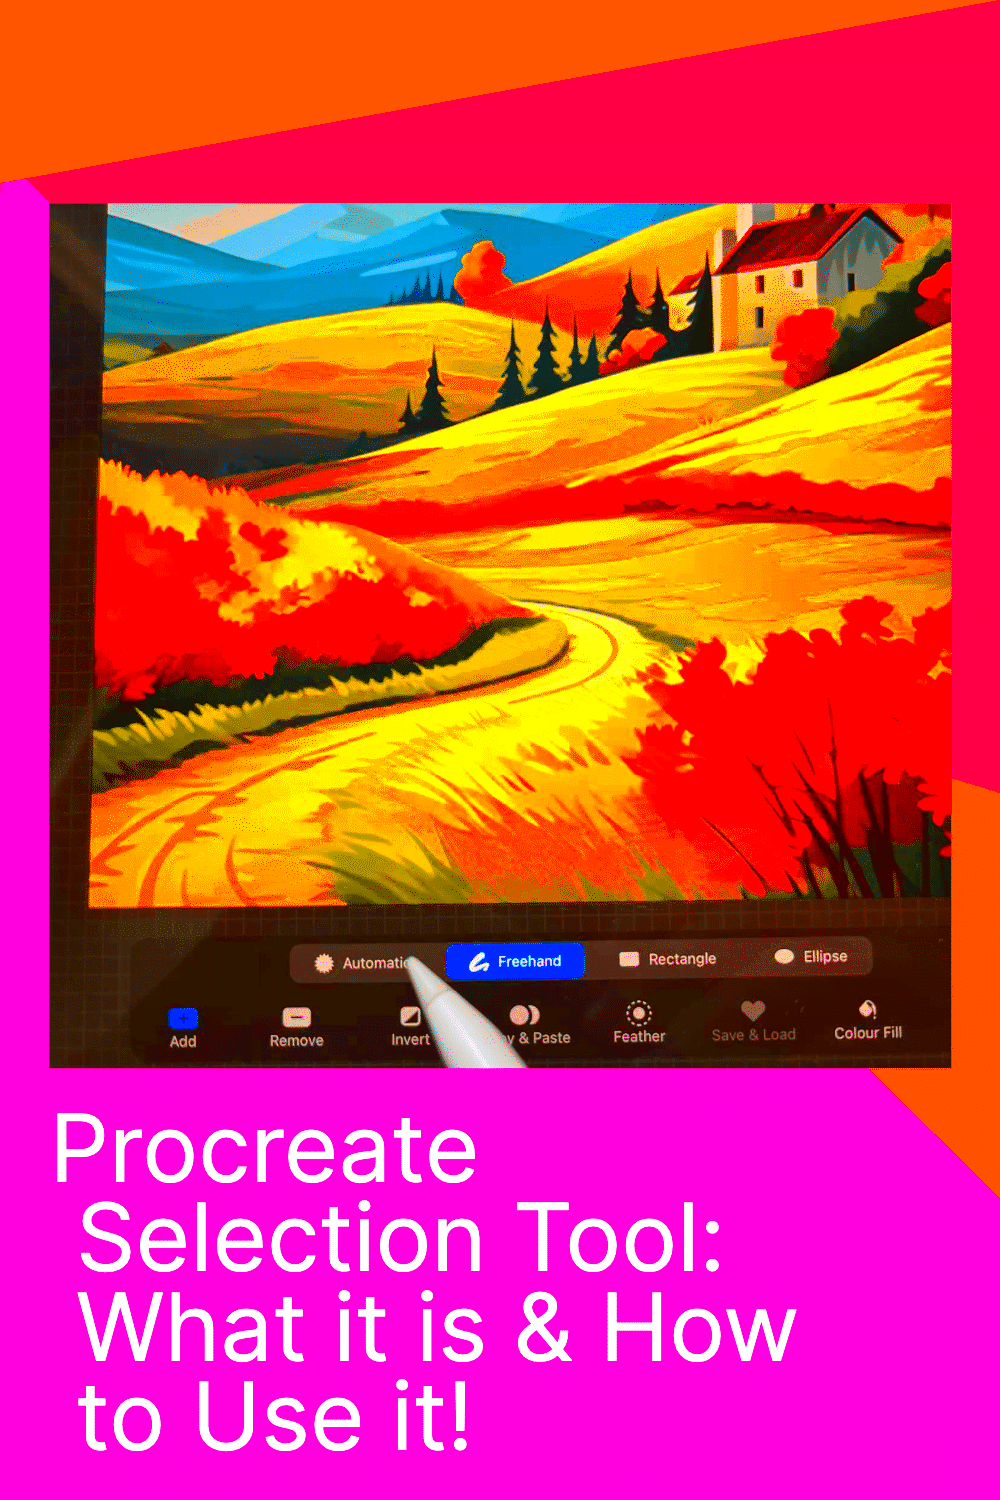
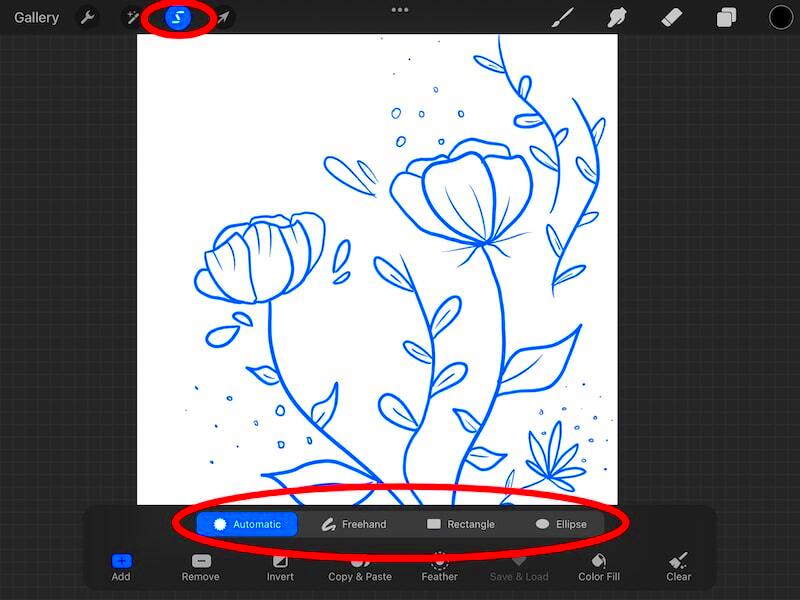
Procreate offers several selection tools that make it easy to isolate and fine-tune specific parts of your image. Whether you need to crop, reposition, or adjust certain areas of your artwork, these tools give you full control over your design. Mastering these selection tools can save you a lot of time and effort when working with complex compositions. Here’s a breakdown of the most commonly used selection tools in Procreate:
- Freehand Selection Tool
- This tool allows you to draw a custom shape around the area you want to select. Simply trace around the part of the image you wish to isolate, and Procreate will automatically connect the points you’ve drawn.
- Great for selecting irregular or detailed shapes.
- Automatic Selection Tool
- The automatic selection tool selects areas based on color and contrast. Just tap on a color in your image, and Procreate will select all areas that match.
- This is perfect for isolating large blocks of color or shapes with distinct edges.
- Rectangle and Ellipse Selection Tools
- These tools let you quickly select rectangular or circular areas of your image. Simply drag to define the shape, and Procreate will capture that exact portion.
- These are useful when working with structured or geometric designs.
- QuickShape Tool
- While not strictly a selection tool, the QuickShape tool helps you draw perfect shapes that can be used to create selections or even to enhance your artwork’s structure.
By mastering these selection tools, you can gain full control over which parts of your images are modified or adjusted. Whether you're refining details, resizing, or altering colors, selection tools help streamline the process, making your workflow more efficient.
Also Read This: Steps to Become a Contributor at Getty Images
Adjusting Image Size and Placement
Once you’ve imported and selected an image in Procreate, you’ll often need to adjust its size and position to fit within your composition. Whether you're adding an image to a background or placing it alongside other elements, resizing and repositioning are essential skills. Procreate provides intuitive features to help you scale and align your images precisely. Here’s how to adjust
- Resizing Images
- To resize an image, tap on the 'Adjust' button (the arrow icon), and drag the handles at the corners of your image to scale it up or down.
- Hold the “Move” option to resize proportionally while keeping the aspect ratio intact.
- Rotating Images
- When resizing an image, you can also rotate it by dragging outside the corner handles.
- To rotate by exact degrees, hold down the “Rotate” option for more precise control.
- Moving Images Around
- Tap and hold the image to move it to your desired location within the canvas. Use your fingers to nudge the image into the exact position.
- For more precision, Procreate allows you to move images in small increments by dragging the arrow tool on the screen.
- Alignment and Snapping
- Procreate’s snapping feature helps you align images perfectly with other elements. This is useful when working on compositions where spacing and balance matter.
- Make use of the 'Snapping' and 'Magnetics' options in the toolbar to align objects automatically.
By mastering these techniques, you can ensure that your images fit seamlessly into your artwork, allowing you to focus more on the creative process rather than worrying about placement and sizing issues.
Also Read This: How to Increase Image Ratings in BSG
Refining Image Edges for a Professional Look
Refining the edges of an image is essential for achieving a polished and professional appearance in your artwork. Whether you're blending an image into a background or isolating certain areas, smooth, clean edges can make all the difference. Procreate offers a variety of tools to refine and soften the edges of your selected images. Here’s how to refine image edges and get that professional finish:
- Feathering the Edges
- Feathering softens the edges of your selection, making the transition between the image and the background smoother.
- To feather an image, select it and then adjust the feathering slider to control how much the edges should blur.
- Using the Smudge Tool
- The Smudge tool can help you blend edges and create a more seamless transition between the selected area and the rest of your artwork.
- Simply tap on the Smudge tool and drag along the edges to create a smoother blend.
- Refining with Masking
- Use masking to hide or reveal parts of an image without permanently altering it. This is great for making adjustments to the edges without losing detail.
- To mask an image, create a new mask layer and paint with black to hide areas or white to reveal them.
- Removing Backgrounds
- If you're isolating an image from its background, you can use the automatic selection tool to select and remove the background. Then, refine the edges using the eraser or soft brushes for a cleaner result.
- Using the Liquify Tool
- The Liquify tool can be useful for gently adjusting the shape and flow of an image’s edges. It’s especially handy when you need to smooth out or pull the edges of a selection to better fit within your design.
With these techniques, you’ll be able to refine image edges like a pro, ensuring your designs look seamless and professional. Whether you're working on photo manipulation or digital painting, smooth, clean edges will elevate the quality of your work.
Also Read This: How to Add a Carousel Post on LinkedIn
Exporting Your Procreate Images
Once your masterpiece is complete in Procreate, the next step is exporting it so you can share or use it in other projects. Procreate offers several export options to suit different needs, whether you’re working on a digital artwork, animation, or design. In this section, we’ll walk you through the different methods of exporting images from Procreate and how to choose the right format based on your requirements.
- Exporting as a High-Resolution Image
- To export your work as a high-resolution image, go to the Actions menu (wrench icon) and tap on 'Share'.
- Select 'PNG', 'JPEG', or 'TIFF' as your preferred file format. PNG is often the best choice for preserving transparency, while JPEG is useful for smaller file sizes.
- Adjust the image resolution to your liking for either web or print purposes.
- Exporting for Animation
- If you're creating an animation in Procreate, you can export it as a .MOV or .GIF file.
- Go to the Actions menu, tap 'Share', and choose either 'Animated GIF' or 'Animated MP4'. This is perfect for short, looping animations or video clips.
- Exporting a Time-Lapse Video
- Procreate allows you to export a time-lapse video of your entire drawing process. This is ideal for sharing your creative journey with others.
- Head to 'Actions' > 'Video' > 'Export Time-Lapse'. You can choose the speed and quality of the video before exporting it as an .mp4 file.
- Exporting to Other Apps
- If you want to continue working on your image in another app, you can export it directly to programs like Adobe Photoshop or Illustrator. Simply select 'Share' > 'PSD' to maintain all layers and compatibility with other editing software.
When exporting images, always consider the final use of your artwork—whether for digital sharing, printing, or further editing—so you can choose the optimal format and resolution for the best result.
Also Read This: Making a PDF From Multiple Images Quickly
Common Troubleshooting Tips When Selecting Images
While Procreate is an intuitive app, sometimes users encounter issues when selecting and editing images. Whether it’s a problem with the selection tools, layer visibility, or image distortion, there are a few common issues that can disrupt your workflow. In this section, we’ll explore some common troubleshooting tips to help you overcome these challenges and keep your design process smooth.
- Selection Tool Not Working Properly
- If the selection tool isn’t working as expected, check if you’re on the correct layer. Procreate’s selection tools only work on the active layer, so ensure you're selecting the right one.
- If the selection is too rough or inaccurate, try adjusting the tool’s sensitivity or using a different selection method, such as Freehand or Automatic.
- Layers Not Appearing
- Sometimes, layers can become hidden or invisible, causing issues when selecting images. Ensure the layer visibility icon (the checkbox next to the layer) is checked.
- If the layer is locked, you won’t be able to select or modify it. Unlock the layer by tapping the lock icon in the layer panel.
- Images Losing Quality During Selection
- If your image loses quality after selection or resizing, it could be due to a low-resolution canvas. Consider increasing the resolution of your canvas before importing images for a better result.
- Also, avoid resizing images too drastically as it can lead to pixelation. Try to keep the image size within Procreate’s recommended limits for optimal results.
- Unexpected Cropping or Cutting
- If images get cropped or cut off unexpectedly during selection, make sure you’re not accidentally using the 'Crop' tool or clipping masks that limit visibility.
- Additionally, check your canvas dimensions to ensure your artwork isn’t being clipped at the edges.
- Undoing Selections
- If you make a mistake during selection or manipulation, simply tap the Undo button in the top left corner or use the shortcut (two-finger tap) to undo your actions.
By being aware of these common issues and knowing how to fix them, you’ll be able to handle any hiccups that come up during your image selection process in Procreate.
Also Read This: how to put an image on a cd
FAQ
Here are some frequently asked questions related to selecting and working with images in Procreate. These answers will help clarify any doubts and provide additional tips to improve your workflow.
- How do I select an image in Procreate?
To select an image in Procreate, use the selection tools from the top menu. Options like Freehand, Automatic, or Rectangle Select let you isolate specific parts of your artwork. Once selected, you can resize, move, or modify the image as needed.
- Can I edit the size of an imported image?
Yes! You can easily resize imported images by tapping on the 'Adjust' tool (arrow icon). Drag the corners to scale the image up or down, and use the Move tool to position it exactly where you want it.
- What file formats can I use to export my images?
Procreate allows you to export your images in various formats including PNG, JPEG, TIFF, PSD (for layered files), and even animation formats like GIF and MP4.
- Why is my image selection blurry or pixelated?
If your image selection is blurry or pixelated, it could be because your canvas resolution is too low. Make sure you create a high-resolution canvas before importing large or detailed images for the best quality.
- How do I refine the edges of my image?
To refine the edges, use tools like the Smudge tool, Feathering, or the Liquify tool to smooth or soften the edges. You can also mask areas to hide parts of the image while keeping the selected edges sharp.
Conclusion
Mastering image selection in Procreate is an essential skill for any digital artist looking to enhance their workflow and produce high-quality artwork. Whether you're importing, resizing, refining, or exporting images, knowing the right tools and techniques can make a huge difference in your creative process. By understanding the power of layers, using Procreate's selection tools effectively, and paying attention to image quality and placement, you'll be able to create seamless, polished designs. Troubleshooting common issues and understanding how to optimize your work for various outputs will also ensure you achieve the best possible results with your images. Keep experimenting with these techniques, and soon enough, selecting and manipulating images in Procreate will become second nature, allowing you to focus on unleashing your creativity to the fullest.

 admin
admin


