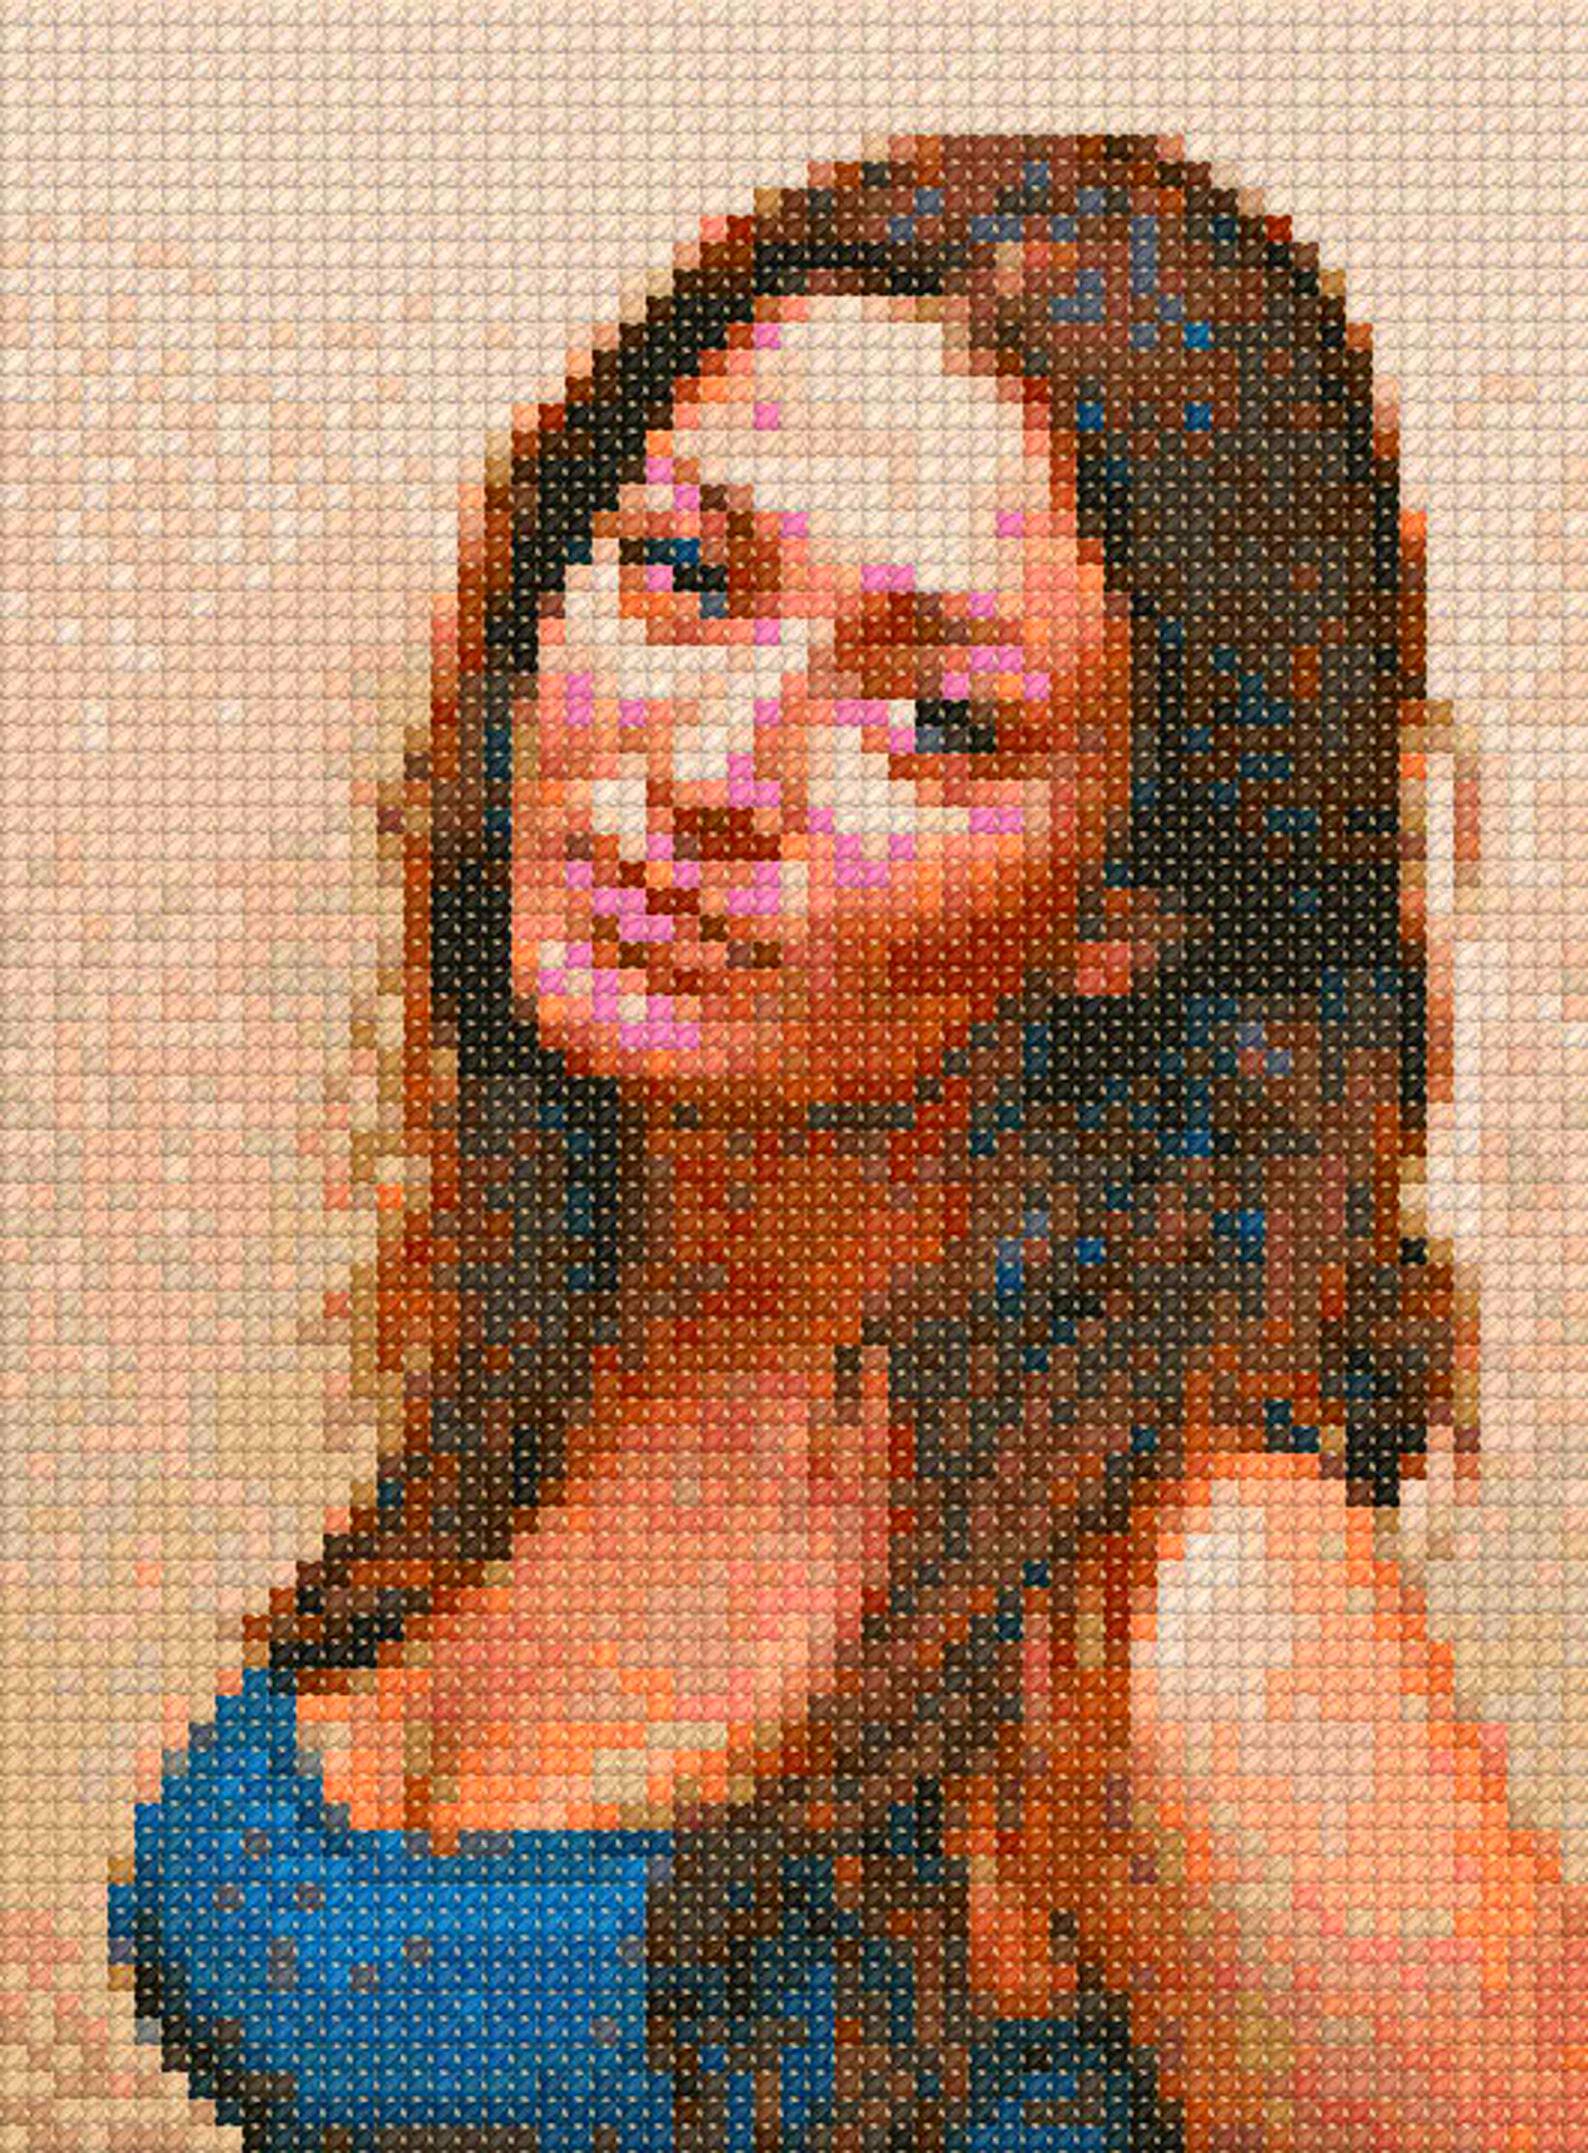
Converting an image into a cross stitch pattern is a great way to turn a favorite photo, artwork, or design into a beautiful handmade piece. Whether you're new to cross stitching or an experienced crafter, this process allows you to transform digital images into stitchable patterns that can be used to create unique and personalized projects. In this guide, we'll show you how to convert images into cross stitch patterns, explore the tools you need, and provide tips to ensure your project turns out as beautifully as possible.
Why Convert Images into Cross Stitch Patterns

Converting an image into a cross stitch pattern opens up endless possibilities for your crafting projects. Here’s why it’s worth considering:
- Personalization: You can turn family photos, pets, or favorite scenes into custom cross stitch designs.
- Creative Freedom: Using any image gives you full creative control, from simple pictures to intricate artwork.
- Memorabilia: Turn precious memories into lasting keepsakes with a handmade cross stitch piece.
- Gift Ideas: Customized cross stitch patterns make thoughtful and unique gifts for friends and loved ones.
- Fun and Rewarding: The process of creating a cross stitch pattern from an image is a satisfying challenge for crafters of all levels.
When you convert an image to a pattern, you get to bring a little bit of personal flair to your craft. It’s a fantastic way to create something meaningful, whether for yourself or someone else.
Also Read This: Essential Guide to Licensing Your Photo with Getty Images
Tools and Software Needed for Image Conversion

To convert an image into a cross stitch pattern, you’ll need a few tools and software programs to help you along the way. While it’s possible to do this by hand, software can save you time and ensure a more precise result. Here's what you need:
- Cross Stitch Pattern Software: These programs are designed specifically for converting images into stitch patterns. Some popular options include:
- Stitch Fiddle: A user-friendly online tool that allows you to upload an image and convert it into a cross stitch pattern.
- Pic2Pat: A free online tool that turns photos into cross stitch patterns in just a few steps.
- WinStitch: A more advanced program for those looking to fine-tune their patterns with detailed options.
- Image Editing Software: Before converting your image, you may need to edit it for size, color, or quality. Photoshop or GIMP can help you prepare the image for conversion.
- Cross Stitch Threads: Make sure you have the right thread colors to match your converted pattern. You can choose from a variety of brands, such as DMC or Anchor, based on your preference.
Having these tools on hand makes the process of converting images easier and more efficient, and ensures that your final cross stitch pattern will be accurate and high-quality.
Also Read This: How to Shoot and Edit High-Quality Product Photos
Step-by-Step Guide to Converting an Image into a Cross Stitch Pattern
Converting an image into a cross stitch pattern is a rewarding process, and following a clear step-by-step guide can make the task much easier. Here's how you can do it:
- Step 1: Choose Your Image
Start by selecting the image you want to convert into a cross stitch pattern. It could be anything from a family photo to a favorite landscape. The image should have good resolution, as high-quality pictures will yield better results when converted. - Step 2: Prepare the Image
Use image editing software like Photoshop or GIMP to resize the image. Cross stitch patterns are usually best in a smaller format, so reducing the image size will make the conversion easier. Also, consider adjusting the brightness and contrast to enhance the details. - Step 3: Upload the Image to Conversion Software
Once your image is ready, upload it to a cross stitch pattern generator, like Stitch Fiddle or Pic2Pat. These tools will automatically convert your image into a pattern with specific stitch counts and color suggestions. - Step 4: Customize Your Pattern
Many pattern generators allow you to adjust the pattern’s size, the number of colors, and the type of stitches (e.g., half stitches or full stitches). Play around with these settings to match the design to your preferences. - Step 5: Download and Print the Pattern
After customizing the pattern, download and print it. Make sure to print a copy of the color chart as well to keep track of your thread choices.
Now that your pattern is ready, you can start your cross stitching project! With patience and care, you’ll turn your image into a beautiful work of art.
Also Read This: Mastering Adobe Stock Integration in Premiere Pro
Choosing the Right Image for Cross Stitching
The right image can make or break your cross stitch project. While any image can technically be converted into a pattern, some work better than others. Here’s what to keep in mind when choosing an image:
- High Resolution: Choose an image with good resolution (at least 300 DPI). The higher the resolution, the clearer your pattern will be after conversion.
- Simple Designs Work Best: While complex images are possible to convert, simple designs often make for better results. Opt for clear, recognizable shapes with minimal details.
- Color Contrast: Images with high contrast between colors will be easier to work with. Patterns with subtle color shifts can be harder to replicate accurately with thread.
- Avoid Overly Detailed Images: Highly detailed or very small images may not translate well into cross stitch patterns. Instead, choose images with broader elements or clear lines.
By selecting the right image, you’ll set yourself up for success and make your cross stitching project more enjoyable and satisfying. Remember, the simpler the image, the easier it is to stitch!
Also Read This: how to host images on siteground
Tips for Adjusting the Image for Better Results
Before converting your image into a cross stitch pattern, a few adjustments can greatly improve the end result. Here are some helpful tips to get the best possible outcome:
- Resize the Image: Reduce the image to a size that suits cross stitch. Patterns are typically easier to handle in smaller sizes, especially for beginners. Resize the image to fit within a 100x100 to 200x200 pixel grid for easier stitching.
- Adjust the Contrast: Increasing the contrast can help the image’s details stand out more clearly, making it easier for you to distinguish different areas of the design during stitching.
- Simplify the Colors: If your image has too many similar colors, consider simplifying it. You can reduce the number of colors used in the pattern, which will make it easier to work with and less time-consuming.
- Convert the Image to Grayscale: Grayscale images often work better for cross stitching, as they help focus on the shapes and layout rather than being distracted by vibrant colors. This allows you to choose thread colors that match the grayscale tones.
- Use a Grid Overlay: Adding a grid overlay to your image will help you visualize how the pattern will break down into stitches. This can give you a better sense of scale and proportion.
With these adjustments, you can enhance your image before conversion and make the stitching process smoother and more enjoyable. Don’t be afraid to experiment with different settings to achieve the best result for your project!
Also Read This: Shopify Magic: Importing Products from AliExpress in a Snap
Common Mistakes to Avoid When Converting Images
When converting an image into a cross stitch pattern, it’s easy to make mistakes that could affect the final result. Being aware of these common errors can help you avoid frustration and achieve a better outcome. Here are some key mistakes to steer clear of:
- Using Low-Resolution Images: Low-quality images will result in blurry patterns. Make sure your image is at least 300 DPI to ensure a sharp and detailed pattern.
- Choosing Overly Complex Images: Highly detailed or intricate designs can be difficult to convert accurately into a cross stitch pattern. Stick to simpler images with clear outlines and bold shapes for best results.
- Ignoring the Color Palette: While it's tempting to use the colors from the original image, not all colors will translate well into thread. Using too many similar shades can make the stitching process more difficult. It's often better to reduce the color palette for clarity.
- Neglecting to Adjust the Size: Sometimes images need resizing to fit within a manageable stitching grid. If you leave the image too large, the pattern may become overwhelming, making it difficult to stitch accurately.
- Not Testing the Pattern First: Before diving into your main project, consider testing the pattern with a smaller section. This will allow you to catch any issues with colors or stitch placement before committing to the full design.
Avoiding these mistakes can help ensure your cross stitch project turns out as planned, saving you time and effort in the process!
Also Read This: How Often YouTube Views Refresh and Update for Content Creators
Benefits of Converting Images into Cross Stitch Patterns
Converting images into cross stitch patterns offers several advantages, whether you're a beginner or an experienced crafter. Here are some key benefits of this creative process:
- Personalized Crafting: By converting your own images, you can create highly personalized pieces that reflect your style, interests, or important moments in life. Whether it’s a wedding photo or a picture of your pet, the possibilities are endless.
- Endless Design Options: Almost any image can be converted into a cross stitch pattern, from family portraits to famous works of art. This gives you creative freedom to choose from a wide range of images, adding variety to your projects.
- Enhances Your Skills: Working with custom cross stitch patterns improves your skills as a crafter. It challenges you to adjust images, choose thread colors, and translate photos into stitches, all while sharpening your creativity and technique.
- Perfect for Gifts: Cross stitch projects make thoughtful and unique gifts. Converting an image into a pattern allows you to create custom gifts for friends and family, making them even more meaningful.
- Stress Relief and Mindfulness: Cross stitching itself is known to be a relaxing and therapeutic activity. Converting images into patterns offers a creative outlet that can provide both a sense of accomplishment and relaxation.
Overall, converting images into cross stitch patterns brings creativity, personalization, and satisfaction to your crafting projects. It’s a great way to make your cross stitching even more rewarding and meaningful.
Also Read This: How to Remove a Post from LinkedIn
Frequently Asked Questions
Here are some common questions about converting images into cross stitch patterns that might help you with your project:
- Can I use any image for cross stitching?
Yes, you can convert most images into cross stitch patterns. However, simpler images with bold outlines and fewer details work best for easy stitching. - Do I need to use special software to convert the image?
While it’s not necessary, using pattern-making software like Stitch Fiddle or Pic2Pat makes the conversion process much easier and more accurate. - How do I select the right number of colors for my pattern?
Choosing too many colors can make the project complicated. Most software allows you to reduce the color palette, but it’s generally best to stick to a limited number of colors for clarity and simplicity. - What size should my image be?
For easier stitching, reduce the image to a size that fits within a 100x100 to 200x200 pixel grid. Larger images may become too complex to stitch comfortably. - Can I adjust the pattern once it’s converted?
Yes, many pattern-making tools let you adjust the size, color scheme, and even add or remove elements to customize the pattern further before you start stitching.
By understanding these common questions, you’ll feel more confident in converting images into cross stitch patterns and be ready to tackle your project with ease!
Conclusion
Converting an image into a cross stitch pattern is a fun and rewarding way to personalize your crafting projects. Whether you're creating a gift, a keepsake, or just a unique design, this process allows you to turn any image into a beautiful, handmade piece of art. By following the steps outlined in this guide and avoiding common mistakes, you can achieve great results. With the right tools, preparation, and creativity, your cross stitch patterns will be both enjoyable to create and stunning to display. Happy stitching!

 admin
admin


