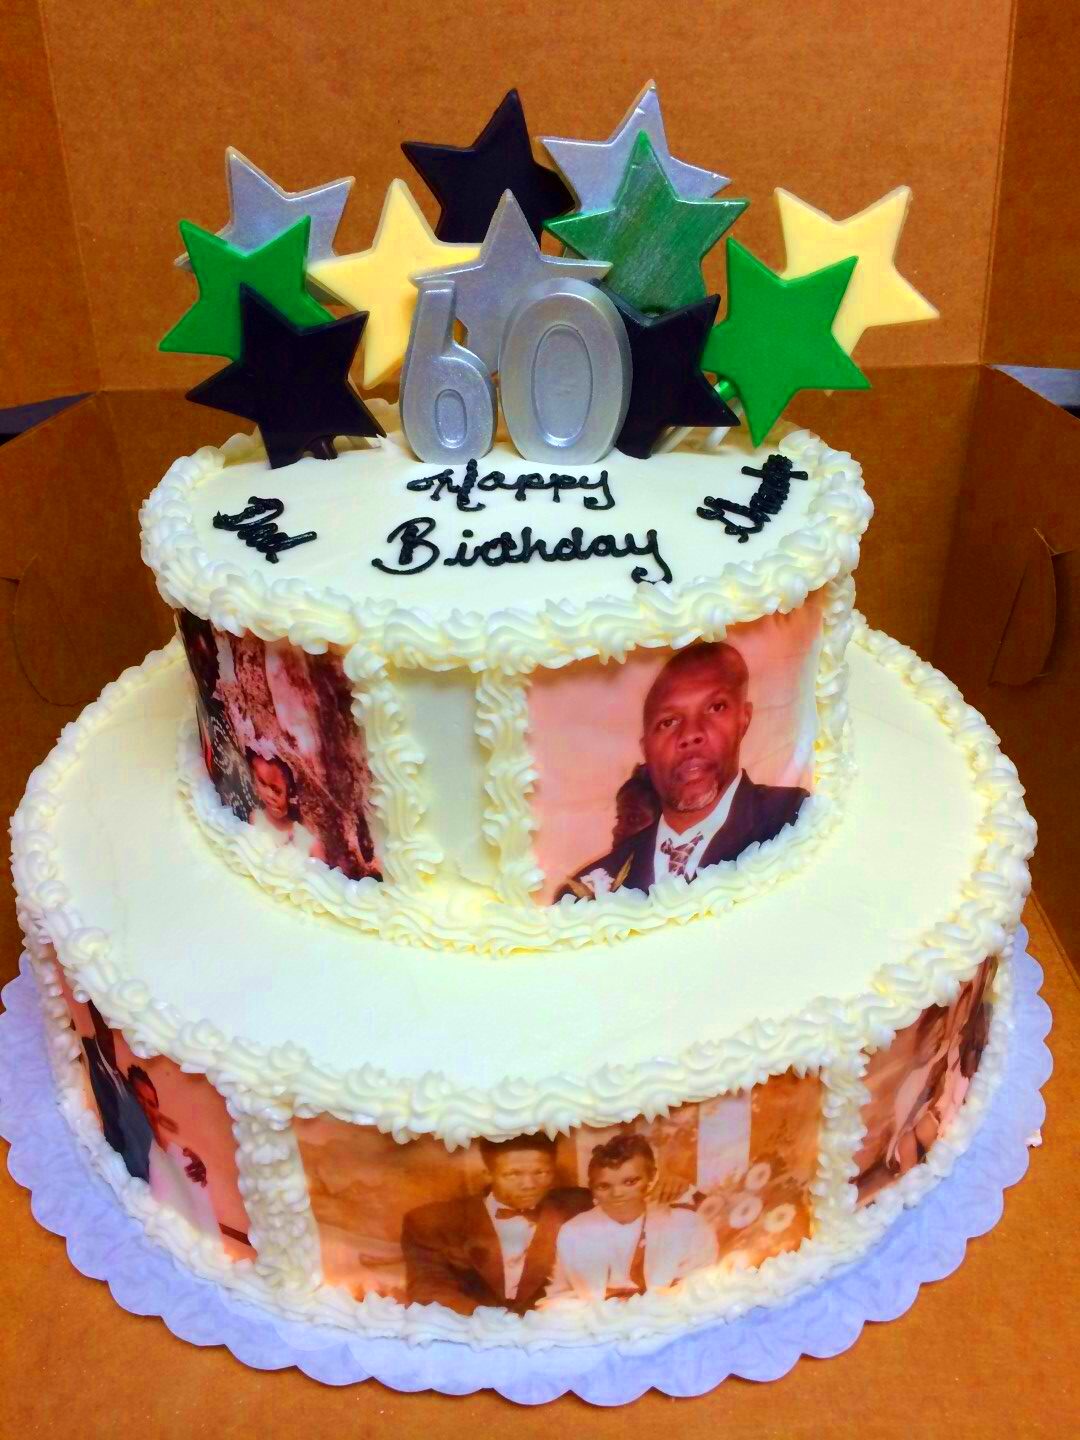
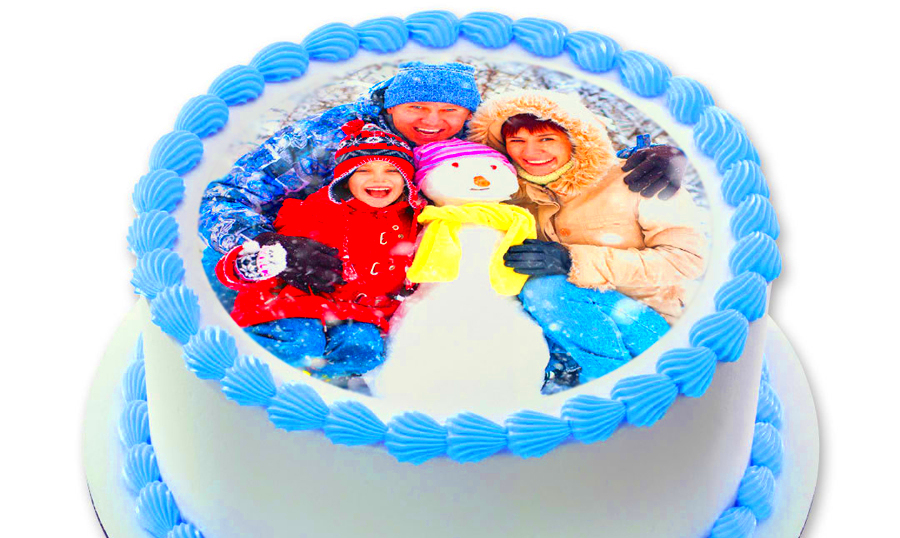
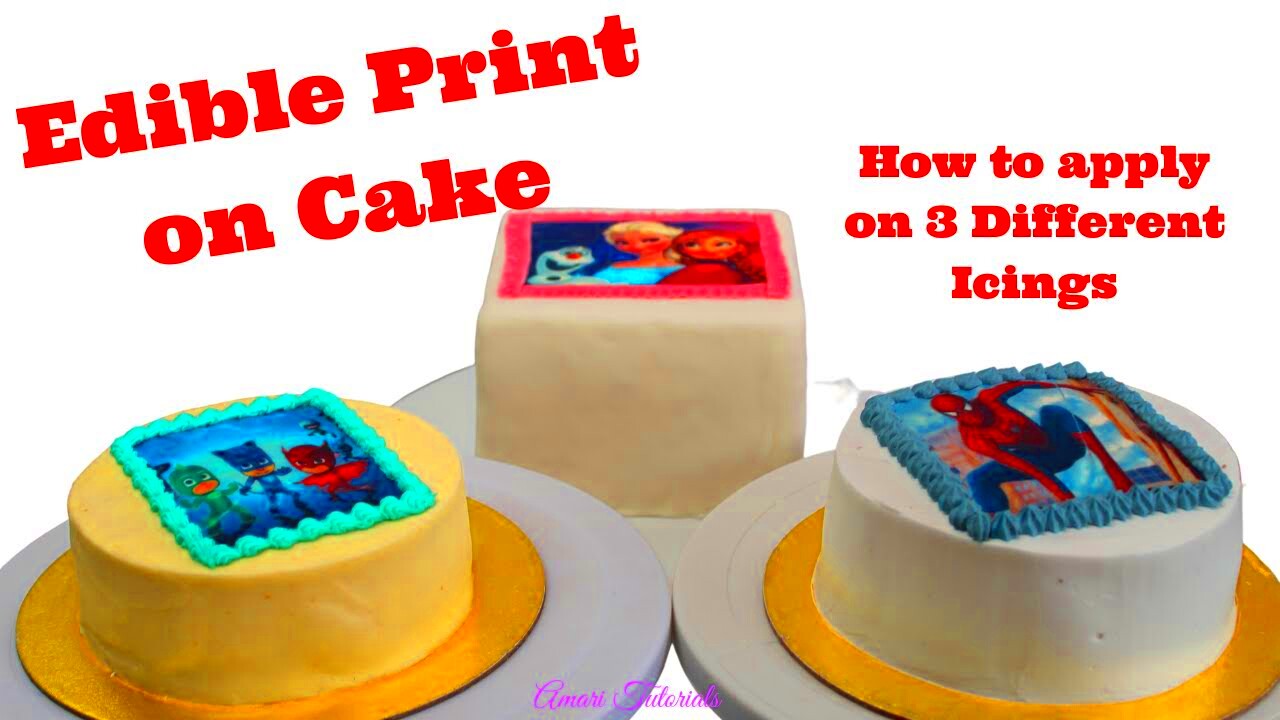
Printing edible images for cakes is a fun and creative way to make your cakes stand out. Whether you're decorating a birthday cake, wedding cake, or any special occasion cake, edible images allow you to add custom designs, photos, or artwork directly onto the cake. This technique is becoming increasingly popular because it’s simple, customizable, and gives cakes a professional look. With edible image printing, you can bring any design to life, whether it’s a favorite photo or a themed graphic.
What Are Edible Images

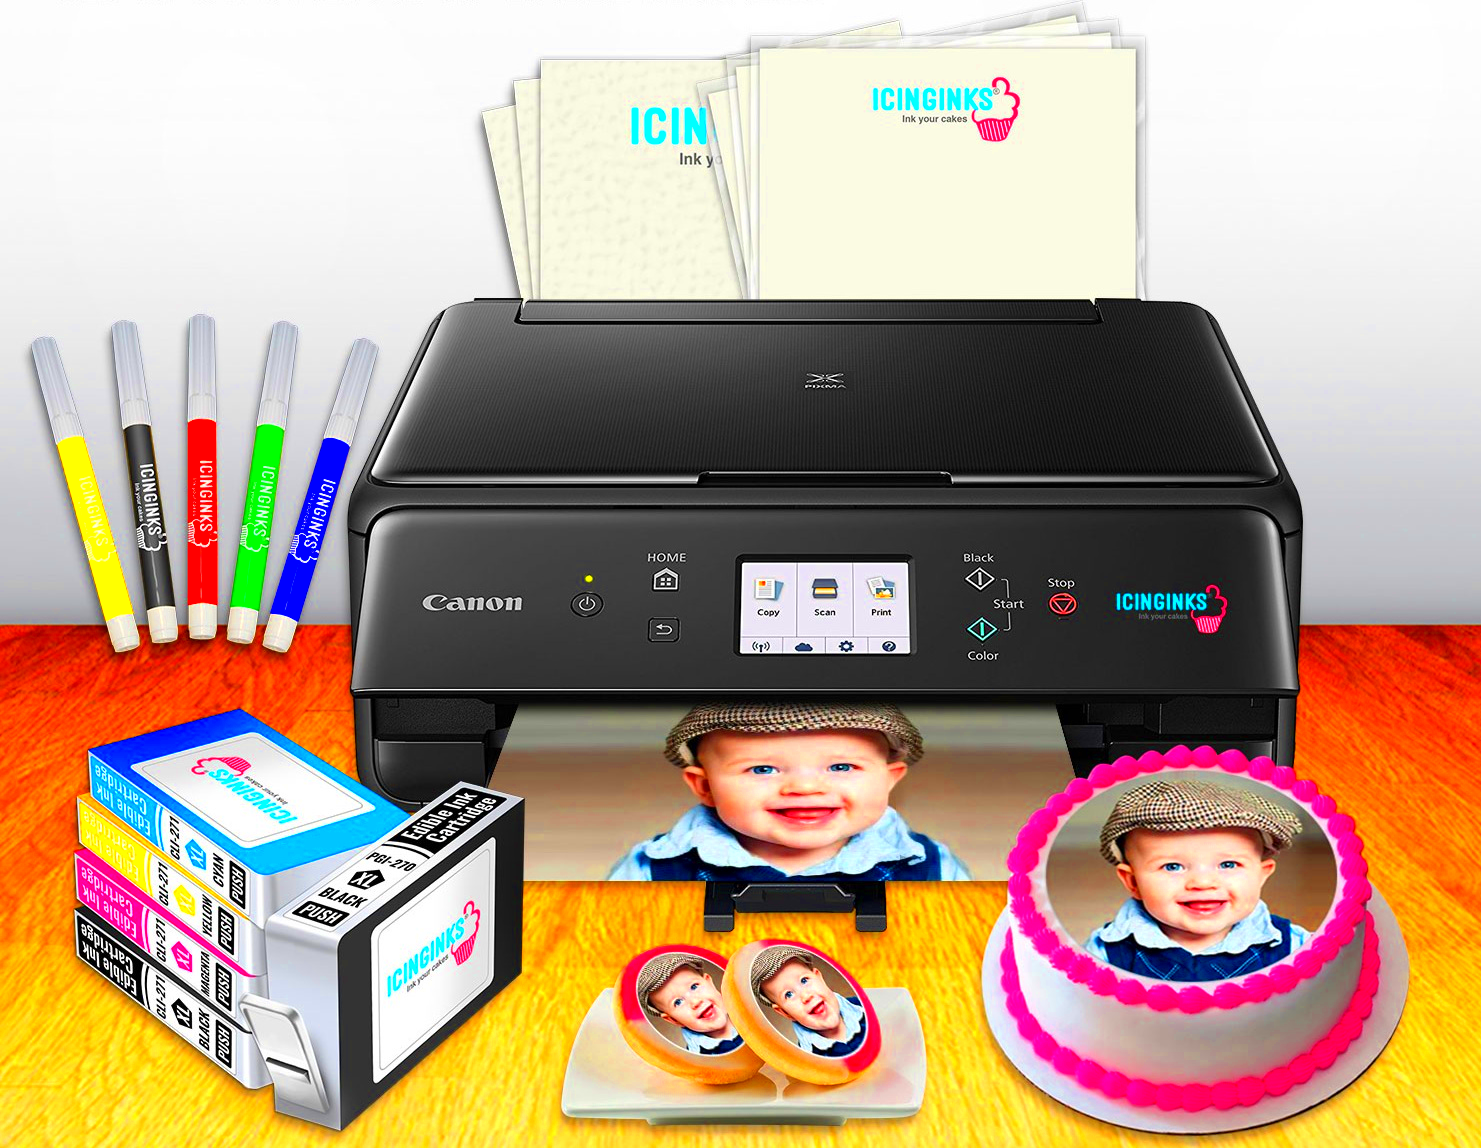
Edible images are pictures printed on special sheets that can be safely eaten. These images are made using edible ink and edible paper. The ink used is made from food-safe ingredients, and the paper is typically made from rice or sugar. These images can be printed using a standard printer that has been fitted with edible ink cartridges. The best part is that edible images can be placed directly on cakes, cupcakes, cookies, and other desserts, allowing you to personalize your treats in a unique way.
- Edible Ink: This is the ink used for printing. It is non-toxic and safe to consume.
- Edible Paper: The paper is usually made of sugar or rice and is designed to dissolve quickly on the cake.
Edible images are commonly used for:
- Photos and logos
- Custom designs and artwork
- Text, such as messages or greetings
How Printing Edible Images for Cakes Works

The process of printing edible images for cakes is straightforward and requires just a few essential steps. First, you need a compatible printer that uses edible ink, and edible paper that suits your design preferences. Here’s how it works:
- Prepare Your Image: Start by selecting or creating the image you want to print. This could be a personal photo, a design, or a pre-made graphic.
- Print the Image: Load edible paper into the printer, then print your image using edible ink cartridges. Ensure your printer is calibrated correctly for the best results.
- Cut the Image: Once printed, you may need to trim the image to fit the cake or dessert. Use scissors or a knife to carefully cut out the image.
- Apply the Image: Gently place the edible image on your cake’s surface. If using frosting, you can lightly mist the image with water to help it adhere better.
Once the image is placed, it seamlessly blends into the cake's surface, giving it a clean and professional appearance. The edible paper dissolves slightly, making the image a natural part of the cake. This method is a great way to add intricate designs without needing advanced decorating skills!
Types of Edible Papers and Inks for Cake Printing

When it comes to printing edible images for cakes, choosing the right edible paper and ink is essential for achieving the best results. There are a few types of edible papers and inks to consider, each suited for different purposes. Let’s dive into the most commonly used types:
Types of Edible Papers
Edible papers are designed to dissolve on your cake, leaving only the printed image behind. The two most popular types are:
- Rice Paper: This is a thin, translucent paper made from rice flour. It’s commonly used for printing images, as it holds ink well and dissolves quickly when in contact with moisture, like frosting.
- Sugar Sheets: Made from sugar, these sheets are a bit thicker than rice paper and have a slightly glossy finish. Sugar sheets tend to be more durable and are a popular choice for cake decorators looking for a more refined texture.
Types of Edible Inks
Edible ink is the key ingredient that brings your designs to life. Here are the two most common types:
- Liquid Edible Ink: This ink comes in bottles and is used with refillable ink cartridges in specialized printers. Liquid ink works well for vibrant colors and detailed designs.
- Gel Edible Ink: Gel ink is thicker than liquid ink and is used for more detailed, intricate designs. It’s great for vibrant, rich colors that stand out on cakes.
For the best printing results, make sure the paper and ink you choose are compatible with your printer. Quality materials ensure your images stay vibrant and intact on the cake!
Choosing the Right Printer for Edible Images
Choosing the right printer for edible image printing can make a huge difference in the final product. Not all printers are suitable for edible ink, so it’s important to select one that’s designed for this purpose. Here’s what to look for:
Printer Compatibility
First and foremost, your printer needs to be compatible with edible ink. Regular printers can’t use edible ink, as they aren’t designed to handle food-safe materials. You’ll need a printer specifically made for this purpose, such as:
- Canon Printers: Many Canon printers, especially models from the PIXMA series, are popular for edible image printing. They can be modified with edible ink cartridges.
- Epson Printers: Epson printers are another common choice, especially for those who want a more professional-grade printer. Many models work well with edible ink when modified.
Key Features to Consider
When choosing a printer, keep these factors in mind:
- Print Resolution: A higher DPI (dots per inch) means sharper, clearer images. For detailed edible images, look for a printer with at least 4800 x 1200 DPI.
- Ease of Use: Choose a printer that’s easy to set up and use. Some printers are designed specifically for edible printing, so they’ll be more user-friendly for beginners.
- Cartridge System: Ensure the printer you choose has compatible edible ink cartridges or can be easily refilled with food-safe ink.
Once you’ve found the right printer, you’ll be able to create high-quality, professional-looking edible images for your cakes and desserts!
Step by Step Guide to Printing Edible Images for Cakes
Printing edible images for cakes is a simple process that anyone can master with the right equipment and a little practice. Here’s a step-by-step guide to help you get started:
Step 1: Gather Your Supplies
Before you begin, make sure you have everything you need:
- Edible ink printer (with edible ink cartridges)
- Edible paper (rice paper or sugar sheets)
- Design or image to print
- Scissors for cutting
- Frosting or fondant for applying the image
Step 2: Prepare Your Image
Select the image you want to print. It could be a photo, a logo, or a custom design. Make sure the image is high quality and fits the size of your cake. You can adjust the
Step 3: Print the Image
Once you have your image ready, load the edible paper into the printer’s paper tray. Make sure the printer is set up with edible ink cartridges. Then, simply print the image onto the edible paper. Be careful to follow the printer’s instructions to avoid any issues.
Step 4: Prepare the Cake
Frost your cake or dessert with a smooth layer of frosting or fondant. The frosting should be slightly firm to hold the edible image in place, but not too dry that it doesn’t adhere properly.
Step 5: Apply the Edible Image
Carefully cut out the printed edible image and gently place it onto the cake. If the image is slightly stiff, you can lightly mist it with water to help it stick. Press down gently to smooth out any air bubbles and ensure the image adheres to the frosting or fondant.
Step 6: Finish Your Cake
Once the image is applied, you can add any finishing touches to your cake, like piping, decorations, or borders. The edible image will blend into the cake, creating a beautiful, professional design!
That’s it! With just a few simple steps, you can create stunning cakes with edible images that wow your guests. Practice makes perfect, so don’t be afraid to experiment with different designs and techniques.
Common Mistakes to Avoid When Printing Edible Images
While printing edible images for cakes is a fun and creative process, there are a few common mistakes that can affect the quality of your final product. Avoiding these errors will help ensure your edible images come out perfect every time. Here are some of the most common mistakes to look out for:
1. Using the Wrong Printer
One of the biggest mistakes is using a regular printer instead of one that is compatible with edible ink. Using non-edible ink can not only ruin the design but also make the cake unsafe to eat. Always make sure your printer is specifically designed or modified for edible ink printing.
2. Using Incompatible Edible Ink
Not all edible inks work well with every type of printer. Always check the compatibility of your edible ink with your printer model. Using incompatible ink can lead to poor-quality prints or damage to your printer.
3. Incorrect Image Resolution
Printing low-resolution images can result in blurry or pixelated designs. Make sure the image you're using has a high enough resolution to ensure sharp, clear details when printed. Ideally, aim for a resolution of 300 DPI for the best print quality.
4. Not Preparing the Cake Surface Properly
The cake’s surface should be smooth and slightly tacky to ensure the edible image sticks properly. If the surface is too dry or too wet, the image may not adhere well or could smudge.
5. Not Allowing Enough Drying Time
After applying the edible image, it’s essential to let it sit for a little while to allow the ink to settle. Rushing this process can lead to smudging or damage to the image.
6. Overhandling the Edible Paper
Edible paper is delicate. Handling it too much or improperly can cause it to tear, smudge, or wrinkle. Be gentle when handling and cutting the edible paper to keep your designs intact.
How to Store Edible Images for Cakes
Storing edible images correctly is just as important as printing them properly. Proper storage ensures that your edible images stay fresh and retain their quality until you’re ready to use them. Here’s how to store your edible images for the best results:
1. Keep Edible Images in a Cool, Dry Place
Edible images should be stored in a cool, dry place away from heat and humidity. Excess moisture or heat can cause the images to soften, wrinkle, or lose their color. A temperature-controlled room is ideal for storage.
2. Avoid Direct Sunlight
Sunlight can cause edible images to fade over time, so keep them in a shaded area. Store them in a dark drawer or cabinet, away from windows where sunlight can reach them.
3. Use Airtight Containers
To prevent the edible paper from becoming too dry or absorbing moisture, place the edible images in airtight containers. This will help maintain their freshness and keep them from becoming brittle.
4. Don’t Stack Too Many Images Together
To avoid damaging the delicate edible paper, don’t stack too many sheets together. Store them in a single layer, or use parchment paper between sheets to protect them from bending or creasing.
5. Store in a Flat Position
Edible images should always be stored flat to prevent them from curling or warping. Make sure they are kept on a flat surface in the storage container.
When stored correctly, edible images can last for several weeks or even months. Just remember to check for any signs of fading or damage before using them on cakes or desserts!
FAQ
Here are some frequently asked questions about printing edible images for cakes to help clear up any confusion and make your baking experience easier:
1. Can I use regular printer ink for edible images?
No, you should never use regular printer ink for edible images. Regular ink is not food-safe and can make your cake unsafe to eat. Always use edible ink that is specifically designed for printing on food products.
2. How long do edible images last once applied to the cake?
Once applied to a cake, edible images can last for several days if stored properly. The image will remain vibrant, but the paper may dissolve slightly into the frosting over time. It’s best to apply the image just before serving for the freshest appearance.
3. Can I print any image onto edible paper?
Yes, you can print any image onto edible paper, as long as the image is of high enough resolution. It’s important to choose clear, crisp images to avoid any blurriness or pixelation once printed.
4. Can I use edible images on cakes with whipped cream or other moist toppings?
Yes, you can use edible images on cakes with whipped cream, but be careful as the image may dissolve faster on very moist surfaces. It’s best to apply the image to a surface like fondant or buttercream, which will hold it in place better.
5. How do I remove an edible image from a cake if I make a mistake?
If you need to remove an edible image, carefully peel it off the cake. It may be a bit tricky if the image has already started to dissolve into the frosting, but it’s possible to do so without ruining the cake. Just be gentle to avoid tearing the edible paper.
6. Can I print images for cupcakes?
Yes, edible images can be printed for cupcakes as well! Simply print smaller images and cut them to fit the top of your cupcakes. They’re a great way to add custom designs or messages to individual cupcakes.
Conclusion
Printing edible images for cakes is a simple yet impressive way to elevate your cake decorating skills. With the right equipment, materials, and a little practice, you can create stunning, customized cakes for any occasion. By selecting the correct edible papers and inks, choosing the right printer, and following a step-by-step process, you can easily print high-quality, vibrant images that will impress your guests. Just be sure to avoid common mistakes, store your edible images correctly, and apply them carefully to ensure the best results. Whether you're a beginner or an experienced baker, edible image printing is a fun and creative way to make your cakes even more special!

 admin
admin


