Transferring images to metal is a creative way to turn photos, artwork, or designs into something truly unique and durable. Whether you're looking to add a personal touch to your home décor or create a custom gift, this DIY technique is easy to master with just a few steps. The process involves printing an image onto a special paper, then transferring it to a metal surface. The results are impressive, with vibrant colors and a glossy finish that makes the image pop. With this guide, you’ll learn everything you need to get started and achieve professional-looking results right at home.
Materials Needed for Image Transfer
Before diving into your project, it's essential to gather all the materials needed for transferring images to metal. Here’s a list of the basic supplies you’ll need:
- Image Printer: A printer capable of printing your chosen image onto transfer paper. Inkjet printers work best for this technique.
- Transfer Paper: Special paper designed for image transfers. Make sure to choose the type that is compatible with your printer.
- Metal Surface: You can use aluminum, steel, or any metal surface that can withstand the image transfer process.
- Gel Medium or Mod Podge: A medium that helps bond the image to the metal surface.
- Scraper or Credit Card: Used to smooth out air bubbles and ensure even contact between the paper and metal.
- Water: To help remove the transfer paper after the image has been applied.
- Sealant: To protect your transferred image and ensure longevity. This could be a clear spray or brush-on varnish.
Once you’ve collected all these materials, you’ll be ready to start your image transfer project. Keep in mind that using high-quality materials will ensure the best results, so take your time to choose the right products.
Also Read This: Effective Strategies to Grow Your Audience on Behance
Preparing the Metal Surface
Properly preparing your metal surface is a key step in ensuring your image transfer turns out well. A clean and smooth surface helps the image adhere better and reduces the chance of imperfections. Here's how you can get your metal ready:
- Clean the Surface: Before anything, make sure the metal is free of dust, grease, or any other residue. You can use a mild soap solution or rubbing alcohol to clean the surface thoroughly. A clean cloth or paper towel will work well for wiping down the metal.
- Sand the Surface (Optional): For metals with a very smooth or glossy finish, lightly sanding the surface can help the transfer medium bond better. Use fine-grit sandpaper, and be gentle—you don’t want to scratch the metal too much. Just enough to create a slightly rough texture will work.
- Prime the Surface (Optional): If you're working with bare metal or want to create a smoother finish, applying a thin layer of primer can help. Choose a primer that is suitable for metal surfaces, and let it dry completely before proceeding.
- Test the Surface: Before applying the transfer medium, it’s a good idea to test a small area to make sure the metal surface is ready for the image. This will help you gauge how well the medium sticks and whether any adjustments are needed.
Taking the time to properly prepare your metal surface ensures a smoother and more durable transfer. With the right prep work, your image will come out vibrant and clear, without any unwanted wrinkles or bubbles.
Also Read This: Embedding Video in Behance for Enhanced Portfolio Projects
Choosing the Right Image for Metal Transfer
Choosing the right image is crucial to a successful metal transfer. Not all images are suited for the metal surface, and selecting the wrong one can result in a poor transfer. Here are some tips to help you pick the perfect image:
- High-Resolution Images: Opt for high-quality images with a high resolution (at least 300 dpi). Low-resolution images will appear pixelated once transferred, which can make the final product look blurry or unprofessional.
- Simple Designs Work Best: Intricate designs with too many small details may not transfer as clearly onto metal. Opt for images with bold lines, vibrant colors, and simple shapes. These are more likely to produce a crisp, clear result.
- Consider Image Size: Ensure the image fits the metal surface you're working with. It's important to scale the image properly before printing, so it aligns perfectly with your project. You can use photo editing software to resize the image.
- Contrast and Colors: Images with good contrast and vibrant colors tend to look better on metal. Darker colors often pop against the shiny metal surface, creating striking visual effects.
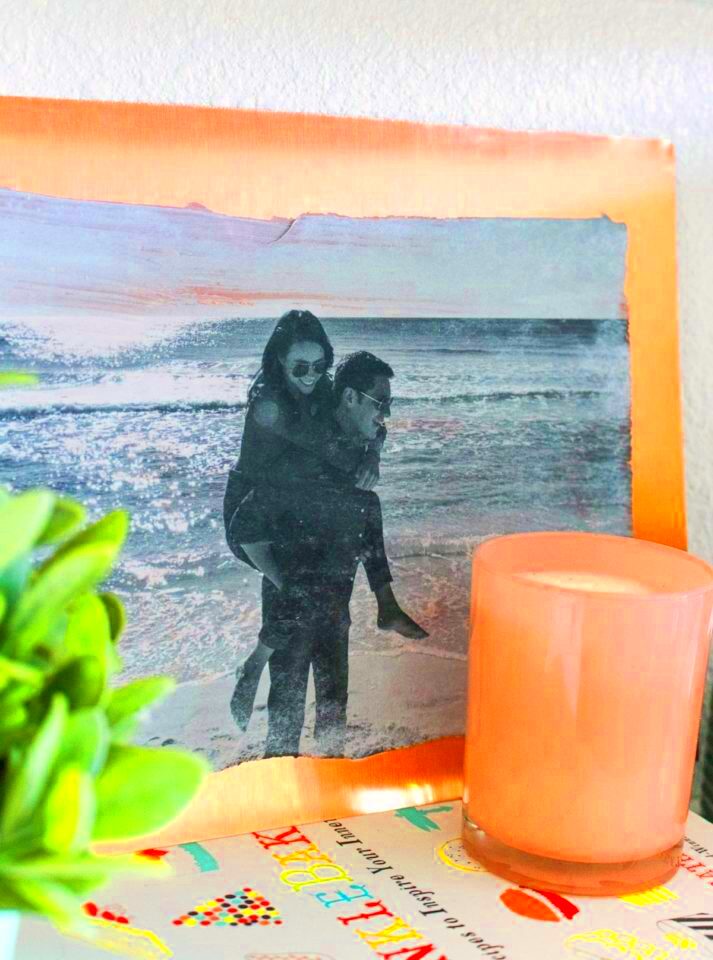
- Use Black and White Images for a Vintage Look: If you're aiming for a vintage or retro vibe, consider using black and white or sepia-toned images. These often transfer beautifully to metal surfaces, adding a timeless, artistic feel to your project.
By following these guidelines, you’ll ensure that your image looks great once transferred to metal. The right image will enhance the overall effect, making your project truly stand out.
Also Read This: Mastering Adobe Stock Video for Your Projects
Step-by-Step Instructions for Transferring the Image
Now that you've chosen your image and prepared your materials, it's time to get started with the transfer process. Follow these steps to ensure a smooth, successful transfer:
- Print the Image: Using your inkjet printer, print the image onto the transfer paper. Be sure to mirror the image if it contains text or any specific orientation. The transfer paper will be printed on the smooth side.
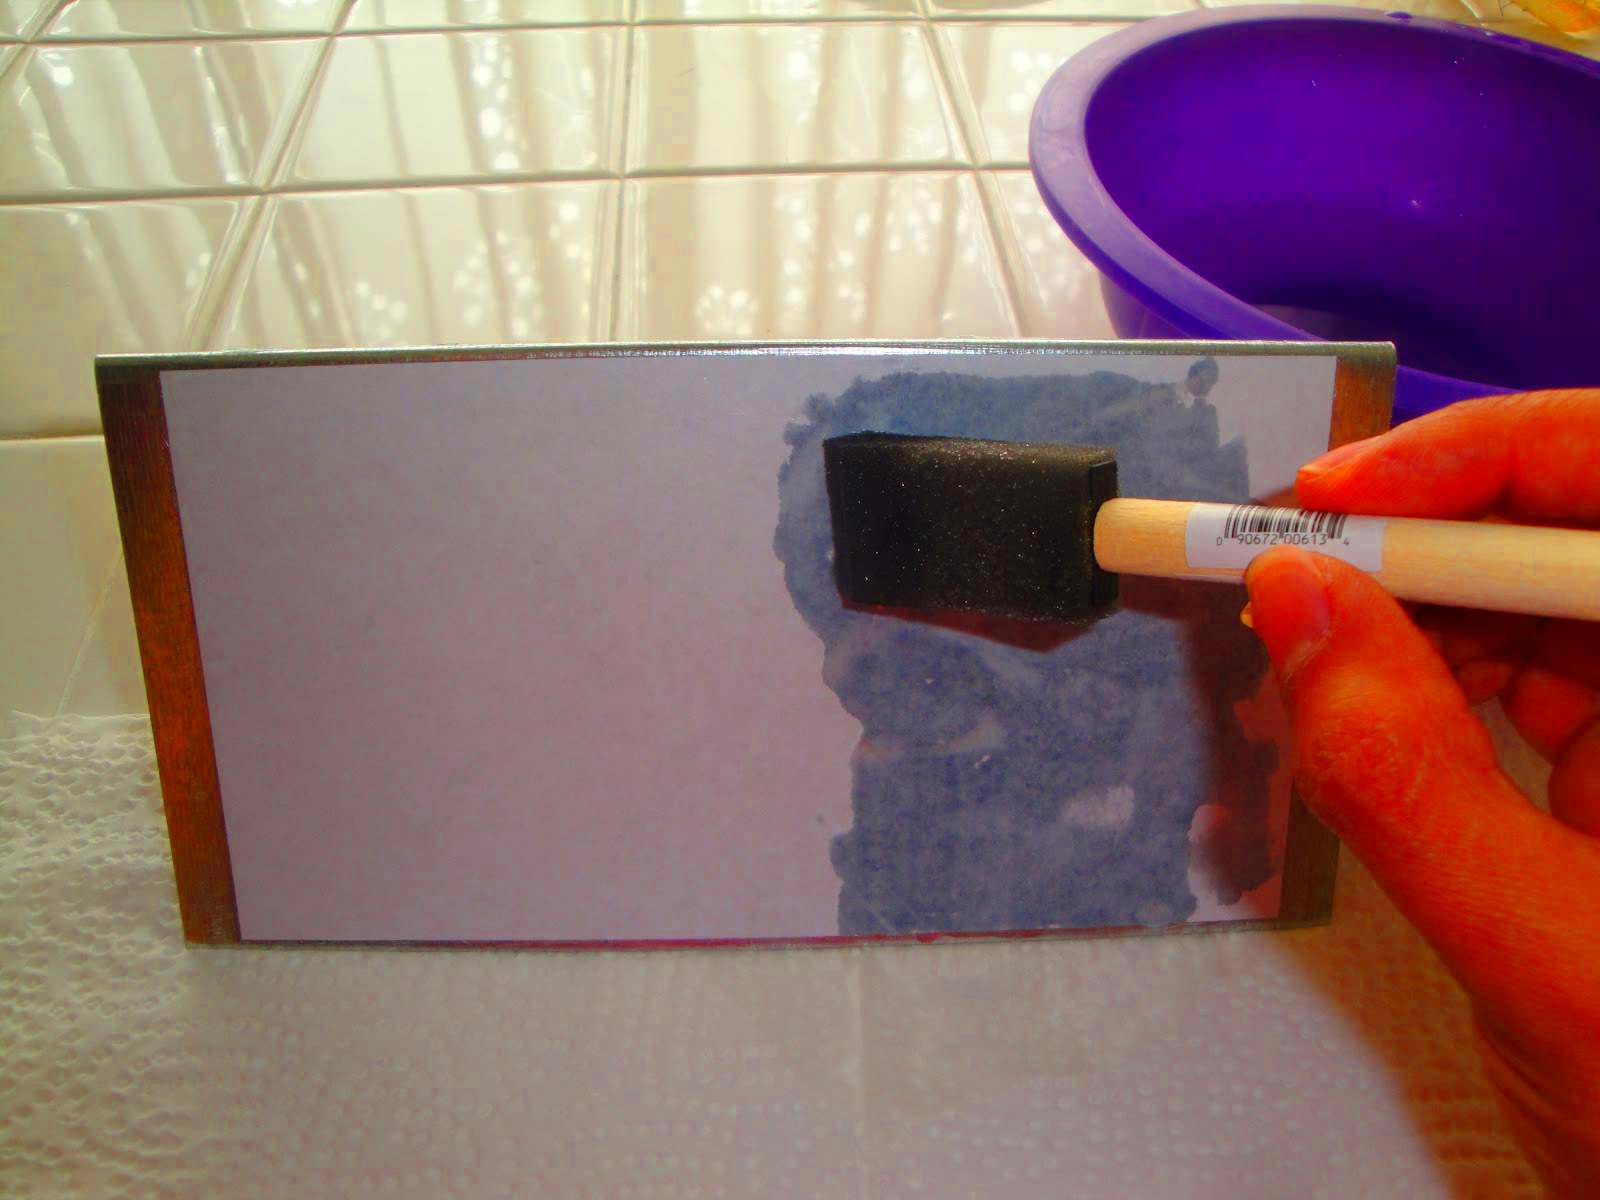
- Apply the Transfer Medium to the Metal: Using a paintbrush or foam brush, apply a thin, even layer of gel medium or Mod Podge onto the metal surface. Be careful not to use too much—just enough to cover the surface.
- Place the Image onto the Metal: Once the medium is applied, carefully place the printed side of the image face down onto the metal surface. Gently press the image down to remove air bubbles. You can use a credit card or scraper to ensure full contact.
- Let It Dry: Allow the image and the medium to dry for about 1-2 hours. Make sure the image is fully adhered to the metal before moving on to the next step.
- Moisten and Peel the Paper: After the transfer has dried, take a damp sponge or cloth and gently wet the back of the paper. Allow it to soak for a few minutes to soften the paper. Once softened, slowly begin rubbing the paper off in circular motions. Be careful not to rub too hard, as this can damage the image.
- Seal the Image: Once the paper is removed and the image is dry, apply a clear sealant to protect the transferred image. This will help preserve the colors and ensure durability. You can use a spray or brush-on varnish, depending on your preference.
By following these simple steps, you can achieve a beautiful and lasting image transfer onto metal. Take your time, be patient, and don’t rush the process to ensure the best results.
Also Read This: Maximizing Sales on Getty Images: Strategies for Optimizing Your Portfolio Performance
Common Mistakes to Avoid When Transferring Images to Metal
While transferring images to metal is a fun and rewarding DIY project, there are a few common mistakes that can lead to disappointing results. Here’s a list of pitfalls to avoid to make sure your image transfer is successful:
- Using Low-Quality Images: As mentioned earlier, low-resolution images will not transfer well and will appear pixelated. Always use high-quality, high-resolution images to ensure a sharp, clear result.
- Not Preparing the Metal Surface Properly: Skipping the preparation steps or rushing through them can lead to uneven transfers. Always clean, sand, and prime your metal surface if necessary to ensure a smooth, receptive surface for the transfer.
- Overloading the Transfer Medium: Applying too much gel medium or Mod Podge can cause the image to become too thick and uneven. Use a light, even coat and ensure there are no thick spots that could cause air bubbles or wrinkles in the final image.
- Rushing the Drying Process: Don’t rush the drying time. If the transfer is not completely dry before you begin rubbing off the paper, it can result in smeared or incomplete transfers. Allow sufficient drying time at each step to ensure the best outcome.
- Not Testing the Transfer First: It’s always a good idea to test the process on a scrap piece of metal before doing your main project. This will allow you to work out any issues with the materials or technique before applying it to your final piece.
- Using the Wrong Paper Type: Not all transfer papers are made equal. Ensure that you’re using transfer paper that’s compatible with your printer type (inkjet or laser) and that it’s designed for metal surfaces. Using the wrong paper can result in poor transfers or issues with ink smudging.
By being mindful of these common mistakes, you can avoid frustration and ensure that your metal transfers come out looking beautiful every time. Pay attention to detail and follow the instructions carefully, and you’ll be proud of your work.
Also Read This: Behind the Scenes of TikTok’s Algorithm: How Your Videos Are Ranked
Tips for Long-lasting Results
To ensure your image transfers to metal remain vibrant and in top condition, follow these simple tips for long-lasting results. Proper care and maintenance can significantly extend the life of your artwork, preserving the quality of the transfer for years to come.
- Use a Protective Sealant: One of the best ways to protect your transferred image is by applying a clear coat or sealant. This helps to shield the image from scratches, moisture, and fading. Choose a high-quality spray or brush-on varnish specifically designed for metal surfaces. Ensure you apply several light coats rather than one thick layer to avoid uneven coverage.
- Store in a Safe Location: Avoid placing your metal transfer in areas where it might be exposed to harsh conditions like direct sunlight, high humidity, or extreme temperatures. Ideally, hang it in a well-lit room with stable conditions to prevent the colors from fading.
- Clean Carefully: When cleaning your metal artwork, use a soft cloth and avoid abrasive cleaners. Wipe gently to remove dust or dirt, as scrubbing too hard can damage the surface or affect the image quality.
- Avoid Contact with Harsh Chemicals: Harsh cleaning agents or chemicals can cause the image to degrade over time. Stick to mild, non-abrasive cleaners, and be careful not to rub the surface too aggressively.
- Frame or Display Properly: If you’re displaying your transferred metal artwork, consider framing it or placing it in a protective case to prevent unnecessary handling or potential damage. This helps to preserve the integrity of the image for longer periods.
By following these tips, you can ensure that your image transfers not only look great initially but also stay vibrant and in perfect condition for years to come.
Also Read This: Steps to Upload Images to Adobe Stock for Profit
FAQ
If you have questions about transferring images to metal, you’re not alone. Here are answers to some of the most common questions people have about this DIY project:
- Can I use any type of image? Not all images are ideal for metal transfers. It’s best to choose high-resolution, simple designs with good contrast. Images that are too intricate or low-quality might not transfer well.
- What type of metal is best for transfers? While most metals will work, aluminum and steel are the most popular choices. These metals have smooth surfaces that allow for a clean transfer. However, make sure the metal is properly prepped before applying the image.
- How long does the transfer process take? The actual transfer process typically takes about 2-4 hours, including drying time. However, it’s best to allow your artwork to sit for 24 hours before sealing to ensure it’s fully dry.
- Can I use a photo instead of an artwork? Yes, you can transfer photos onto metal. Just ensure your photo is printed at a high resolution and that it's not too detailed or complicated. Black and white or sepia photos often look great when transferred to metal.
- Do I need special equipment? No, the materials you need for transferring images to metal are relatively simple: an inkjet printer, transfer paper, gel medium or Mod Podge, and a scraper. The process itself is easy to follow and doesn’t require expensive equipment.
Conclusion
Transferring images to metal is a fun and rewarding DIY project that allows you to create custom artwork that lasts. Whether you’re making personalized gifts, adding unique pieces to your home décor, or simply experimenting with a new creative technique, the results can be stunning. With the right materials, proper preparation, and a little patience, you can achieve professional-looking transfers that will stand the test of time. Remember to follow the tips for preserving your artwork and avoid common mistakes to get the best results. Now, it’s time to get started and let your creativity shine!
 admin
admin


