Stretching an image in Photoshop is a useful technique when you need to alter the dimensions of an image without changing its core content. Whether you want to fit the
Understanding Image Resizing and Distortion

When you resize an image in Photoshop, the pixels within the image are adjusted to fit new dimensions. This can lead to distortion, particularly when you stretch the
There are two main types of distortion you should be aware of:
- Linear distortion: This occurs when the image is stretched unevenly, making the image look "warped" or “squished.”
- Pixelation: If you stretch an image too much, it can cause the pixels to become visible, making the image appear blurry or jagged.
To avoid these issues, it's crucial to understand how Photoshop handles image resizing. You should always aim to maintain the image's aspect ratio unless your goal is to create a specific effect that requires distortion.
Also Read This: Adding Image Credits in PowerPoint Presentations
Steps to Stretch an Image in Photoshop

Stretching an image in Photoshop is fairly simple, but it’s important to follow the correct steps to avoid unwanted distortion. Here’s a step-by-step guide:
- Open the Image: Start by opening the image you want to stretch in Photoshop.
- Select the Image: Use the selection tool or press Ctrl + A (Windows) or Cmd + A (Mac) to select the entire image.
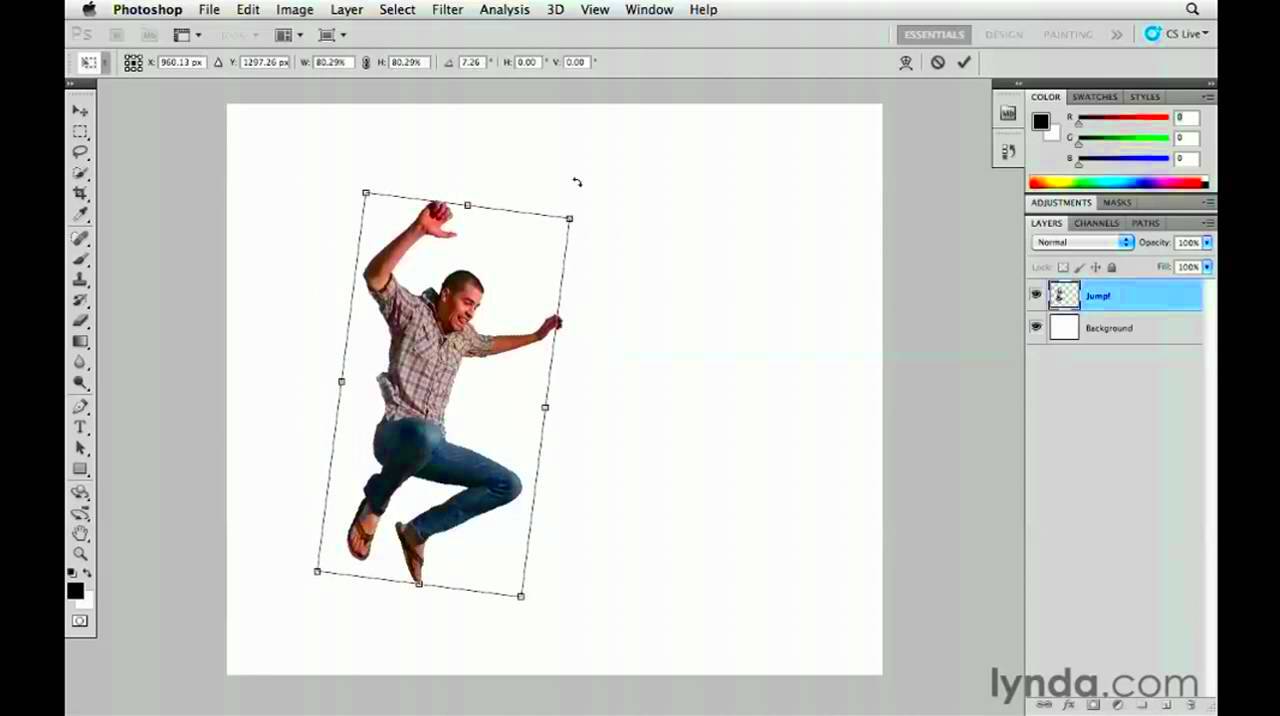
- Activate the Transform Tool: Press Ctrl + T (Windows) or Cmd + T (Mac) to activate the Transform tool. This will display a box around the image with handles at the corners and edges.
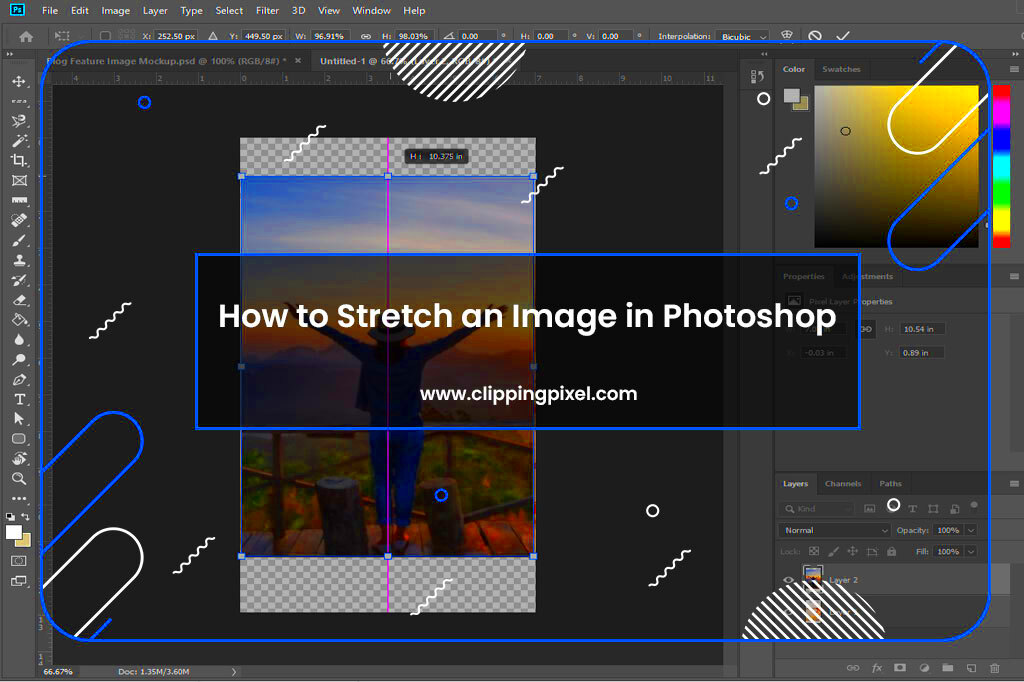
- Stretch the Image: Click and drag the handles to stretch the image in the desired direction. Hold the Shift key while dragging to keep the aspect ratio intact, or release it if you want to stretch it unevenly.
- Apply the Transformation: Once you're happy with the new size, press Enter (Windows) or Return (Mac) to apply the changes.
It's important to note that stretching too far can lead to visible distortion. If you want to maintain the quality of the image while resizing, try to limit how much you stretch it and use higher-resolution images for better results.
Also Read This: How to Read Metadata of an Image
Using the Transform Tool for Image Stretching

The Transform tool in Photoshop is a powerful feature that allows you to stretch or resize your images easily. It's one of the most common ways to adjust the size and shape of an image without needing complex editing. By selecting the Transform option, you can freely stretch an image either proportionally or non-proportionally, depending on your needs.
Here’s how to use the Transform tool to stretch an image:
- Select the Image: Open the image in Photoshop and use Ctrl + A (Windows) or Cmd + A (Mac) to select it.
- Activate the Transform Tool: Press Ctrl + T (Windows) or Cmd + T (Mac) to activate the Transform tool. This will show a bounding box around the image with handles on the corners and sides.
- Stretch the Image: Click and drag one of the corner handles to stretch the image. If you hold down the Shift key while dragging, the aspect ratio will stay locked, meaning the image won’t get distorted. If you want to stretch the image unevenly, release the Shift key while dragging.
- Apply the Changes: After you’ve stretched the image to the desired size, press Enter (Windows) or Return (Mac) to confirm the transformation.
Keep in mind that the Transform tool allows for some flexibility, but over-stretching an image can lead to distortion. Always check the results before finalizing the transformation to ensure the quality of your image is maintained.
Also Read This: How to Sell Photos on Getty Images and Maximize Your Earnings
Adjusting Image Proportions and Aspect Ratio

When stretching an image in Photoshop, adjusting the image’s proportions and aspect ratio is crucial to maintaining its visual quality. The aspect ratio refers to the proportional relationship between the image's width and height. If you stretch an image unevenly, it can appear distorted or unbalanced.
Here’s how you can adjust proportions and aspect ratio in Photoshop:
- Locking the Aspect Ratio: To maintain the correct proportions when resizing, hold down the Shift key while dragging one of the corners of the Transform box. This keeps the aspect ratio locked so the image won’t get stretched or squished.
- Resizing Without Distortion: If you only want to resize an image without changing its proportions, use the Image Size option (found under Image > Image Size). Uncheck the Constrain Proportions box if you want to change the width and height independently.
- Using the Crop Tool: If the image's proportions are too off after stretching, you can use the Crop tool to remove unnecessary areas and return the image to its original shape or adjust it to a specific ratio.
Paying attention to the aspect ratio is essential to avoid distortion. If you need to stretch the image for a specific effect, consider using content-aware scaling or other advanced techniques to retain the visual integrity of the image.
Also Read This: How to Become a Photographer for Getty Images with Expert Tips for Aspiring Creators
Common Mistakes to Avoid While Stretching an Image
Stretching an image in Photoshop can be a quick and effective way to get the size you need, but it’s easy to make mistakes that result in a poor-quality image. Here are some of the most common errors to watch out for when stretching an image:
- Over-Stretching: One of the biggest mistakes is stretching an image too much. When you stretch an image too far, it becomes pixelated and blurry. Always try to use high-resolution images and limit how much you stretch them to avoid losing detail.
- Ignoring the Aspect Ratio: If you stretch the width or height of an image without maintaining the original aspect ratio, the image will become distorted. This can make the image look unnatural, so make sure to lock the aspect ratio when necessary.
- Stretching Low-Resolution Images: Low-resolution images don’t have enough pixel data to handle large transformations without quality loss. If you stretch a low-res image too much, it will become pixelated and blurry. Always use high-resolution images when resizing or stretching.
- Not Using Smart Objects: Before making major changes to an image, convert it to a Smart Object. This will allow you to resize or stretch the image without permanently affecting the original quality. It’s a great way to maintain flexibility in your edits.
- Forgetting to Check for Distortion: After stretching an image, always zoom in to check for visible distortion or pixelation. Even a slight stretch can cause noticeable changes in quality. Check the image at 100% zoom before finalizing your work.
Avoiding these mistakes will help you stretch your images effectively while maintaining their quality. Be mindful of the amount of stretching, the aspect ratio, and the resolution to ensure the best possible results.
Also Read This: Learn the Easiest Way to Create NSFW AI Images
FAQ
When stretching an image in Photoshop, many users have common questions about the process. Let’s address some of the most frequently asked questions to help you avoid confusion and stretch images with confidence.
- Can I stretch an image without distorting it?
Yes, you can maintain the image’s proportions by holding down the Shift key while dragging the corners in the Transform tool. This ensures the image is resized uniformly without distorting its aspect ratio. - What happens if I stretch a low-resolution image?
Stretching a low-resolution image will often cause pixelation and blurriness. It’s important to use high-resolution images for better quality when resizing or stretching them. - How can I reset the transformation if I don’t like the result?
If you're unhappy with the stretch, press Ctrl + Z (Windows) or Cmd + Z (Mac) to undo the transformation. You can also go to Edit > Undo to revert your changes. - Why does my image look blurry after stretching it?
Blurriness usually occurs when the image is stretched too much, especially if it has a low resolution or if the image’s pixels are spread too thin. To avoid this, try to limit how much you stretch the image and work with higher-quality sources. - Is there a way to stretch an image without losing quality?
To stretch an image without losing quality, use the Content-Aware Scale feature in Photoshop. This allows you to stretch the image without distorting key areas, maintaining the image's overall integrity. - Can I stretch an image for print without losing quality?
If you’re stretching an image for print, make sure you start with a high-resolution image (at least 300 dpi). Stretching too much can lead to pixelation, which becomes more noticeable when printed.
Conclusion and Tips for Image Stretching
Stretching an image in Photoshop is a useful skill, but it requires careful attention to detail to avoid distortion and loss of quality. Always start with a high-resolution image, maintain the aspect ratio when necessary, and avoid stretching the image beyond its limits. For best results, consider using tools like the Transform tool or Content-Aware Scale, and be sure to check for distortion at 100% zoom. With these tips in mind, you'll be able to stretch images effectively without compromising their quality.

 admin
admin


