Creating an image outline is a technique used to make an image stand out by highlighting its edges. Whether you’re working on graphic design, digital art, or even web development, adding an outline to an
Understanding Image Outlines and Their Uses
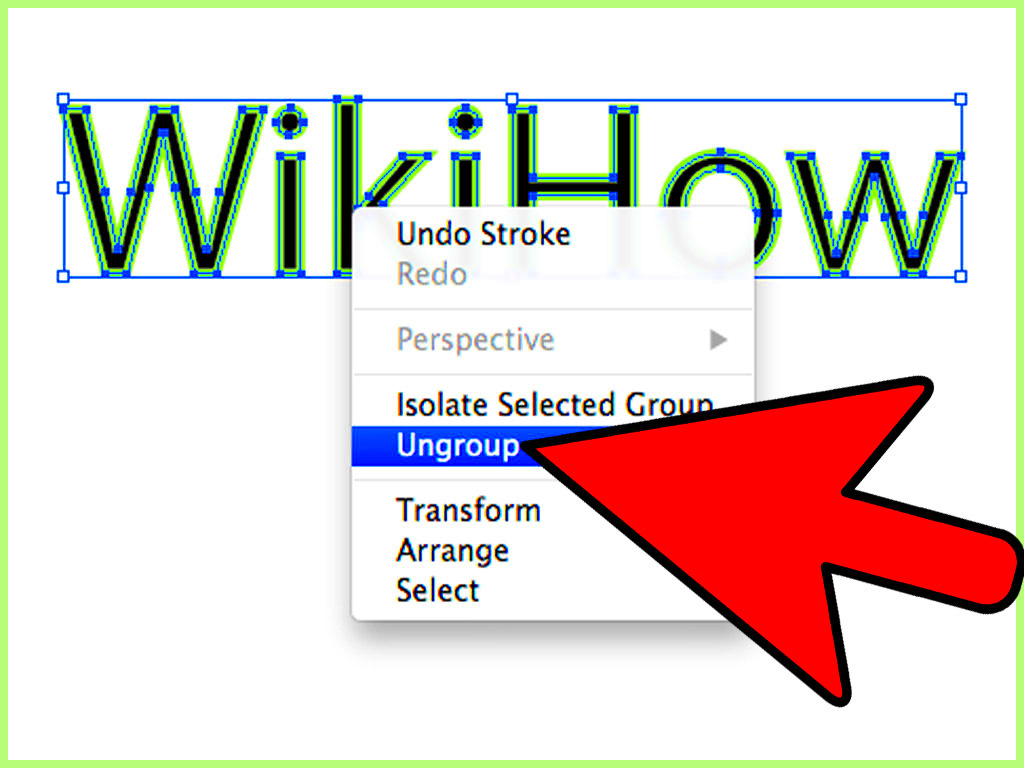
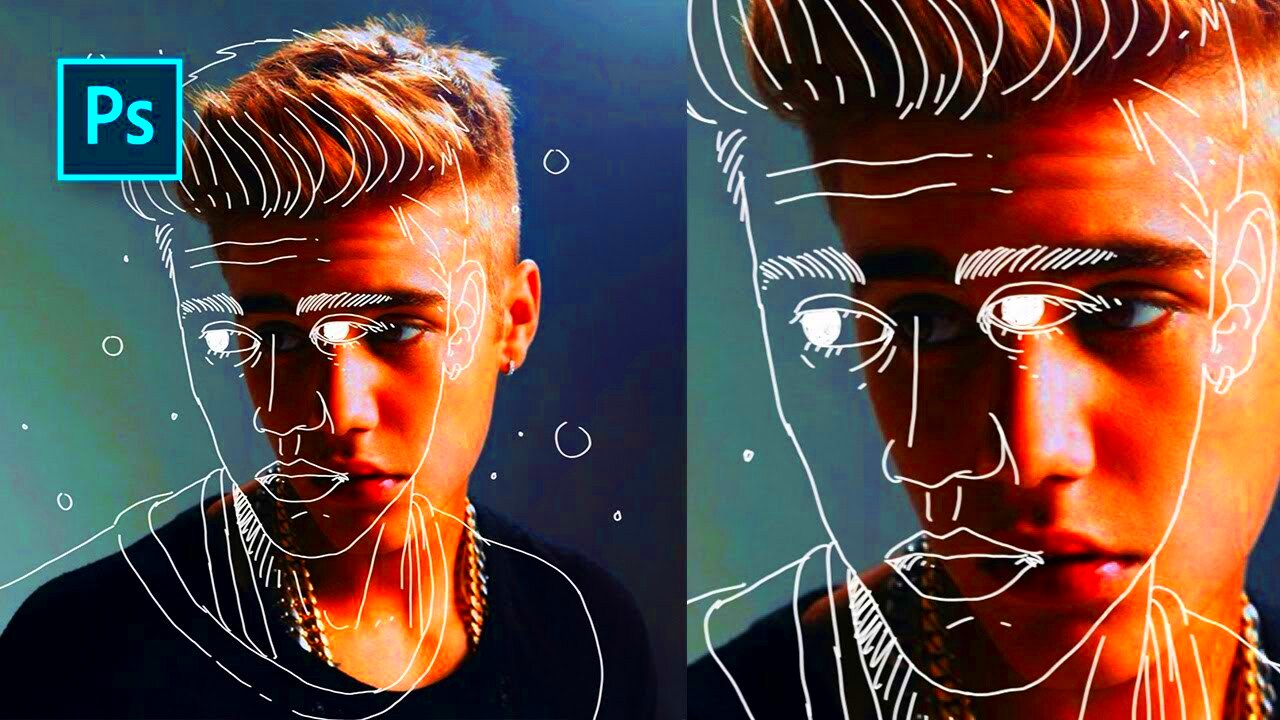
An image outline is essentially a line drawn around the edges of an image to emphasize its shape and structure. It’s a simple but powerful way to make images more visually appealing and easier to distinguish from their background.
- Graphic Design: Adding an outline helps make logos and illustrations pop, making them more eye-catching.
- Web Design: Outlines are often used for buttons, icons, and other UI elements to improve usability and create clear visual separation.
- Digital Art: Artists use outlines to define shapes and add contrast, giving their artwork a cleaner, sharper look.
- Product Design: In product images, outlines can help highlight key features, making the product more appealing to customers.
Besides aesthetics, image outlines also serve practical purposes. They can improve accessibility, helping users with visual impairments better understand an image's content by clearly defining its boundaries. So, whether you’re enhancing an
Also Read This: How to Access Adobe Stock through Photoshop
Tools and Software for Creating Image Outlines
There are several tools and software options available to help you create image outlines. Each has its own unique features and advantages, depending on the type of project you’re working on. Below are some of the most popular options for creating image outlines:
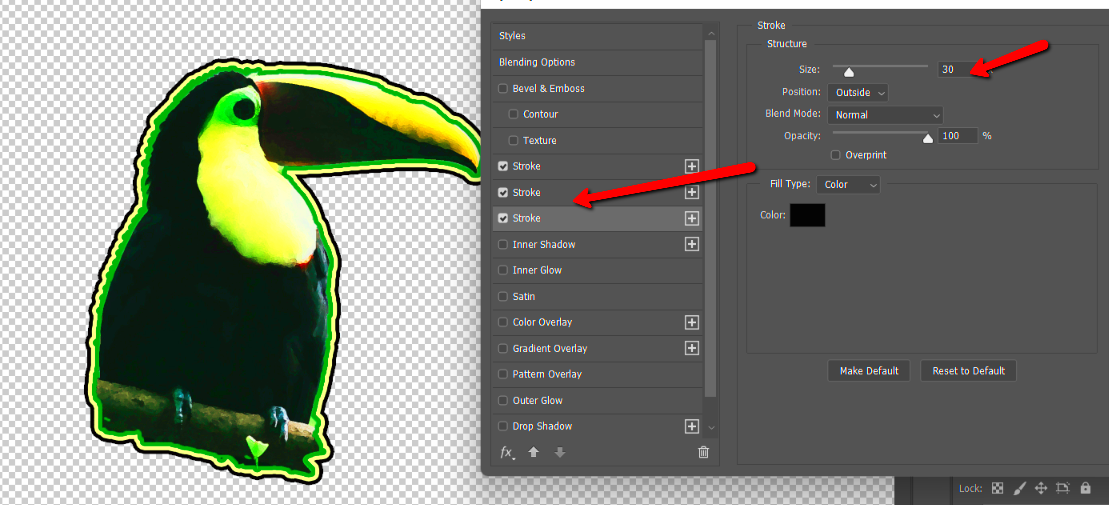
- Adobe Photoshop: Photoshop is one of the most powerful tools for image editing. To create an outline, you can use the Stroke layer style, or manually use the Pen Tool to trace the image edges. This software provides great flexibility for professional-level designs.
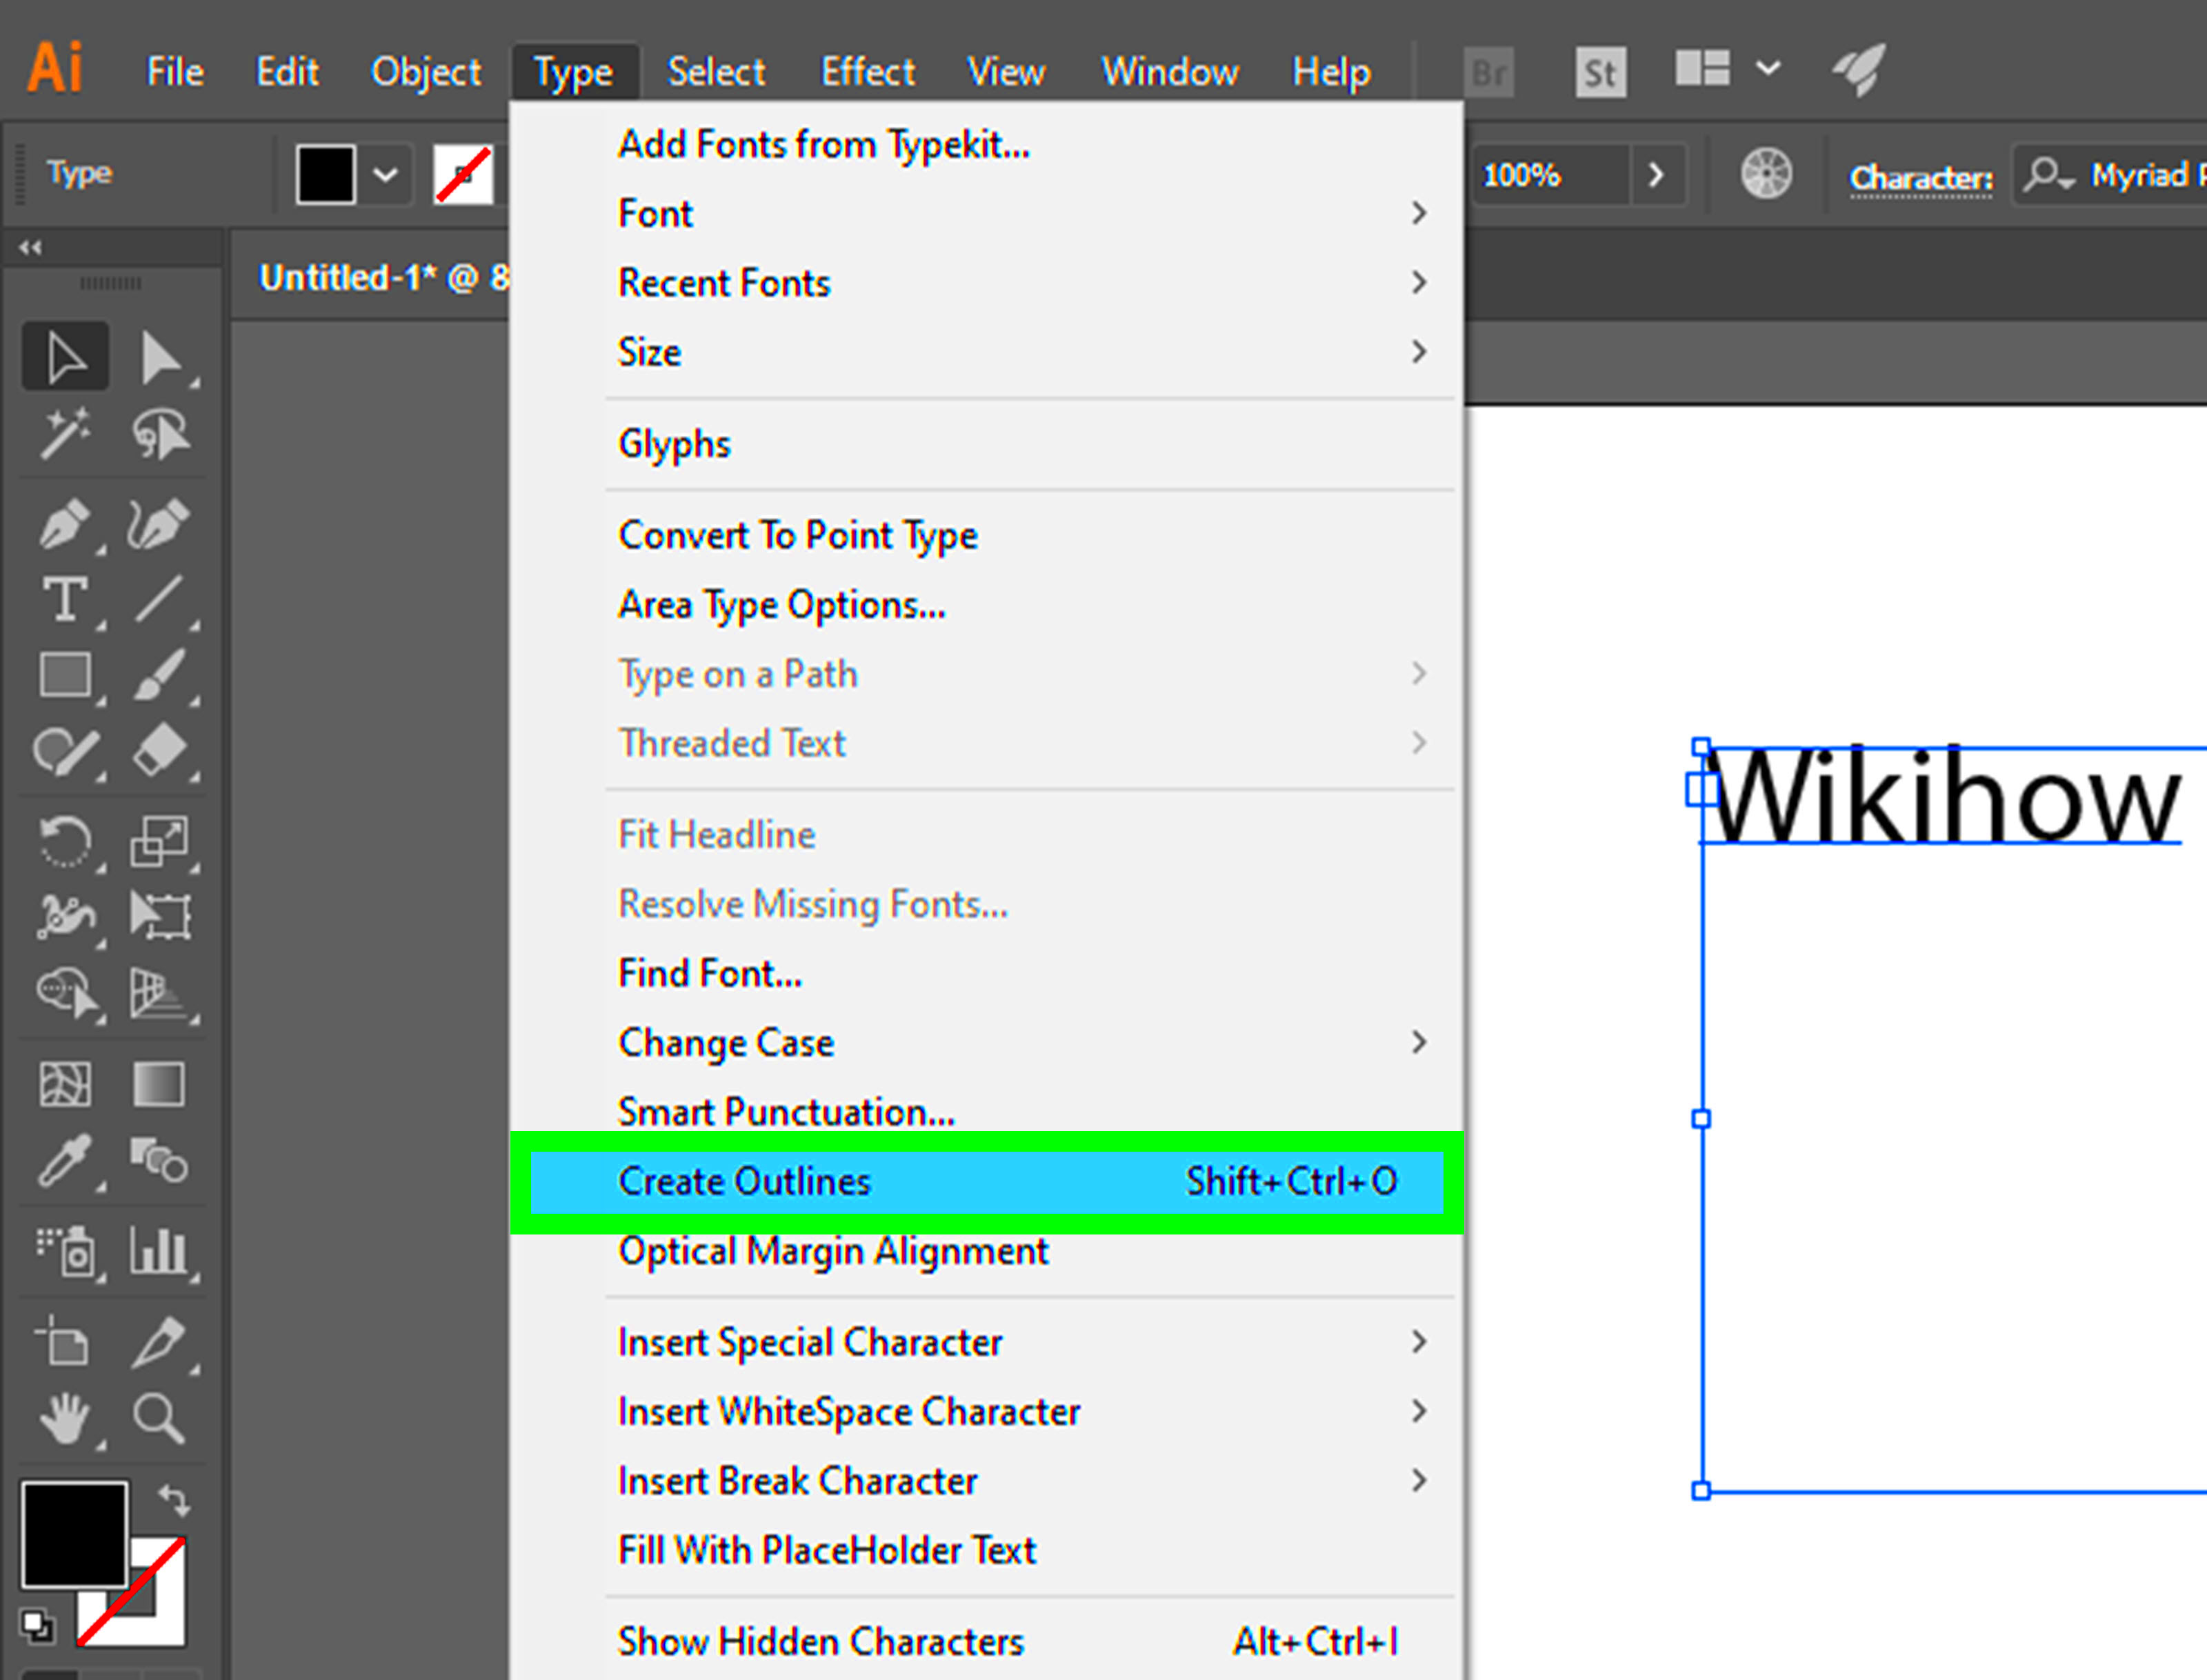
- Adobe Illustrator: Illustrator is ideal for creating vector-based outlines. You can use the "Path" tool to create clean, sharp lines around any image. It’s particularly useful for logos, icons, and other scalable graphics.
- GIMP: GIMP is a free alternative to Photoshop. It also offers a wide range of tools for creating outlines, such as using the "Stroke Path" option. It’s a great choice for those who need a budget-friendly solution without compromising quality.
- Canva: Canva is an online graphic design tool that’s very beginner-friendly. While it doesn’t offer as many advanced features as Photoshop or Illustrator, it does have an easy-to-use outline tool that’s perfect for simple designs and quick edits.
- Online Tools (e.g., Fotor, Photopea): If you don’t have access to desktop software, several online tools provide free or affordable options to create image outlines. These tools typically offer basic features like adding borders or using filters to emphasize the image edges.
Choosing the right tool for creating an image outline depends on your specific needs, the level of detail required, and your comfort with the software. While advanced tools like Photoshop provide more control, online and free tools are great for quick edits and simpler designs.
Also Read This: How to Trace an Image onto a Canvas for Perfect Drawing Replication
How to Create an Image Outline in Photoshop
Photoshop is one of the most powerful tools for creating image outlines, offering a variety of ways to make your designs stand out. Whether you're working on a logo, icon, or artwork, Photoshop allows you to create crisp, clean outlines with just a few steps. Here's how you can easily create an image outline using Photoshop:
- Open your image: Start by opening your image file in Photoshop.
- Select the image layer: In the Layers panel, click on the layer that contains the image you want to outline.
- Apply a Stroke: Go to the 'Layer' menu at the top, select 'Layer Style', and choose 'Stroke'. A dialog box will pop up where you can adjust the size, color, and position of the outline. You can choose between inside, outside, or center position for the stroke.
- Adjust the Stroke Settings: You can customize the thickness of the outline, its color, and even add effects like a drop shadow or gradient to make it stand out more.
- Save your image: Once you're satisfied with the outline, save your image in the desired format (JPG, PNG, etc.).
This method is ideal for creating quick, professional-looking outlines. Photoshop's flexibility gives you full control over the final result, making it perfect for designers who want to add detailed borders or effects.
Also Read This: Printing Full Images Without White Borders
Creating an Image Outline in Illustrator
Illustrator is another fantastic tool for creating image outlines, especially for vector-based images. It’s great for logos, illustrations, and other scalable graphics. Unlike Photoshop, which works with raster images, Illustrator deals with vector art, allowing for sharp, infinitely scalable outlines. Here’s how you can create an outline in Illustrator:
- Open the image in Illustrator: First, open your image in Adobe Illustrator by either importing it or creating a new project.
- Use the Image Trace tool: Select the image and then go to the 'Window' menu and click on 'Image Trace'. This tool will convert your image into vector paths. Adjust the settings to get the level of detail you want for the outline.
- Expand the image: Once you’re happy with the tracing, click 'Expand' in the top menu to convert the traced image into editable vector paths.
- Apply a Stroke: Select the vector paths and go to the 'Stroke' panel to adjust the thickness and style of the outline. You can choose from different stroke types such as dashed lines or solid colors.
- Customize the Outline: You can further adjust the color, width, and style of the stroke. Illustrator allows you to fine-tune the outline to your exact specifications.
- Save the File: Finally, save the file as an Illustrator (.ai) file, or export it in another format (SVG, PNG, etc.) depending on your needs.
Illustrator’s vector-based nature ensures that your outlines are always sharp and scalable, making it perfect for any design that needs to maintain high-quality resolution across various sizes.
Also Read This: How to Create Beautiful Curls at Home with This DIY Hair Tutorial
Using Online Tools to Create Image Outlines
If you don’t have access to advanced software like Photoshop or Illustrator, don’t worry! There are plenty of online tools that offer simple and easy ways to create image outlines without any technical expertise. These tools are ideal for quick edits and are especially helpful for users who need a straightforward solution. Here’s how you can use online tools to create image outlines:
- Fotor: Fotor is a free online tool that allows you to create outlines by adding a border around your image. Simply upload your image, select the 'Border' option, and adjust the width and color of the outline.
- Photopea: Photopea is an online alternative to Photoshop. It’s free and very similar to Photoshop in terms of functionality. To add an outline, you can use the 'Stroke' option under the 'Layer Style' menu. Photopea works with both raster and vector images.
- Canva: Canva is another great tool for beginners and non-designers. While it doesn't offer advanced stroke options, you can easily add a solid color border around your image by selecting the image and choosing a frame or border option from the design tools.
- Pixlr: Pixlr is a free, web-based image editor with tools for adding borders and outlines. It’s a simple way to enhance your images quickly. Upload your image, select the 'Outline' option, and adjust the settings to suit your preferences.
Using these online tools is quick and easy. They’re perfect for users who want to create basic image outlines without the need for complicated software. Most of these tools also offer free versions, making them an accessible option for anyone on a budget.
Also Read This: how to download adobe stock
Tips for Perfecting Your Image Outline
Creating a good image outline is an art, and small adjustments can make a huge difference in the final result. Whether you're working on a logo, digital art, or web design, these tips will help you perfect your image outline and make it stand out in the best possible way.
- Choose the Right Thickness: The thickness of the outline is crucial. Too thick, and it might overwhelm the image; too thin, and it could be hard to see. Start with a medium thickness and adjust based on your design's size and purpose.
- Consider the Image’s Background: Make sure the outline contrasts well with the background. If the background is dark, a lighter outline will help the image stand out. Conversely, for a light background, a dark outline works best.
- Use Multiple Layers: For a more dynamic effect, consider using multiple outlines with varying thicknesses. You can apply a thicker outer outline and a thinner inner outline for a layered look.
- Experiment with Different Styles: Experiment with dashed, dotted, or solid lines to find the right effect for your design. Some designs look better with a subtle dashed outline, while others might need a bold, solid stroke.
- Use Layer Styles (Photoshop): Photoshop offers various effects like shadows, glows, or gradients that can be applied to outlines for added depth and visual interest. Don’t be afraid to experiment with these effects!
- Maintain Consistency: If you’re designing multiple images or icons, try to keep the outline style consistent across all of them. This helps maintain a professional and cohesive look.
By applying these tips, you can elevate your image outline, ensuring it complements the overall design and enhances the visual impact of your image.
Also Read This: How Much Can I Make on Shutterstock? Understanding Potential Earnings as a Contributor
FAQ on Creating Image Outlines
Creating image outlines might seem tricky at first, but once you understand the basics, it becomes much easier. Below are some common questions people have about the process, with answers to help clear up any confusion:
- Q: What is the best tool for creating image outlines?
A: It depends on your needs. Photoshop and Illustrator are great for advanced designs, but online tools like Fotor, Canva, and Photopea are perfect for quick edits. - Q: Can I add an outline to any image?
A: Yes! You can add an outline to nearly any image. However, it's best to work with images that have clear, defined edges for the outline to stand out. - Q: What should I do if the outline looks blurry?
A: If your outline looks blurry, make sure you're working with a high-resolution image. Low-resolution images can cause the outline to appear pixelated. Also, check the stroke settings to ensure they're set correctly. - Q: How can I make the outline look more natural?
A: For a more natural effect, try softening the outline by adding a slight blur or using gradient strokes. This will make the outline blend smoothly with the image. - Q: Is it possible to change the outline color after creating it?
A: Yes, you can always change the outline color. In Photoshop or Illustrator, you can select the outline layer and adjust the color. Online tools also allow you to change colors easily in the settings. - Q: Can I create a transparent outline?
A: Yes, transparent outlines can be created by adjusting the opacity of the stroke in Photoshop or Illustrator. Many online tools also offer options to adjust opacity and transparency.
If you have any more questions or need further help, don’t hesitate to experiment with different settings or consult tutorials. With practice, creating the perfect image outline will become second nature.
Conclusion: Wrapping Up the Image Outline Process
Creating an image outline is a simple yet powerful way to enhance your designs. Whether you're using advanced tools like Photoshop and Illustrator or easy-to-use online platforms, the process is accessible and offers endless possibilities for creativity. By experimenting with outline thickness, color, and style, you can make your images stand out and look more professional.
As we’ve discussed, there are many tools and techniques available to create outlines, and the key is to find the one that works best for your needs. Don't forget to consider your image's background, the purpose of the design, and any specific requirements when choosing the right outline style.
With the right approach and a bit of practice, you’ll be able to add sharp, clean outlines to any image and take your designs to the next level. Happy designing!
 admin
admin


