Image compression is a technique used to reduce the file size of an image while maintaining as much of its quality as possible. This is important because smaller file sizes make it easier to upload, share, and store images without taking up too much space. Whether you’re working with photos for your website, social media, or digital art, understanding how to compress images can improve your workflow and save time.
Why You Should Compress Images to 500KB
Compressing images to 500KB or less can significantly improve website load times, making the user experience faster and smoother. Large images slow down your site, which can lead to higher bounce rates and lower SEO rankings. Compressing images ensures that you have high-quality visuals without the lag.
Here are some reasons why you should aim to keep your images under 500KB:
- Faster Load Times: Smaller image files load quicker, which improves your site’s speed.
- Better SEO: Google considers page speed when ranking websites. Faster sites rank better.
- Reduced Storage Requirements: Compressing images helps save disk space, especially on websites with many photos.
- Better User Experience: No one likes waiting for large images to load, so keeping them small helps keep visitors happy.
In short, keeping images under 500KB is an effective way to balance quality and performance, making sure your content is fast and professional.
Also Read This: Tips for Overlapping Images in Word Like a Pro
Understanding the Factors that Affect Image Size
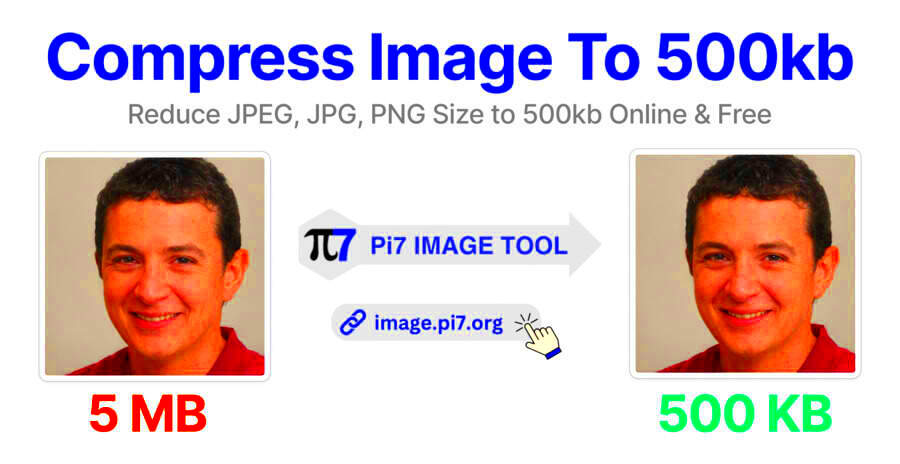
When it comes to image size, there are several factors that contribute to how large an image will be. These factors can help you decide the best approach for compressing your images while keeping them clear and usable.
Some key factors include:
- Resolution: The higher the resolution, the larger the image. A high-resolution image contains more pixels, leading to a larger file size. Reducing resolution can help decrease the size without much visible loss of quality.
- Image Dimensions: Larger images with more pixels (width x height) will naturally have bigger file sizes. If you don’t need an image at a huge size, scaling it down can save a lot of space.
- File Format: Different file formats offer varying levels of compression. JPEGs are generally smaller in size, while PNGs, due to their lossless compression, might be larger for the same quality.
- Color Depth: Images with more colors require more data to store. Reducing color depth can significantly shrink an image file.
- Compression Method: There are two types of compression: lossless and lossy. Lossless compression retains all the image data, but results in a larger file size. Lossy compression reduces file size by removing some data, but this may impact quality.
By understanding these factors, you can make better decisions on how to compress your images and what compromises (like resolution or format) you may need to make to get the desired file size.
Also Read This: 10 Hidden Likee Features You Probably Didn’t Know About
Methods for Compressing Image Size
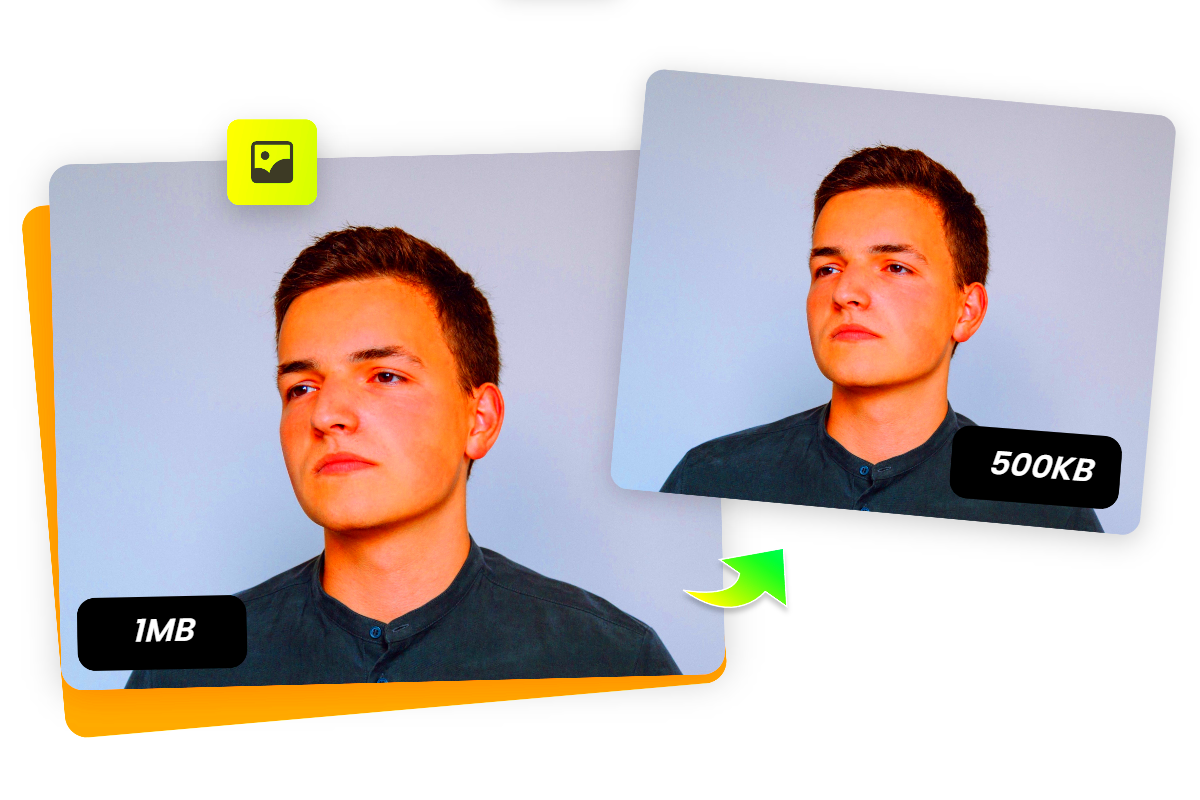
There are several methods you can use to compress image sizes. The right method depends on your needs, such as whether you prioritize speed, quality, or convenience. Let's go over some of the most common ways to compress images effectively.
Here are a few methods to consider:
- Resizing the Image: One of the simplest ways to reduce the file size is to reduce the image dimensions. The smaller the image, the less data it needs to store, resulting in a smaller file size.
- Using Compression Software: Image editing programs like Photoshop or GIMP have built-in features that allow you to compress images manually, often with control over the quality and level of compression.
- Converting Image Formats: Some image formats like PNG and TIFF tend to have larger file sizes due to their lossless compression. Switching to formats like JPEG or WebP can drastically reduce the size, especially for photos.
- Using Batch Processing: If you have multiple images to compress, batch processing can save a lot of time. Many tools allow you to compress several images at once, which is helpful for large projects.
- Reducing Color Depth: Decreasing the number of colors in an image reduces its file size. This method works best for images like logos or icons that don’t require a full range of colors.
Choosing the right method depends on what you're working with, but often a combination of resizing and format conversion offers a good balance between quality and file size.
Also Read This: Downloading Adobe Stock Images as JPG Files
Using Online Tools for Image Compression
If you don't want to bother with downloading and installing software, online tools are a great solution for quickly compressing images. These tools are often free and require no technical skills, making them perfect for users who want a quick fix.
Here are some popular online tools for compressing images:
| Tool | Features |
|---|---|
| TinyPNG | Supports both PNG and JPEG formats with high compression and minimal quality loss. |
| ImageOptim | Provides excellent lossy and lossless compression for both images and PDF files. |
| Compressor.io | Offers both lossy and lossless compression, supporting JPEG, PNG, GIF, and SVG formats. |
| JPEG-Optimizer | Focused specifically on JPEGs, this tool allows you to adjust the quality and compression level. |
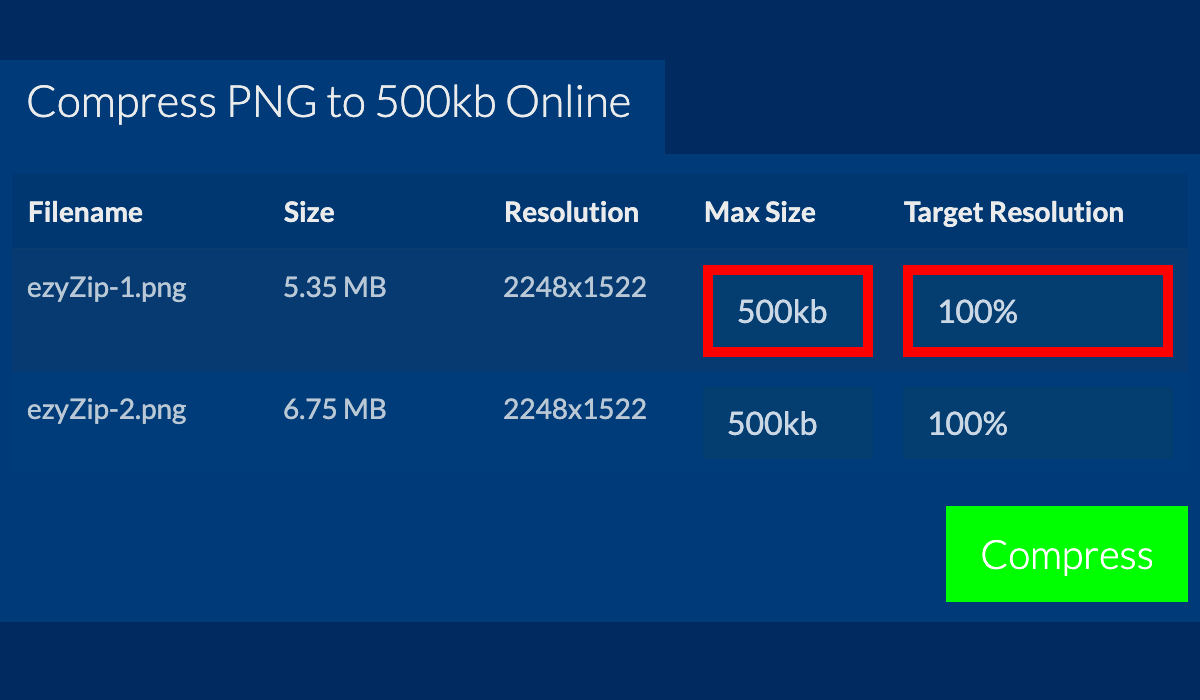
Using online tools is simple—just upload your image, choose your compression settings, and download the result. While the compression process may vary slightly from one tool to another, most of these tools make it easy to reduce file size without needing advanced skills. Keep in mind, however, that online tools may have limits on file sizes for free users.
Also Read This: How to Upload Video to Behance with a Step-by-Step Guide
How to Compress Images with Photoshop
Photoshop is one of the most powerful tools available for image editing and compression. Whether you're a beginner or a pro, Photoshop offers several methods to reduce the file size of your images without compromising too much on quality.
Here’s how you can compress images using Photoshop:
- Open the Image: Start by opening your image in Photoshop.
- Resize the Image: If your image is too large, go to Image in the top menu, select Image Size, and reduce the dimensions of the image. This will automatically reduce the file size.
- Use 'Save for Web': For further compression, go to File > Export > Save for Web (Legacy). This tool allows you to adjust the quality of the image and preview the file size before saving it. You can choose from JPEG, PNG, or GIF formats.
- Adjust Compression Settings: If you choose JPEG, you can adjust the quality slider to find the best balance between image quality and file size. A setting around 60-80 usually works well.
- Save the Image: Once you're happy with the size and quality, click Save and choose your preferred file destination.
Photoshop offers great control over image compression, allowing you to reduce file sizes while maintaining high visual quality. By using the Save for Web feature, you can find the optimal compression for your image without sacrificing too much detail.
Also Read This: Capturing a High-Quality Still Image from Video
How to Compress Images on Mobile Devices
Compressing images on mobile devices is easy and convenient, especially when you're on the go. Whether you're using an iPhone, Android phone, or tablet, there are several apps and methods that can help you reduce the size of your images without sacrificing quality.
Here are some ways to compress images on mobile devices:
- Using Image Compression Apps: There are many apps available for both Android and iOS that allow you to compress images directly on your phone. Some popular options include:
- JPEG Optimizer: Available for Android, this app helps you reduce the size of JPEG images with minimal quality loss.
- Image Size: Available for iOS, this app allows you to resize and compress images, making it easy to share high-quality photos with smaller file sizes.
- Photo Compress 2.0: This app for both Android and iOS helps compress multiple images at once while maintaining quality.
- Using Online Tools in Mobile Browsers: If you don’t want to download an app, you can use online compression tools directly in your mobile browser. Sites like TinyPNG or Compressor.io have mobile-friendly versions where you can upload your images and download the compressed files.
- Resizing Images: Many mobile photo-editing apps, such as Snapseed and Adobe Photoshop Express, allow you to resize images. Reducing the dimensions of an image reduces its file size automatically.
With these methods, you can compress images efficiently right from your phone, saving time and space without needing a desktop computer.
Also Read This: What is Behance and How Does It Work Understanding the Creative Platform
Frequently Asked Questions
Here are some commonly asked questions about compressing image sizes to 500KB or less:
- What’s the best format for compressing images? JPEG is usually the best format for compressing images while maintaining quality. PNG and GIF files may be larger and might not compress as efficiently for photos, but they work well for images with fewer colors, like logos.
- Can I compress images without losing quality? Yes, it's possible to compress images without noticeable quality loss, especially if you're using lossless compression methods. However, some degree of quality loss may occur with lossy compression, particularly with extreme compression settings.
- How do I know when to stop compressing? The key is to balance file size and quality. If the image looks blurry or pixelated after compression, it’s time to stop. Try different settings or use a higher quality level to find the best result.
- Can I compress images in bulk? Yes, many online tools and apps allow you to compress multiple images at once. Batch processing is available in programs like Photoshop or with online tools like Bulk Image Compressor.
- Why should I compress images? Compressing images helps reduce file sizes, leading to faster page load times, better website performance, and improved SEO. It also saves storage space and makes it easier to share images online or via email.
Conclusion
Compressing image sizes to 500KB or less is an essential step for improving website performance, reducing load times, and optimizing images for better sharing and storage. Whether you’re working on a desktop, mobile device, or using online tools, there are plenty of ways to shrink your image files without compromising too much on quality.
Remember, compression methods vary depending on your needs. You can resize, use specialized apps, or convert image formats to reduce file size. The goal is to find the best balance between size and image quality, ensuring that your images are optimized for the web, storage, and sharing.
By following the steps and tips mentioned in this guide, you'll be able to compress your images with ease and keep your files running smoothly without taking up too much space.
 admin
admin


