Projecting an image to trace can be a useful technique, but what if you don't have access to a projector? Don't worry; there are simple methods that allow you to trace images with the same precision without needing expensive tools. Whether you're working on an art project, a design, or any other creative endeavor, this guide will show you how to project an image without the use of a projector. You'll be able to achieve clean lines and accurate details for your tracing work, all using everyday items you likely already have at home.
Understanding the Need for Projecting an Image

Projecting an image is a popular method for transferring a design onto a surface for tracing. It helps artists and designers work with larger-scale designs, and it can be a great way to add intricate details to your work. The reason why some people choose to project images is that it allows them to get perfect accuracy in their drawings. The projection serves as a guide, helping you trace the key outlines and details, saving time and reducing mistakes.
But there are times when you might not have access to a projector, or you might not want to invest in one. Thankfully, there are simple, low-tech methods to achieve the same result. Learning how to project an image without a projector is a valuable skill that opens up many creative possibilities, especially when you're on a budget or working in spaces with limited resources.
Also Read This: How to Remove the Getty Images Watermark for Unmarked Photos
Tools Required for Tracing an Image Without a Projector

While you may not need a projector, there are still some essential tools you will need to trace your image accurately. These tools are easy to find and can be used in different combinations, depending on what’s available to you. Here's a list of items you might find useful:
- Smartphone or Tablet: You can use a phone or tablet to display your image and place it against a window for backlighting.
- Clear Tape: Use tape to secure your paper or canvas to the wall or window.
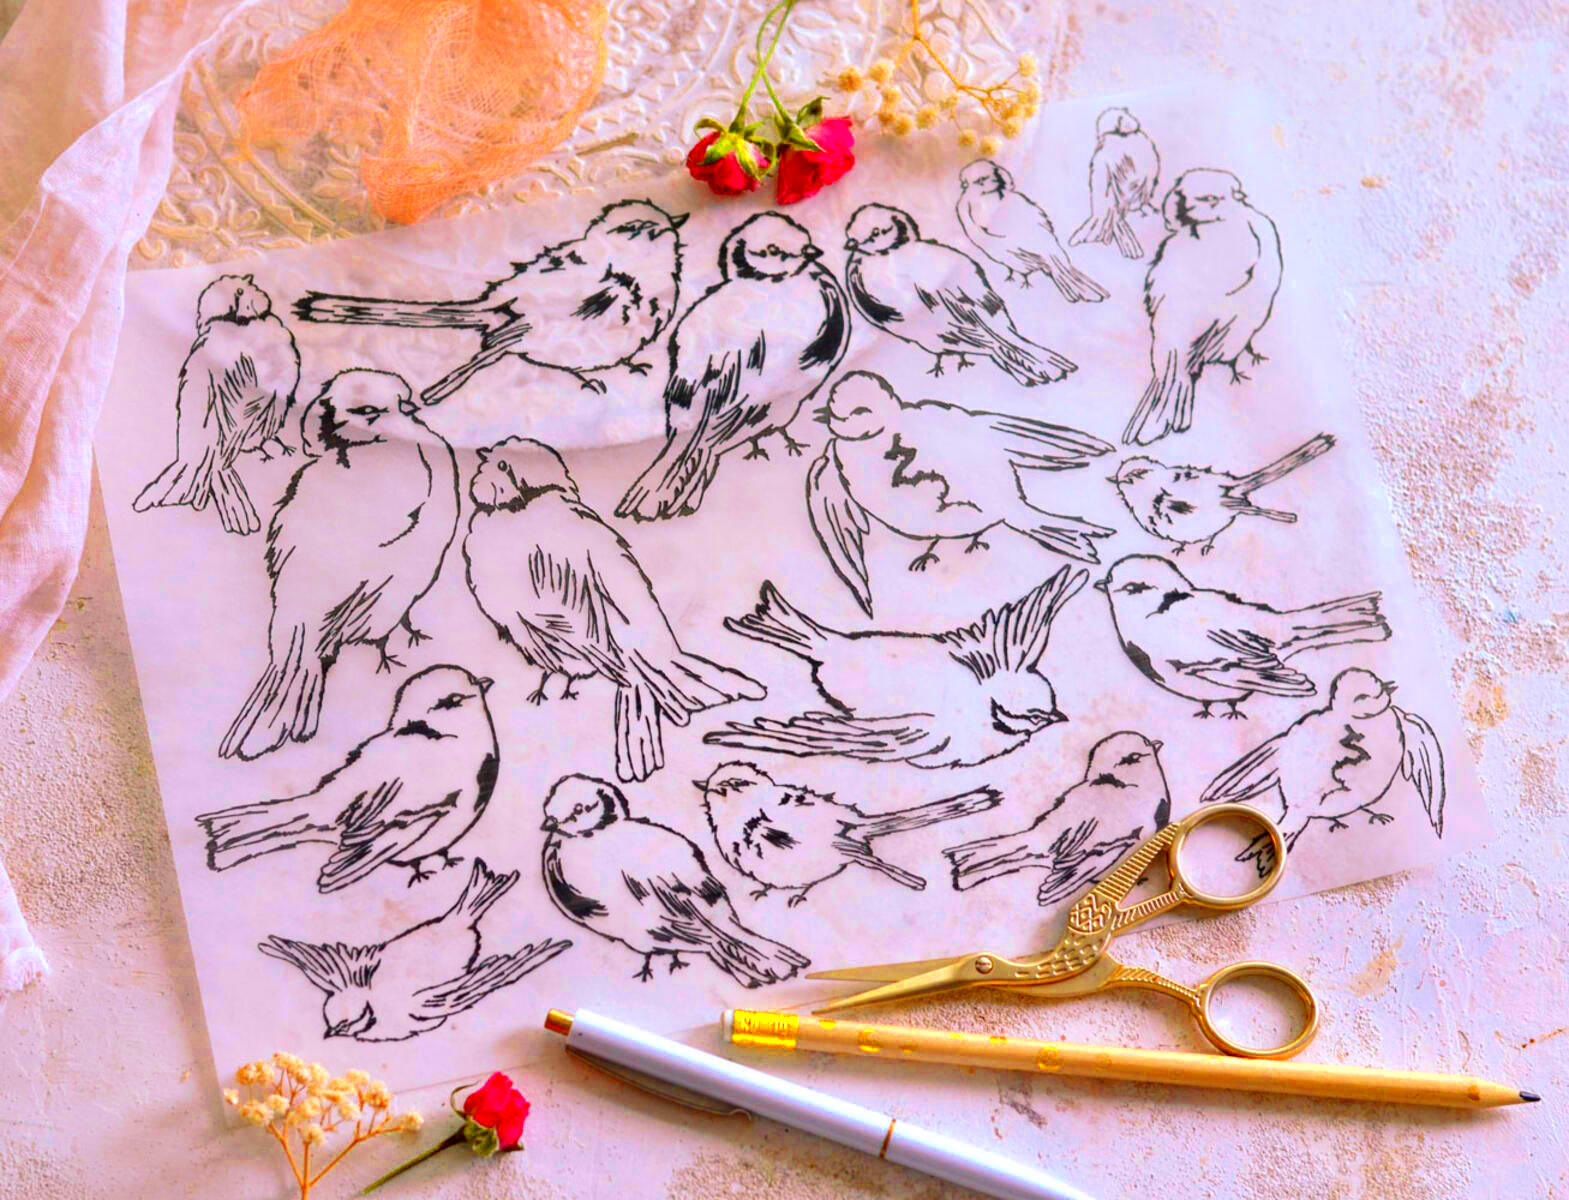
- Tracing Paper or Transparent Paper: This allows you to trace the projected image without damaging the original photo or design.
- Pen or Pencil: Choose the best tool for your tracing work. Pencils are great for fine details, while pens are good for bold outlines.
- Window or Light Source: A window with natural light or any strong light source can act as your “projector” to illuminate the image behind the tracing paper.
- Ruler or Measuring Tape: If you need to maintain accuracy and scale, these tools can help you line up your image properly.
With these tools, you can create a DIY projection system that mimics the functionality of a projector without the need for specialized equipment. The key is finding a light source to illuminate the image and using transparent materials for tracing.
Also Read This: How to Submit Photos to Getty Images
Preparing Your Image for Tracing
Before you start tracing, it's important to ensure your image is prepared properly. The clarity of the image directly affects the outcome of your tracing, so taking a few steps to get it ready can save you time and frustration. First, you want to ensure the image is of high quality—no blurry or pixelated pictures will do. If you're working from a photo, choose one that has good lighting and clear contrasts. Here's how to prepare your image for tracing:
- Choose a high-quality image: The clearer your image, the easier it will be to trace. Avoid images that are too dark or pixelated.
- Adjust the contrast: Enhance the contrast of your image if necessary. Higher contrast makes the lines more distinct, which will make tracing easier.
- Resize if needed: If your image is too large or small for your tracing surface, resize it using editing software or apps.
- Print your image: If you’re using a physical medium for tracing, print your image to the desired size. You can print it on normal paper or use special types of tracing paper if you prefer.
- Outline key features: Before you start, you can use photo editing software to outline the major shapes or features to make tracing simpler.
Once your image is ready, it's time to move on to setting up your tracing environment. Remember that proper preparation will make the entire tracing process much smoother and more efficient.
Also Read This: How Old Is Noelle Kate from YouTube?
Setting Up a DIY Projection System
Now that your image is prepared, it’s time to create a DIY projection system to trace it. Don't worry, you don’t need to invest in expensive equipment to do this. There are simple, creative ways to project your image using things you likely already have at home. Here's how you can set up a basic DIY projection system:
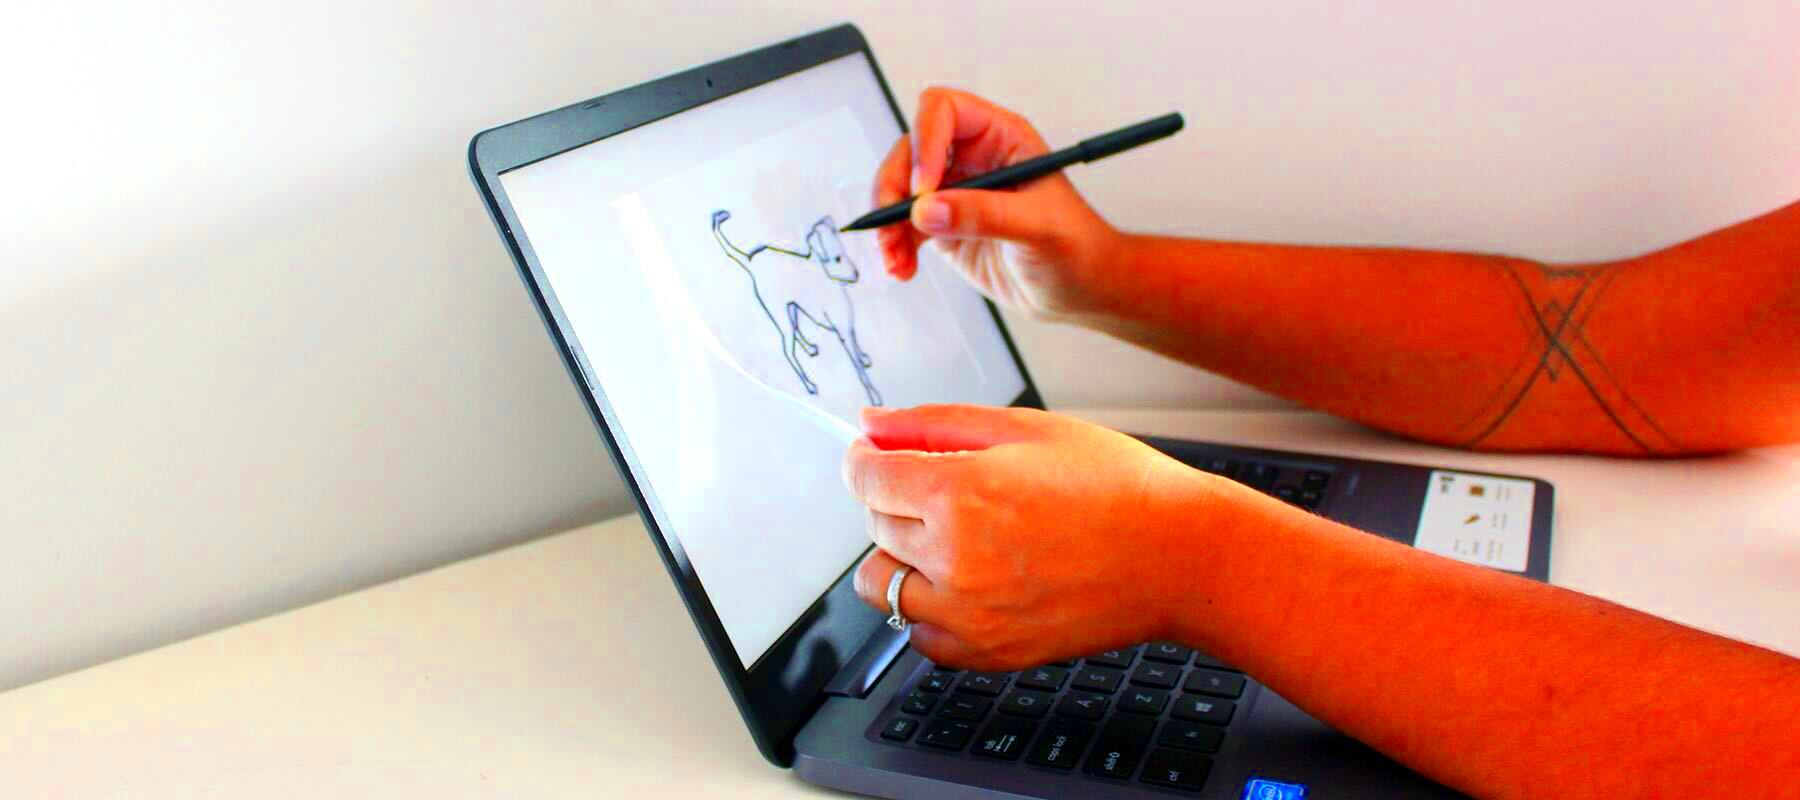
- Use a smartphone or tablet: You can use your phone or tablet to display the image. Place it against a light source like a window or a lamp to project the image onto a surface.
- Set up a lightbox: If you have a lightbox, place the image on top of it. A lightbox can illuminate your image evenly, making it easier to trace.
- Create a window projection: Tape your image to the window, and use the natural light coming through to project the image onto your tracing paper. Adjust the distance between your paper and the window to control the image size.
- Use a flashlight or lamp: If you're working in a dimly lit room, a flashlight or lamp can serve as your light source. Position your image against the light, and place your tracing paper over it.
- Secure your materials: Make sure the paper or surface you're tracing on is securely attached to avoid any movement during the tracing process. Use tape or clips to hold everything in place.
By setting up a DIY projection system, you can create a simple, effective way to trace without needing a projector. It's a great solution for anyone looking for a budget-friendly option.
Also Read This: How to Speed Up Video Uploads on YouTube
Tips for Tracing Images Accurately
Once your DIY projection system is set up, it's time to start tracing. To get the best results, you'll want to follow a few tips that will help you trace your image accurately. Here are some key pointers:
- Use a light touch: When tracing, don’t press too hard with your pen or pencil. A light touch will help you avoid making permanent marks that might be hard to erase later.
- Start with basic outlines: Begin by tracing the major outlines and shapes of your image. This will give you a framework to work with before adding smaller details.
- Work in layers: Don’t rush to finish the whole image at once. Work in stages, adding details gradually. This will help maintain the accuracy of your work.
- Take breaks: Long tracing sessions can cause you to lose focus. Take regular breaks to refresh your eyes and hands.
- Adjust the lighting: If you find that the image is too faint or too dark, adjust the light source or the distance between the image and your tracing paper. This will help enhance visibility.
- Use a ruler or compass for precision: If you need straight lines or curves, use a ruler or compass to maintain consistent proportions and angles.
By following these tips, you can achieve clean, accurate tracings that mirror your original image closely. It’s all about patience and attention to detail, so take your time and enjoy the process!
Also Read This: A Complete Guide to Uploading 360-Degree Videos on YouTube
Common Mistakes to Avoid When Tracing an Image
Tracing an image might sound easy, but there are a few common mistakes that can easily affect the quality of your work. Being aware of these mistakes can help you avoid frustration and ensure that your traced image looks as clean and accurate as possible. Here are some mistakes to watch out for:
- Not preparing your image properly: Before tracing, make sure your image is clear, well-lit, and adjusted for contrast. A blurry or dark image can make tracing more difficult and less accurate.
- Using the wrong tracing materials: It’s important to use the right paper for tracing. Thin or flimsy paper can tear easily, while overly thick paper might make it difficult to see the image clearly. Choose transparent tracing paper or light-quality paper that is easy to work with.
- Pressing too hard with your pen or pencil: When tracing, it's tempting to press too hard, but this can leave unwanted marks on your paper. Always use a light hand to keep your lines clean and avoid ruining your work.
- Rushing through the process: Tracing takes time and patience. Rushing through it can lead to inaccurate lines and details. Take your time, work in sections, and don’t be afraid to pause and check your progress.
- Not using the right light source: If your light source isn’t strong enough, it can make the image faint and difficult to see. Make sure you have proper lighting, whether it's natural light from a window or an artificial light source like a lamp or flashlight.
- Ignoring scale: If you're enlarging or shrinking an image, make sure to maintain the correct proportions. Failing to do so can distort your traced design.
By being mindful of these common mistakes, you'll be able to create accurate, high-quality traced images with ease.
Also Read This: How to Create My Own Channel on Dailymotion for Personalization
Frequently Asked Questions
Tracing an image without a projector can be a little tricky, so it’s no surprise that people often have questions. Here are some of the most frequently asked questions and their answers:
- Can I trace any type of image? Yes, you can trace almost any image as long as it is clear and has defined outlines. However, images with too many small details or low contrast might be more difficult to trace.
- What’s the best paper to use for tracing? Tracing paper is ideal, as it is semi-transparent and allows you to see the image clearly through it. However, you can also use transparent vellum or even regular printer paper if you’re in a pinch.
- Can I use a phone or tablet for projection? Absolutely! A phone or tablet works perfectly as a light source for projecting images. Just place it against a light or window, and you can start tracing right away.
- How do I prevent my tracing from being smudged? After you’ve completed your tracing, you can use a fixative spray to prevent smudging. If you’re using pencil, try to avoid resting your hand on the traced lines.
- How can I make my traced lines more precise? Use a fine-tip pencil or pen for precision. Also, use tools like a ruler for straight lines or a compass for curves. Take your time with each section of the image to ensure clean lines.
These are just a few of the common questions people have when tracing an image without a projector. If you have more questions, don’t hesitate to experiment and find what works best for your specific project.
Conclusion
Projecting an image to trace without a projector is a practical and affordable solution for anyone who loves to draw or design. With the right tools and techniques, you can replicate the benefits of a projector and achieve high-quality results. Remember to prepare your image well, set up a simple DIY projection system, and avoid common mistakes like rushing or pressing too hard with your pencil. With patience and practice, tracing images will become an enjoyable and rewarding part of your creative process.
By following these steps and tips, you’ll be able to trace any image accurately and confidently—no projector needed!

 admin
admin


