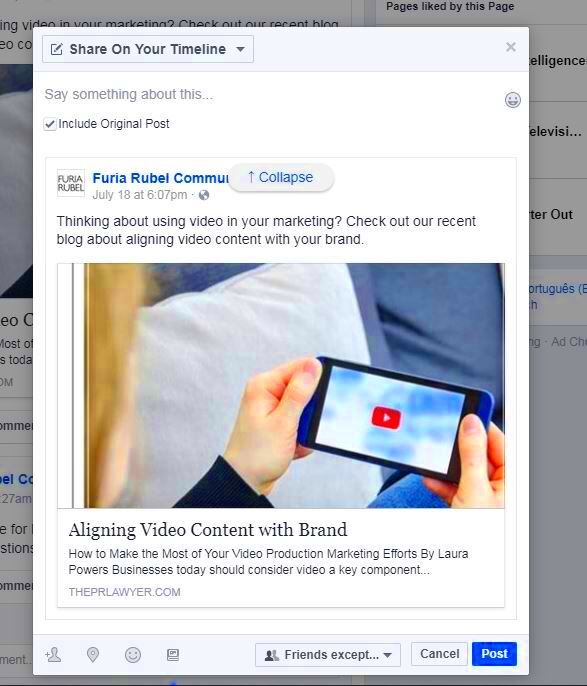
When you share a link on Facebook, the platform automatically generates a preview image for it. This image is often pulled from the content of the linked page. However, you might want to change the preview
Why the Link Preview Image is Important on Facebook
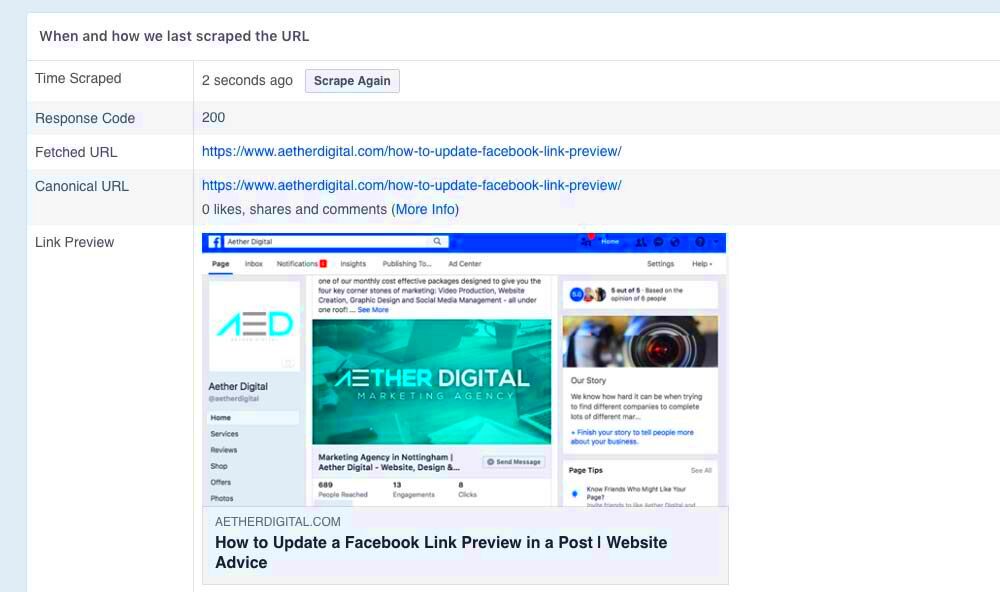
The link preview image is a critical element of how your post appears on Facebook. Here’s why it matters:
- First Impressions Matter: A well-chosen image grabs attention and encourages users to click on your link.
- Boosts Engagement: Posts with visually appealing images are more likely to be shared, liked, or commented on.
- Branding: By selecting a custom image, you ensure that the right visual message is being communicated, aligning with your brand's image and tone.
- Improves Click-Through Rates (CTR): A more relevant and attractive image can increase the likelihood of people clicking your link.
Whether you’re sharing a blog post, a product page, or a special offer, choosing the right image makes a significant difference in how your content performs on Facebook.
Steps to Change the Link Preview Image on Facebook
Changing the link preview image on Facebook is straightforward if you follow these simple steps:
- Open the Facebook Sharing Debugger: Start by going to the Facebook Sharing Debugger. This tool helps Facebook refresh its preview information for your link.
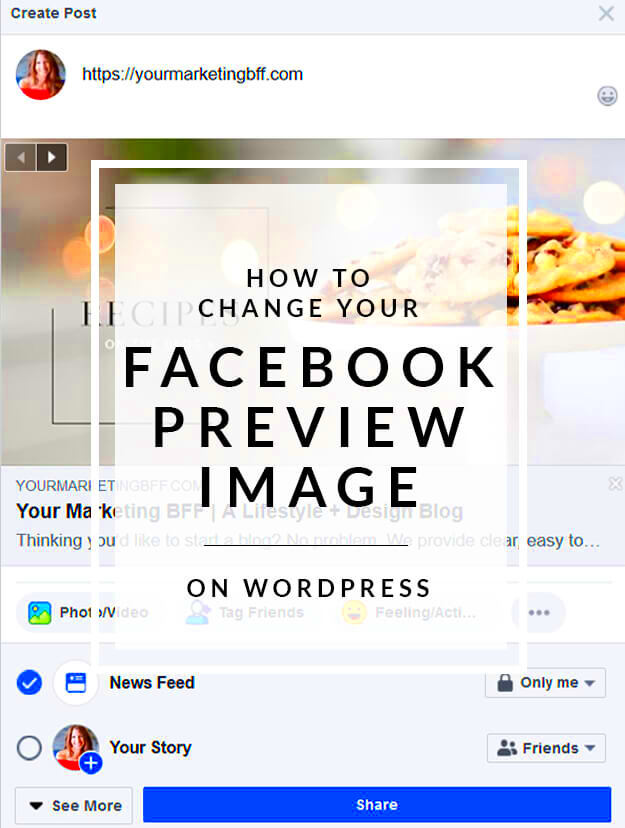
- Enter Your URL: Paste the URL of the page you want to share into the Sharing Debugger's input box, then click "Debug." Facebook will show you the current link preview, including the image it’s using.
- Scrape the URL: If you want to refresh the preview image, click the "Scrape Again" button. This forces Facebook to re-fetch the page content, including any updated images.
- Adjust Meta Tags for a Custom Image: If you have access to the page’s HTML, you can manually adjust the meta tags to include a custom image. This can be done by adding the following line to the
<head>section of the HTML:<meta property="og:image" content="URL_of_your_custom_image" />
- Test and Confirm: After scraping again, refresh the Facebook preview to ensure your custom image is displayed. If everything looks good, you’re ready to share your link with the updated image!
By following these steps, you can easily customize the link preview image and make your Facebook posts stand out with the image of your choice.
Using the Facebook Sharing Debugger Tool
The Facebook Sharing Debugger tool is a powerful and simple way to fix issues with link previews, including updating images. It helps Facebook refresh its cache, so the correct image appears when you share a link. This tool is especially useful when you've made changes to your website and want Facebook to recognize the new preview details, including a custom image.
Here’s how to use the Facebook Sharing Debugger tool:
- Access the Debugger: Go to the Facebook Sharing Debugger page. You don’t need a developer account to use this tool, just the URL of the page you want to update.
- Enter the URL: Copy and paste the link of the page you want to check into the tool's search bar.
- Click "Debug": After pasting the link, click the "Debug" button. The tool will show you the current preview for that link, including the image Facebook is using.
- Scrape Again: If you've updated your content or image, click the "Scrape Again" button to force Facebook to pull the latest data. This will update the image preview to reflect any changes you made.
This simple process helps ensure your link preview image is always up-to-date and properly displayed on Facebook. It’s essential to check your link’s preview regularly to avoid any issues with outdated content.
How to Upload a Custom Image for Your Link Preview
Uploading a custom image for your link preview allows you to better control how your content appears on Facebook. This can make your link stand out more and align better with your branding. To upload a custom image for your link preview, you’ll need to use the Open Graph (OG) meta tags in your website’s HTML code. Here's how:
- Choose Your Image: First, select an image that represents your content and works well with Facebook’s recommended image size. Typically, the ideal image dimensions are 1200 x 630 pixels for a good preview on both desktop and mobile.
- Access Your Website's HTML: Open the HTML source code of the page you’re working with. If you’re using a website builder like WordPress, you can usually edit this through the theme or post settings.
- Insert the Open Graph Tag: In the
<head>section of your HTML, add the following Open Graph meta tag:<meta property="og:image" content="URL_of_your_custom_image" />
- Save Your Changes: After inserting the meta tag, save your changes. Make sure to upload your image to a publicly accessible location if it's hosted on your server.
- Use the Facebook Sharing Debugger: Once you’ve added the custom image, go to the Facebook Sharing Debugger and enter the URL of your page. Click "Debug" and then "Scrape Again" to refresh Facebook’s cache with your new image.
By following these steps, you can easily upload a custom image to represent your link on Facebook and ensure your posts look polished and professional.
Common Issues When Changing the Link Preview Image
While changing the link preview image on Facebook is usually a straightforward process, there are a few common issues you might encounter. Understanding these challenges can help you troubleshoot and get your custom image appearing correctly. Here are some of the most frequent problems and solutions:
- Facebook Caching Issues: Facebook may cache the link preview image, meaning it continues to display the old image even after you've updated it. To fix this, use the Facebook Sharing Debugger tool to scrape the URL again and refresh the cache.
- Image Dimensions Not Ideal: Facebook prefers images that are at least 1200 x 630 pixels for optimal display on both mobile and desktop. If your image is too small or not the right aspect ratio, it may not appear correctly. Ensure your image meets Facebook’s size and aspect ratio requirements.
- Incorrect Meta Tag Placement: If you’ve added the Open Graph meta tag incorrectly, the custom image might not show up. Double-check the placement in the
<head>section of your HTML, and ensure the URL to the image is correct and publicly accessible. - Delayed Changes: Sometimes it can take a little while for the new image to appear after scraping. Be patient and give it some time before trying again. If the issue persists, ensure your image URL is accessible to Facebook bots and not blocked by any restrictions.
- Facebook Doesn’t Detect the Image: Occasionally, Facebook might not detect the correct image even after refreshing the cache. In this case, ensure the image is linked correctly in the OG meta tags, and try using a different image URL if the issue continues.
By understanding and addressing these common issues, you can ensure that your link previews on Facebook always look the way you want them to.
Best Practices for Choosing a Link Preview Image
Choosing the right image for your link preview on Facebook can significantly impact the engagement your post receives. A good image will attract more clicks, encourage shares, and improve the overall success of your post. Here are some best practices to help you select the most effective image:
- Use High-Quality Images: Ensure that the image you choose is clear, high-resolution, and visually appealing. Blurry or pixelated images can make your post look unprofessional and may discourage users from clicking.
- Stick to the Recommended Size: Facebook recommends using images that are 1200 x 630 pixels for optimal display across devices. This size ensures that your image appears correctly on both desktop and mobile views without being cropped.
- Keep Text to a Minimum: If your image contains text, make sure it’s legible and doesn’t overcrowd the image. Avoid using too much text, as Facebook may shrink or crop it depending on the device.
- Match the Content of the Link: Your image should be relevant to the content you’re sharing. A well-chosen image that matches the link’s subject matter makes the post more authentic and appealing to users.
- Ensure It Aligns with Your Branding: Choose an image that reflects your brand’s style and message. This helps reinforce your brand identity and makes your posts instantly recognizable to your audience.
- Test Multiple Images: Sometimes it’s worth testing different images to see which one performs best. You can use A/B testing on Facebook Ads to check which images get the most engagement.
By following these best practices, you can ensure your link preview images work as an effective tool for engaging your audience on Facebook.
FAQ
Here are answers to some of the most common questions about changing the link preview image on Facebook:
- Can I change the link preview image for every post? Yes, you can change the link preview image for every post you share on Facebook, as long as you follow the correct process using the Facebook Sharing Debugger and Open Graph meta tags.
- Why isn’t my new image showing after I update it? Sometimes Facebook caches link previews. Use the Facebook Sharing Debugger to force Facebook to scrape your URL again and refresh the preview.
- What image size is best for Facebook link previews? The recommended size for Facebook link preview images is 1200 x 630 pixels. This ensures your image will display correctly on both desktop and mobile devices.
- Can I add a custom image if I’m using a website builder? Yes, you can add a custom image even if you’re using a website builder. Most builders allow you to insert custom meta tags, either in the post settings or in the theme settings.
- Why is the link preview image sometimes cropped? Facebook crops images to fit various screen sizes. To avoid important parts of your image being cut off, ensure that key elements are centered within the image’s safe zone (typically within a 1200 x 630 pixel box).
Conclusion
Changing the link preview image on Facebook is a straightforward process that can significantly impact the success of your posts. By using the Facebook Sharing Debugger and optimizing your Open Graph tags, you can ensure that the right image is displayed every time. Additionally, following best practices for choosing an image—such as using high-quality visuals and aligning the image with your brand—will help increase engagement and make your posts more appealing to your audience.
Remember to regularly check and refresh your link previews to make sure they look great and are consistent with the message you want to share. With a little effort, you can enhance the appearance of your content and attract more clicks on Facebook.
 admin
admin


