Making an image "dance" refers to the process of adding movement to a static image to create visual interest and engagement. It's a way to give life to photos or graphics, making them feel dynamic and more compelling. This technique can be used in various settings, such as advertising, social media posts, and presentations, to capture the audience’s attention. By incorporating motion, you can transform a still
In essence, making an image dance isn’t about literal movement, but about using design tools to simulate it. Through effects like animation, scaling, and transparency, a photo can appear as if it is in motion. The goal is to enhance the viewer's experience by creating a sense of rhythm, action, or progression within the image. This method helps to evoke emotions and adds a layer of excitement to otherwise static visuals.
Choosing the Right Image for Creating Movement

When it comes to making an image dance, choosing the right image is crucial. Not all images lend themselves well to motion, so it’s important to select one that can effectively convey a sense of movement or energy. Here are some tips to guide your selection:
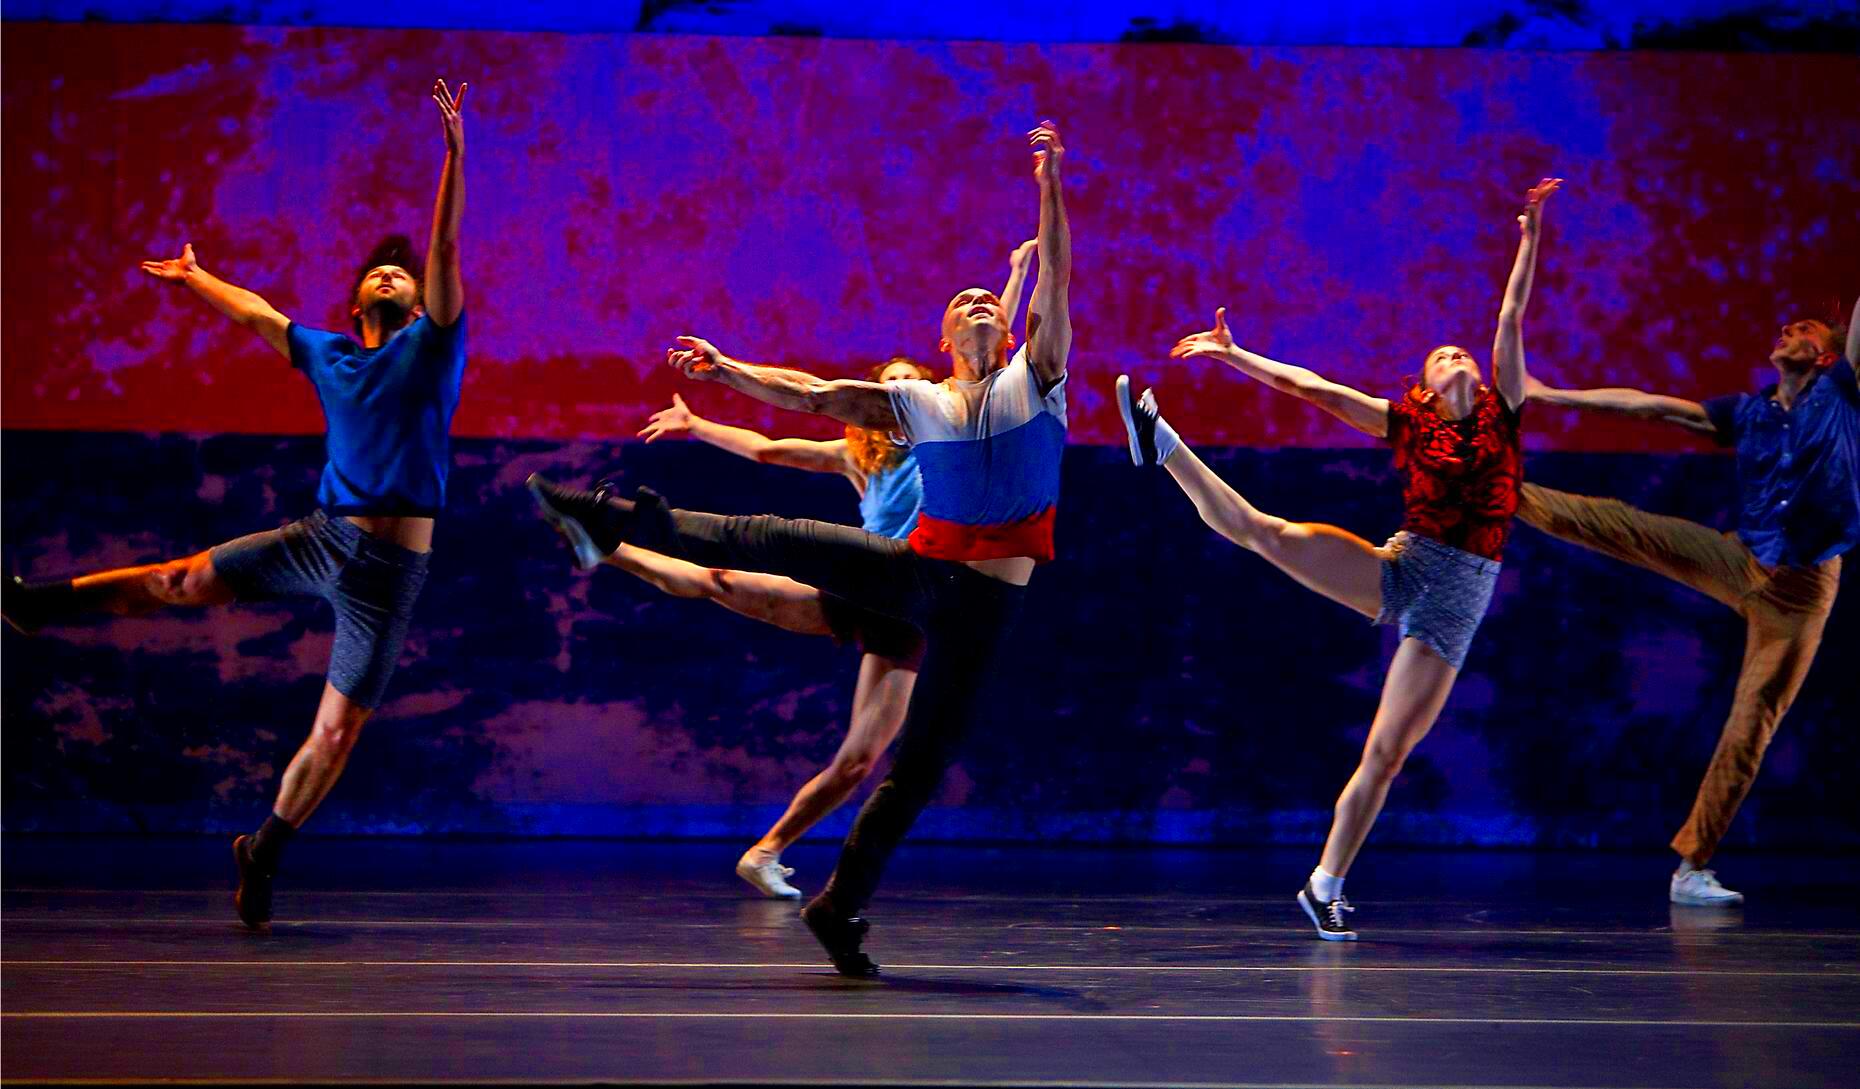
- Action Shots: Images that already capture some form of action, such as sports, dancing, or flowing water, are great candidates for motion effects.
- Open Space: Images with lots of negative space or a clear focal point are easier to manipulate to create the illusion of movement.
- Shapes and Lines: Abstract images with flowing lines or geometric shapes can easily be animated to convey movement or rhythm.
Additionally, consider the overall tone and purpose of your project. A lively, energetic image works well for promoting fun, modern content, while a more subtle, muted image might be better suited for professional or formal settings.
Also Read This: Understanding YouTube Video Length Limits
Tools and Techniques for Adding Motion to Static Images

There are several tools and techniques available to add motion to a static image. Depending on the complexity of the effect you want to create, you can use a range of software options. Here are a few tools and methods to get started:
- Procreate: Procreate is a popular choice for creating animations in images. It allows you to add frames, tweak image layers, and apply various effects like blur or distortion to simulate motion.
- Photoshop: Photoshop offers powerful features such as the "motion blur" effect, which helps create the illusion of movement in an image. You can also work with layers and add animations to GIFs.
- After Effects: After Effects is an industry-standard tool for more advanced motion graphics. It provides extensive options for animating images, including keyframe animations, particle effects, and 3D motion tracking.
When using these tools, there are some common techniques to apply:
- Motion Blur: This effect creates the illusion of fast movement by blurring certain areas of an image. It’s ideal for objects in motion, like cars or athletes.
- Layer Animation: Using different layers of the image and animating them separately can create a more dynamic look. This technique is often used in 2.5D animations, where the background and foreground move independently.
- Scaling: Applying gradual scaling effects, such as zooming in or out, can create the feeling that the subject is moving closer or further away.
By combining these tools and techniques, you can transform a static image into one that feels alive with motion.
Also Read This: Choosing Between Royalty-Free and Rights-Managed Images on Imago Images
Using Proportional Scaling for Effective Image Movement

Proportional scaling is an essential technique when trying to create effective image movement. It involves resizing an image while maintaining its original proportions to ensure the image doesn’t become distorted or lose its visual integrity. When adding motion to an image, this technique is especially useful to create a smooth, realistic flow, making the movement look natural. Whether you’re simulating an object getting closer or further away, or creating the illusion of it moving across the screen, proportional scaling can significantly enhance the impact of your image.
Here’s how proportional scaling can be applied for image movement:
- Zooming In and Out: Gradually resizing an image while maintaining the correct aspect ratio can give the impression that the subject is either zooming in towards the viewer or zooming out into the distance.
- Moving Across the Frame: By shrinking or expanding the image proportionally, it can move across the screen in a way that feels like the image is traveling or shifting in perspective.
- Simulating Depth: Using proportional scaling allows for the creation of depth, where closer objects appear larger and further objects seem smaller, giving the effect of objects moving toward or away from the viewer.
Incorporating proportional scaling into your design workflow makes sure that the image retains its original look while appearing to be in motion, allowing you to create fluid, convincing animations without any odd distortions.
Also Read This: How to Create a Behance Page for Your Creative Portfolio from Scratch
Adding Animation Effects to Enhance the Dance
Animation effects play a crucial role in bringing movement and life to an image. Whether it's subtle or bold, adding animation effects allows you to enhance the "dance" of your image, creating visual interest and guiding the viewer’s attention. These effects can be applied using various software, such as Photoshop, After Effects, or Procreate, and can make a simple static image feel dynamic and engaging.
Here are some common animation effects you can add to images:
- Motion Blur: Motion blur gives the impression of fast movement. It’s commonly used when trying to depict an object moving quickly, such as a car speeding or a person running. It adds a sense of energy to the image.
- Fade In and Out: This effect gradually reveals or hides an image. It’s perfect for creating smooth transitions or emphasizing parts of the image. A fading effect can also help images appear as if they’re shifting through time.
- Scale and Rotation: Animating an image by gradually changing its size (scaling) or rotating it adds a fluid, dynamic feel to the movement. This works well for objects that spin or grow larger as they approach.
- Parallax Effect: This effect involves making the background and foreground move at different speeds, creating the illusion of depth and three-dimensional space.
By adding these animation effects to your image, you can significantly enhance its visual appeal and make it "dance" in a way that catches the viewer’s eye and keeps them engaged.
Also Read This: How Family Guy Jokes Are Created – A Behind-the-Scenes Look on Dailymotion
Incorporating Layers and Transparency to Boost the Effect
Incorporating layers and transparency is a powerful method to boost the movement and depth in your image. By separating elements of your image into individual layers, you can animate each layer separately, creating the illusion of different parts moving at different speeds or in different directions. This technique is particularly effective for images where you want to simulate depth, like when creating a 2.5D effect or making certain elements appear in the foreground or background.
Here’s how you can use layers and transparency to enhance your image’s movement:
- Layered Animation: By separating the image into different layers—such as the background, foreground, and any moving elements—you can animate each layer independently. This creates a more complex, dynamic movement, where elements closer to the viewer appear to move faster than those in the background, simulating depth and distance.
- Transparency Effects: Using varying levels of transparency on different layers allows certain parts of the image to fade in and out, creating a sense of motion. This can also help create effects like fading lights, drifting smoke, or moving shadows.
- Creating Parallax: The parallax effect relies on layering. By animating the layers in such a way that the background moves slower than the foreground, you can simulate depth and make the image feel more three-dimensional.
When combined, layers and transparency offer a unique way to create realistic, dynamic movement that captures the viewer's attention. The key is to experiment with different layer animations and transparency settings to see how they interact and enhance the overall effect.
Also Read This: Creative Ideas for Incorporating Imago Images into Your Next Presentation
Testing Your Animated Image for Smooth Motion
After adding movement and effects to your image, it’s crucial to test it to ensure that the motion is smooth and looks natural. Testing helps you catch any issues like jerky transitions, mismatched speeds, or overdone effects. Smooth motion not only improves the visual appeal of your image but also enhances the viewer's experience by making the animation feel more lifelike. There are several ways to test your animated image, depending on the tools you're using.
Here’s how you can test your animated image for smooth motion:
- Preview the Animation: Most animation software has a preview feature that allows you to view the animation in real-time. This is the first step to check for any noticeable issues in the movement. Be sure to review it in full, not just in small sections.
- Check for Frame Rate: A higher frame rate (e.g., 30 frames per second) generally results in smoother motion. If your animation feels choppy, consider increasing the frame rate or adding more frames to the animation.
- Look for Jitter or Stutter: If the animation looks jittery or uneven, it might be due to too many abrupt transitions or inconsistencies in movement speed. Smooth out the transitions or adjust the keyframes to fix this.
- Test on Different Devices: Viewing your animation on multiple devices (desktop, mobile, tablet) can help you see how it performs across various screen sizes and resolutions. What looks smooth on one device might appear jerky on another.
Once you've tested and fine-tuned your animation, you’ll be confident that your "dancing" image will perform as expected in its final form, offering a visually engaging experience to your audience.
Also Read This: Ways to Remove iFunny Watermark from Videos and Images
How to Save and Export Your Dancing Image
Saving and exporting your animated image properly is the final step to ensuring that your creation is ready for use in your projects. Depending on the software you use and the platform you plan to share the animation on, there are different formats and settings you should consider. Whether you're exporting an animated GIF, a video file, or a PNG sequence, it’s important to choose the right export settings to maintain image quality while keeping file sizes manageable.
Here are some tips on saving and exporting your animated image:
- Choose the Right Format: For simple animations like short loops or social media posts, exporting as a GIF is a common choice. GIFs are widely supported and work well for quick animations. If you're working on a more complex animation with higher quality, you might want to export it as a video file (MP4 or MOV).
- Set the Resolution: When exporting, make sure to choose the resolution that matches your intended use. If the image is for social media, 1080p (Full HD) is often sufficient. For higher-quality projects, you may want to export in 4K resolution.
- Optimize the File Size: For web use, you’ll want to keep the file size as small as possible without sacrificing quality. Some tools offer optimization settings that help compress the file while retaining the animation’s integrity.
- Consider Transparency: If your animation includes transparent elements, make sure to export in a format that supports transparency, such as PNG or GIF.
- Test the Exported File: After exporting, test the file to ensure that the animation works as expected. Check for any issues with loading times, resolution, or frame rate.
By following these steps, you can save and export your animated image efficiently, ensuring it looks great and functions properly wherever you use it.
Also Read This: How to Project an Image from Your Phone onto Paper
FAQ
Q1: What software can I use to make an image dance?
A1: You can use various tools like Photoshop, After Effects, Procreate, or even online platforms like Canva or Pixlr to add motion effects to your images. Each tool offers different features for animating and enhancing your images, so choose one based on the complexity of your project.
Q2: How can I ensure my animated image looks smooth on all devices?
A2: To ensure smooth motion on all devices, test your animation on different screen sizes and platforms. Also, consider the frame rate and resolution of your animation. A frame rate of 30 fps is generally good for smooth motion, and choosing the correct resolution for the platform will help maintain clarity and smoothness.
Q3: Can I make a still photo dance without animation software?
A3: While full motion effects require animation software, you can create the illusion of movement in a still photo using techniques like scaling, layering, and adding motion blur. Some basic photo editing tools allow you to manipulate these elements to simulate movement.
Q4: What file formats are best for exporting an animated image?
A4: The best file format depends on your intended use. GIFs are great for short, looping animations, while MP4 files are ideal for longer or higher-quality animations. If you need transparency, go for formats like PNG or GIF. Make sure to choose the format that balances quality and file size for your needs.
Conclusion
Incorporating movement into your images can elevate their visual appeal and engagement, making them stand out in today’s fast-paced digital world. By following the steps outlined—whether it's choosing the right image, adding motion effects, using proportional scaling, or leveraging layers and transparency—you can create compelling visuals that catch the viewer’s eye. Testing the animation for smoothness and ensuring proper export settings are also crucial for achieving the best results. Ultimately, creating a "dancing" image is a creative process that allows you to bring still visuals to life, offering a unique experience for your audience.

 admin
admin


