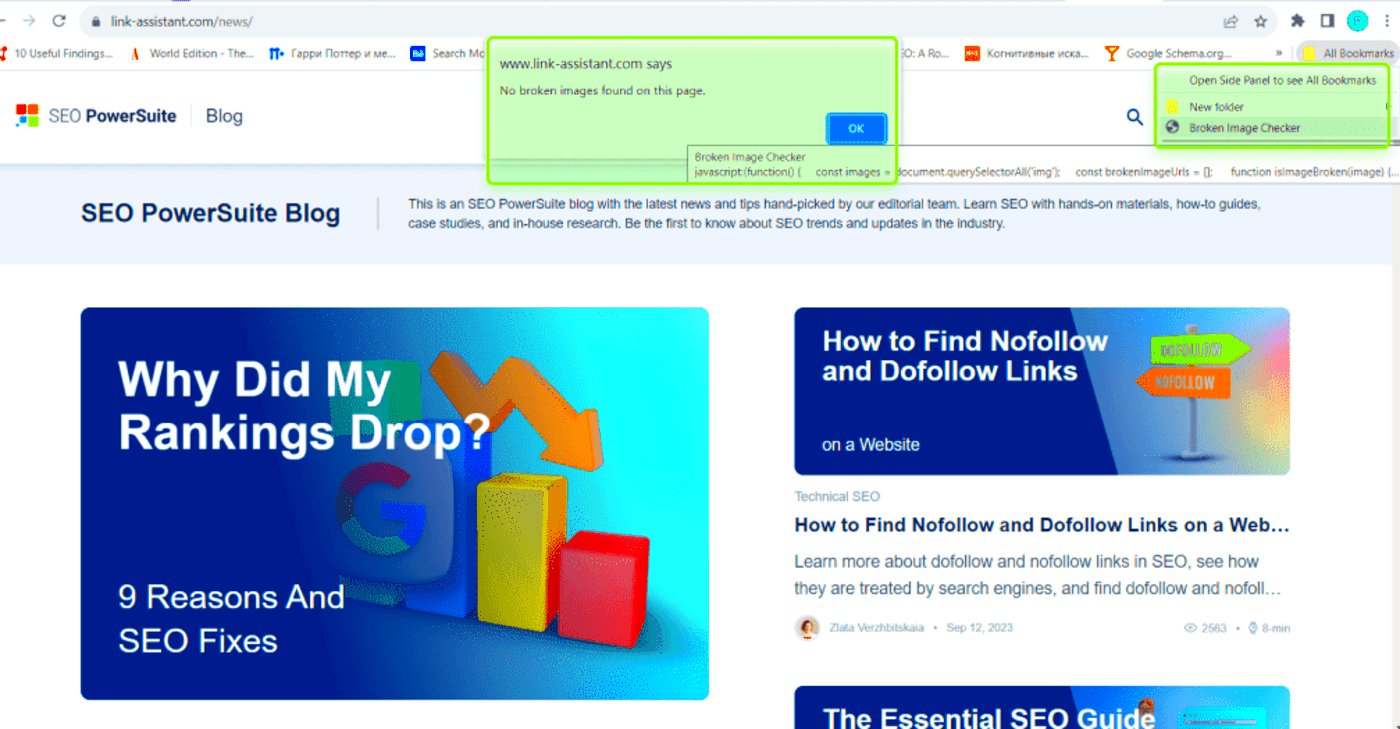
Broken images on a website can be frustrating for both website owners and visitors. A broken image means the image doesn’t appear as intended, showing either an error icon or a blank space instead. This can negatively affect user experience, reduce trust in your site, and lower your search engine ranking. Broken images often occur due to technical issues or simple mistakes during
Common Causes of Broken Images

There are several reasons why an image may not load correctly on a website. Some of the most common causes include:
- Incorrect File Path: If the image path is wrong or the file has been moved without updating the link, the image won’t show up.
- Deleted or Missing Image Files: If the image file was deleted or isn’t uploaded to the server properly, the image will be missing.
- Broken Image URL: The URL used for the image might be incorrect, or the image might have been moved to a different location without adjusting the URL in your website’s code.
- Server Errors: Temporary issues with the web server, such as downtime or connectivity problems, can prevent images from loading.
- Browser Cache Issues: Sometimes, outdated files in the browser cache can prevent images from displaying properly.
- File Format or Size Issues: Unsupported file formats or large file sizes may prevent the image from loading as expected.
Also Read This: How to Change Color on YouTube to Personalize Your Channel’s Appearance
How to Identify Broken Images
Identifying broken images on your website is essential to fixing them quickly and ensuring your site remains user-friendly. Here's how you can spot broken images:
- Visual Clues: The most obvious way to spot a broken image is through visual cues. You'll typically see a missing image icon (such as a small box with a red “X” or a placeholder icon) where the image should be.
- Right-click and Inspect: Right-click on the broken image and select “Inspect” or “Inspect Element” in your browser. This will open the developer tools and highlight the image's HTML code, showing whether the path or URL is incorrect.
- Browser Console: Check the console tab in your browser’s developer tools (F12 in most browsers). It may show an error message like “404 Not Found,” indicating the image file is missing.
- Automated Tools: Use website audit tools like Google Search Console or broken link checkers to detect images that aren’t loading properly.
Once identified, you can proceed with fixing these broken images by following a few simple steps.
Also Read This: A Complete Guide to Rasterizing an Image
Simple Methods to Fix Broken Images
Fixing broken images on your website doesn’t have to be complicated. By following a few simple methods, you can quickly restore your website’s visual appeal and improve user experience. Here are some straightforward techniques to resolve this issue:
- Check Image File Paths: Ensure that the file paths for your images are correct. If the image has been moved or renamed, update the path in your HTML or CSS code.
- Re-upload Missing Files: If the image is missing, try uploading it again to the server. Make sure it’s placed in the right folder and the path corresponds to the URL used in your code.
- Correct Image URLs: Double-check the URLs for accuracy. Ensure that there are no typos or errors, and make sure the URL is pointing to the correct image location.
- Clear Browser Cache: Sometimes, browsers store outdated versions of your website. Clear your browser’s cache to ensure it loads the most recent version of the page, including images.
- Use Image CDN Services: Consider using a Content Delivery Network (CDN) to host your images. CDNs provide faster and more reliable image delivery, reducing the risk of broken images due to server or location issues.
Also Read This: How to Upload Videos to Dailymotion
Using Adobe Stock to Replace Missing Images
If you’re unable to find or restore a missing image, Adobe Stock offers a great solution. With its vast library of high-quality images, you can quickly find a replacement that suits your website’s design and content. Here's how you can use Adobe Stock to replace broken images:
- Search for High-Quality Images: Go to Adobe Stock and use the search feature to find images based on specific keywords or themes. Adobe Stock provides both free and paid options, so you can find an image that fits your budget.
- Download the Image: Once you've selected the image, you can purchase or download it (if free). Make sure to download the correct file format and resolution for your website's needs.
- Upload the New Image: After downloading, upload the new image to your website server. Be sure to keep the image name and file path the same as the broken one, so you don’t need to update the URL in your website's code.
- Update Image Descriptions: If necessary, update the alt text, title, and description for the new image to maintain SEO optimization and ensure accessibility for users with disabilities.
Also Read This: Creating Your Own Bridal Makeup Tutorial on Dailymotion
Optimizing Images for Better Website Performance
Images are a major part of website content, but they can also affect your site's performance. Large or unoptimized images can slow down your page load times, leading to a poor user experience and a drop in search engine rankings. Here are some tips to optimize images for better performance:
- Choose the Right File Format: Different file formats offer different benefits. For example, JPEG is great for photographs, while PNG is better for images with transparency. WebP is a modern format that offers high-quality images with smaller file sizes.
- Compress Your Images: Use tools like TinyPNG, ImageOptim, or Adobe Photoshop to compress your images without losing too much quality. Smaller file sizes will help your website load faster.
- Resize Images: Avoid uploading oversized images that are larger than they need to be. Resize your images to fit the maximum display size required on your website to reduce file size and loading time.
- Use Lazy Loading: Lazy loading ensures images are only loaded when they are visible to the user on the page. This can significantly speed up page load times, especially for websites with many images.
- Enable Image Caching: Enable caching for images on your website so that browsers don’t have to reload them each time the page is visited. This can greatly improve page load times for returning visitors.
By following these steps, you can optimize your images, enhance your website’s performance, and improve the overall user experience.
Also Read This: Splitting an Image to Print on Multiple Pages
Preventing Broken Images in the Future
Once you've fixed broken images on your website, it's essential to take steps to prevent this issue from occurring again. Broken images can damage your website’s credibility and hurt your SEO performance. By following a few simple best practices, you can ensure your images remain intact and display properly every time. Here are some tips to help you prevent broken images:
- Use a Content Management System (CMS): A CMS like WordPress or Squarespace helps you manage images more easily. With built-in tools and features, you can easily upload, update, and organize your images without worrying about broken links.
- Use Absolute URLs for Images: Using absolute URLs (e.g., https://www.example.com/images/image.jpg) instead of relative URLs can help prevent broken image links, especially if you move your website or server.
- Keep Image Folders Organized: Make sure your image files are stored in a well-organized folder structure. This makes it easier to track and update your images, reducing the risk of moving or deleting the wrong files.
- Backup Your Website Regularly: Regular backups ensure that if anything goes wrong with your site, you can restore all your images and files quickly.
- Double-Check Before Deleting Files: Before you delete any image files, ensure they aren’t in use on any active pages. Tools like broken link checkers can help identify these files.
By following these simple practices, you can reduce the risk of future broken images and maintain a smooth user experience on your website.
Also Read This: How to Create Stunning Black and White Photos
Frequently Asked Questions
Here are some common questions people have when dealing with broken images on their websites:
- What is a broken image? A broken image occurs when the image fails to load on a webpage, usually because the file is missing, the file path is incorrect, or there are server issues.
- How can I fix a broken image? Check the file path, re-upload the image, or update the image URL if needed. If the image is missing, upload it again or replace it with a new one from a reliable source.
- Why do my images keep going missing? Images may go missing due to server errors, incorrect file paths, or accidental deletion. Regularly check your website and update any broken links.
- Can a CDN help prevent broken images? Yes, a Content Delivery Network (CDN) can provide faster and more reliable image delivery, reducing the risk of broken images caused by server or location issues.
- Do image optimizations help prevent broken images? Image optimization itself doesn’t directly prevent broken images, but it can help with faster loading times, reducing the chances of loading errors.
Conclusion
Broken images can be a major hassle for website owners, but with the right knowledge and tools, they can be easily fixed and prevented. By understanding the causes of broken images and following simple best practices, you can ensure that your website remains visually appealing and user-friendly. Whether it’s by checking image paths, using reliable image sources like Adobe Stock, or optimizing your images for better performance, each step you take will improve your website’s overall experience. Don’t forget to monitor your site regularly, back up your content, and keep everything organized to prevent future issues. With these tips, you can maintain a smooth and professional-looking website at all times.

 admin
admin


