Importing images from your MacBook to a Fujifilm camera is a straightforward process. Whether you're looking to transfer photos for editing or to back them up, understanding the steps can make it easier. This guide will walk you through everything you need to know to get your images where you want them.
Preparing Your MacBook and Fujifilm Camera

Before you start importing images, make sure both your MacBook and Fujifilm camera are ready. Here are some steps to prepare:
- Update Software: Ensure your MacBook has the latest version of macOS. This can prevent compatibility issues.
- Charge Your Devices: Make sure your Fujifilm camera has enough battery power to complete the transfer.
- Free Up Space: Check your MacBook’s storage to ensure there’s enough space for new images.
Having your devices prepared can save you time and frustration. It's always good to be ready before starting the importing process.
Also Read This: How to Crop an Image in Lightburn Software
Connecting Your Fujifilm Camera to MacBook
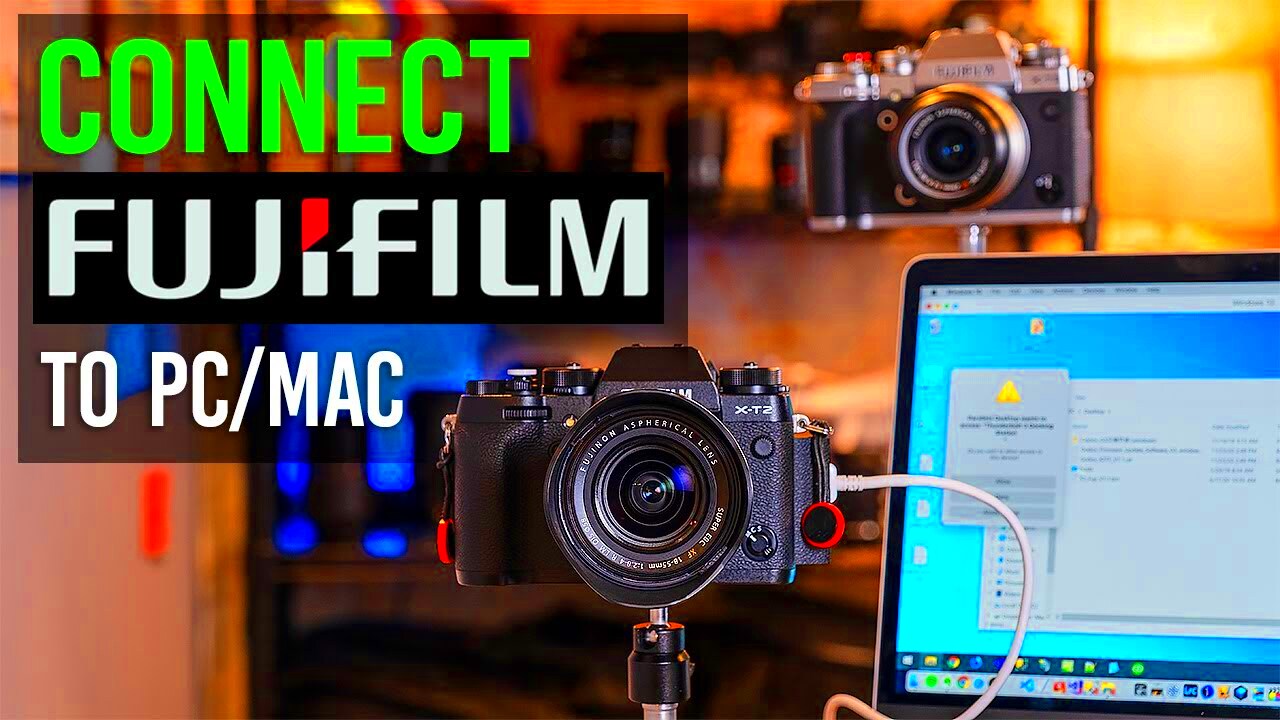
Now that everything is ready, it's time to connect your Fujifilm camera to your MacBook. Follow these steps:
- Use the Right Cable: Use a USB cable that fits both your MacBook and Fujifilm camera. Typically, this will be a USB-C or USB-A cable.
- Turn On Your Camera: Switch on your Fujifilm camera. Some models may have a specific mode for connecting to a computer, so check your camera settings.
- Connect the Devices: Plug one end of the cable into the camera and the other end into a USB port on your MacBook.
Once connected, your MacBook should recognize the camera, allowing you to import images easily. If your camera does not appear, try a different USB port or cable.
Also Read This: Effective Methods for Removing Getty Images Watermark on Mac
Using Image Capture for Importing
Image Capture is a built-in application on your Mac that makes importing images from your Fujifilm camera quick and easy. It offers a straightforward way to manage and transfer your photos without needing extra software. Here’s how to use it:
- Open Image Capture: You can find Image Capture in your Applications folder or by using Spotlight search (press Command + Space and type “Image Capture”).
- Select Your Camera: Once the application is open, your connected Fujifilm camera should appear in the left sidebar. Click on it to view the photos stored on the device.
- Choose Images to Import: You will see thumbnails of your images. You can select individual photos by clicking them or select all by pressing Command + A.
- Select Import Location: At the bottom of the window, choose where you want to save the imported images. You can select a folder or create a new one.
- Click Import: After selecting the images and import location, click the “Import” button. If you want to import all selected images at once, use the “Import All” button.
Image Capture is perfect for quick transfers and is a reliable choice for managing your images efficiently.
Also Read This: How to Sell Photos on Getty Images – A Complete Guide for Aspiring Photographers
Importing Images via Photos App
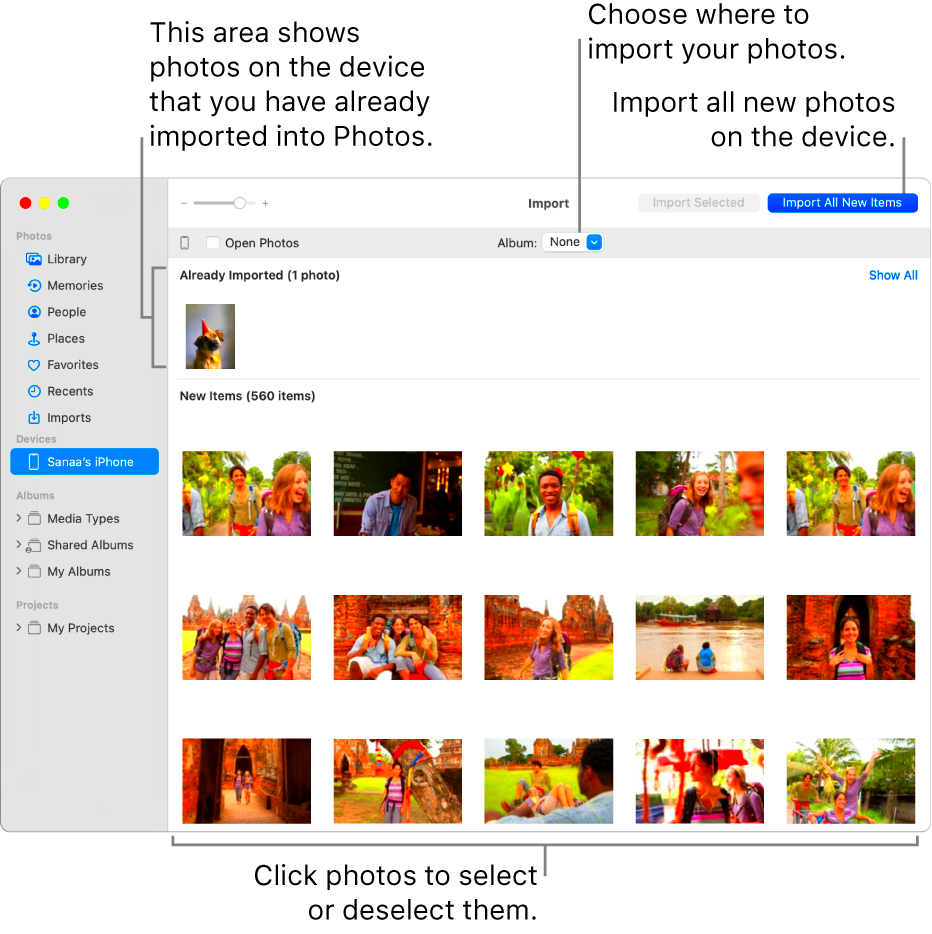
The Photos app on your Mac is another great option for importing images from your Fujifilm camera. It provides a more integrated experience, especially if you want to edit and organize your photos later. Here’s how to do it:
- Open the Photos App: You can find the Photos app in your Applications folder or search for it using Spotlight.
- Connect Your Camera: With your Fujifilm camera connected and turned on, the Photos app should automatically detect it.
- Select Your Camera: If prompted, click on your camera in the sidebar under the “Devices” section.
- Review Your Photos: You will see a grid of all images on your camera. You can select individual images or choose to import all.
- Click Import Selected: Once you’ve made your selections, click the “Import Selected” button. Alternatively, click “Import All New Photos” to transfer everything not previously imported.
The Photos app makes it easy to view, edit, and organize your images in one place. It’s an excellent choice for anyone who wants to manage their photo library seamlessly.
Also Read This: Shopify Synergy: Adding Products from AliExpress to Your Store
Transferring Images Wirelessly
If you prefer to transfer images without cables, Fujifilm offers wireless options for many of their cameras. This feature is great for convenience, especially if you’re on the go. Here’s how to transfer images wirelessly:
- Check Wi-Fi Settings: Ensure your Fujifilm camera is connected to a Wi-Fi network. You may need to enable Wi-Fi in your camera settings.
- Download the Fujifilm Camera App: On your Mac, download the official Fujifilm app from the website or app store. This app will help facilitate the wireless transfer.
- Connect to Your Camera: Open the app on your Mac and connect to your camera’s Wi-Fi network. Follow the prompts in the app to establish the connection.
- Select Images: Once connected, you can browse the images stored on your camera through the app. Select the ones you want to transfer.
- Transfer Images: Click on the transfer button to send the selected images to your Mac. Depending on your network speed and the number of images, this may take some time.
Wireless transfers are convenient and help keep your workspace tidy, making it a great choice for busy photographers.
Also Read This: Mastering YouTube Adblock Detection for Seamless Streaming
Troubleshooting Common Issues
Sometimes, things don't go as planned when importing images from your Fujifilm camera to your MacBook. But don’t worry! Here are some common issues you might encounter and how to fix them:
- Camera Not Recognized: If your MacBook doesn’t recognize your camera, ensure that:
- The camera is turned on.
- You are using a compatible USB cable.
- You have the correct camera mode selected (like “PC” or “Transfer”).
- Importing Takes Too Long: If the import process is slow, check the following:
- Ensure your USB port is functioning correctly by trying another port.
- Close other applications that may be using system resources.
- Error Messages: If you receive error messages, make a note of them. Sometimes, a simple restart of your MacBook or camera can resolve the issue.
- Image Quality Issues: If imported images appear blurry or corrupted, verify that your memory card is not damaged and that your camera settings are correct.
By following these tips, you can troubleshoot common problems and keep your image transfer process smooth and efficient.
Also Read This: Breathtaking Images of Nature Across the USA
FAQs
Here are some frequently asked questions about importing images from a Fujifilm camera to a MacBook:
- Can I use a memory card reader instead of connecting my camera? Yes, a memory card reader is an excellent alternative. Just insert your card into the reader and connect it to your MacBook.
- What formats do my images need to be in? Most Fujifilm cameras save images in JPEG or RAW formats, both of which are compatible with your Mac.
- Is there a way to import videos too? Yes, you can import videos using the same methods for images. Just select the video files you want to transfer.
- What if my camera won’t connect wirelessly? Make sure your camera’s Wi-Fi is turned on and that you are connecting to the correct network. Restart both the camera and the MacBook if necessary.
These FAQs cover common concerns, ensuring you have the answers you need to make importing images a breeze.
Conclusion
Importing images from your Fujifilm camera to your MacBook is an essential skill for any photographer. Whether you choose to connect via USB, use Image Capture, the Photos app, or go wireless, knowing the steps involved can save you time and frustration. Remember to troubleshoot common issues if they arise, and refer to FAQs for additional help. With these tips, you’ll be able to manage your photo collection with ease. Happy importing!

 admin
admin


