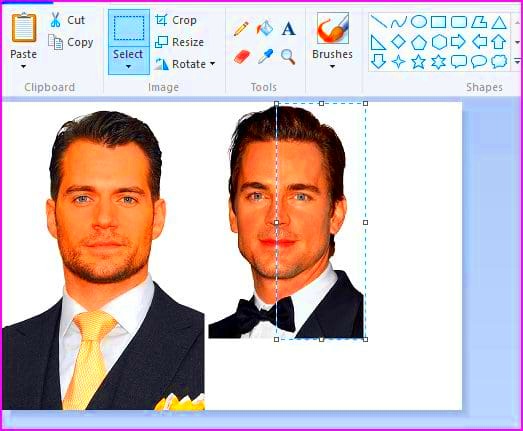
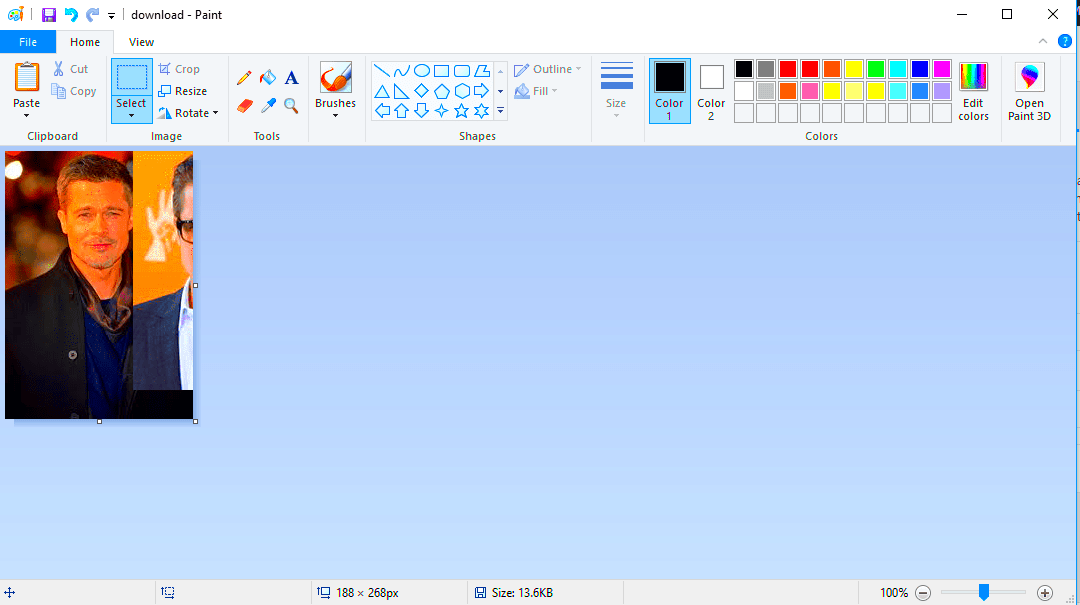
Merging images in Paint is a simple yet effective way to create stunning visuals for your projects. Whether you're working on a personal project or something for your business, combining two images can add a unique touch. With Paint, you don’t need advanced skills or expensive software; just a few clicks can help you blend your ideas into a cohesive image. Let’s explore how to do this step by step.
Getting Started with Paint

Before you can start merging images, you need to launch Paint. This user-friendly program is included with Windows and offers a straightforward interface, perfect for beginners. Here’s how to get started:
- Click on the Windows Start menu.
- Type "Paint" in the search bar.
- Select Paint from the list of results.
Once Paint is open, you’re ready to begin merging images. The layout features a toolbar at the top with various tools for drawing, painting, and editing, making it easy to find what you need.
Also Read This: How to Rotate an Image in Lightroom
Opening the First Image
The first step in merging images is to open the primary image that you want to work with. Here’s how you can do that:
- In Paint, go to the File menu located at the top left corner.
- Select "Open" from the dropdown menu.
- Browse through your files to find the image you want to use.
- Click on the image and then click "Open" to load it into Paint.
Now that your first image is open, you can see it on the canvas. This is the foundation for your creative project. Take a moment to familiarize yourself with the image and think about how the second image will complement it.
Also Read This: How to Frame an Image in Canva
Adding a Second Image
Now that you have your first image open in Paint, it’s time to add a second image to create a blend. This part is straightforward and opens up a world of creativity. Here’s how to do it:
- First, go to the File menu again and select "Open" to find your second image.
- Once you have located it, click "Open" to load the second image in a new Paint window.
- Select the entire image by pressing Ctrl + A and then copy it by pressing Ctrl + C.
- Return to the window with your first image and paste the second image by pressing Ctrl + V.
Now you should see the second image overlaying the first one. This is where the fun begins! You can move it around, and it’s a great opportunity to experiment with how the two images will interact.
Also Read This: Guidelines for Using 123RF Images on YouTube: Incorporating Copyrighted Content
Positioning and Resizing Images
With both images now visible, the next step is to position and resize them to fit your creative vision. Paint makes it easy to adjust your images as needed. Here’s how to do it:
- To move the second image, click and drag it to your desired location on the canvas.
- If the image is too large or small, you can resize it. Click on one of the corners of the image box and drag it in or out.
- Hold the Shift key while resizing to maintain the image’s proportions.
Positioning and resizing are all about trial and error, so don’t hesitate to play around with different placements. You might find that an unexpected position creates a more dynamic image!
Also Read This: How to Rotate Images in Google Drive
Blending Images for a Seamless Look
Now comes the most creative part: blending your images together for a seamless look. The goal is to make the two images appear as one cohesive piece. Here’s how to achieve that:
- Use the Eraser Tool to softly erase parts of the second image that you want to blend into the background.
- Adjust the transparency of the second image by using the Fill Tool or the Brush Tool with low opacity settings.
- Experiment with different brush sizes to achieve a soft transition between the two images.
After blending, take a step back and look at your work. It’s helpful to zoom out to see the overall effect. You might need to make some adjustments until you achieve the desired look. Remember, the more you practice, the better you’ll become at creating stunning merged images!
Also Read This: Is There Upload Limit On Streamable? Here’s What You Need to Know
Saving Your Merged Image
After all the fun of merging and blending your images, it’s time to save your masterpiece! Saving your work properly ensures you won’t lose any changes and can share your creation with others. Here’s how to do it:
- Click on the File menu at the top left of Paint.
- Select "Save As" to choose the format you want. Common formats include PNG, JPEG, and BMP.
- Choose a location on your computer where you want to save the file. Make sure to remember this spot!
- Give your file a name that reflects your project and click "Save."
For a quick recap, using "Save As" is always a good practice, especially if you want to keep the original images unchanged. Now you can share your merged image on social media, use it in presentations, or simply keep it for personal enjoyment!
Also Read This: Downloading Shutterstock Images for Free: Understanding Copyright and Licensing
Tips for Creative Projects
When it comes to merging images, creativity is key! Here are some tips to help you elevate your projects and make them stand out:
- Choose Complementary Images: Look for images that share similar colors or themes to create a harmonious look.
- Play with Filters: Experimenting with filters can add unique effects to your images before merging.
- Use Layers: Although Paint doesn’t support layers like some advanced software, you can still strategically position images to create depth.
- Test Different Compositions: Don’t hesitate to try various layouts. Sometimes, an unconventional arrangement works best.
Remember, merging images should be a fun process. Let your creativity flow, and don’t be afraid to make mistakes; they often lead to the best ideas!
Also Read This: illustrator how to embed images
FAQ
Here are some common questions about merging images in Paint:
- Can I merge more than two images? Yes, you can add as many images as you like by repeating the steps for adding a second image.
- What formats can I save my merged image in? You can save your image as PNG, JPEG, BMP, and a few other formats.
- Will merging images affect their quality? If done correctly, merging shouldn’t affect the quality significantly, but always use high-resolution images for the best results.
- Can I undo changes if I make a mistake? Absolutely! You can use the Ctrl + Z shortcut to undo any changes.
If you have more questions, don’t hesitate to reach out or explore online resources. Happy merging!
Conclusion
Merging images in Paint is an enjoyable and accessible way to enhance your creative projects. With just a few simple steps, you can combine different visuals to express your ideas uniquely. Remember to explore various positioning, resizing, and blending techniques to achieve the desired effect. Practice is key, so don't hesitate to experiment and let your creativity shine. Whether you're working on personal art, social media graphics, or professional presentations, mastering image merging will enhance your skills and allow you to create stunning visuals. Happy creating!

 admin
admin


