SolidWorks is a powerful computer-aided design (CAD) software used by engineers and designers to create 3D models and simulations. It simplifies the design process and enhances productivity by providing a comprehensive set of tools. Whether you are working on mechanical parts, assemblies, or even sheet metal designs, SolidWorks has features that cater to various engineering needs. Understanding how to use SolidWorks effectively can make a significant difference in your design workflow.
Importance of Adding Images in SolidWorks
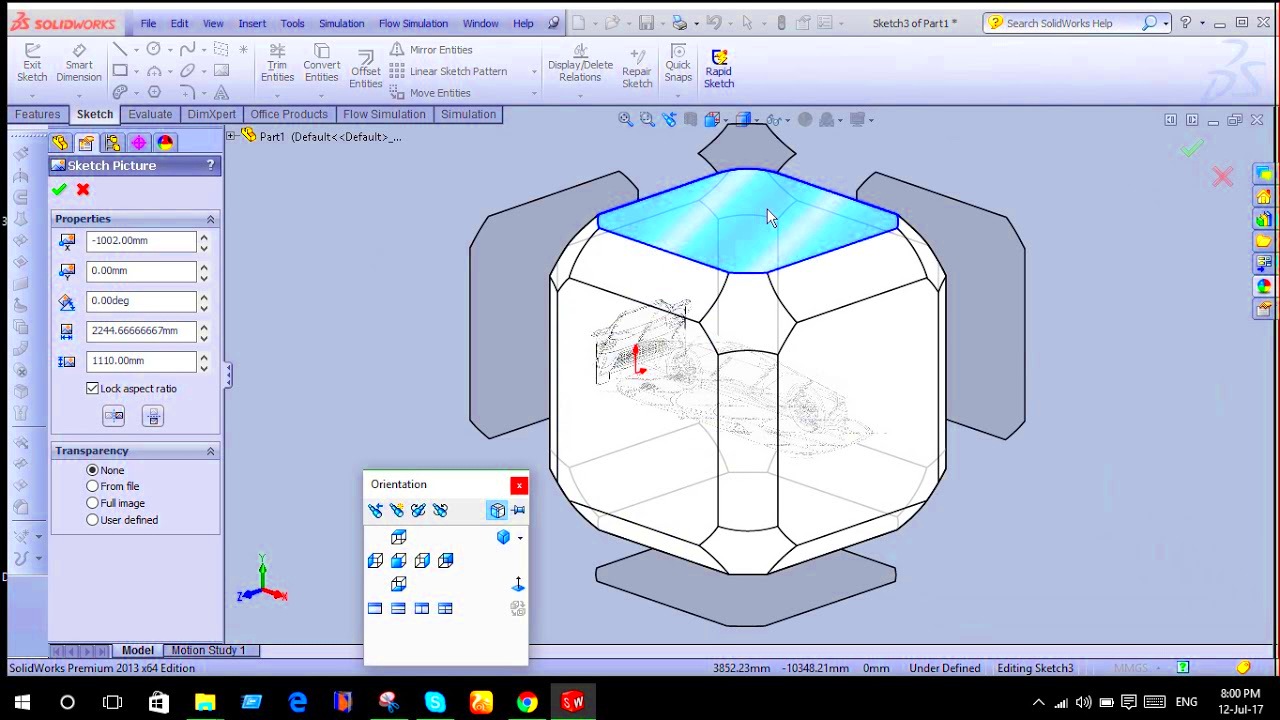
Adding images in SolidWorks can greatly enhance your projects. Here are a few reasons why incorporating images is important:
- Visual Clarity: Images can provide a clearer understanding of complex designs, making it easier to communicate ideas.
- Enhanced Presentations: Including images can improve the visual appeal of presentations, helping to engage your audience.
- Reference Material: Images serve as excellent reference points for detailing and assembling parts.
- Marketing Materials: Using high-quality images of designs can support marketing efforts and product showcases.
Overall, images play a crucial role in enhancing communication and understanding in design projects.
Also Read This: How to Make Money from Getty Images as a Contributor
How to Insert Images in SolidWorks
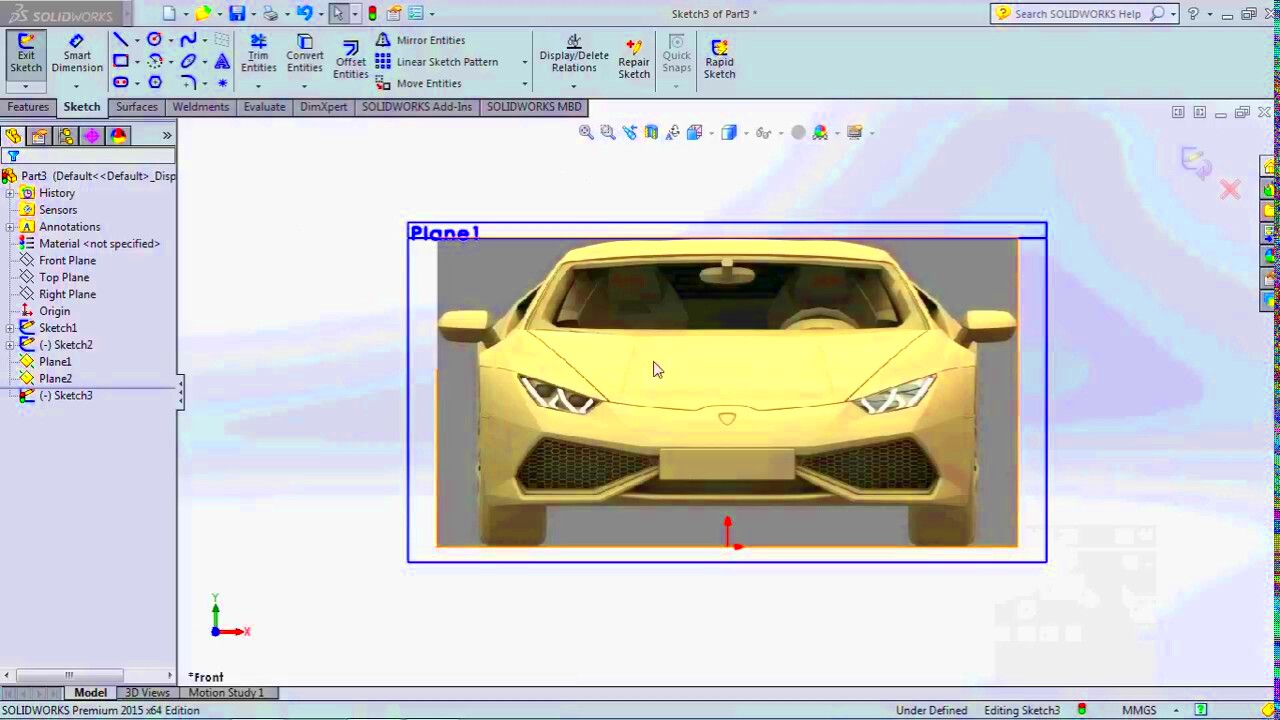
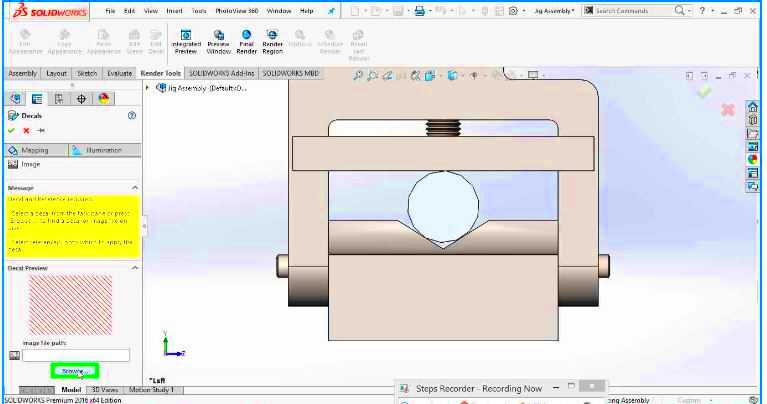
Inserting images into SolidWorks is a straightforward process. Here’s how you can do it:
- Open your SolidWorks project where you want to insert the image.
- Go to the Insert menu located at the top of the screen.
- Select Picture from the dropdown options.
- Browse your computer to find the image file you want to insert.
- Click Open to place the image in your workspace.
- Resize and position the image as needed by clicking and dragging the corners.
It's important to note that images can be scaled and rotated for better placement. You can also edit the properties of the image by right-clicking on it and selecting Properties from the context menu. This allows you to adjust settings like transparency and display options.
Also Read This: how to post image on linkedin
Best Practices for Image Use in SolidWorks
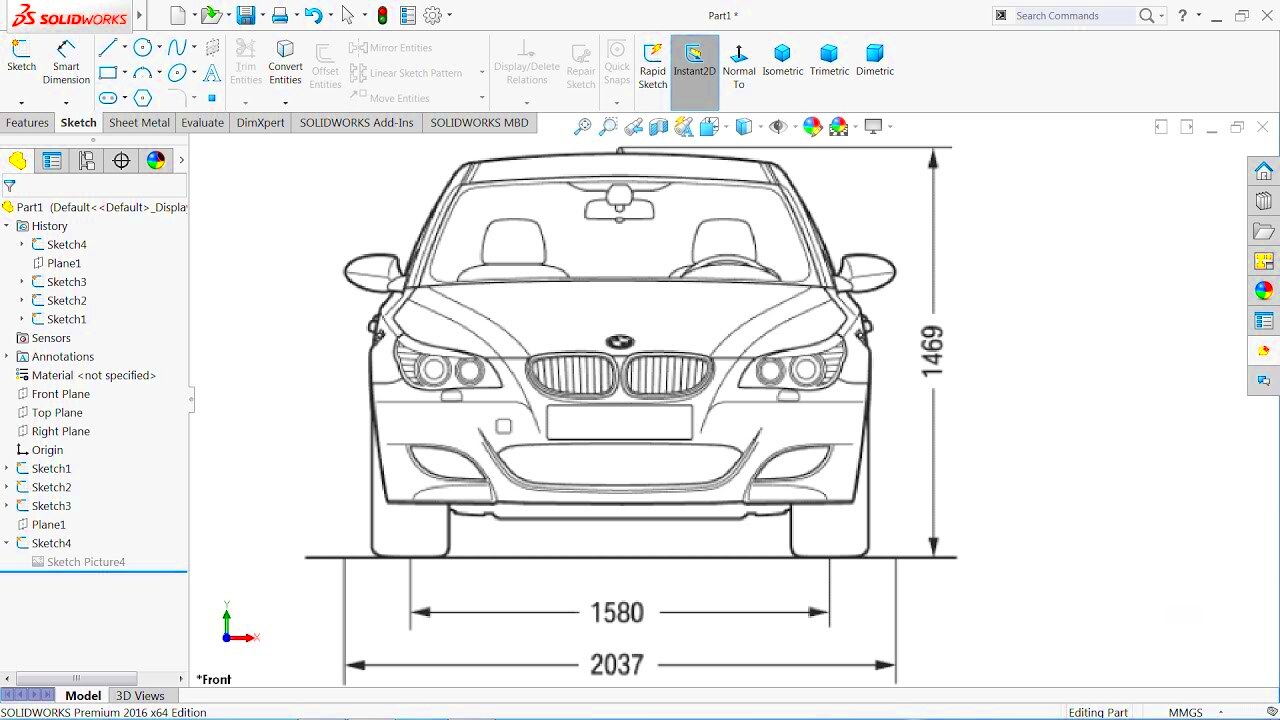
When using images in SolidWorks, following best practices can ensure your designs remain clear and effective. Here are some tips to consider:
- Choose High-Quality Images: Always use high-resolution images to maintain clarity and detail. Low-quality images can distort when resized and may detract from your design.
- Maintain Consistency: Use similar styles and color palettes across images to keep a cohesive look throughout your project.
- Use Transparent Backgrounds: Images with transparent backgrounds blend seamlessly into your designs, making them look more professional.
- Optimize File Size: While quality is essential, large file sizes can slow down your project. Use image formats like PNG or JPEG to balance quality and performance.
- Label Your Images: If you’re using multiple images, consider labeling them clearly within SolidWorks. This helps you keep track of which image corresponds to which part or assembly.
By adhering to these best practices, you can enhance your design presentations and improve communication with team members or clients.
Also Read This: how to put images in shapes in canva
Editing Images Within SolidWorks
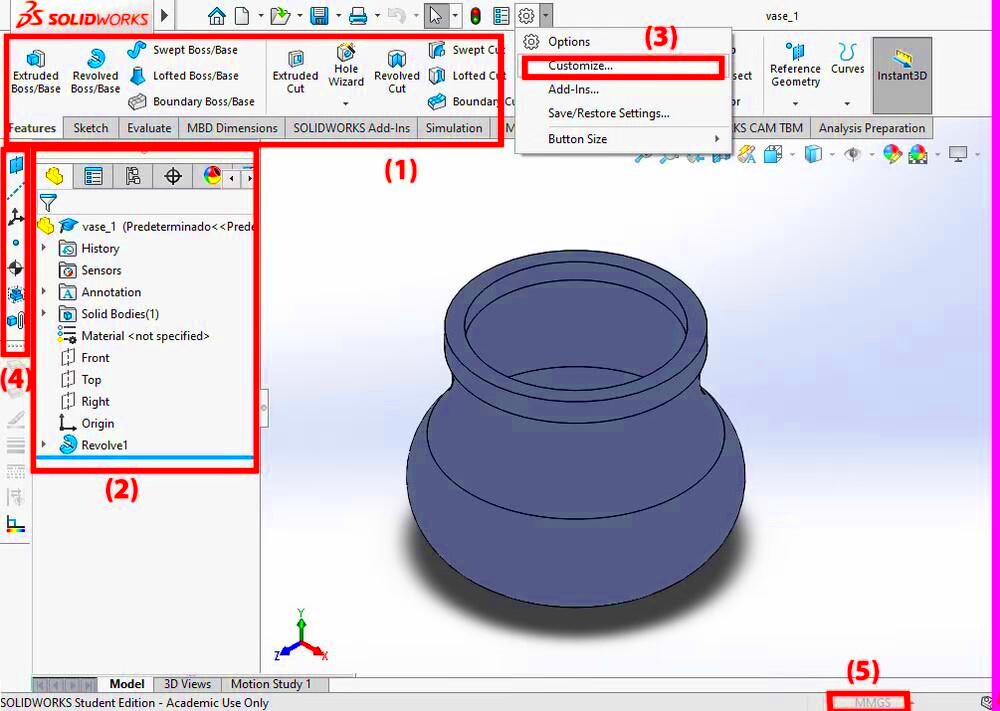
Editing images in SolidWorks is a handy feature that allows you to make adjustments without needing external software. Here’s how you can edit images directly within the application:
- Access Image Properties: Right-click on the image in your workspace and select Properties to access editing options.
- Adjust Transparency: Use the transparency slider to make the image blend better with your design.
- Crop the Image: If your image has unwanted parts, you can crop it by adjusting the cropping box in the properties panel.
- Change Size: Resize your image by dragging the corners or entering specific dimensions in the properties.
- Apply Filters: Explore available filters and effects to enhance your image’s appearance directly within SolidWorks.
These editing options can save you time and keep your workflow efficient, allowing you to focus on design rather than switching between programs.
Also Read This: Legal and Ethical Ways to Share Getty Images
Common Issues When Adding Images
While adding images to your SolidWorks projects is usually simple, some common issues may arise. Here are a few challenges you might encounter and how to address them:
- Image Not Displaying: If an image doesn’t appear, check the file format. SolidWorks supports various formats like JPEG, PNG, and BMP. Make sure your image is saved in a compatible format.
- Quality Loss: Resizing images can lead to quality loss. Always start with high-resolution images and avoid excessive scaling.
- Misalignment: Images might not align properly with your design. Use the alignment tools within SolidWorks to adjust positioning easily.
- File Size Issues: Large images can slow down the performance of SolidWorks. Optimize images before inserting them into your project.
- Background Interference: Sometimes, images may clash with the background. Using transparent images can help mitigate this issue.
Being aware of these common issues can help you troubleshoot effectively and ensure a smoother design experience in SolidWorks.
Also Read This: Does iStock Offer Free Images? A Comprehensive Guide to Finding and Using Free Resources
Tips for Enhancing Image Quality
Enhancing image quality is crucial for creating professional and visually appealing designs in SolidWorks. Here are some practical tips to help you achieve the best results:
- Start with High-Resolution Images: Always choose images with a high resolution. This ensures that even when scaled, they remain sharp and clear.
- Use Appropriate Formats: Save your images in suitable formats like PNG or TIFF for graphics requiring transparency. JPEGs work well for photographs but may not retain quality if compressed too much.
- Optimize Before Inserting: Use image editing software to enhance colors, contrast, and sharpness before importing into SolidWorks. This can greatly improve the overall look.
- Adjust Display Settings: Make sure your display settings in SolidWorks are set to the highest quality. Go to Tools > Options > Document Properties > Image Quality and increase the settings if needed.
- Utilize Lighting Effects: Incorporate lighting effects within SolidWorks to give depth to your images. Proper lighting can significantly improve how an image looks in a 3D environment.
By following these tips, you can enhance image quality in your SolidWorks projects, making your designs stand out.
Also Read This: How to Capture Audio from YouTube Videos
FAQ
Here are some frequently asked questions about using images in SolidWorks:
- What image formats does SolidWorks support? SolidWorks supports various formats, including JPEG, PNG, BMP, and TIFF.
- Can I edit images directly in SolidWorks? Yes, SolidWorks allows you to edit certain properties of images, such as transparency and size.
- How do I fix a blurry image in SolidWorks? Ensure that you are using high-resolution images and avoid excessive scaling. You can also adjust the image properties for better quality.
- What should I do if my image isn’t displaying? Check the file format and ensure it’s compatible. Also, make sure the image file is located in the correct folder.
- How can I optimize image size without losing quality? Use image editing tools to resize and compress images carefully. Aim for a balance between quality and file size.
Conclusion
Incorporating images into your SolidWorks projects can enhance communication and improve the overall visual appeal of your designs. By following best practices, enhancing image quality, and being aware of common issues, you can make the most of this powerful tool. Remember to experiment with different techniques to find what works best for your specific projects. With the right approach, images can elevate your designs and make your presentations more effective. Keep learning and refining your skills, and you'll find that using images in SolidWorks becomes second nature.
 admin
admin


