Cropping an image in Paint is a quick way to focus on specific parts of a photo or remove unwanted areas. This basic feature is especially useful for anyone looking to simplify their images without extra software. Paint, available on Windows, allows you to crop images with just a few clicks. By mastering the cropping tool, you can highlight the most important parts of an image and eliminate any unnecessary details. Let’s dive into the essentials of how cropping works in Paint and the benefits it brings to your photos.
How to Open Your Image in Paint

Opening an image in Paint is a simple process that only takes a few steps. Here’s how to get started:
- Step 1: Right-click on your image file.
- Step 2: From the drop-down menu, select "Open with", then choose "Paint".
- Alternative: You can also open Paint first, then go to File > Open to select the image you want to edit.
Once your image is open in Paint, you’re ready to start editing. This is an essential first step, as it sets the stage for any adjustments you’ll be making, including cropping.
Also Read This: How to Crop an Image in Procreate
Step-by-Step Guide to Cropping Images

Now that your image is open in Paint, here’s how to crop it step by step:
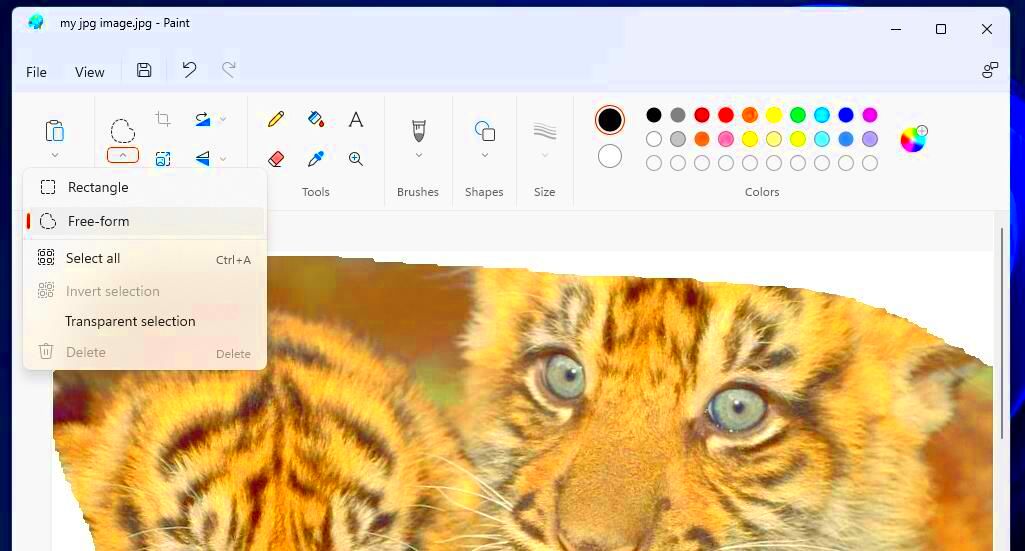
- Select the Crop Tool: Go to the Home tab and look for the Select button. Click it to activate the selection tool.
- Draw Your Selection: Click and drag over the area you want to keep. This will create a dotted box around your selected area.
- Adjust if Needed: You can resize or reposition the selection by dragging the corners until it’s exactly how you want it.
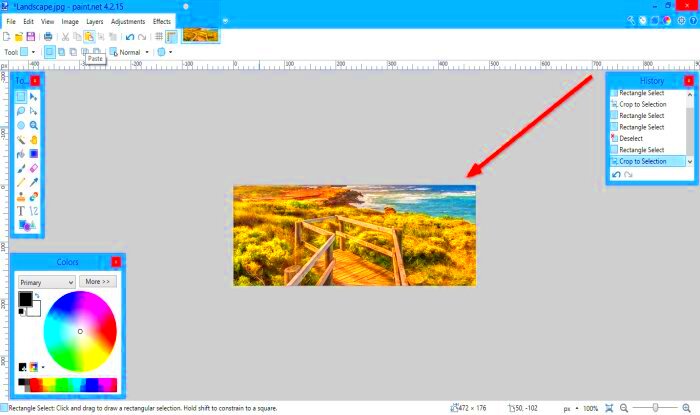
- Click Crop: Once satisfied, click the Crop button, which removes everything outside your selected area.
- Save Your Changes: Go to File > Save As to create a new file with your cropped image, or simply click Save to overwrite the original.
This straightforward process allows you to crop images easily and with precision, ensuring that only the parts you want remain in the frame.
Also Read This: Flipping Images in PowerPoint: A Tutorial
Tips for Precise Cropping

When cropping images, precision can make a big difference. A well-cropped image draws attention to the essential parts, creating a balanced composition. Here are some useful tips to help you crop with accuracy in Paint:
- Use Zoom for Detail: Before you start cropping, zoom in on your image to see fine details. This helps you make more accurate selections, especially when working on intricate areas.
- Align with the Rule of Thirds: While Paint doesn’t have a built-in grid, you can imagine dividing your image into thirds both horizontally and vertically. Position key elements along these lines to make the image visually appealing.
- Avoid Cutting Too Close: Leave a little space around your subject to prevent it from feeling too cramped. This breathing room can give a more natural, comfortable look to your photo.
- Preview Before Finalizing: If you're unsure about the crop, try selecting and deselecting a few times to see how it affects the image's balance. Adjust the selection box as needed for the best result.
By following these tips, you can ensure that your cropping results are as clean and precise as possible, helping you achieve a professional look even in basic software like Paint.
Also Read This: Steps to Add a Hyperlink to a JPEG Image Online
Saving Your Cropped Image
Once you’ve cropped your image to perfection, saving it properly is crucial to avoid losing quality or overwriting the original. Here’s how to save your cropped image effectively in Paint:
- Save As a New File: Go to File > Save As to create a new version of the cropped image. Choose a new name or location to keep the original image intact.
- Select the Right Format: Choose between different file formats based on your needs:
- JPEG: Ideal for photographs with rich colors.
- PNG: Best for images with transparent backgrounds or sharp lines.
- BMP: A good option if you want uncompressed quality, though it creates larger files.
- Double-Check Before Saving: Ensure the cropped area is exactly what you want, as saving may overwrite any undo options.
Saving in the right format and as a new file lets you keep a high-quality version of your image that’s ready for sharing or printing.
Also Read This: Simple Steps to Copy Images into Paint
Common Cropping Mistakes to Avoid
Cropping can be simple, but a few common mistakes can impact the quality of your final image. Avoid these pitfalls for the best results:
- Cropping Too Much: Removing too much can make the image feel cramped or lose important context. Leave some space around key elements for a balanced look.
- Neglecting Aspect Ratio: Changing the shape of an image can distort it, especially if you’re using it for a specific purpose, like social media. Stick to standard ratios, such as 4:3 or 16:9, if needed.
- Ignoring Resolution: Cropping too closely can lower an image’s resolution. Check that the cropped version still has enough detail, especially for printing.
- Forgetting to Save Correctly: Make sure to use “Save As” to keep the original image intact. Saving over the original can mean losing your original work.
By being mindful of these common errors, you can avoid issues that could reduce the impact of your cropped images, ensuring they look polished and professional.
Also Read This: How to Upload an iMovie Video to YouTube
FAQ about Cropping Images in Paint
Here are some frequently asked questions to help clarify any doubts you may have about cropping images in Paint:
| Question | Answer |
|---|---|
| Can I undo a crop if I make a mistake? | Yes, you can use the Undo feature by pressing Ctrl + Z immediately after cropping. However, if you close the image, the crop becomes permanent unless you saved a separate copy. |
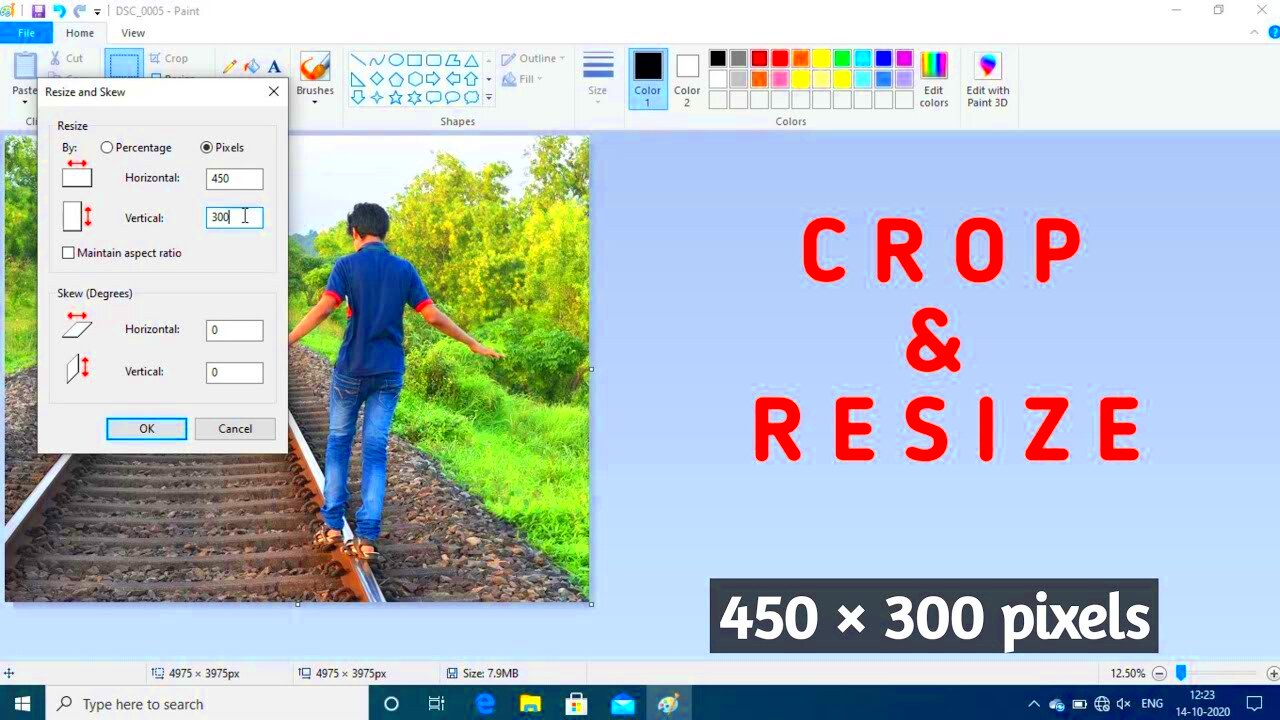
| Is there a way to crop images to specific dimensions in Paint? | Paint doesn’t offer exact dimension cropping, but you can use the selection box to approximate your desired size, or resize the image after cropping by going to Resize under the Home tab. |
| Does cropping in Paint affect image quality? | Cropping itself doesn’t lower quality, but reducing an image’s resolution by cropping too closely can impact detail. Always check the size and resolution if quality is important. |
| Can I crop multiple images at once? | No, Paint only allows you to edit one image at a time. For bulk cropping, you may need more advanced software with batch processing capabilities. |
| What’s the difference between crop and resize in Paint? | Crop removes parts of the image, while Resize changes the image’s dimensions without cutting anything out. Use crop to focus on specific areas, and resize for scaling the entire image. |
These FAQs should cover most of your concerns, helping you make the most out of Paint’s cropping feature with confidence.
Conclusion and Next Steps
Cropping images in Paint is a straightforward yet effective way to highlight essential parts of a photo or remove distractions. By following these tips, step-by-step instructions, and being mindful of common mistakes, you can achieve polished results quickly. Now that you’re comfortable with the basics, try experimenting with different crops and compositions to see what works best for your needs.

 admin
admin


