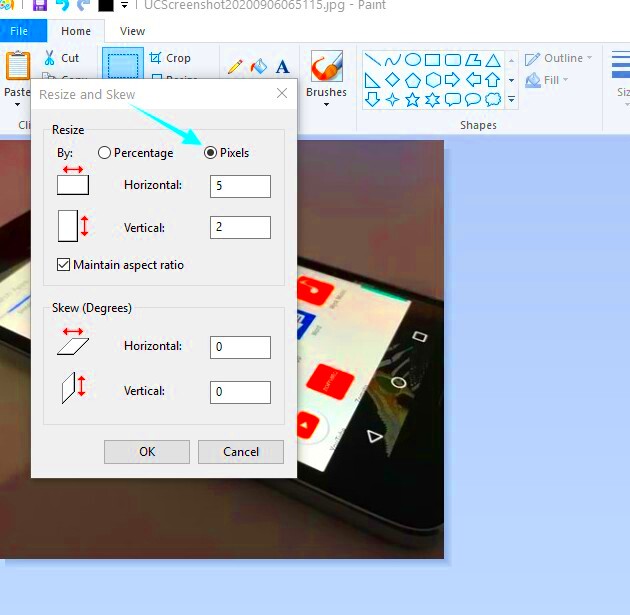
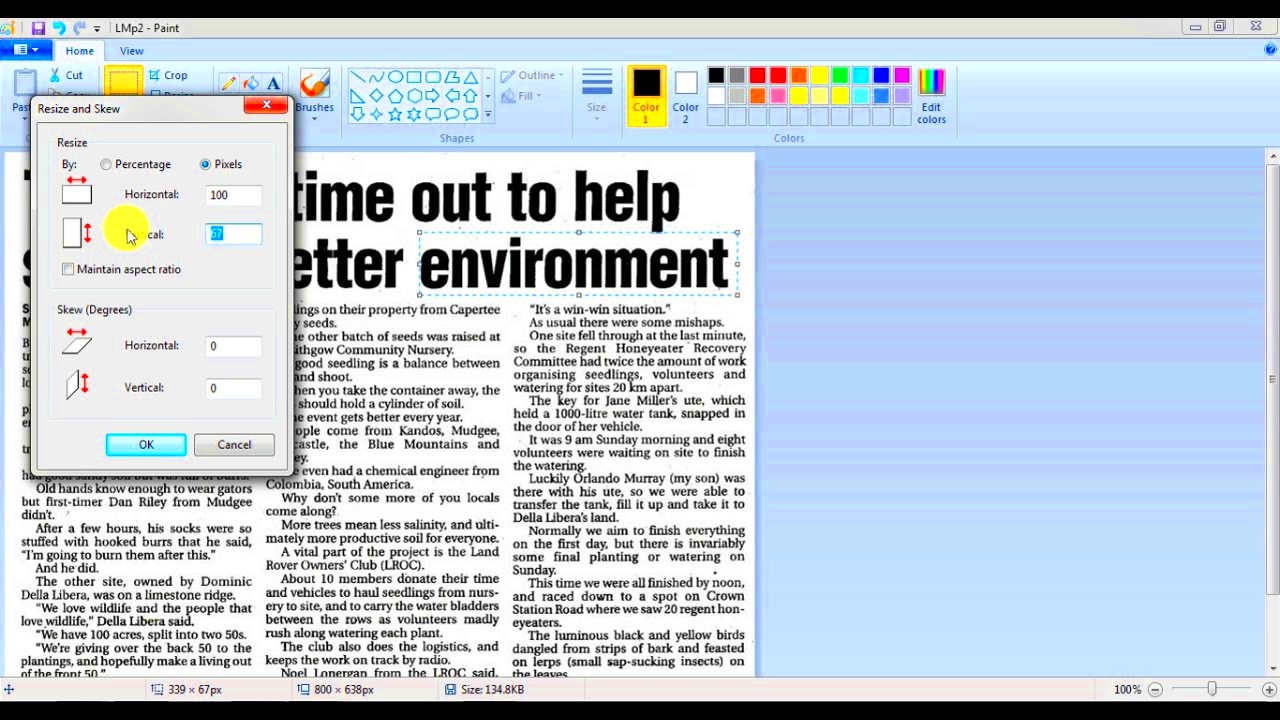
Blurring text in an image can be useful for many reasons. Maybe you want to protect sensitive information, or perhaps you want to create a unique design element. Microsoft Paint is a simple tool that can help you achieve this effect easily. Whether you're a beginner or have some experience, you can follow a few straightforward steps to blur text in your images. In this guide, we'll walk you through the process using Paint, ensuring that you can get the results you want without needing advanced skills.
Steps to Open an Image in Paint

To start blurring text in your image, you first need to open the image in Paint. Here’s how you can do it:
- Locate Your Image: Find the image file on your computer that you want to edit. This could be in your Pictures folder or on your Desktop.
- Open Paint: Click on the Start menu, type "Paint," and hit Enter. This will launch the Paint application.
- Open the Image: In Paint, click on the "File" menu at the top left corner, then select "Open." Navigate to the location of your image file, select it, and click "Open."
- Ready to Edit: Once your image is open, you are ready to select the text area for blurring.
Also Read This: Mastering Behance Project Editing for an Enhanced Portfolio
How to Select the Text Area for Blurring

Now that your image is open, you need to select the area with the text you want to blur. Here’s a simple way to do this:
- Use the Selection Tool: Click on the "Select" tool in the toolbar. This will allow you to choose the specific area you want to work with.
- Draw a Selection Box: Click and drag your mouse around the text you wish to blur. Make sure to include a bit of space around the text to ensure a smooth blur effect.
- Adjust Your Selection: If necessary, you can adjust the edges of the selection box. Just click and drag the corners until it fits perfectly around the text.
- Confirm the Selection: Once you are satisfied with your selection, you are ready to apply the blur effect. Make sure the selected area encompasses all the text.
Also Read This: Understanding Why Adobe Stock Images Have Watermarks
Applying the Blur Effect on Text

Now that you have your text selected, it's time to apply the blur effect. Paint doesn't have a dedicated blur tool, but you can achieve a similar result using a few tricks. Here’s how you can do it:
- Copy the Selected Area: With the text still selected, right-click on the selected area and choose "Copy." This action places the selected text onto your clipboard.
- Paste the Selection: Click anywhere on the canvas and right-click again. Select "Paste." This will create a duplicate of the text in the selected area.
- Move the Pasted Selection: Use your mouse to slightly shift the pasted text. This slight movement will create a shadow effect, which can help in blurring the text.
- Change the Color: If you want a stronger blur, consider changing the color of the pasted text. You can do this by selecting the "Fill with color" tool from the toolbar and choosing a color similar to your background.
- Repeat as Needed: You can repeat the copy and paste steps several times, each time moving the text a little, to enhance the blur effect. This technique allows you to customize how blurred the text looks.
Also Read This: Capturing Snow Across the USA in Beautiful Photos
Saving the Edited Image
After you have blurred the text to your satisfaction, it’s essential to save your edited image so you don’t lose your work. Here’s how to do that in Paint:
- Go to the File Menu: Click on the "File" menu located in the top left corner of the Paint window.
- Select Save As: Choose "Save As" from the dropdown menu. This option allows you to save your image without overwriting the original file.
- Choose a File Format: You’ll see options like PNG, JPEG, and BMP. For most uses, PNG or JPEG is a good choice. Click on the format you prefer.
- Name Your File: In the dialog box that appears, enter a name for your edited image. Make sure it’s something descriptive so you can easily find it later.
- Select the Save Location: Choose a folder on your computer where you want to save the image. Once you've made your selection, click the "Save" button.
Also Read This: Printing a Large Image Across Multiple Pages
Common Issues and Troubleshooting Tips
While blurring text in Paint is relatively simple, you might encounter a few challenges along the way. Here are some common issues and helpful tips to overcome them:
- Selection Issues: If your selection isn’t capturing the text correctly, make sure you are clicking and dragging accurately around the text. Zooming in can help you select more precisely.
- Blur Effect Not Strong Enough: If the blur isn’t visible enough, try repeating the copy-paste method several times. The more layers you create, the more pronounced the blur will be.
- Accidental Overwrites: Always use "Save As" instead of "Save" to avoid overwriting your original image. This way, you can return to the unedited version if needed.
- Paint Freezing or Crashing: If Paint crashes, ensure you have enough system memory and close any unnecessary applications. Saving your work frequently can also help prevent data loss.
- Different Versions of Paint: Features may vary depending on the version of Paint you are using. If you cannot find a tool mentioned, check the help section of your Paint version.
Also Read This: How to Download Your Adobe Stock Images
Alternative Methods for Blurring Text
If you find that using Paint is not giving you the results you want for blurring text, there are several alternative methods and tools you can explore. These methods may offer more flexibility and better results. Let’s look at some popular options:
- Using Photo Editing Software: Programs like Adobe Photoshop or GIMP provide advanced tools specifically designed for blurring text. In these applications, you can select the text area and apply a dedicated blur filter, which gives you more control over the intensity and type of blur.
- Online Image Editors: Websites like Fotor or Pixlr offer free online editing tools that are user-friendly. You can upload your image, use the selection tool to choose the text, and apply a blur effect with just a few clicks.
- Mobile Apps: If you’re working from a smartphone or tablet, apps like Snapseed and PicsArt have blur tools that are quite effective. They allow you to zoom in and select specific areas to blur while providing various filter options.
- Creating a Blur Layer: In more advanced programs, you can create a new layer above your text layer and use a blur filter on that layer. This technique allows for non-destructive editing, meaning you can adjust or remove the blur effect without altering the original image.
Also Read This: How to Cancel Your Plan on Depositphotos
FAQs About Blurring Text in Paint
As you work on blurring text in images, you might have some questions. Here are some frequently asked questions to help you out:
- Can I blur text in Paint without losing the original image? Yes, always use "Save As" to keep your original image intact while saving your edited version.
- Is there a way to adjust the blur level in Paint? Paint does not have a specific blur tool, but by layering the text multiple times, you can achieve a more blurred look.
- What if I make a mistake while editing? You can use the "Undo" option in Paint by pressing Ctrl + Z to revert any unwanted changes.
- Can I blur text in Paint on a Mac? Paint is a Windows application. However, you can use similar software like Preview or use online editors on a Mac.
- Are there any other free tools to blur text? Yes, besides Paint, you can try using GIMP, Canva, or online tools like Fotor for blurring text for free.
Conclusion on Blurring Text in Images
Blurring text in images is a useful skill, whether for privacy, design, or artistic purposes. While Paint provides a straightforward method to achieve this effect, exploring alternative tools can enhance your results. By following the steps outlined in this guide, you can effectively blur text in your images, ensuring your editing needs are met. Don’t hesitate to experiment with different methods to find the one that suits your style best. With practice, you’ll be able to master text blurring and add a professional touch to your

 admin
admin


