GIMP is a highly potent and widely used among both professionals and amateurs alike image editing software which you can get for free. The program has an ability of creating and modifying pictures with great flexibility. Most users chose GIMP due to its capability of fixing problems related with images quality. Therefore if someone wants to improve their photo or adjust some colors then they should know that there are many GIMP tools that help them achieve the desired appearance without spending anything. In this article we will discuss what can be done in order to enhance your photography using GIMP so as to make them appeal more than others’ photos.
Understanding Image Resolution and Quality
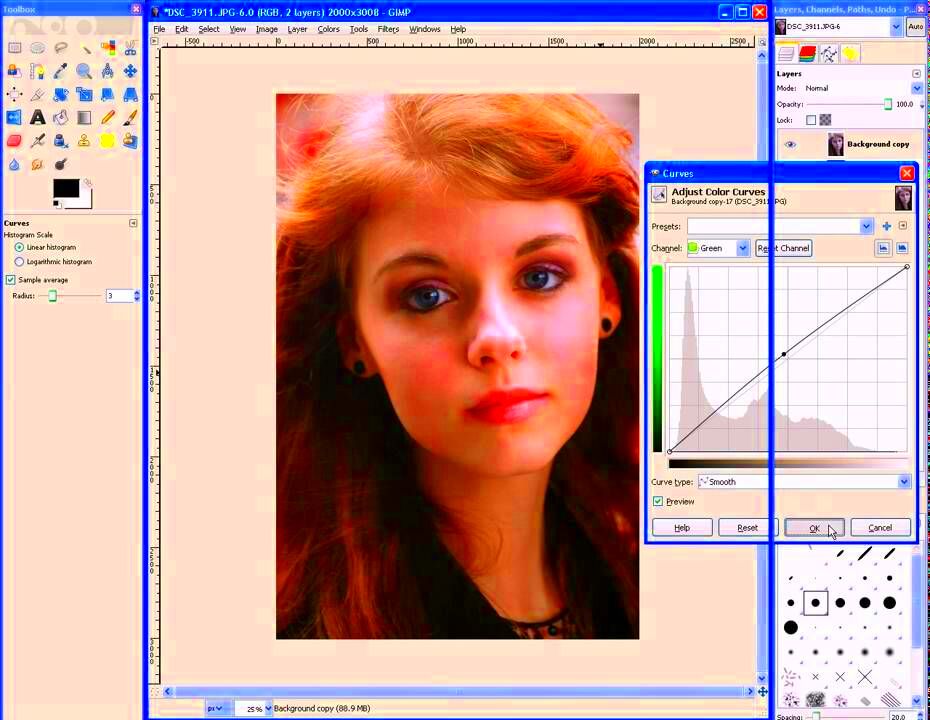
For generating aesthetically pleasing images, image clarity and quality are important. Here are some points to note:
- Resolution refers to the amount of detail an image holds. It's usually measured in pixels per inch (PPI).
- Quality relates to how clear and sharp an image appears. Higher quality typically means better clarity.
- Low-resolution images can appear blurry or pixelated when printed or viewed at larger sizes.
Aiming at 300 PPI as a minimum for print and 72 PPI as a minimum for digital usage would make sure your images look perfect. Understanding these concepts can help inform you when editing your images in GIMP.
Also Read This: How to Scale Thumbnails in Behance for Optimizing Your Portfolio’s Visuals
Steps to Open and Import Images in GIMP
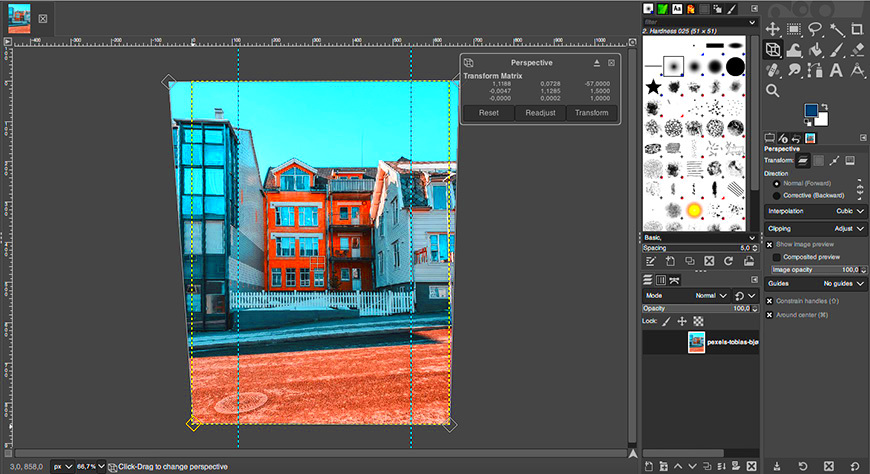
When working with GIMP, it’s so easy to open and import images. Just follow these simple steps:
- Launch GIMP: Start the GIMP application on your computer.
- Open Image: Click on File in the top menu, then select Open. Choose the image file you want to edit.
- Importing Images: If you’re importing images from a camera or device, connect it to your computer. Then use File and select Import to access your files.
- Supported Formats: GIMP supports various image formats, including JPG, PNG, TIFF, and GIF, making it versatile for different needs.
When you have opened your image, you can now enhance its quality. Keep in mind that the initial quality of an image is greatly important in image editing.
Also Read This: Clipping an Image to a Shape in Photoshop
Techniques for Enhancing Image Quality
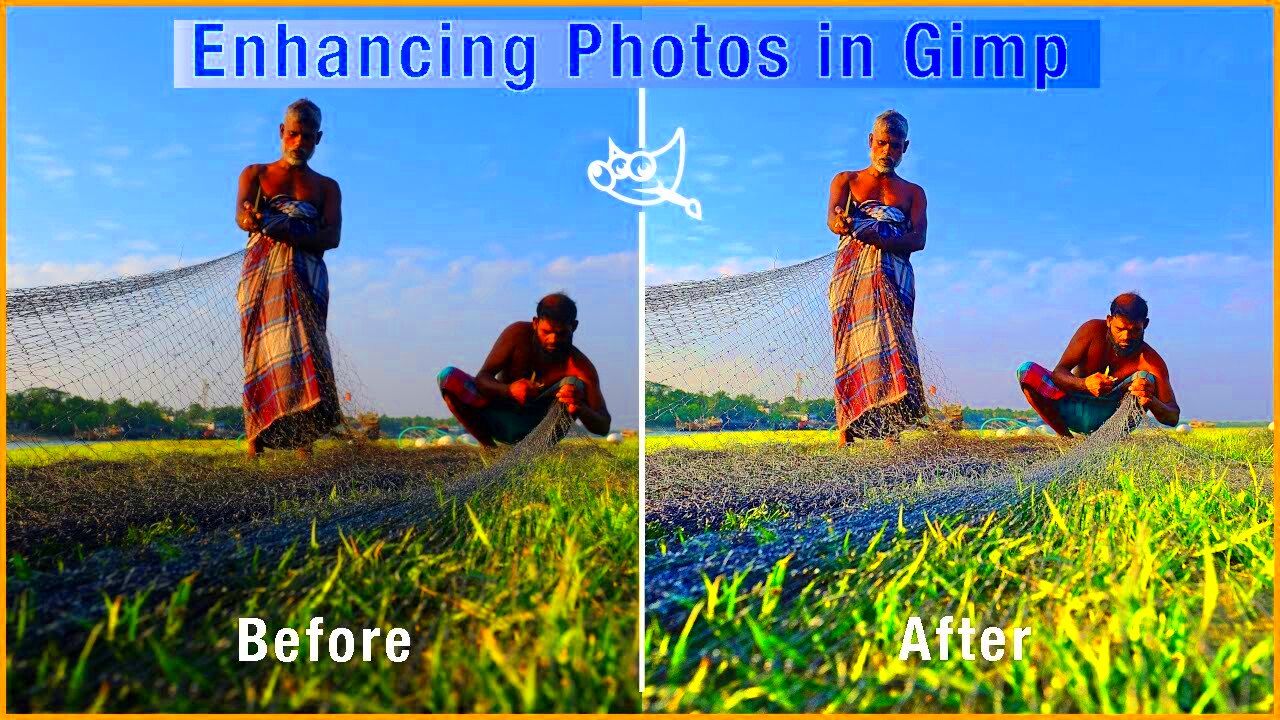
There are numerous techniques that can be employed to enhance image quality in GIMP and make your photos appear sharper and more vivid. Here are some useful approaches:
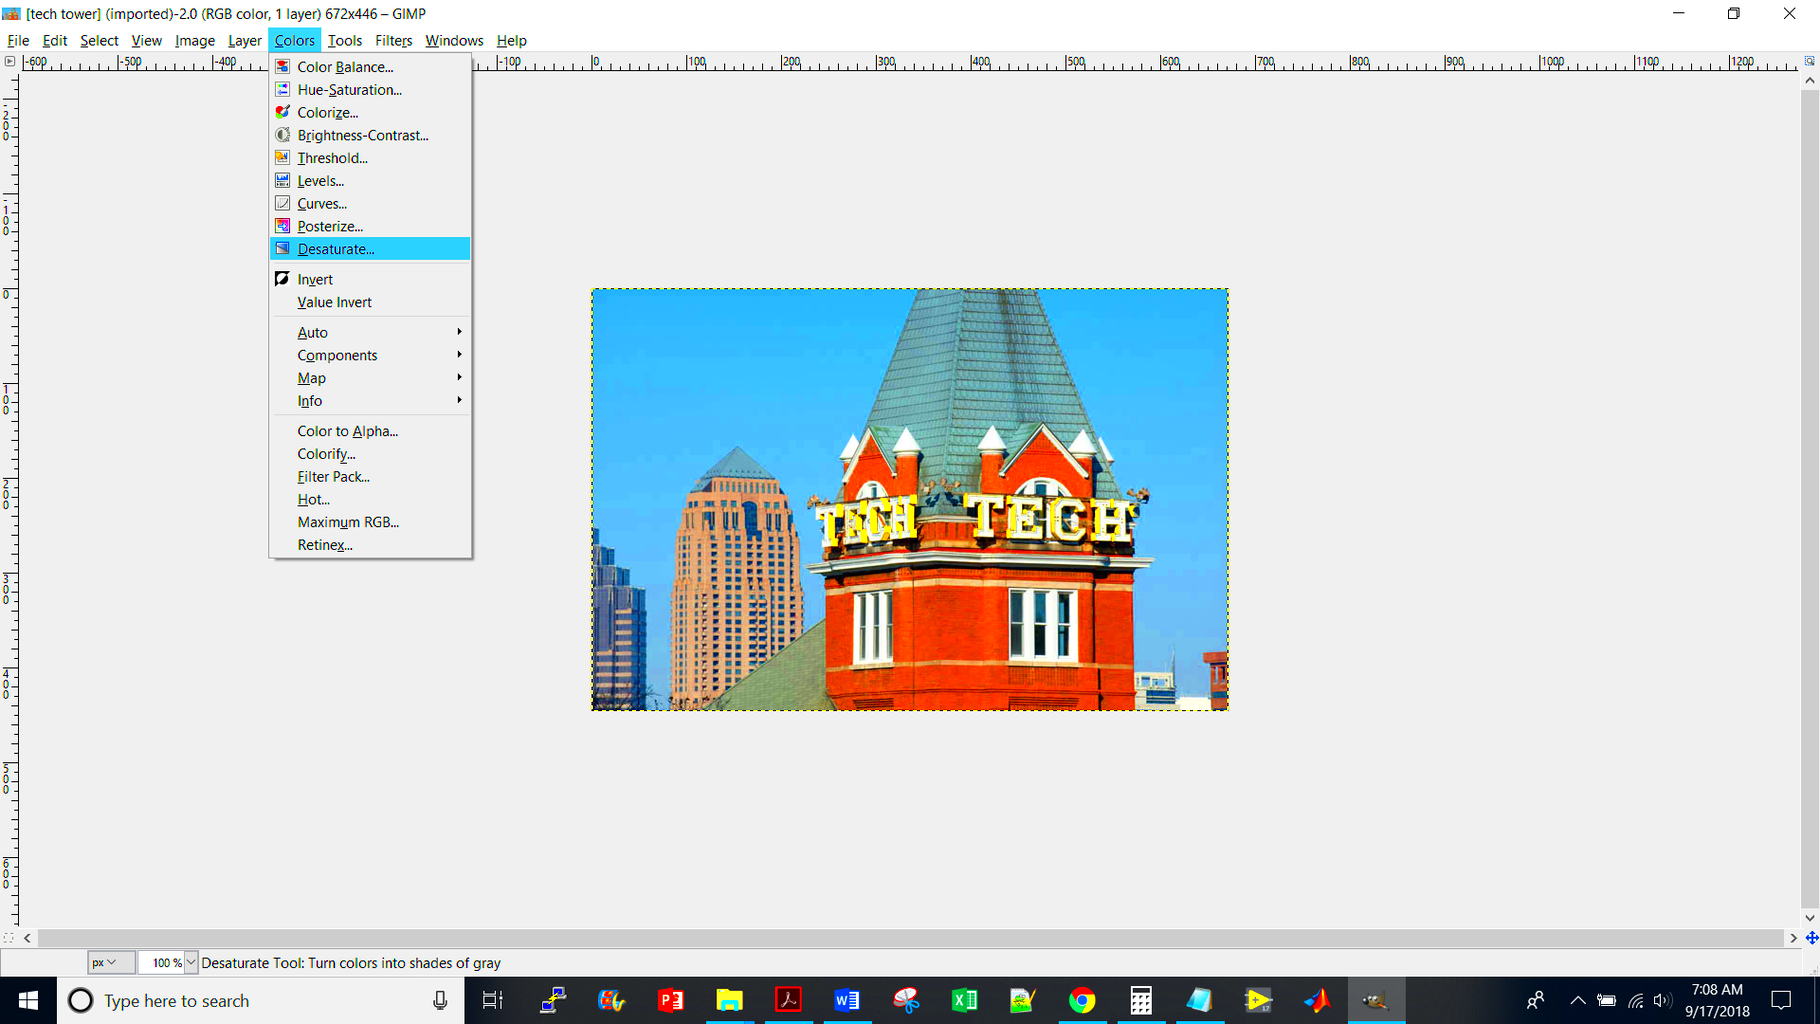
- Adjust Brightness and Contrast: Navigate to Colors in the top menu, then select Brightness-Contrast. Use the sliders to find the perfect balance that enhances your image.
- Sharpening the Image: Go to Filters, select Enhance, and then choose Sharpen or Unsharp Mask. This can help define edges and improve clarity.
- Color Correction: Use Colors > Levels or Curves to adjust the tones and colors in your image. This is essential for making your photos pop.
- Noise Reduction: If your image has a lot of grain, go to Filters > Noise > Reduce Noise. This will help create a smoother appearance.
This process, when applied to the various techniques, can help to enhance the quality of images. Try out each method and figure out which one suits your pictures!
Also Read This: Pros and Cons of Shutterstock: Evaluating the Benefits and Limitations of the Stock Photography Platform
Using Filters and Effects for a Professional Touch
Filters and effects can make your photos look like they belong in a gallery. If you want to be able to edit your photos like a professional, GIMP has something for everyone:
- Blur Effects: Use the Blur filter to soften backgrounds or create depth of field. Find it under Filters > Blur.
- Vignette Effect: To create a vignette, go to Filters > Light and Shadow > Vignette. This adds a subtle darkening around the edges of the photo, drawing attention to the center.
- Artistic Filters: Explore Filters > Artistic for effects like Watercolor or Cubism, which can give your images a unique style.
- Texturizing: Add textures to your images by going to Filters > Map > Tile. This can create a more dynamic and interesting look.
By playing with these tools and filters, your pictures may acquire fresh life and appear as if a pro took them.
Also Read This: Designing Sublimation Images: Essential Tips
Saving and Exporting Images with Optimal Quality
Correctly saving and exporting your images after editing them is very important in maintaining their quality. Here are some steps for doing that:
- Saving Your Work: First, save your project as a GIMP file (*.xcf) to keep all your layers and edits intact. This allows you to make changes later.
- Exporting for Web or Print: Go to File and select Export As. Choose the file format that suits your needs:
- JPG for photographs and online use, as it balances quality and file size.
- PNG for images with transparency or when you need high quality.
- TIFF for printing, as it retains the best quality.
To ensure that your images look their best when shared online or printed out, save and export them correctly. Always keep a backup of the original files for later editing!
Also Read This: How to Darken an Image on Photoshop for Enhanced Effects
Common Issues and Solutions in GIMP
As with all programs, GIMP may sometimes present problems that can end up leaving one completely lost. Below is a list of problematic areas mentioned by users as well as their remedies:
- Image Not Opening: If GIMP won't open your image, check the file format. GIMP supports formats like JPG, PNG, and TIFF. If the file is corrupt, try opening it in another program first.
- Blurry Images: If your images appear blurry after editing, consider sharpening them using Filters > Enhance > Sharpen. This can help restore some clarity.
- Color Mismatch: Sometimes, colors may look different after editing. Ensure your monitor is calibrated properly and check the color profiles in GIMP under Edit > Preferences.
- Layers Not Displaying: If layers aren’t showing up, make sure they are not hidden. Look for the eye icon next to the layer in the Layers panel and click it to make the layer visible.
This kind of knowledge about issues and solutions would lead to easier editing.
Also Read This: 10 Tips for Making the Most of Your Imago Images Subscription
FAQ about Fixing Image Quality in GIMP
A few common inquiries about enhancing picture quality using GIMP are listed below as well as practical responses:
- Can I enhance an image's resolution in GIMP?
While you can increase the resolution, it doesn't always improve quality. It's best to start with a high-resolution image. - What’s the best way to sharpen an image?
Using the Unsharp Mask under Filters > Enhance is effective. Adjust the radius and amount until you find the right balance. - How can I fix color issues?
Use Colors > Levels or Curves to adjust brightness and contrast, which can correct color imbalances. - Is there a way to reduce noise in images?
Yes, go to Filters > Noise > Reduce Noise to smooth out grainy images.
This is a common problem which happens when you want to improve the quality of images and hence these FAQs are made to help users learn more about GIMP’s navigation.
Conclusion on Achieving Professional Image Quality
GIMP is an amazing tool for anyone wanting to improve their photos and create a professional appearance in a short period of time. Knowing about resolution is vital if you want to turn your images into breathtaking ones by simply applying the appropriate techniques. Do keep in mind that experimenting with different filters and effects can help make your photographs more special than others. To make sure that there is no loss of quality as you are editing photos, it is essential to periodically save the work and export pictures properly.
Don&042;t Get Discourage By Common Issue Because Every Challenge Can Be Solved When There Is Patience And Practice. In No Time You Will Become An Expert At Using GIMP And This Will Ensure That Your Results Are Always Of A High Quality. Therefore, Jump In Experiment And You Creative Side Shall Shine!
 admin
admin


