GIMP, or GNU Image Manipulation Program, is a powerful open-source image editing software. It’s a fantastic choice for anyone looking to edit images without spending a dime. Whether you're a beginner or have some experience, GIMP offers a range of tools that can help you enhance your photos.
Some key features of GIMP include:
- Customizable Interface: You can arrange the layout to fit your workflow.
- Advanced Editing Tools: GIMP has various tools for editing, including layers, masks, and filters.
- Support for Various File Formats: You can work with numerous image formats, from JPEG to PNG.
- Community Support: Being open-source, GIMP has a large community offering tutorials and plugins.
Understanding these basics will help you feel more comfortable as you navigate the software and start your editing journey.
Getting Started with Image Cropping
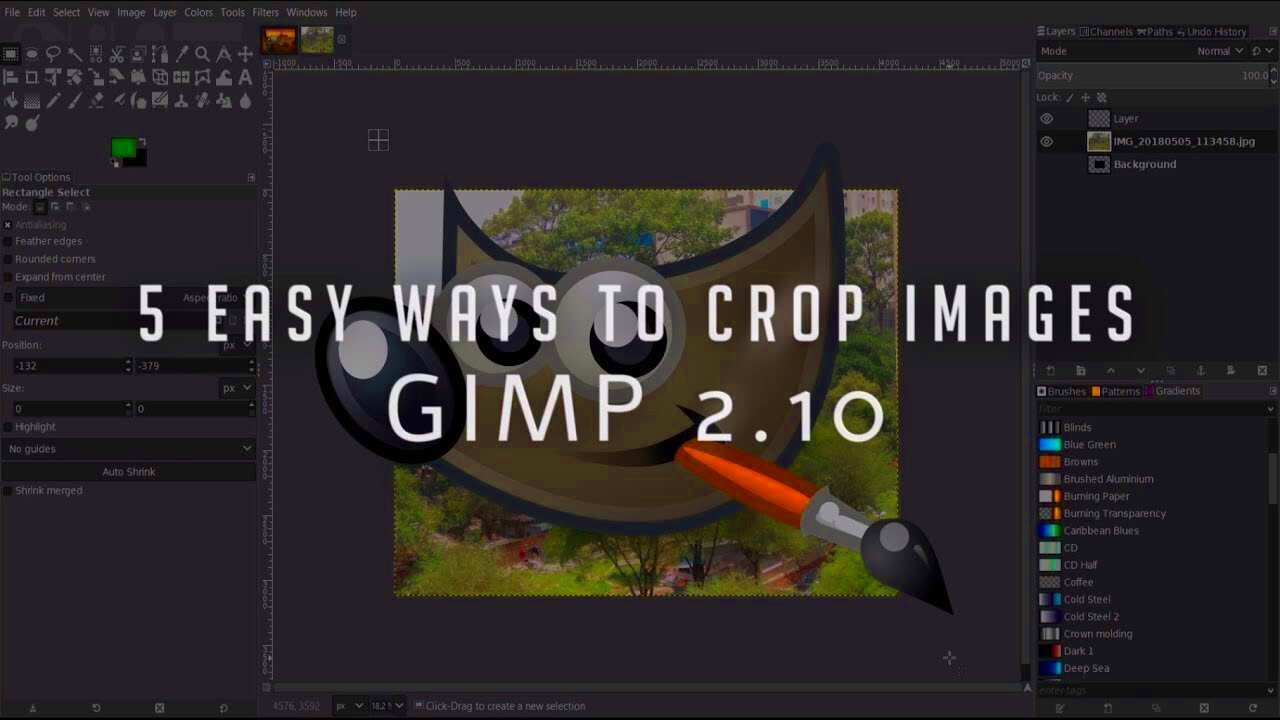
Before you dive into cropping images, it’s essential to understand what cropping means. Cropping allows you to remove unwanted parts of an image, improving its composition and focus. Here’s how to get started:
- Open GIMP: Launch the program on your computer.
- Load Your Image: Go to File > Open and select the image you want to crop.
- Select the Crop Tool: You can find this in the toolbox, usually represented by a knife icon.
Once you have your image open and the crop tool selected, you're ready to crop! It’s that simple.
Also Read This: Understanding the Costs of Using Rumble for Content Creators
Using the Crop Tool Effectively
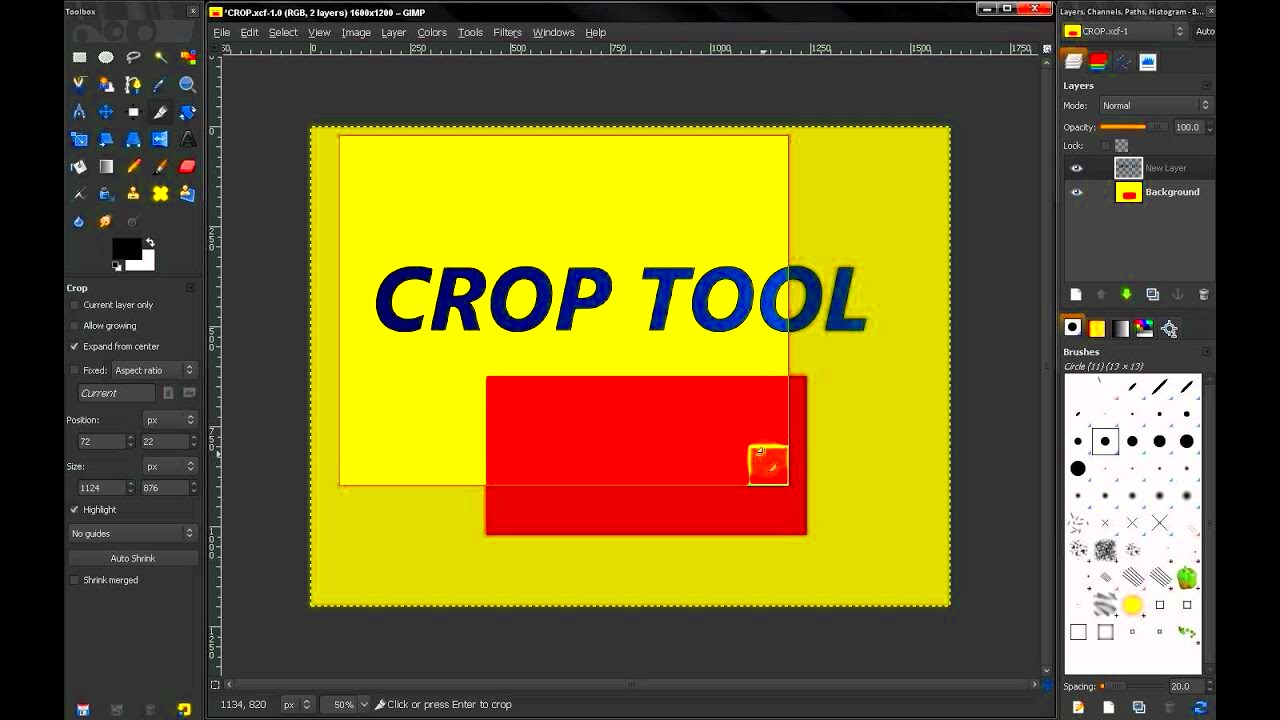
The Crop Tool is one of GIMP’s most vital features, and knowing how to use it effectively can significantly improve your editing skills. Here are some tips:
- Click and Drag: To crop, click and drag over the area you want to keep. A dashed rectangle will appear, showing your selection.
- Adjust the Selection: You can move the edges of the selection by dragging them until you’re satisfied.
- Apply the Crop: Once you’re happy with the selection, press Enter to crop the image.
Additionally, you can use the Crop to Content option, which automatically removes any transparent areas around your image. This can be a handy feature when working with graphics or logos.
Practice using the Crop Tool with different images, and you’ll soon find it a valuable part of your editing toolkit.
Also Read This: Saving Images from Cricut Design Space on Mac
Exploring the Rectangle Select Tool
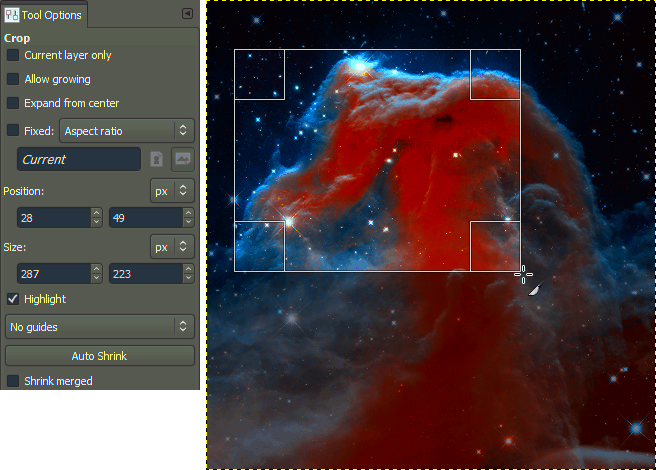
The Rectangle Select Tool in GIMP is a straightforward yet powerful feature for cropping images. This tool allows you to select a rectangular area of your image, making it easy to isolate and crop specific sections. Whether you're looking to highlight a subject or remove distractions, the Rectangle Select Tool is your go-to option.
Here’s how to use it:
- Select the Tool: Click on the Rectangle Select Tool in the toolbox. It looks like a rectangle.
- Draw Your Selection: Click and drag on your image to create a rectangular selection. You’ll see a dashed line outlining the area you’ve selected.
- Adjust Your Selection: You can adjust the edges of your selection by clicking and dragging the corners.
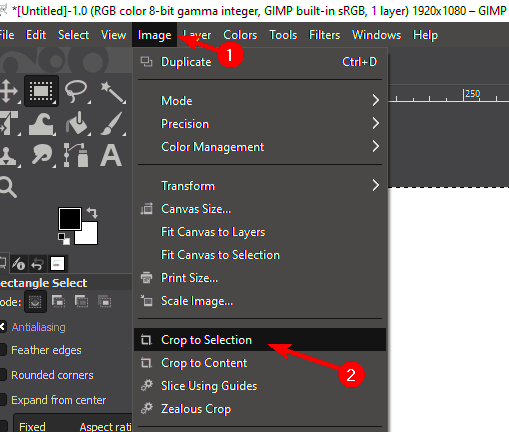
Once you have the desired area selected, you can crop it by clicking Image > Crop to Selection. This method is quick and effective, especially for images where the subject is clearly defined. Here are a few tips:
- Hold Shift: While dragging, hold the Shift key to create a perfect square selection.
- Use the Tool Options: Explore the tool options below the toolbox to adjust settings like feathering or fixed aspect ratio.
The Rectangle Select Tool is an excellent way to start cropping images with precision and ease, making your editing experience smoother.
Also Read This: Enhance Engagement by Adding Key Moments to Your YouTube Video
Using the Free Select Tool for Precise Cropping
If you need more precision than what the Rectangle Select Tool offers, the Free Select Tool is your best friend. This tool lets you create a freeform selection around the area you want to crop, making it perfect for irregular shapes or detailed subjects.
Here’s how to use the Free Select Tool:
- Select the Free Select Tool: Find it in the toolbox; it looks like a lasso.
- Draw Your Selection: Click to create points around your subject. You can create straight lines by clicking multiple times or draw freehand by holding the mouse button.
- Close the Selection: Connect the last point to the first to close the selection. You’ll see a dashed line around your chosen area.
Once you have your selection, hit Enter to confirm it, then go to Image > Crop to Selection to crop the image. This tool is especially useful for:
- Complex Shapes: Perfect for cropping around objects with irregular outlines.
- Detailed Editing: Allows for more creativity and precision in your image edits.
With a bit of practice, the Free Select Tool can greatly enhance your cropping skills, letting you customize images exactly how you want.
Also Read This: How to Bypass YouTube Adblock Restrictions and Skip YouTube Ads
Adjusting Image Size After Cropping
After you’ve cropped your image, you might want to adjust its size for better framing or to fit specific dimensions. Luckily, GIMP makes resizing images straightforward.
Here’s how to adjust your image size:
- Open the Scale Tool: Go to Image > Scale Image.
- Enter New Dimensions: In the dialog box, you can enter your desired width and height. Make sure the chain icon is linked to maintain the aspect ratio.
- Select the Interpolation Method: Choose an interpolation method for resizing, such as Cubic for high-quality results.
- Apply Changes: Click Scale to apply your new size.
It’s also a good idea to check the resolution of your image, especially if you plan to print it. A resolution of 300 DPI (dots per inch) is ideal for print, while 72 DPI works well for web images. Here’s a quick comparison:
| Purpose | Recommended DPI |
|---|---|
| Web Use | 72 DPI |
| Print Use | 300 DPI |
By adjusting the image size after cropping, you can ensure your final product looks great, whether for online sharing or printing.
Also Read This: Discovering Similar YouTube Channels with Effective Tools and Tips
Saving Your Cropped Images in GIMP
After putting in the effort to crop your images in GIMP, the last thing you want is to lose your hard work. Saving your images correctly is crucial, whether you plan to edit them further or just want to share them. GIMP offers several formats to save your images, allowing you to choose the best one for your needs.
Here’s how to save your cropped images:
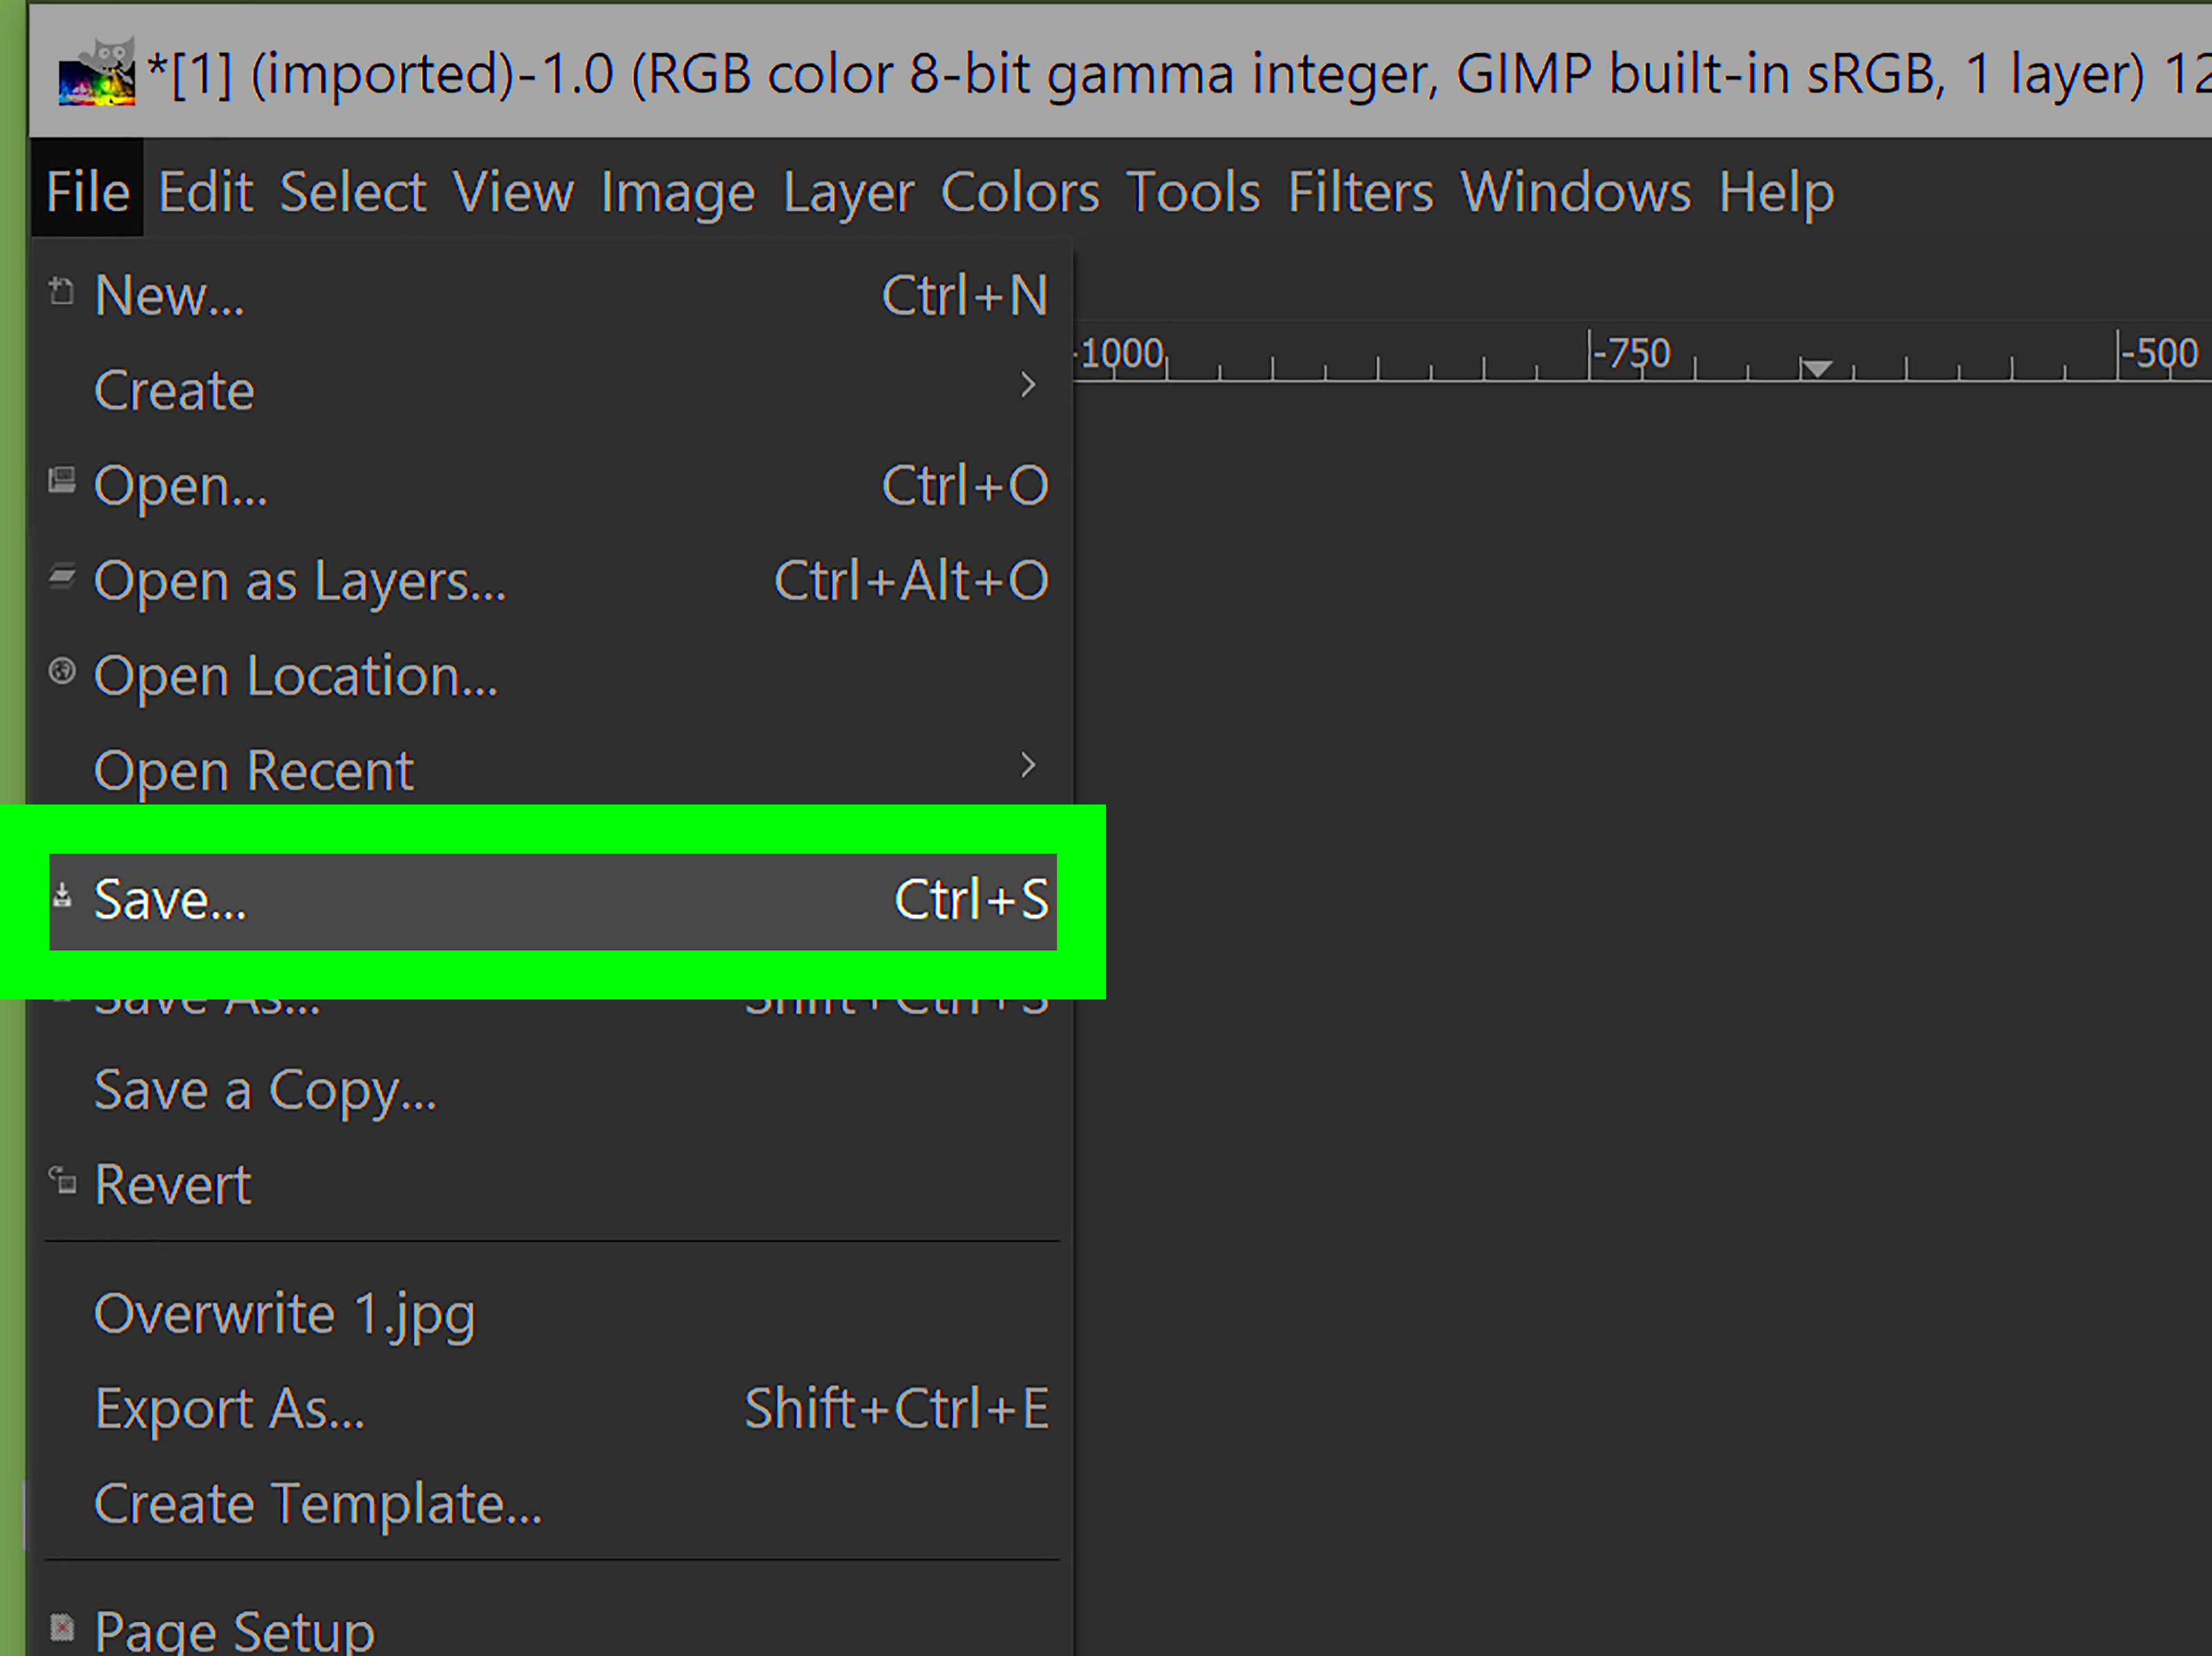
- Choose Save As: Go to File > Save As to create a new file. This is useful if you want to keep the original image intact.
- Select File Format: In the dialog box, you can choose from various formats, such as:
- XCF: GIMP’s native format, great for preserving layers and editing capabilities.
- JPEG: A popular format for web images, ideal for photographs.
- PNG: Excellent for images requiring transparency or high quality.
By understanding these saving options, you can ensure your images maintain their quality and are ready for whatever project you have in mind.
Also Read This: how do you print a reverse image
Frequently Asked Questions
When it comes to using GIMP, especially for cropping images, you might have some questions. Here are some common queries and their answers:
- Can I undo a crop? Yes! Simply use Edit > Undo or press Ctrl + Z to revert the last action.
- Is there a way to crop to specific dimensions? Absolutely! You can set fixed size options in the tool options for both the Rectangle Select and Crop Tool.
- How can I make sure my image maintains quality after cropping? Always check your image resolution before saving. Use a higher DPI for prints.
- What if I accidentally save over my original image? GIMP typically prompts for confirmation. However, always use Save As to keep a backup of your original file.
These FAQs can help you navigate some common issues and improve your experience with GIMP.
Conclusion and Final Tips
Now that you have a solid understanding of how to crop images in GIMP, saving them properly, and addressing common questions, you’re well on your way to becoming an editing pro. Here are a few final tips to keep in mind:
- Experiment: Don’t be afraid to try different tools and techniques. The more you practice, the better you’ll become.
- Keep Backup Files: Always save your projects in GIMP’s native format (XCF) until you’re completely satisfied with the final result.
- Utilize Tutorials: There are countless online resources and tutorials to help you dive deeper into GIMP's capabilities.
- Stay Updated: Make sure to keep your GIMP software updated to access the latest features and improvements.
With these tips in mind, you’re ready to explore the creative world of image editing. Happy cropping!
 admin
admin


