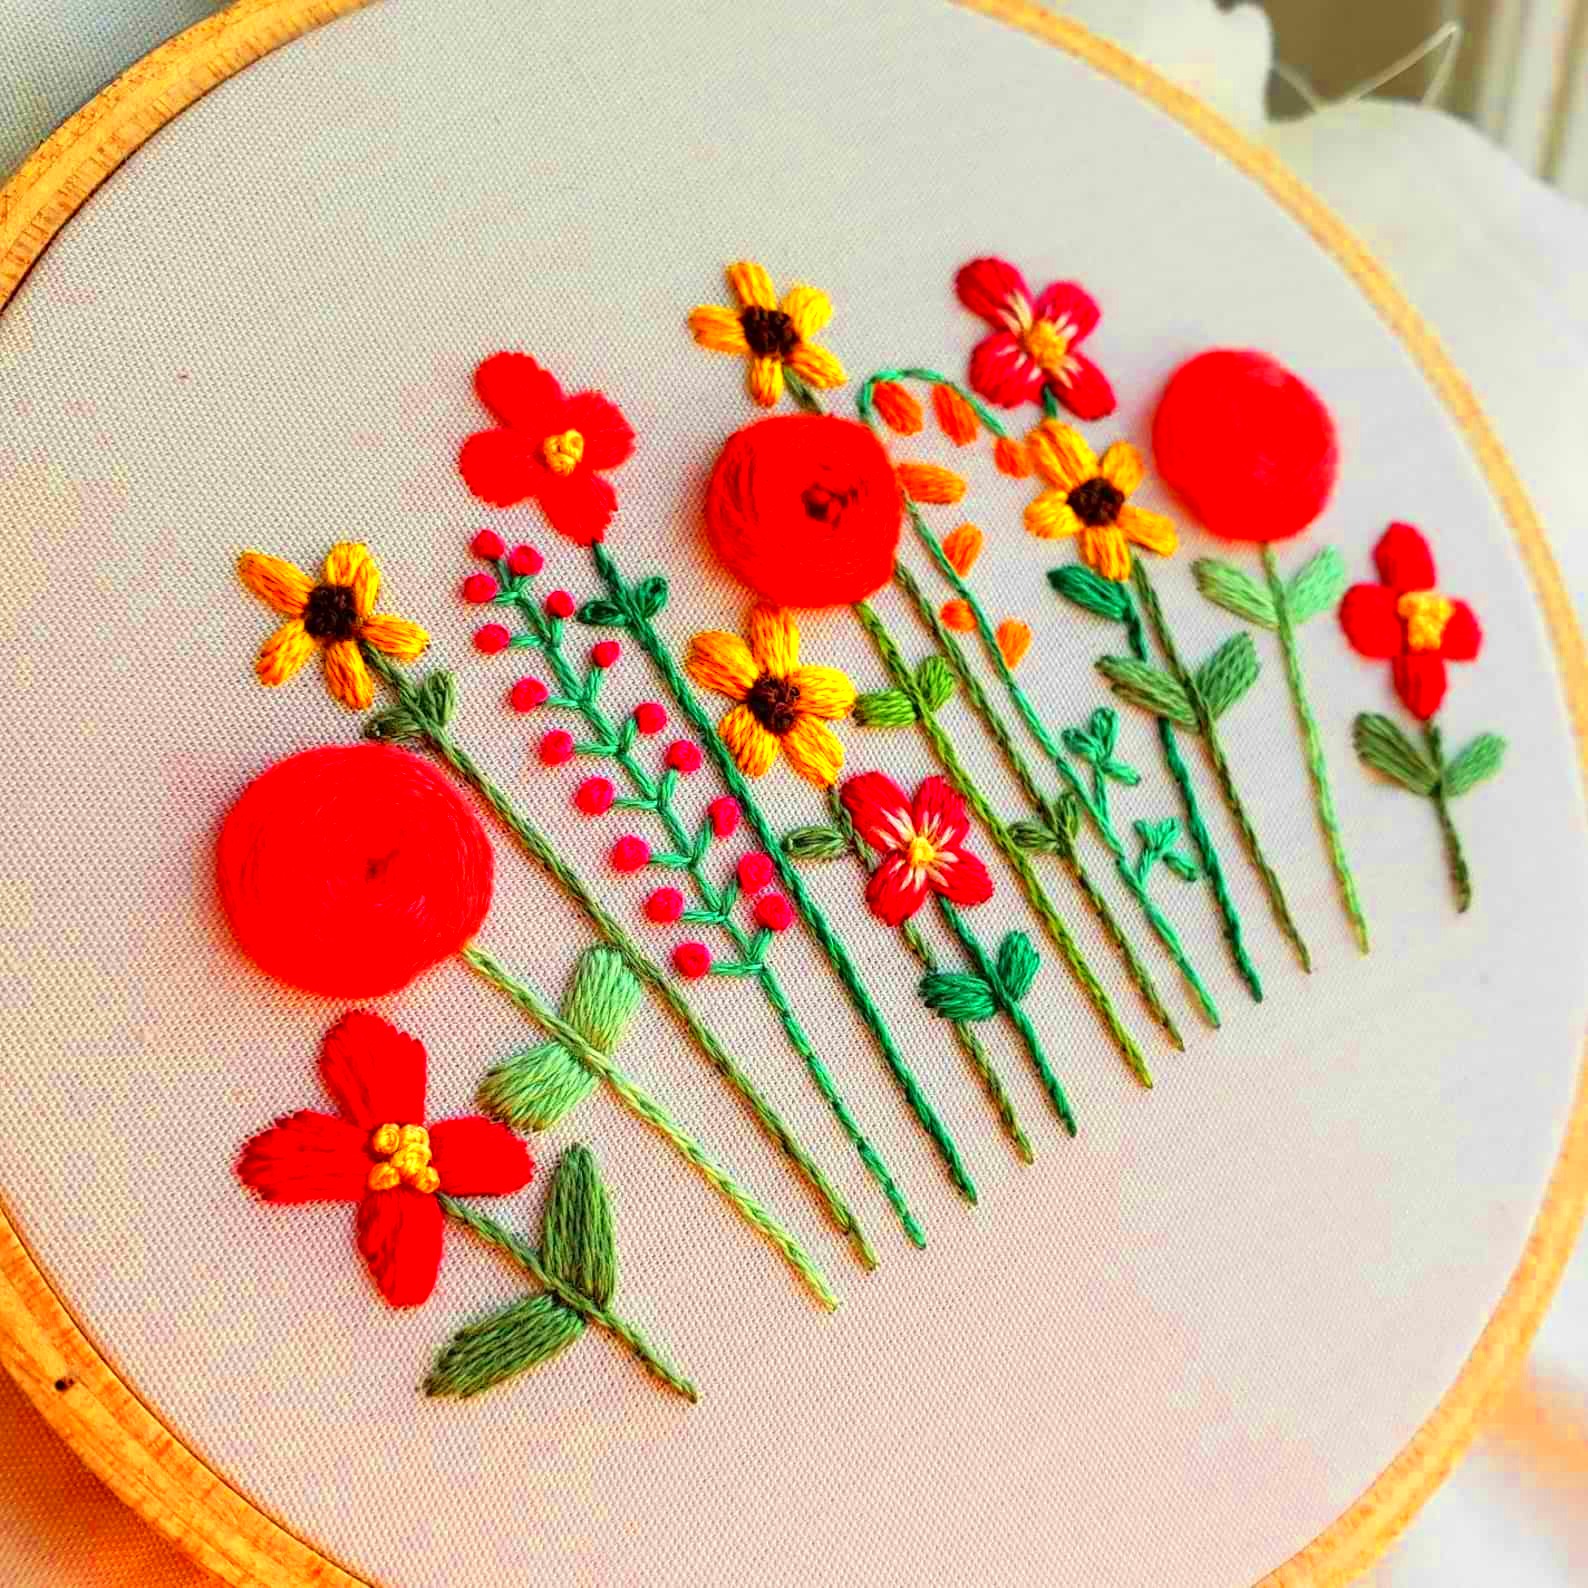
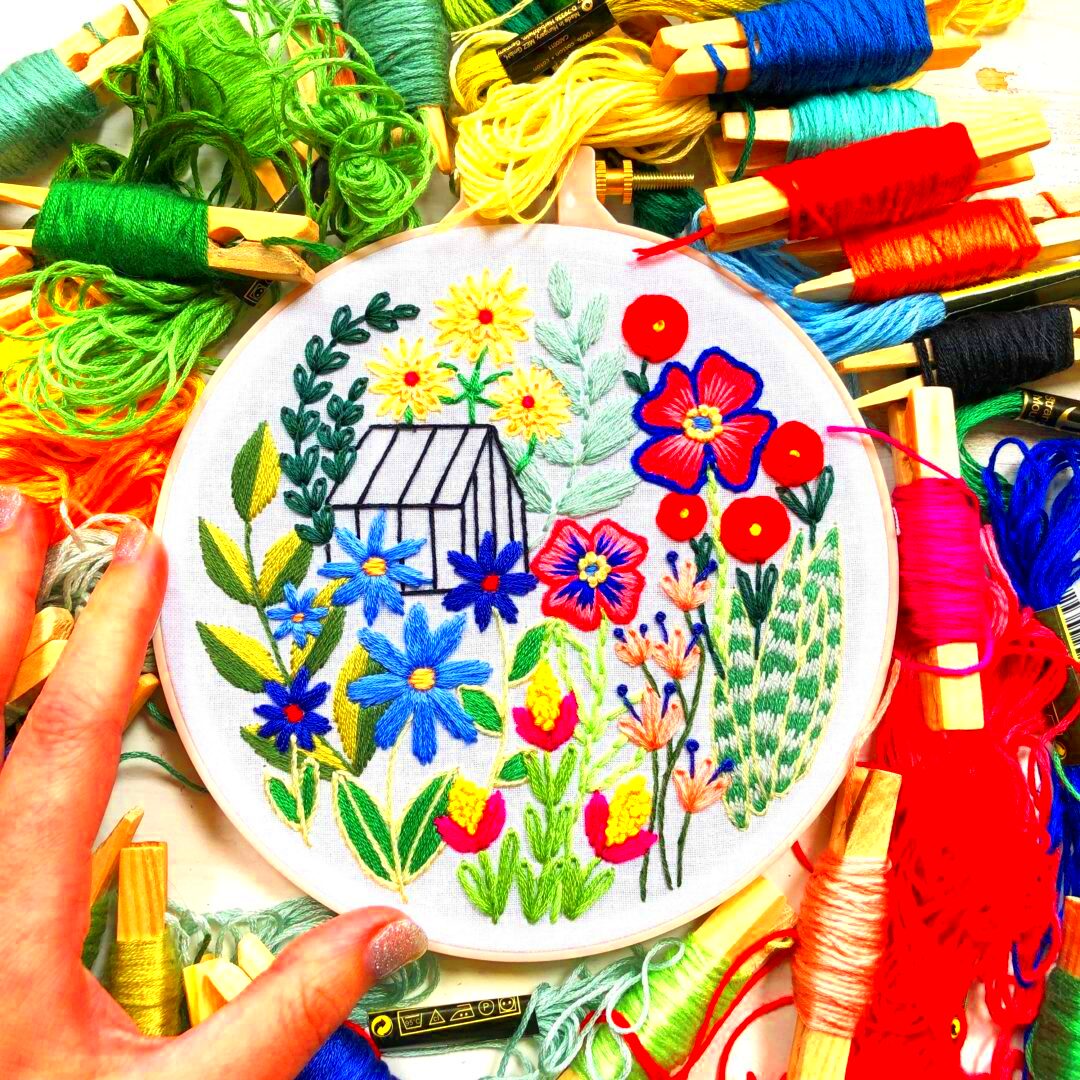
Embroidering images is a creative way to bring your designs to life. Whether you're making gifts, decorations, or personal items, this technique allows you to transform plain fabric into a canvas for your imagination. The process involves stitching patterns and designs onto fabric, using various embroidery techniques and tools. It's important to know the fundamentals to achieve the best results.
Here are some key concepts to keep in mind:
- Types of Embroidery: Familiarize yourself with popular styles like hand embroidery, machine embroidery, and cross-stitch.
- Stitch Types: Learn about basic stitches such as the backstitch, satin stitch, and French knot, as these will be essential in your projects.
- Image Scaling: Understand how to scale images for the desired size on your fabric. Larger images may require more complex stitching.
Choosing the Right Images for Your DIY Projects

When it comes to embroidery, not all images are created equal. Selecting the right image is crucial for achieving a stunning end result. Here’s what you should consider:
- Image Complexity: Simple images with clear outlines work best for beginners. Avoid overly intricate designs as they can be challenging to embroider.
- Contrast: Choose images with strong contrast between colors. This helps the design stand out when stitched.
- Personal Relevance: Pick images that resonate with you or the recipient. It adds a personal touch to your project.
Some great sources for images include:
- Clipart websites
- Public domain image libraries
- Your own sketches or photos
Also Read This: Create Your Own Behance Portfolio with a Personalized URL
Selecting the Best Materials for Embroidering
The materials you choose for your embroidery projects can significantly impact the final outcome. Here are the essential materials you’ll need:
| Material | Description |
|---|---|
| Fabric | Choose a fabric that suits your project. Cotton is great for beginners, while linen offers a more sophisticated look. |
| Embroidery Thread | Opt for high-quality threads like cotton or polyester. They come in various colors and will withstand washing. |
| Needles | Use embroidery needles that have a larger eye to accommodate thicker threads. |
| Hoops | A hoop keeps the fabric taut while you stitch, preventing puckering and ensuring even tension. |
Choosing the right materials enhances the quality and durability of your work. Don't hesitate to experiment with different fabrics and threads to find what works best for you.
Also Read This: Understanding the Cost of Adobe Stock Music
Preparing Your Image for Embroidery
Preparing your image properly is crucial for achieving beautiful embroidery. This step ensures that your design translates well onto fabric. It involves a few key tasks to make the process smoother and more efficient. Taking the time to prepare will save you frustration later on.
Here’s a simple guide to get your image ready:
- Image Editing: Use software like Adobe Illustrator or free tools like GIMP to adjust your image. You can resize, crop, or simplify the design to make it more suitable for embroidery.
- Convert to Line Art: If your image has a lot of detail, consider converting it to line art. This reduces complexity and focuses on the essential outlines that will be stitched.
- Choose Colors Wisely: Select a limited color palette to make stitching easier. Aim for two to four colors to keep your project manageable.
- Print a Template: Print your final design on paper. This will serve as a guide while you stitch. You can even trace it onto your fabric if needed.
By following these steps, you set yourself up for success in the embroidery process. A well-prepared image makes all the difference in creating a stunning piece.
Also Read This: How to Delete a LinkedIn Post – A Comprehensive Guide
Techniques for Embroidering Images
Once your image is prepared, it’s time to dive into the actual embroidery process. There are several techniques to consider, each offering a unique look and feel to your project. Knowing the right methods can enhance your skills and make your creations stand out.
Here are some popular techniques to explore:
- Backstitch: This is a basic but essential stitch that creates a solid outline. It’s great for adding definition to your design.
- Satin Stitch: Perfect for filling in shapes, this stitch provides a smooth finish. It’s ideal for areas that need a solid color.
- French Knot: This fun technique adds texture and dimension to your project. Use it to create decorative elements like flowers or dots.
- Chain Stitch: This stitch forms a lovely chain-like pattern, adding a decorative touch to outlines or borders.
Remember to practice these techniques on scrap fabric before starting on your final piece. This way, you can gain confidence and master the stitches before working on your main project.
Also Read This: How to Flip a Projector Image
Tips for Finishing Your Embroidered Projects
Finishing your embroidered project is just as important as the stitching itself. A well-finished piece looks polished and professional, enhancing its overall appeal. Here are some tips to help you wrap up your work effectively.
Consider the following when finishing your embroidery:
- Secure Your Threads: Make sure to tie off your threads securely to prevent any unraveling. A knot on the back will keep everything in place.
- Trim Excess Threads: Carefully trim any loose or excess threads to give your work a neat appearance. Avoid cutting too close to your knots.
- Ironing: Gently iron your finished piece to smooth out any creases. Use a low heat setting and place a cloth between the iron and fabric to avoid damage.
- Frame or Display: Decide how you want to display your embroidery. Framing it, turning it into a patch, or using it as part of a larger project are all great options.
By following these finishing touches, you can ensure that your embroidered pieces look their best and are ready for gifting or display. Enjoy the satisfaction of seeing your creative work come to life!
Also Read This: Saving a Freeform Shape as an Image
Common Mistakes to Avoid in Image Embroidery
Embroidery can be a fun and rewarding hobby, but it’s easy to make mistakes, especially if you're just starting. Understanding common pitfalls can help you avoid frustration and achieve better results. Here’s a rundown of mistakes to watch out for in your embroidery journey.
Here are some typical errors and how to avoid them:
- Skipping Preparation: Neglecting to prepare your image can lead to complications during stitching. Always take the time to edit and simplify your design beforehand.
- Using Poor Quality Materials: Cheap fabric and thread can ruin your project. Invest in good-quality materials to enhance the durability and appearance of your work.
- Ignoring Tension Issues: Not adjusting the tension on your sewing machine (if using one) can lead to uneven stitching. Test the tension before starting your project.
- Overcomplicating Designs: Beginners often choose intricate designs that are too complicated. Start with simpler patterns to build confidence and skills.
- Forgetting to Secure Threads: Leaving threads unsecured can lead to unraveling. Make sure to tie off knots properly at the end of your stitching.
By being mindful of these common mistakes, you can streamline your embroidery process and enjoy creating beautiful images without the hassle of avoidable errors.
Also Read This: Understanding iStock Essentials and Their Importance
FAQs About Embroidering Images for DIY Projects
Embroidery can raise a lot of questions, especially for those new to the craft. Let’s address some frequently asked questions to help you navigate your embroidery projects more smoothly.
Here are some common questions and answers:
- What kind of fabric is best for embroidery? Cotton and linen are great choices for beginners due to their sturdiness and ease of use.
- Can I use any thread for embroidery? It’s best to use threads specifically designed for embroidery, like cotton or polyester, for a smooth finish.
- How do I transfer my design onto fabric? You can use methods like tracing, carbon paper, or even printing directly on fabric, depending on the design and fabric type.
- What stitches should I start with? Beginners should start with basic stitches like backstitch and satin stitch before progressing to more complex techniques.
- How do I clean my finished embroidered piece? Hand wash your piece gently with mild soap and air dry it flat to maintain its quality.
These FAQs aim to clear up any confusion you might have and set you on the right path for your embroidery projects.
Conclusion on Creating Unique DIY Projects with Embroidered Images
Embroidery offers a unique way to express your creativity and make personalized gifts or decorations. By understanding the basics, choosing the right materials, and avoiding common mistakes, you can create stunning embroidered images that stand out. The journey from a simple idea to a beautifully finished piece can be incredibly fulfilling.
As you continue to explore embroidery, remember:
- Practice is Key: The more you stitch, the better you’ll become. Don’t be afraid to experiment!
- Be Patient: Some projects take time. Enjoy the process, and don’t rush through your work.
- Have Fun: Let your creativity flow. Choose designs that inspire you and bring joy.
With these insights in mind, you’re well-equipped to dive into the world of embroidery. So grab your fabric and threads, and start creating your unique DIY projects today!

 admin
admin


