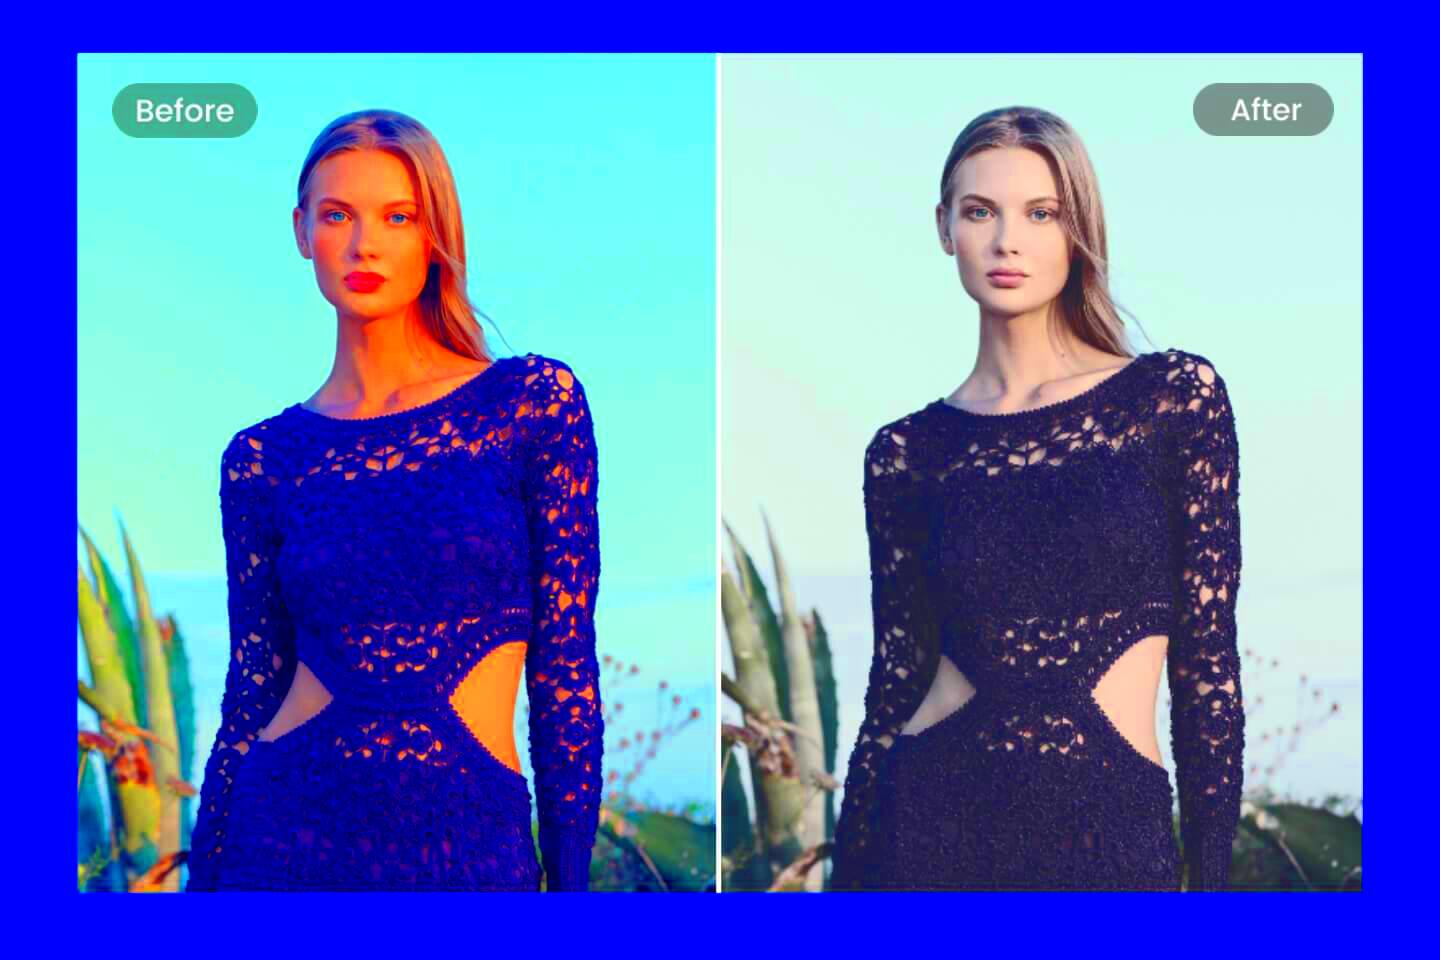
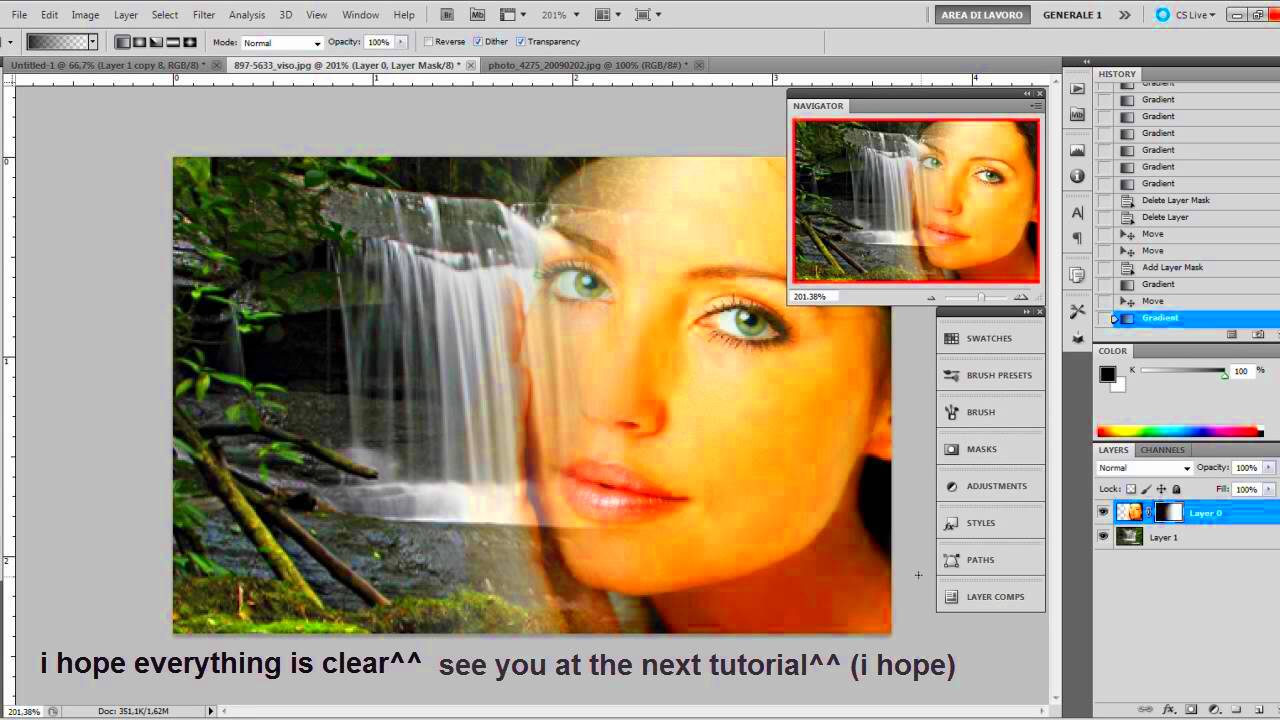
Fading an image creates a subtle, softened look, helping to blend it seamlessly with other design elements. This technique is commonly used to create a gentle backdrop, reduce visual distractions, or add an artistic touch to images. It’s especially helpful for enhancing text visibility when placed over the image. Whether you're designing presentations, social media posts, or website visuals, knowing how to fade an image gives you greater control over its impact on your audience.
Some key reasons people choose to fade an image include:
- Enhancing text readability: A faded image makes text or other foreground elements stand out more.
- Creating a unified design: Fading helps blend images with backgrounds or other images, giving a cohesive look.
- Adding an artistic touch: Soft, faded images often give a dreamy or vintage feel to visuals.
Choosing the Right Tool for Fading an Image

Selecting the right tool to fade an image depends on your skill level, the device you're using, and the specific fade effect you want to achieve. Here’s a quick look at some popular options:
| Tool | Platform | Best For |
|---|---|---|
| Adobe Photoshop | PC/Mac | Professional editing, detailed fades, and customization |
| Canva | PC/Mac, Mobile | Quick edits, accessible for beginners |
| Online editors (e.g., Pixlr) | PC/Mac, Mobile | Simple, browser-based fading |
| Photo apps (e.g., Snapseed) | Mobile | Basic fades, on-the-go edits |
If you're looking for detailed control, desktop tools like Photoshop offer advanced options. For quick and straightforward edits, online tools or mobile apps are convenient and effective for fading images.
Also Read This: How to Check the DPI of an Image on Your Phone for Quality
Steps to Fade an Image Using Basic Editing Software

Here’s a simple guide on how to fade an image using popular editing tools. These steps focus on general software features, which most programs include:
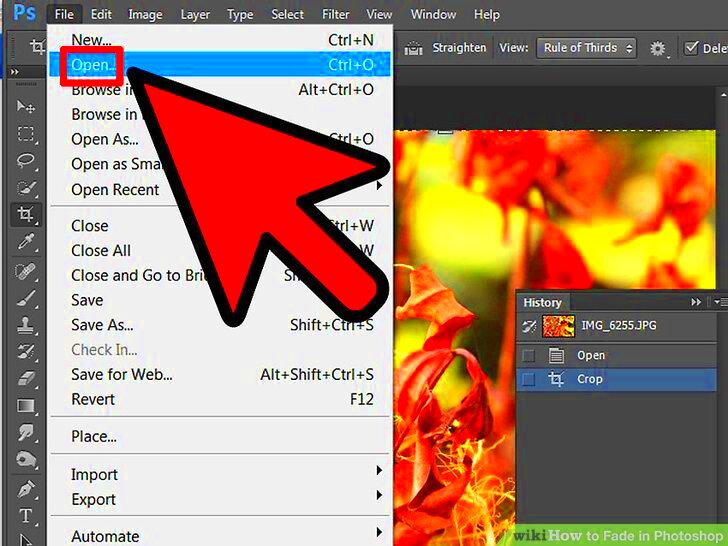
- Open your chosen editing software and load the image you want to fade.
- Locate the opacity setting. Most tools label it as "Opacity" or "Transparency" and place it in the Layers panel or toolbar.
- Adjust the opacity to the desired level. Lowering opacity makes the image lighter and softer. Adjust until you reach the fade effect you want.
- Apply blending options (optional). Some software includes "Overlay," "Soft Light," or other blend modes for enhanced effects.
- Save your image in your preferred format, ensuring that your faded effect is preserved.
With these steps, you can quickly achieve a faded look using any software that offers basic opacity controls. Once saved, your image will display the softer, more blended appearance you created.
Also Read This: Explanation of Adobe Stock’s Symbol
How to Fade an Image with Online Tools
If you’re looking to quickly fade an image without downloading software, online tools can be a great solution. These platforms offer simple, intuitive interfaces that work directly in your browser, making them perfect for quick edits. Here’s how you can fade an image using popular online editors like Pixlr, Fotor, or Canva.
- Upload your image: Start by opening your preferred online tool and uploading the image you want to edit. Most platforms will have an “Upload” button on the home screen.
- Adjust opacity or transparency: Look for the option labeled “Opacity” or “Transparency.” In Canva, for example, you can access it by selecting the image and adjusting the slider in the top toolbar.
- Use layering options (optional): Some editors allow you to add background layers or effects. By combining opacity adjustments with blending or layering, you can achieve a more customized fade effect.
- Preview and download: Once satisfied, preview the result to ensure it matches your vision. Then, download the edited image in the format you prefer.
These online tools are perfect for quick edits and allow you to experiment with different fade levels and backgrounds easily.
Also Read This: Essential Guide to Licensing Your Photo with Getty Images
Using Mobile Apps to Create a Faded Image Effect
Fading an image on the go is easy with mobile photo editing apps. Apps like Snapseed, Adobe Lightroom Mobile, and PicsArt offer straightforward fading options, often through their opacity or blending features. Here’s how you can create a soft fade using mobile apps:
- Open the app and import your image: Load the image you want to edit. Most apps have an “Import” or “Open” button to get started.
- Locate the fade or opacity setting: Look for settings such as “Transparency,” “Fade,” or even “Exposure,” depending on the app. In Snapseed, you might find it in the “Tools” section under “Tune Image.”
- Adjust to your liking: Use the slider to adjust the fade level. Lower opacity values will result in a softer, faded appearance.
- Enhance with filters or overlays (optional): Some apps offer filters or overlays that can enhance the faded look. This step is optional but can add a unique touch.
- Save and share: Once satisfied, save your image to your gallery or share it directly from the app.
With mobile apps, you can easily edit and fade images wherever you are, making these tools especially useful for social media and quick visual updates.
Also Read This: How to Edit Text in JPEG Images Online
Tips for Achieving a Balanced Faded Effect
Fading an image may seem simple, but getting a balanced, professional look can require a bit of finesse. Here are some tips to help you achieve a well-blended, natural fade:
- Adjust gradually: Start with a slight fade and increase it slowly. This helps avoid making the image look overly washed out.
- Consider the background: If you’re layering text or objects over a faded image, ensure the background complements the fade level, so nothing gets lost or is too overwhelming.
- Check contrast and brightness: Sometimes fading can reduce contrast. Adjust the brightness and contrast to maintain visibility without compromising the faded effect.
- Test different blend modes: If your software has blending options (like “Overlay” or “Soft Light”), experiment with them. These modes can add depth to the fade, giving it a richer appearance.
- Stay mindful of resolution: Fading can sometimes impact image quality. If possible, start with a high-resolution image to ensure it remains sharp, even with adjustments.
These tips can help you refine your fade effect and ensure your image retains a polished, professional look. Experimenting with different adjustments can also help you find the style that best suits your project.
Also Read This: How Much Do Adobe Stock Image Contributors Make
Common Mistakes to Avoid When Fading Images
Fading an image might seem straightforward, but there are a few common mistakes that can lead to a less polished look. Understanding these can help you avoid issues and create a balanced, professional result.
- Over-fading the image: Reducing opacity too much can make the image almost invisible, which might lose its intended impact. Aim for a subtle fade that still lets the image add value to your design.
- Ignoring contrast: Fading can sometimes wash out important details. Adjust the contrast after fading to retain essential visual elements without overwhelming the softness.
- Skipping the background check: When adding text or other elements over a faded image, ensure the background is suitable. Busy backgrounds can clash with text, making it hard to read.
- Forgetting resolution: Starting with a low-resolution image can result in a blurred or pixelated final look after fading. Always use a high-resolution image to maintain clarity.
- Not testing different blend modes: Many editors offer blend modes (like “Overlay” or “Soft Light”) to improve fading. Skipping this can mean missing out on a richer, layered effect.
By keeping these tips in mind, you can avoid these common mistakes and achieve a balanced, visually appealing faded effect.
Also Read This: Top Image Processing Companies Across the USA
Frequently Asked Questions about Fading Images
Fading an image raises some common questions, especially for beginners. Here are answers to a few popular questions:
- Can I fade an image without special software? Yes, you can use free online tools or mobile apps. Many options, such as Canva and Pixlr, offer quick, easy fading without requiring advanced skills.
- What’s the difference between fading and lowering opacity? Lowering opacity is one way to create a faded effect, but fading can also involve layering or blending options to achieve a specific visual style.
- Can I adjust the fade after saving? It depends. If you save in a format like PSD (Photoshop file) with layers, you can adjust it later. For flattened files like JPEG or PNG, you’ll need to start over to adjust the fade.
- Which software is best for beginners? Canva, Fotor, and Snapseed are great options for beginners, offering easy-to-use fade settings with minimal learning curves.
- Will fading affect my image’s print quality? If you plan to print, make sure to fade carefully and use a high-resolution image. Some fading effects might appear differently on print versus digital screens.
These answers should help clarify some common concerns and guide you toward creating a perfect faded look.
Conclusion on Creating a Softer Look with Faded Images
Fading an image adds a gentle, softened effect that can beautifully complement any design. It helps create a calm, subtle background that doesn’t compete with other visual elements. Whether you’re using desktop software, online tools, or mobile apps, fading offers flexibility and ease for enhancing your visuals.
By avoiding common mistakes and understanding the tools and settings available, you can achieve a polished look with just a few simple adjustments. Remember to balance opacity, contrast, and background to make your image blend naturally with the overall design. Fading an image can be an easy and impactful way to bring a professional, artistic touch to your visuals.

 admin
admin


