Editing raw images in Lightroom opens a world of creative possibilities. Unlike JPEGs, raw files retain more detail and color information, giving you greater control over your editing process. This guide will walk you through the steps to effectively edit your raw images using Lightroom, helping you to enhance your photos and bring your vision to life.
Understanding Raw Image Files
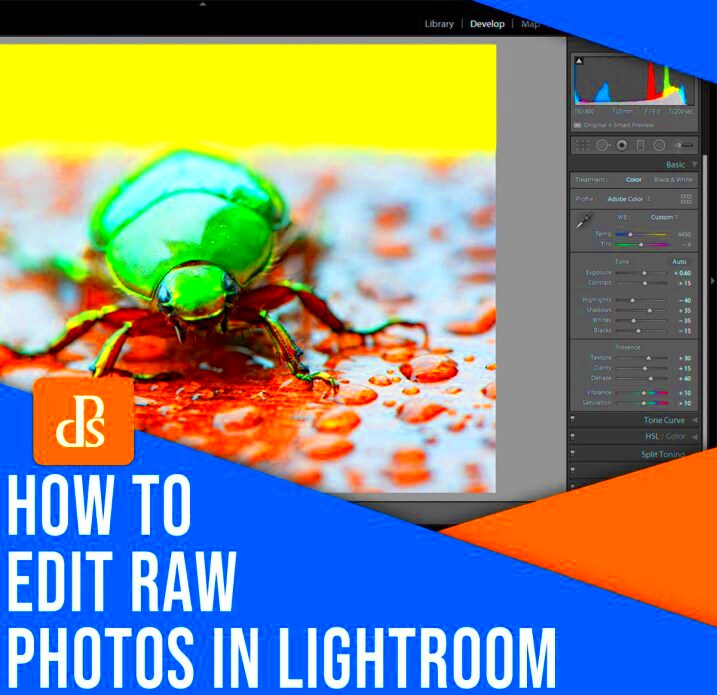
Raw image files are unprocessed data captured by your camera’s sensor. Here’s what you need to know:
- Higher Quality: Raw files contain more data than standard formats like JPEG, allowing for better adjustments in exposure, color, and detail.
- Non-Destructive Editing: Changes made to raw files do not alter the original image, so you can always revert back to the untouched version.
- File Types: Common raw file formats include CR2 (Canon), NEF (Nikon), and ARW (Sony).
Understanding these aspects will help you appreciate the benefits of editing raw files in Lightroom and set the stage for your editing journey.
Also Read This: Using Getty Images for Free and Legally Without Copyright Infringement
Setting Up Your Lightroom Workspace
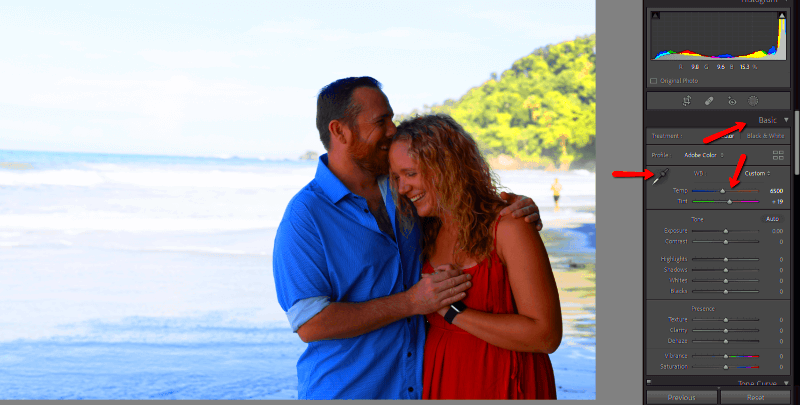
Creating an efficient workspace in Lightroom can make a huge difference in your editing experience. Follow these steps to set up your environment:
- Launch Lightroom: Open the application and select either the Library or Develop module based on your current task.
- Customize Your Workspace: Go to Window > Panels and choose which panels you want visible for easy access.
- Organize Your Catalog: Import your raw files and organize them into collections or folders for better management.
- Set Preferences: Adjust the settings in the Preferences menu to tailor the software to your editing style, such as enabling GPU acceleration for smoother performance.
By setting up your workspace effectively, you can streamline your workflow and focus on enhancing your images.
Also Read This: Transferring Images from Ricoh GRIIIx to Computer
Importing Raw Images into Lightroom
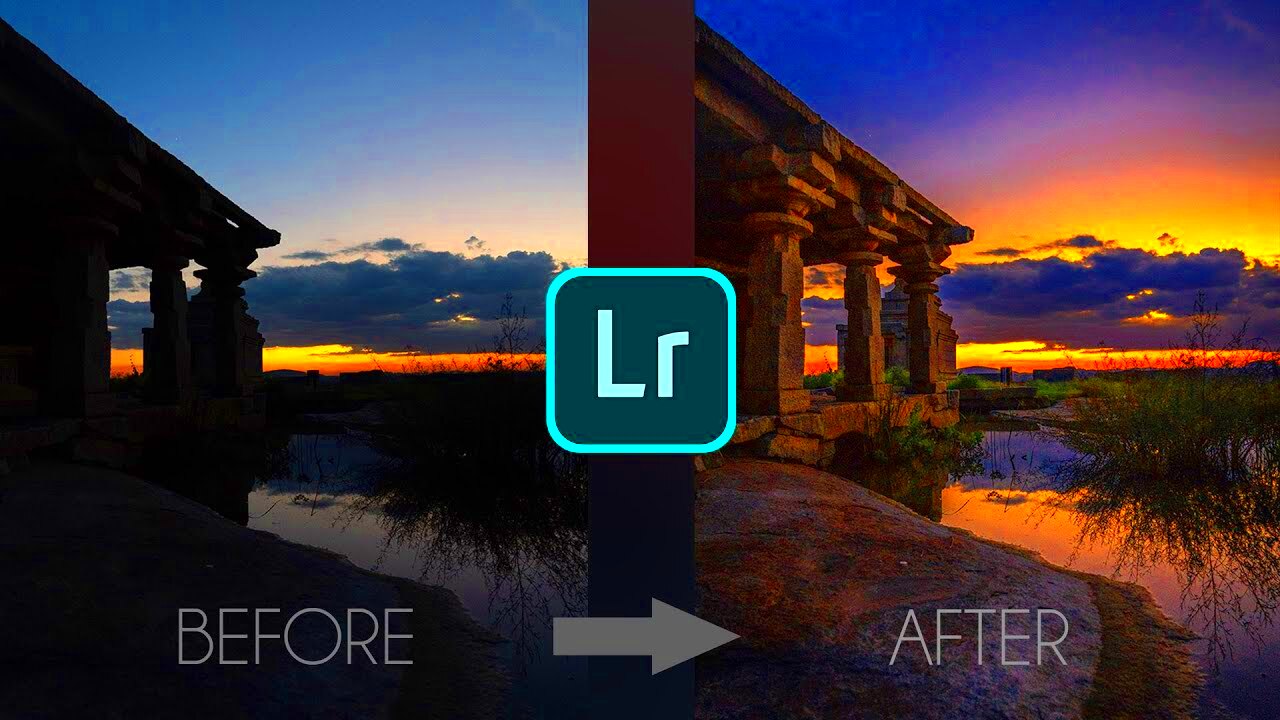
Getting your raw images into Lightroom is the first step in your editing journey. This process is simple and efficient, allowing you to quickly access and organize your files. Here’s how to do it:
- Open Lightroom: Launch the program and head to the Library module.
- Click on Import: In the Library module, find the Import button in the lower left corner and click it.
- Select Your Source: Choose the folder or device where your raw images are stored. This could be your camera’s memory card or a specific folder on your computer.
- Choose Your Files: Use the “Select All” button to import all images or check individual boxes next to the images you want to import.
- Apply Settings: On the right side, you can apply metadata and develop settings during import. This helps in organizing your photos right from the start.
- Click Import: Once you’re ready, hit the Import button in the lower right corner. Your images will now load into the Library.
By following these steps, you’ll have your raw images imported into Lightroom, ready for editing. Don’t forget to take a moment to organize them into folders or collections for easier access later!
Also Read This: Cropping Images in Procreate
Basic Editing Techniques for Raw Images
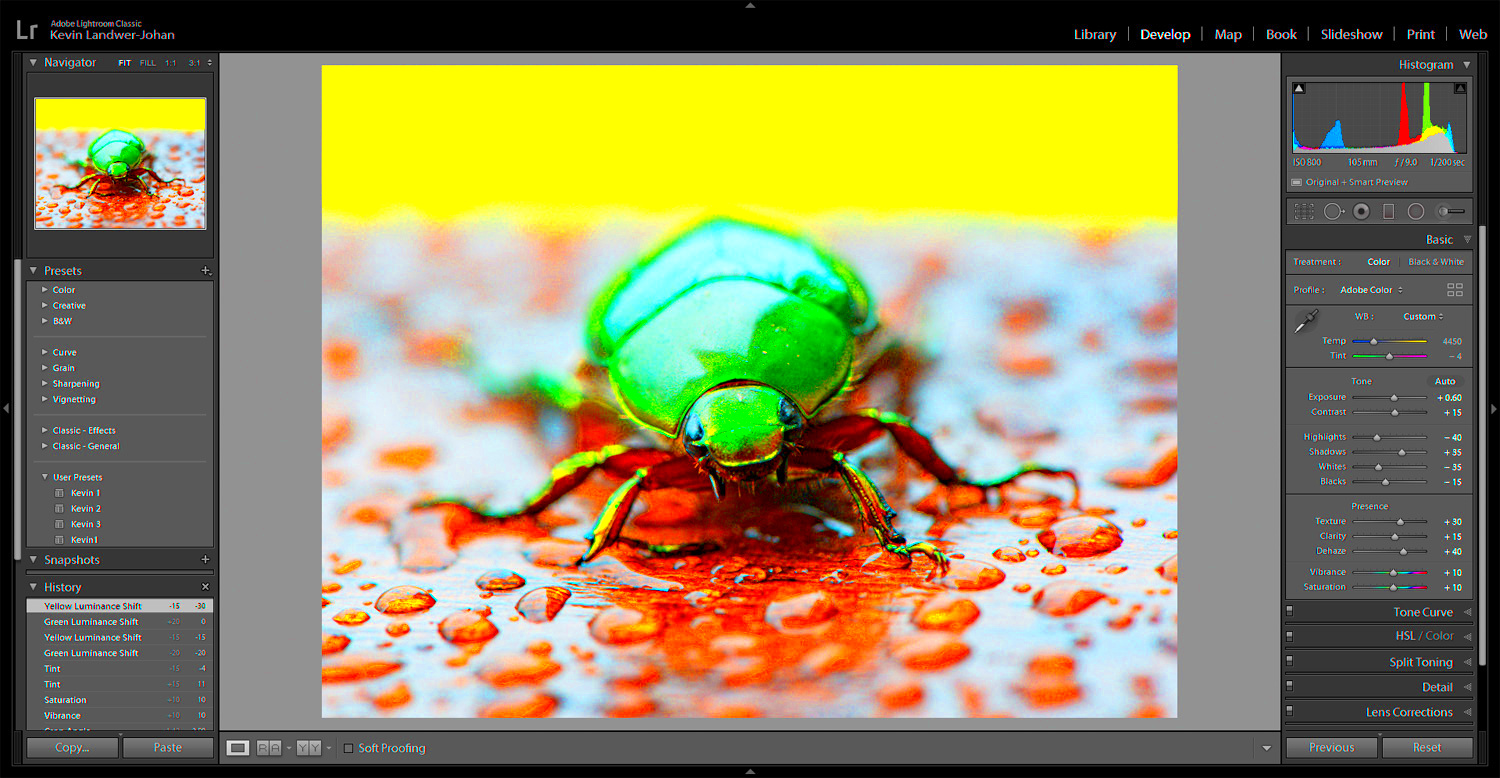
Once your raw images are imported, it’s time to start editing. Basic editing techniques in Lightroom can significantly enhance your photos. Here are some essential steps:
- Crop and Straighten: Use the Crop tool to improve composition and straighten any tilted images.
- Adjust Exposure: Use the Exposure slider to lighten or darken your image, making sure to check the histogram for balance.
- White Balance: Adjust the temperature and tint sliders to correct any color casts, helping your image look more natural.
- Contrast: Increase the contrast to add depth, making your highlights brighter and shadows darker.
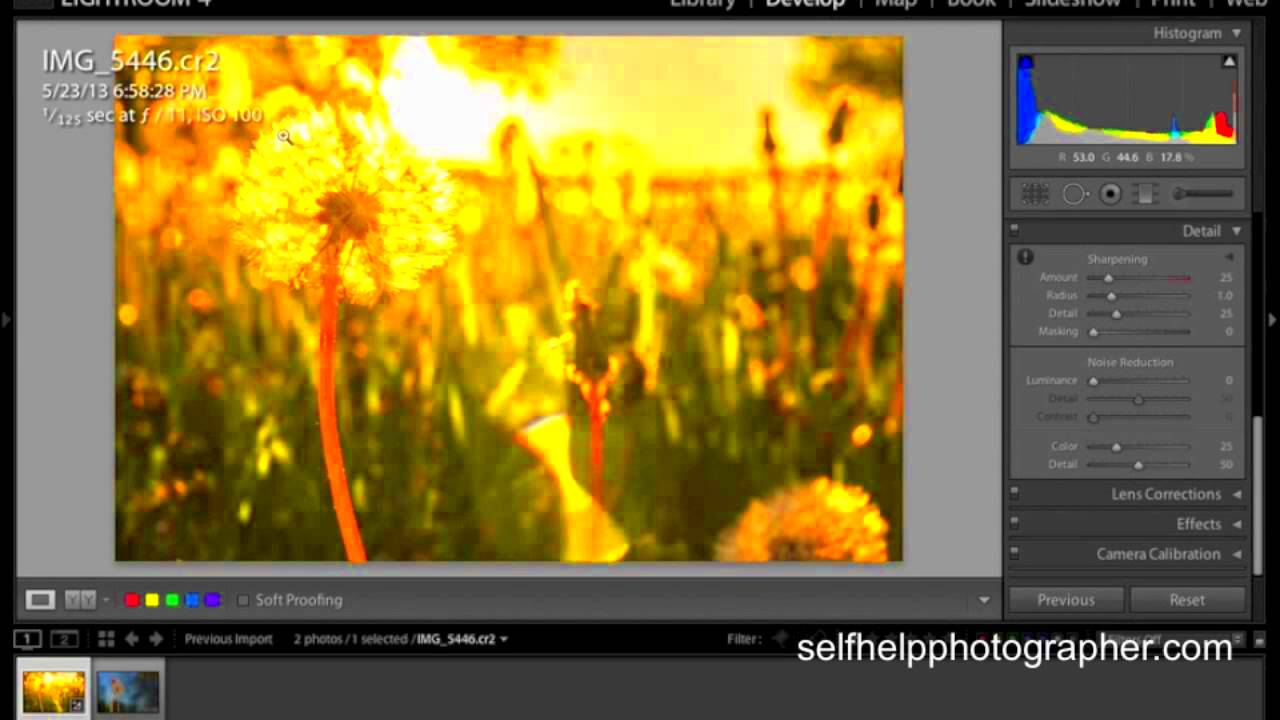
- Sharpening: Apply sharpening to enhance details, especially in areas like eyes or textures.
These basic techniques are crucial for transforming your raw images into polished photos. With practice, you'll gain confidence and start developing your unique editing style!
Also Read This: Obsession with Overlay: Adding a Spotify Overlay to OBS – A Complete Guide
Advanced Editing Tools in Lightroom
Once you’ve mastered the basics, it’s time to explore advanced editing tools in Lightroom. These features will help you achieve a more refined look for your images:
- Adjustment Brush: This tool allows you to apply edits to specific areas. For instance, you can brighten just the subject’s face or darken the background.
- Graduated Filter: Perfect for landscapes, this tool helps adjust exposure and color gradients across a specific section of your image.
- Radial Filter: Similar to the graduated filter, but allows you to create circular adjustments, perfect for spotlighting a subject.
- HSL Panel: Here, you can fine-tune the Hue, Saturation, and Luminance of individual colors, helping to create a balanced and vibrant image.
- Lens Corrections: Use this tool to remove lens distortion, chromatic aberration, and vignetting for a cleaner look.
These advanced tools give you the freedom to experiment and refine your images. As you get comfortable with these features, you’ll be able to push your creativity and create stunning results!
Also Read This: how to find ai generated images
Exporting Your Finished Images
After putting in the hard work to edit your raw images, it’s time to export them so you can share or print them. Lightroom makes this process straightforward. Here’s how to do it:
- Select Your Images: In the Library module, choose the images you want to export. You can select one or multiple photos.
- Click on Export: Go to the File menu and click on Export. This opens the Export dialog box where you can set your preferences.
- Choose Export Location: Decide where you want to save the exported images. You can create a new folder or choose an existing one.
- Select File Format: Choose your desired file format. Options include JPEG for web use, TIFF for high-quality prints, or original for raw formats.
- Set Image Quality: If you choose JPEG, adjust the quality slider. A higher quality preserves more detail but increases file size.
- Add Watermarks: If you want to protect your images, consider adding a watermark. You can set this in the Export dialog.
- Click Export: Once all settings are in place, click the Export button. Your images will be processed and saved in the specified location.
Exporting your images properly ensures that your hard work pays off. Whether you’re sharing on social media or preparing for a print, this step is essential for showcasing your edited photos.
Also Read This: Creating Beautiful Paper Flowers for Dailymotion Videos
FAQs About Editing Raw Images in Lightroom
Editing raw images can raise many questions, especially if you’re new to Lightroom. Here are some frequently asked questions to help you out:
- What is the difference between raw and JPEG? Raw files contain unprocessed data and allow for greater editing flexibility, while JPEGs are compressed and may lose details.
- Do I need to convert raw files before editing? No, you can edit raw files directly in Lightroom without conversion.
- Can I edit raw files on my phone? Yes, with Lightroom Mobile, you can edit raw images on your phone, but you may need to import them via cloud storage.
- What if I want to revert to the original? Since Lightroom edits are non-destructive, you can always return to the original image at any time.
- Is Lightroom the best software for editing raw images? Many photographers prefer Lightroom for its user-friendly interface and powerful editing tools, but it ultimately depends on personal preference.
These FAQs cover some common concerns, making your editing journey smoother and more enjoyable!
Conclusion on Mastering Raw Image Editing
Mastering raw image editing in Lightroom can greatly enhance your photography skills. By understanding the nuances of raw files, setting up an efficient workspace, and using both basic and advanced editing techniques, you can transform your images into stunning visuals. Remember to regularly practice and experiment with different tools and techniques.
As you grow more confident in your editing abilities, don’t hesitate to explore new styles and creative directions. The journey of learning and improving your editing skills is ongoing. Embrace it, and let your creativity shine!
 admin
admin


