In general, an ISO image (or ISO file) is a digital copy of a physical disc (e.g., CD, DVD or Blu-ray). This single file contains all the data and file structures of that disc making it an efficient means of storing and transferring content without having the original media. Because of their ability to allow for large software applications, operating systems, and games to be distributed over the internet, ISO
images are widely used as they enable users to download these files as though they were directly accessing them from a disc.ISO
images exhibit multiple advantages. Once downloaded, these files can create a bootable USB, mount them virtually to access their contents or burn them back onto a new disc. In this way, ISO
images are usually considered as the most convenient and reliable means to install an operating system. Using ISO files enables efficient software management and device setup options.
Steps to Download and Prepare an ISO Image

Before using an ISO image, one must first procure and set up the file for usage. Below is an uncomplicated manual.
- Choose a reliable source: Download ISO files only from reputable websites to ensure security and integrity.
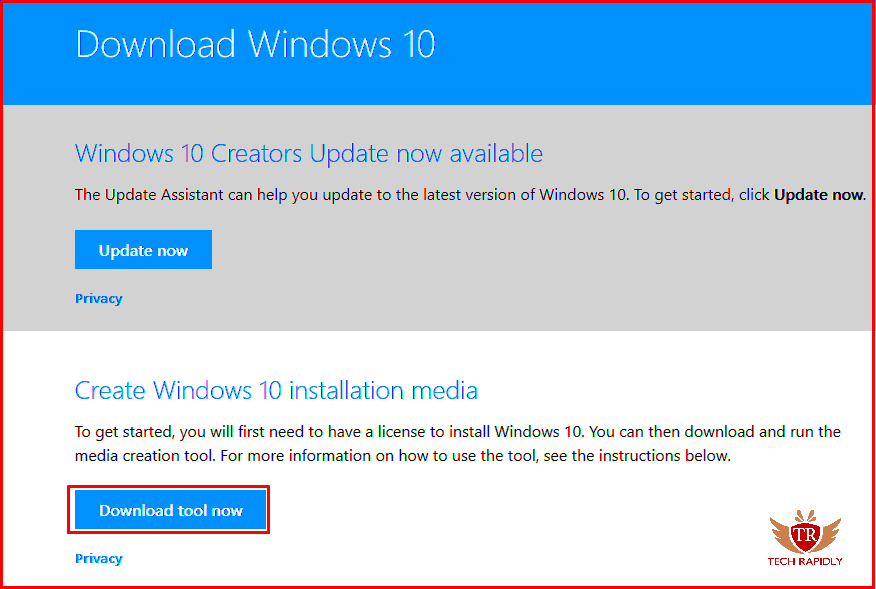
- Download the ISO file: Save the file to an easily accessible location on your device, as these files can be large and may take time to download.
- Verify the file: Many sites provide a checksum to verify the ISO’s authenticity. Use this to ensure the download wasn’t corrupted.
- Select your storage medium: Most users prefer a USB drive due to its portability. However, external hard drives and DVDs can also be used.
- Prepare the medium: Format the USB drive to ensure compatibility. This process usually requires erasing the existing data.
To boot from it and therefore install or run software easily, you will prepare an ISO image by adhering to these procedures.
Choosing the Right Software for ISO Booting

Choosing intellectually correct software for booting ISO
images is very essential in order to have a good experience. Below mentioned are some common software types:
| Software | Operating System | Features |
|---|
| Rufus | Windows | Fast, supports UEFI booting, easy-to-use interface |
| UNetbootin | Windows, Mac, Linux | Cross-platform, supports Linux distributions, user-friendly |
| Etcher | Windows, Mac, Linux | Open-source, handles large files, simple interface |
So there are different features on every one of these tools, so you need to pick one that is compatible with your operating system as well as your knowledge about ISO. Software that comes with the right tools makes it easier for you to create a USB or another storage device capable of booting it and hence accessing even the ISO
images for installations and repairs.
How to Boot ISO Images on Windows

Isungyvlar ju kontaktannonser for this grown-up way of working or rather fun with all tools yet the same time were few ways. Though for exactly booting any Windows ISOimage, Windows supports different methods: either built-in options for booting USB flash or third party applications. Here’s a guide to help you boot an ISO image on Windows
Step-by-Step Instructions:- Download your ISO file: Ensure it’s saved to an easily accessible location, like the desktop or downloads folder.
- Insert a USB drive: Make sure your USB has enough space for the ISO file. This usually requires at least 8 GB, depending on the file size.
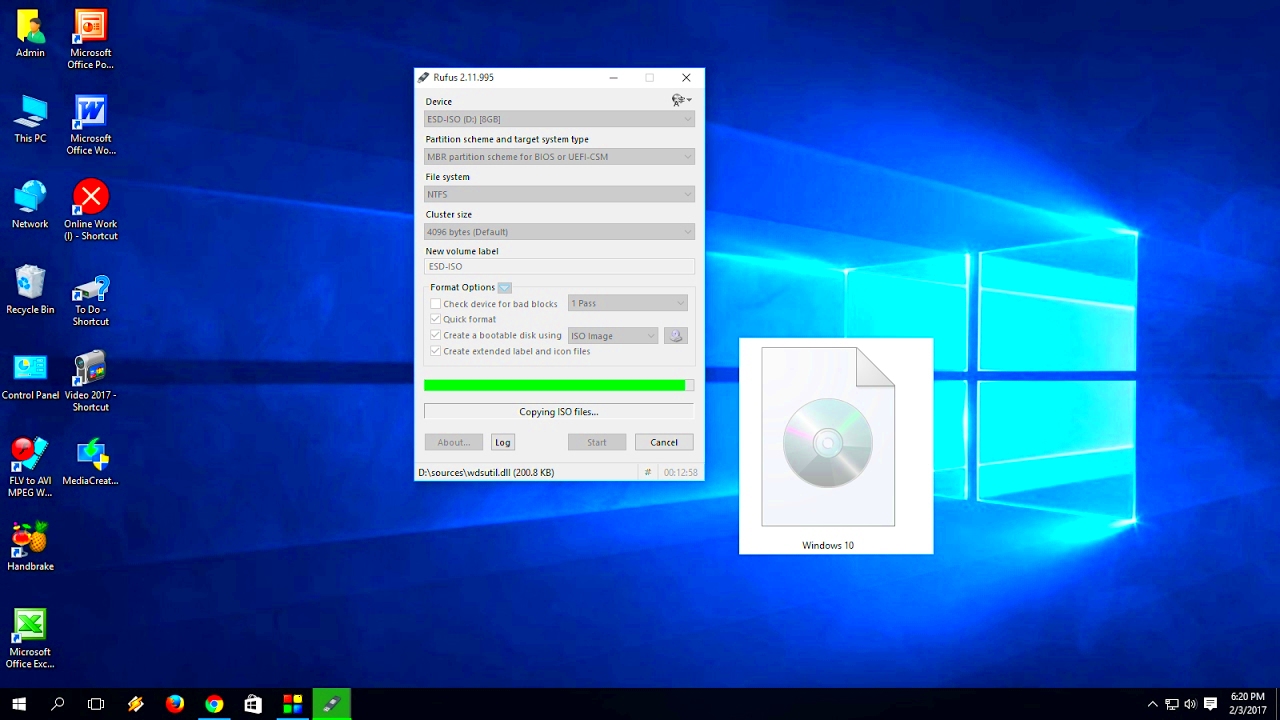
- Use a tool like Rufus: Rufus is a popular choice for Windows users. Open Rufus, select your USB drive, and choose your ISO file under “Boot Selection.”
- Configure the file system: For most installations, choose NTFS as the file system format, which works well with Windows booting.
- Start the process: Click “Start” in Rufus. The tool will format the USB drive and transfer the ISO file, making it bootable.
- Restart and boot from USB: Restart your computer, enter the BIOS (usually by pressing F2 or Del on boot), and select your USB as the primary boot device.
The moment that you activate it, it is going to use the ISO image that will allow you to do a fresh installation or repair your computer. Here are just some easy instructions and your ISO file will be prepared for utilisation with Windows.
Booting ISO Images on Mac
Few extra measures are required for macOS to start from an ISO image because most Mac actually do not support any third party booting tools. However, with proper methods this can still be realized.
Steps for Booting ISO on Mac:- Download the ISO file: Save it in an easy-to-access location, such as the desktop or downloads folder.
- Format a USB drive: Open Disk Utility, select the USB drive, and format it to Mac OS Extended (Journaled) with a GUID Partition Map.
- Use Terminal: On Mac, the
dd command in Terminal can copy the ISO file to the USB.
- Open Terminal and use the following command:
sudo dd if=/path/to/iso of=/dev/diskN bs=1m (replace /path/to/iso with the location of your ISO and diskN with your USB drive identifier). - Boot from the USB drive: Restart the Mac, hold the
Option key, and select the USB drive from the boot menu.
Following these procedures will help you to execute your ISO file on a Mac. Terminal command line may appear to be complex, but it’s dependable and does what is required.
Setting Up ISO Booting on Linux
In many cases, it is possible to start an ISO image on Linux by using built-in programs that make things easier. For instance, almost all distributions of Linux, such as Ubuntu, allow for direct booting from ISO files.
Method 1: Using UNetbootin- Install UNetbootin: Open the terminal and install it using:
sudo apt-get install unetbootin (for Debian-based systems). - Select the USB drive: Launch UNetbootin, select the USB drive, and choose the ISO file.
- Start the bootable process: Click “OK” to begin. Once completed, the USB will be ready for booting.
Method 2: Using TerminalIn case you like operating your computer through the command line, then Linux has made it simple for you:
- Use
dd command: sudo dd if=/path/to/iso of=/dev/sdX bs=4M (replace /path/to/iso with the ISO path and /dev/sdX with the USB drive). - Press Enter to start the process, then reboot and select your USB as the boot device.
Uncertainty is made easy when using these devices as they grant one the liberty to manipulate them as desired including normalizing ISO which can be done on a Linux machine in a straight forward way. The UNetbootin application or terminal can be used to facilitate installing an ISO image in Linux considered dependable because of its opened nature.
FAQ
1. What is an ISO image?
An ISO image is a digital copy of a physical disc, containing all its data and file structures for easy storage and transfer.2. Why use ISO images?
They facilitate the distribution of large software applications, operating systems, and games over the internet, simulating access to original media.3. What are the advantages of ISO images?
ISO images can create bootable USB drives, be mounted virtually, or burned to new discs, making software installation and management convenient.4. How do I download an ISO image?
Choose a reliable source, save the file, and verify its authenticity using a checksum.5. What software can I use to boot ISO images?
Popular options include Rufus (Windows), UNetbootin (cross-platform), and Etcher (cross-platform).6. How do I boot an ISO image on Windows?
Use Rufus to select your USB and ISO file, configure settings, and then boot from the USB after restarting your computer.7. How do I boot an ISO image on Mac?
Format the USB drive in Disk Utility, use Terminal with the dd command to copy the ISO, and then boot from the USB.8. How can I boot an ISO image on Linux?
Use UNetbootin or the dd command in Terminal to create a bootable USB, then restart and select the USB as the boot device.Conclusion
ISO images offer an efficient way to distribute and access software and operating systems. By following straightforward steps for downloading and preparing these files, users can easily create bootable drives across various platforms, enhancing their software management and installation experience. Before using an ISO image, one must first procure and set up the file for usage. Below is an uncomplicated manual.
 Choosing intellectually correct software for booting ISO images is very essential in order to have a good experience. Below mentioned are some common software types:
 Isungyvlar ju kontaktannonser for this grown-up way of working or rather fun with all tools yet the same time were few ways. Though for exactly booting any Windows ISOimage, Windows supports different methods: either built-in options for booting USB flash or third party applications. Here’s a guide to help you boot an ISO image on WindowsStep-by-Step Instructions:
 admin
admin


