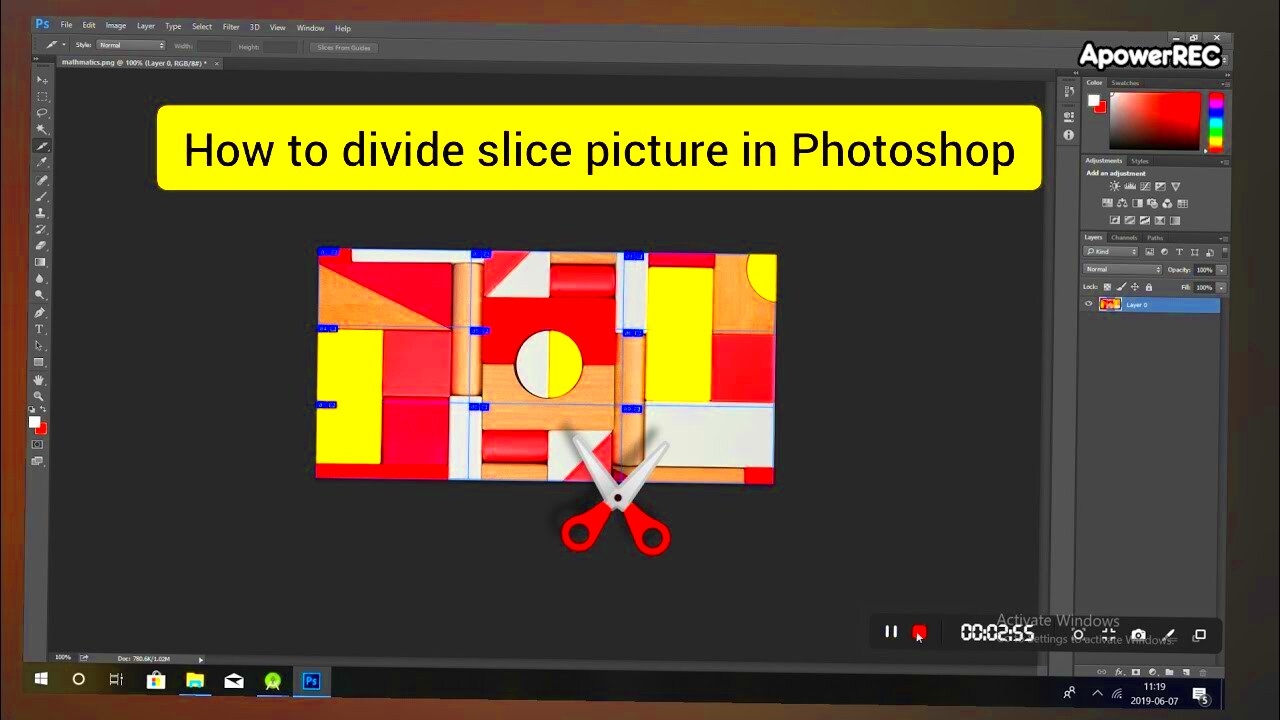
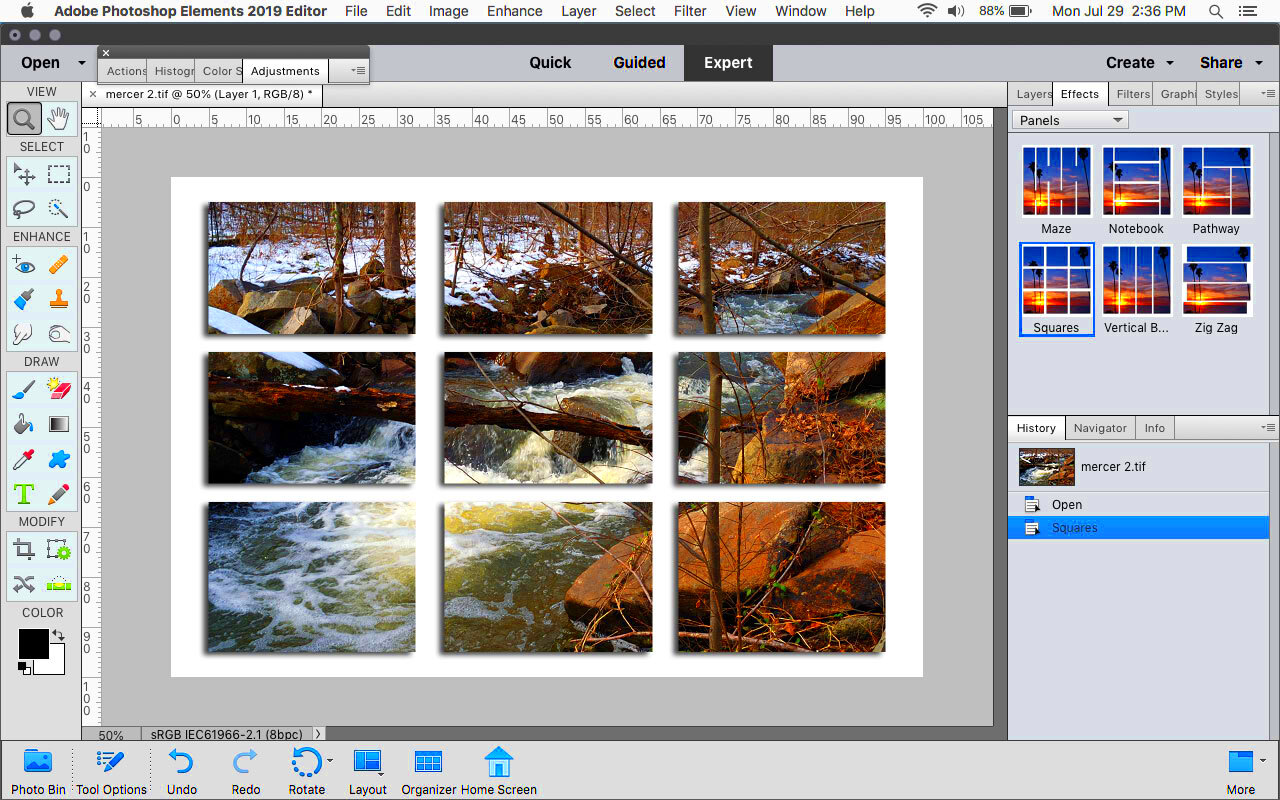
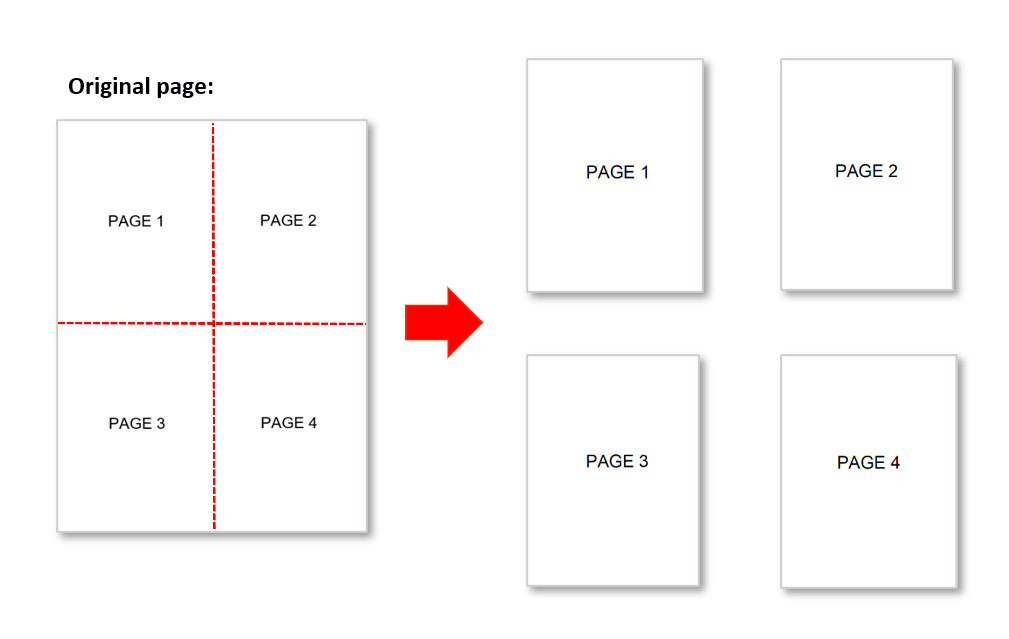
In the case of giant image printing, it is mandatory to partition them into equal components. This method helps in retaining print quality hence managing large files. Printing a detailed picture as one unit may lead to a loss of detail or deformations. So, you are able to make high resolution prints which appear professional by dividing the picture.
Moreover, the act of splitting up pictures simplifies the processes of printing. Below are some significant reasons as to why:
- Enhanced Quality: Smaller sections can be printed with higher fidelity.
- Easier Management: Large files can be cumbersome. Dividing helps to manage the workload.
- Flexibility: Divided sections allow for creative layouts, making it easier to fit your design needs.
Choosing the Right Software for Image Division

When it comes to effectively splitting images, choosing the right software is important. There are various tools available for this purpose, but your decision will depend on your own requirements and level of comfort. Listed below are some commonly used options:
- Adobe Photoshop: This professional tool offers advanced features for precise image manipulation.
- GIMP: A free alternative to Photoshop, it provides many similar capabilities.
- ImageMagick: A command-line tool for those comfortable with programming, it's great for batch processing images.
While opting for software, one need to bear in mind:
- Ease of Use: Choose software that fits your skill level.
- Functionality: Ensure it offers the features you need.
- Cost: Look for free options if you're on a budget.
Also Read This: Is Shutterstock Good for Selling Photos? Evaluating the Platform’s Effectiveness
Preparing Your Image for Division

Before getting into the dividing up of the picture, it is important to prepare it well. Properly preparing the image makes it easier and gives better results. Here is how you should prepare your image:
- Choose the Right Resolution: Ensure your image has a high enough resolution. Aim for at least 300 DPI (dots per inch) for print quality.
- Adjust Image Size: Decide how large you want each printed section to be. This decision will affect how you divide your image.
- Clean Up the Image: Use tools to enhance clarity and remove any imperfections before dividing.
Create a grid overlay also, please. This visual guide can be used to determine effective ways of dividing your images. When using software such as Photoshop, gridlines can be enabled to help with the division process.
Also Read This: How to Download from VectorStock for Free: A Step-by-Step Tutorial
Steps to Divide an Image Into Equal Parts
Dividing an image into equal parts may seem complicated but honestly, it is simple as pie when decomposed into small steps. In this article we will discuss the major steps for cutting an image into equal parts:
- Open Your Image: Start by opening your image in your chosen software. Ensure it’s at the right resolution for printing.
- Determine Sections: Decide how many equal parts you want. For example, if you want four sections, visualize it as a 2x2 grid.
- Use Guides: Many software programs allow you to add guides. These lines help you see where to cut. In Photoshop, go to View > New Guide to set them up.
- Crop the Image: Select the cropping tool and use the guides to crop each section. Save each part as a separate file. This can usually be done by simply selecting the area you want and using the crop function.
- Check Each Section: After cropping, double-check that each part is clear and maintains its quality. Open each file to make sure everything looks good.
This guide will enable you to have flawless partitions that are printable!
Also Read This: Understanding the Process of Selling Adobe Stock Photos
Printing the Divided Image Sections
Once your picture has been sliced, the following thing to do is to print the parts out. This procedure needs some caution so that everything turns out as it should:
- Choose the Right Paper: Select high-quality paper that matches your printing needs. Options include glossy, matte, or specialty paper depending on your image.
- Printer Settings: Before printing, adjust your printer settings. Set the print quality to high and ensure the size matches your sections.
- Test Print: It’s wise to do a test print of one section first. This helps you check the quality and colors before printing the entire batch.
- Print Each Section: Print all divided sections one at a time. Make sure to keep track of which section is which to avoid confusion later.
- Allow Time to Dry: If you're using an inkjet printer, let the prints dry completely before handling them to avoid smudging.
If you want your printed pictures to come out great and be ready for display or further processing, take the following actions!
Also Read This: How to Rotate an Image in Lightroom
Tips for Ensuring Quality in Each Section
Here are some useful tips for ensuring that the quality of every separated section of your photograph is maintained:
- Keep the Original Image: Always save a copy of your original image. This way, you can make adjustments if needed later on.
- Check for Overlaps: When cropping, ensure there are no overlaps or gaps between sections to maintain continuity in the image.
- Use High-Quality Images: Starting with a high-resolution image ensures that each section is detailed and clear after division.
- Preview Before Printing: Use the preview feature in your software to see how each section will look when printed.
- Adjust Color Settings: Monitor the color settings on your printer. Doing a calibration test can help achieve accurate colors in your prints.
By considering these suggestions, the caliber of your divided sections will be really good and they will seem great whether displayed separately or together as part of a bigger picture.
Also Read This: Adobe Stock Download Without Watermark: A Step-by-Step Guide
Common Mistakes to Avoid When Dividing Images
Printing images can often lead you into some few common traps. If you can steer clear of these errors, you will save yourself much time and energy. Let's now consider some of the most common mistakes:
- Neglecting Image Resolution: One of the biggest mistakes is dividing an image that has low resolution. Always start with a high-resolution image to ensure each section looks sharp when printed.
- Inaccurate Measurements: Failing to accurately measure and divide your image can lead to sections that don’t line up correctly. Always double-check your guides and measurements.
- Skipping the Test Print: Many people rush to print all sections without doing a test print first. A quick test can help catch color or quality issues early.
- Ignoring Printer Settings: Not adjusting printer settings for each section can result in inconsistencies in quality and color. Ensure settings match the paper and quality you desire.
- Overlooking the Final Assembly: If your divided sections are meant to be displayed together, plan for how they will fit. Not considering this can lead to gaps or misalignments.
As a result of being familiar with these errors, you will be able to evade them and hence have an uninterrupted separation and printing operation which generates a well-finished product.
Also Read This: Guidelines for Using 123RF Images on YouTube: Incorporating Copyrighted Content
Frequently Asked Questions
Whenever you happen to have any question about the process of dividing images for printing, remember you are not the only one. Clarifying the whole process by supplying some common queries might be a good idea; thus:
What is the best software for dividing images?
The commonly used applications comprise of Adobe Photoshop, GIMP, and web based instruments like Canva. Select an application based on your needs and what you can handle skill-wise.
How do I know the right resolution for my image?
Your motive for print quality should be at least 300 dots per inch (DPI). This allows the images to come out clearly as well as showing their details.
Can I divide images without software?
Even though using software is more simple, you can also use methods such as graph paper for planning divisions. This is, however, less accurate.
What if my printer doesn't support large prints?
Well, doing that is a great way! It gives you the chance to print without dropping the artistic quality.
How can I avoid color discrepancies when printing?
Always calibrate your printer and prefer good quality paper. A color issue can also be identified by printing a sample first.
Conclusion on Dividing Images for Printing
While it might appear intimidating to split pictures for printing, it can actually be a simple and gratifying process if approached the right way. High resolution is essential, choosing appropriate software is a must and adhering to the necessary steps will enable you come up with beautiful prints that show every detail. Also note out on frequent blunders, use of useful hints and don’t forget to print test to verify quality.
Ultimately, split photos not only improve your printing experience but also create more avenues for creativity. Mastering the technique of splitting photos is vital when making posters, artworks or other printed materials. Stick to the printing process!

 admin
admin


