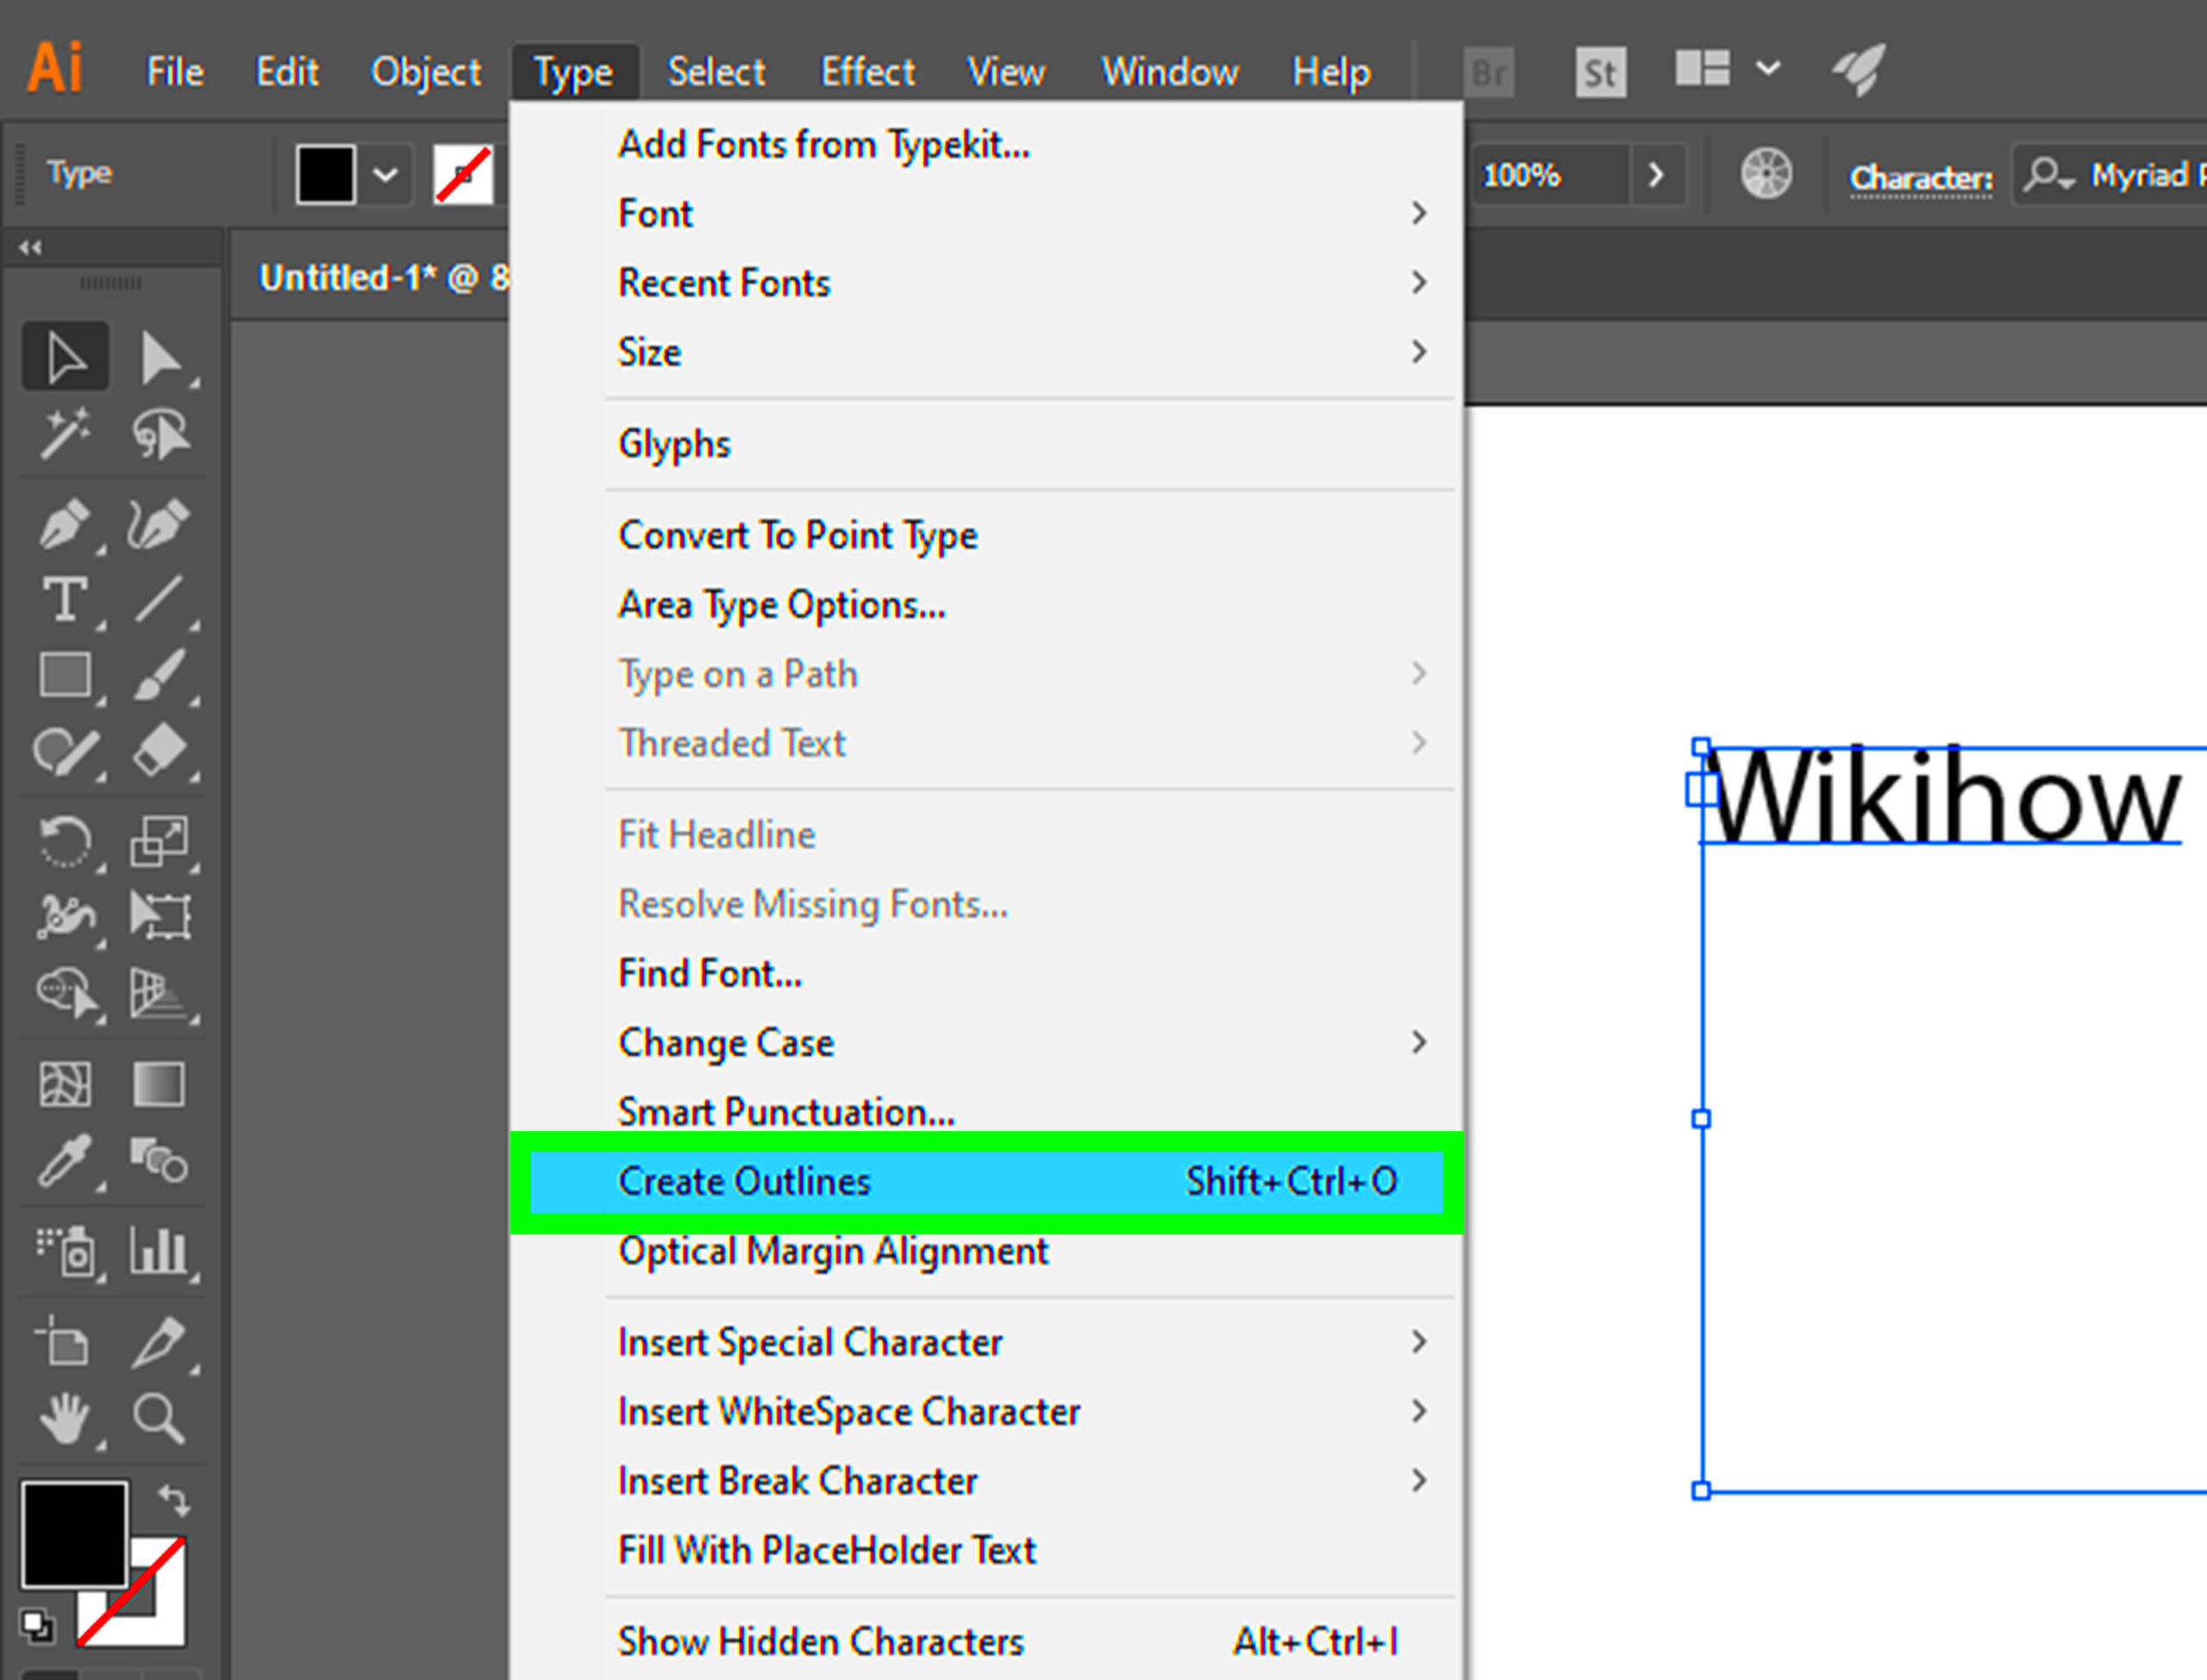
In Adobe Illustrator, image outlining is an essential ability that allows one to transform raster photos into vector formats. This helps in improving photographs’ clarity and making them resizable while retaining the same details. Whether designing logos, illustrations or any other graphic designs outlining images well can improve your work.
What does the term image outlining mean? Basically, an image is traced through its sizes and colors to produce a neat vector representation. When designing artwork from photographs or attempting to ‘clear up’ very’taat kinds of images, this can be extremely useful. For instance, let us describe some important ideas:
- Raster vs. Vector: Raster images are made up of pixels, while vector images are created using paths defined by mathematical equations. Vector images are resolution-independent.
- Why Outline? Outlining allows for scalability, better print quality, and easier manipulation of your designs.
- Tools Used: Illustrator offers several tools for outlining, including the Pen Tool and the Image Trace feature.
Preparing Your Image for Outlining
Prior engaging in providing an outline of an idea; it is necessary to make your photo ready. The outlining process can be made easier and more efficient through proper preparation. The following are some steps you need to follow:
- Select a High-Quality Image: Choose an image with good resolution. Low-quality images will result in poor outlines.
- Open in Illustrator: Start by launching Adobe Illustrator and importing your image. Use the File menu to select Open and choose your image file.
- Lock the Original Layer: To avoid accidental modifications, lock the original image layer in the Layers panel. This allows you to work freely on a new layer.
The following steps will lead to an outlining experience that is successful for you.
Also Read This: Ultimate Guide to Discovering Niche Stock Photos on Imago Images
Using the Pen Tool for Precise Outlines
In Illustrator, the Pen Tool is arguably the most effective feature for outlining images. It is capable of creating paths that are more custom-made than any other mode. Here’s how to use it effectively:
- Select the Pen Tool: Find the Pen Tool in the toolbar or press the shortcut key 'P' on your keyboard.
- Start Outlining: Click to create anchor points along the edges of your image. Straight lines form between the points you click.
- Create Curves: To make curved lines, click and drag to create direction handles. The longer you drag, the more pronounced the curve will be.
- Close the Path: To finish your outline, connect the last anchor point back to the first. A small circle will appear next to the cursor to indicate closure.
You may want to remember when you are looking for a good outcome, continuous practice is the way out. This is because as an individual gets used to using the Pen Tool, it becomes easier and easier for them to work with it effectively. In order to have high quality results!Upper left corner of the set tabulates the values of A and B of six different iPads, takes into account their proportions, while the lower right one gives out the same for all iPhones together with the relevant information about them.In case you haven’t found out yet, I would like to remind you that keeping on doing something over time actually helps it become better in some way or another. Thus when a person does things frequently they become more proficient at doing them because practice makes perfect. Therefore if you want to get good results at any venture you are embarking on then keep trying until perfection is attained!However, there are others who believe that practice does not guarantee perfection. They argue that if you keep doing something without change or improvement, it will only lead to monotony and boredom. The truth of the matter is; always strive for excellence and never settle for being average. The more you use the Pen Tool, the better you will get at it. This is because it becomes second nature with constant use. To achieve high quality results perfecting your skills is key!
Also Read This: The Best Dailymotion Downloader You Must Have in 2024
Employing the Image Trace Feature Effectively
For those who are transforming raster photos into vector graphics, Adobe Illustrator’s Picture Trace function is simply revolutionary. It automates the outlining procedure thus facilitating neat and professional outcomes. When dealing with images or complicated patterns, Image Trace can help you gain time but maintain a remarkable level of quality. Scratching your head as to how? Here is how!
For starting off with image tracing, you can do the following steps:
- Import Your Image: Open your image in Illustrator as you normally would.
- Select the Image: Click on the image to ensure it’s selected. This action activates the Image Trace options in the toolbar.
- Access Image Trace: In the Control panel at the top, click on the “Image Trace” button. This will apply the default tracing settings.
- Adjust Settings: For finer control, click the dropdown arrow next to the Image Trace button. You’ll find options like Black and White, Color, and Grayscale. Experiment with these to find the best fit for your image.
The moment you're satisfied with the tracing, select the “Expand” button in the Control panel in order to convert your traced image into paths. This grants you unrestricted editing access to your design. Image Trace feature can greatly help you improve your workflow with little practice!
Also Read This: How to Slice Images on Cricut for Craft Projects
Adjusting Paths for Better Results
Now that you have sketched out your image, you must now proceed to refine the lines so as to get the best results. Path adjustments are important in order to clean up a design and make it look crisp. This is how it should be done:
- Select Your Paths: Use the Selection Tool (V) to click on the paths you want to adjust.
- Use the Direct Selection Tool: Switch to the Direct Selection Tool (A) for finer adjustments. This tool allows you to select individual anchor points and control handles.
- Move Anchor Points: Click and drag anchor points to reposition them. Use the handles to tweak curves and angles to your liking.
- Simplify Paths: If your paths are too complex, select them, then go to Object > Path > Simplify. This feature reduces the number of anchor points, making the design cleaner.
Fiddling with your paths require some time but they would improve the design’s overall quality. The devil is in the detail, and these small changes can have a significant impact!
Also Read This: How to Access Adobe Stock through Photoshop
Coloring Your Outlined Image
The moment that you have sketched out and adjusted your picture, it is time to take colors and enliven the design! When you add colors to your outlined diagram, it can change the way it appears or feels all together. Here is how colors can be effectively applied on Illustrator:
- Select the Paths: Use the Selection Tool to click on the areas you want to color. You can select multiple paths by holding down the Shift key.
- Open the Color Panel: If the Color panel isn’t visible, go to Window > Color to open it. Here you can choose different color modes like RGB or CMYK.
- Fill Colors: With your paths selected, click on the Fill color box in the Color panel. Choose a color from the palette or input specific RGB/CMYK values.
- Apply Gradients: For a more dynamic look, you can apply gradients. Select the Gradient Tool (G), then click and drag across the path to define the gradient direction and intensity.
Try different color combinations and styles! The appropriate colors can make your design flashy and convey the impression you want to create.
Also Read This: Understanding the Costs of Joining Rumble
Saving and Exporting Your Work
As soon as your pictures have been sketched out, and you have included shades, the subsequent vital act is to store and export them. This helps to revisit the earlier works at a later time or even share them with other individuals without any decrease in quality. The various file formats and settings matter a lot as far as the appearance of your images in different programs are concerned.
When it comes to saving and exporting your artwork in Illustrator, these are some primary processes that one should adhere to:
- Save Your Project: Always start by saving your project as an Adobe Illustrator file (.ai). This format preserves all your layers and editable paths. To do this, go to File > Save As and select the .ai format.
- Exporting for Different Uses: Depending on your needs, you might want to export your work in various formats. Here are some common options:
- Exporting Process: To export, go to File > Export > Export As. Choose your desired format and adjust the settings as needed.
| Format | Best For |
|---|---|
| .png | Web use with transparent backgrounds |
| .jpg | General use, especially for photos |
| Sharing with others while keeping quality | |
| .svg | Scalable graphics for web and apps |
Proper saving and exporting of your work guarantee the preservation of quality in your designs that can be applied across different programs without any problems.
Also Read This: How to Flip Images in Figma
Frequently Asked Questions
For outlining images in Illustrator, several users have like questions. Below are some frequent questions their corresponding answers:
- What is the difference between raster and vector images? Raster images are made of pixels and can lose quality when scaled, while vector images are created using paths and can be resized without losing quality.
- Can I edit the paths after using Image Trace? Yes! After tracing, you can adjust the paths using the Direct Selection Tool for more precise editing.
- How do I know which file format to choose when exporting? It depends on your intended use. For print, use .pdf or .jpg; for web, use .png or .svg for scalable graphics.
- Is it possible to outline images with low quality? While you can attempt to trace lower-quality images, the results may not be satisfactory. It’s best to start with high-resolution images.
While some people might feel uneasy about asking questions regarding specific topics, it’s a good idea to indulge in illustrator forums or resources whenever you face any difficulty.
Wrapping Up Your Image Outlining Journey
Good job! You have successfully completed image outlining in Adobe Illustrator. You’ve learned crucial skills ranging from basics to colour or exportation of your designs that could elevate your graphic design projects. Do not forget to keep practicing!
As you move on with your trip, here are some last suggestions for you to consider:
- Keep Practicing: The more you use these tools and techniques, the more comfortable and skilled you’ll become.
- Explore Resources: Take advantage of online tutorials, forums, and communities to expand your knowledge.
- Experiment: Don’t be afraid to try new styles, colors, and techniques. Experimentation can lead to unique and creative results.
Using these techniques at hand, you can have an amazing career designing awesome vector illustrations. Wishing you utmost fun making outlines!
 admin
admin


