It is a good skill to convert an image into an outline. With this skill, you can easily get important details and concepts from visuals. An outline is a good way to structure your ideas clearly, whether for a project, article writing or even brainstorming. This guide will look into selecting suitable images, utilizing software for outline creation and how to improve your output. Let’s dive in!
Choosing the Right Image for Your Outline
In creating an outline, the choice of the proper image is significant. Here are some important things to note:
- Relevance: Ensure the image relates to your topic. An image that is closely connected to your content will yield a more focused outline.
- Clarity: Use images with clear details. Blurry or overly complex images can make it hard to identify key points.
- Color and Contrast: Bright colors and strong contrasts can help highlight important areas of the image.
- Textual Elements: If the image contains text, it can provide direct points for your outline.
With a suitable image in place, you create a platform for better outlining process.
Also Read This: Shopify Magic: Importing Products from AliExpress in a Snap
Using Software to Create Your Outline
When you get your picture, the next thing to do is use some software to make your outline. There are a couple of different software options to consider.
- Microsoft Word: A classic tool that offers various features for organizing text. You can insert your image and annotate directly.
- Google Docs: A free, web-based option that allows easy collaboration. It also supports image insertion and text formatting.
- Canva: This graphic design tool is excellent for visual outlines. You can upload images, add text boxes, and create beautiful layouts.
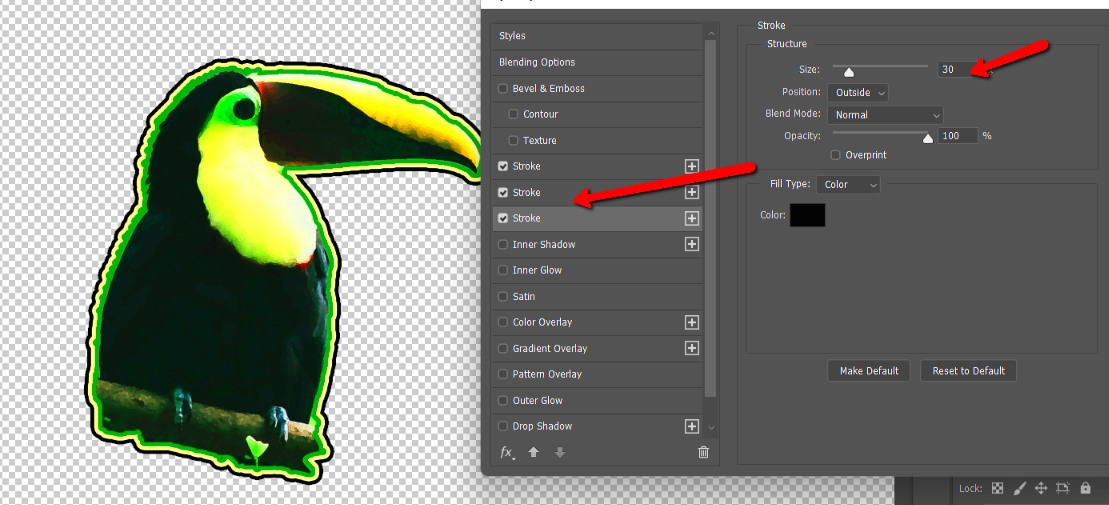
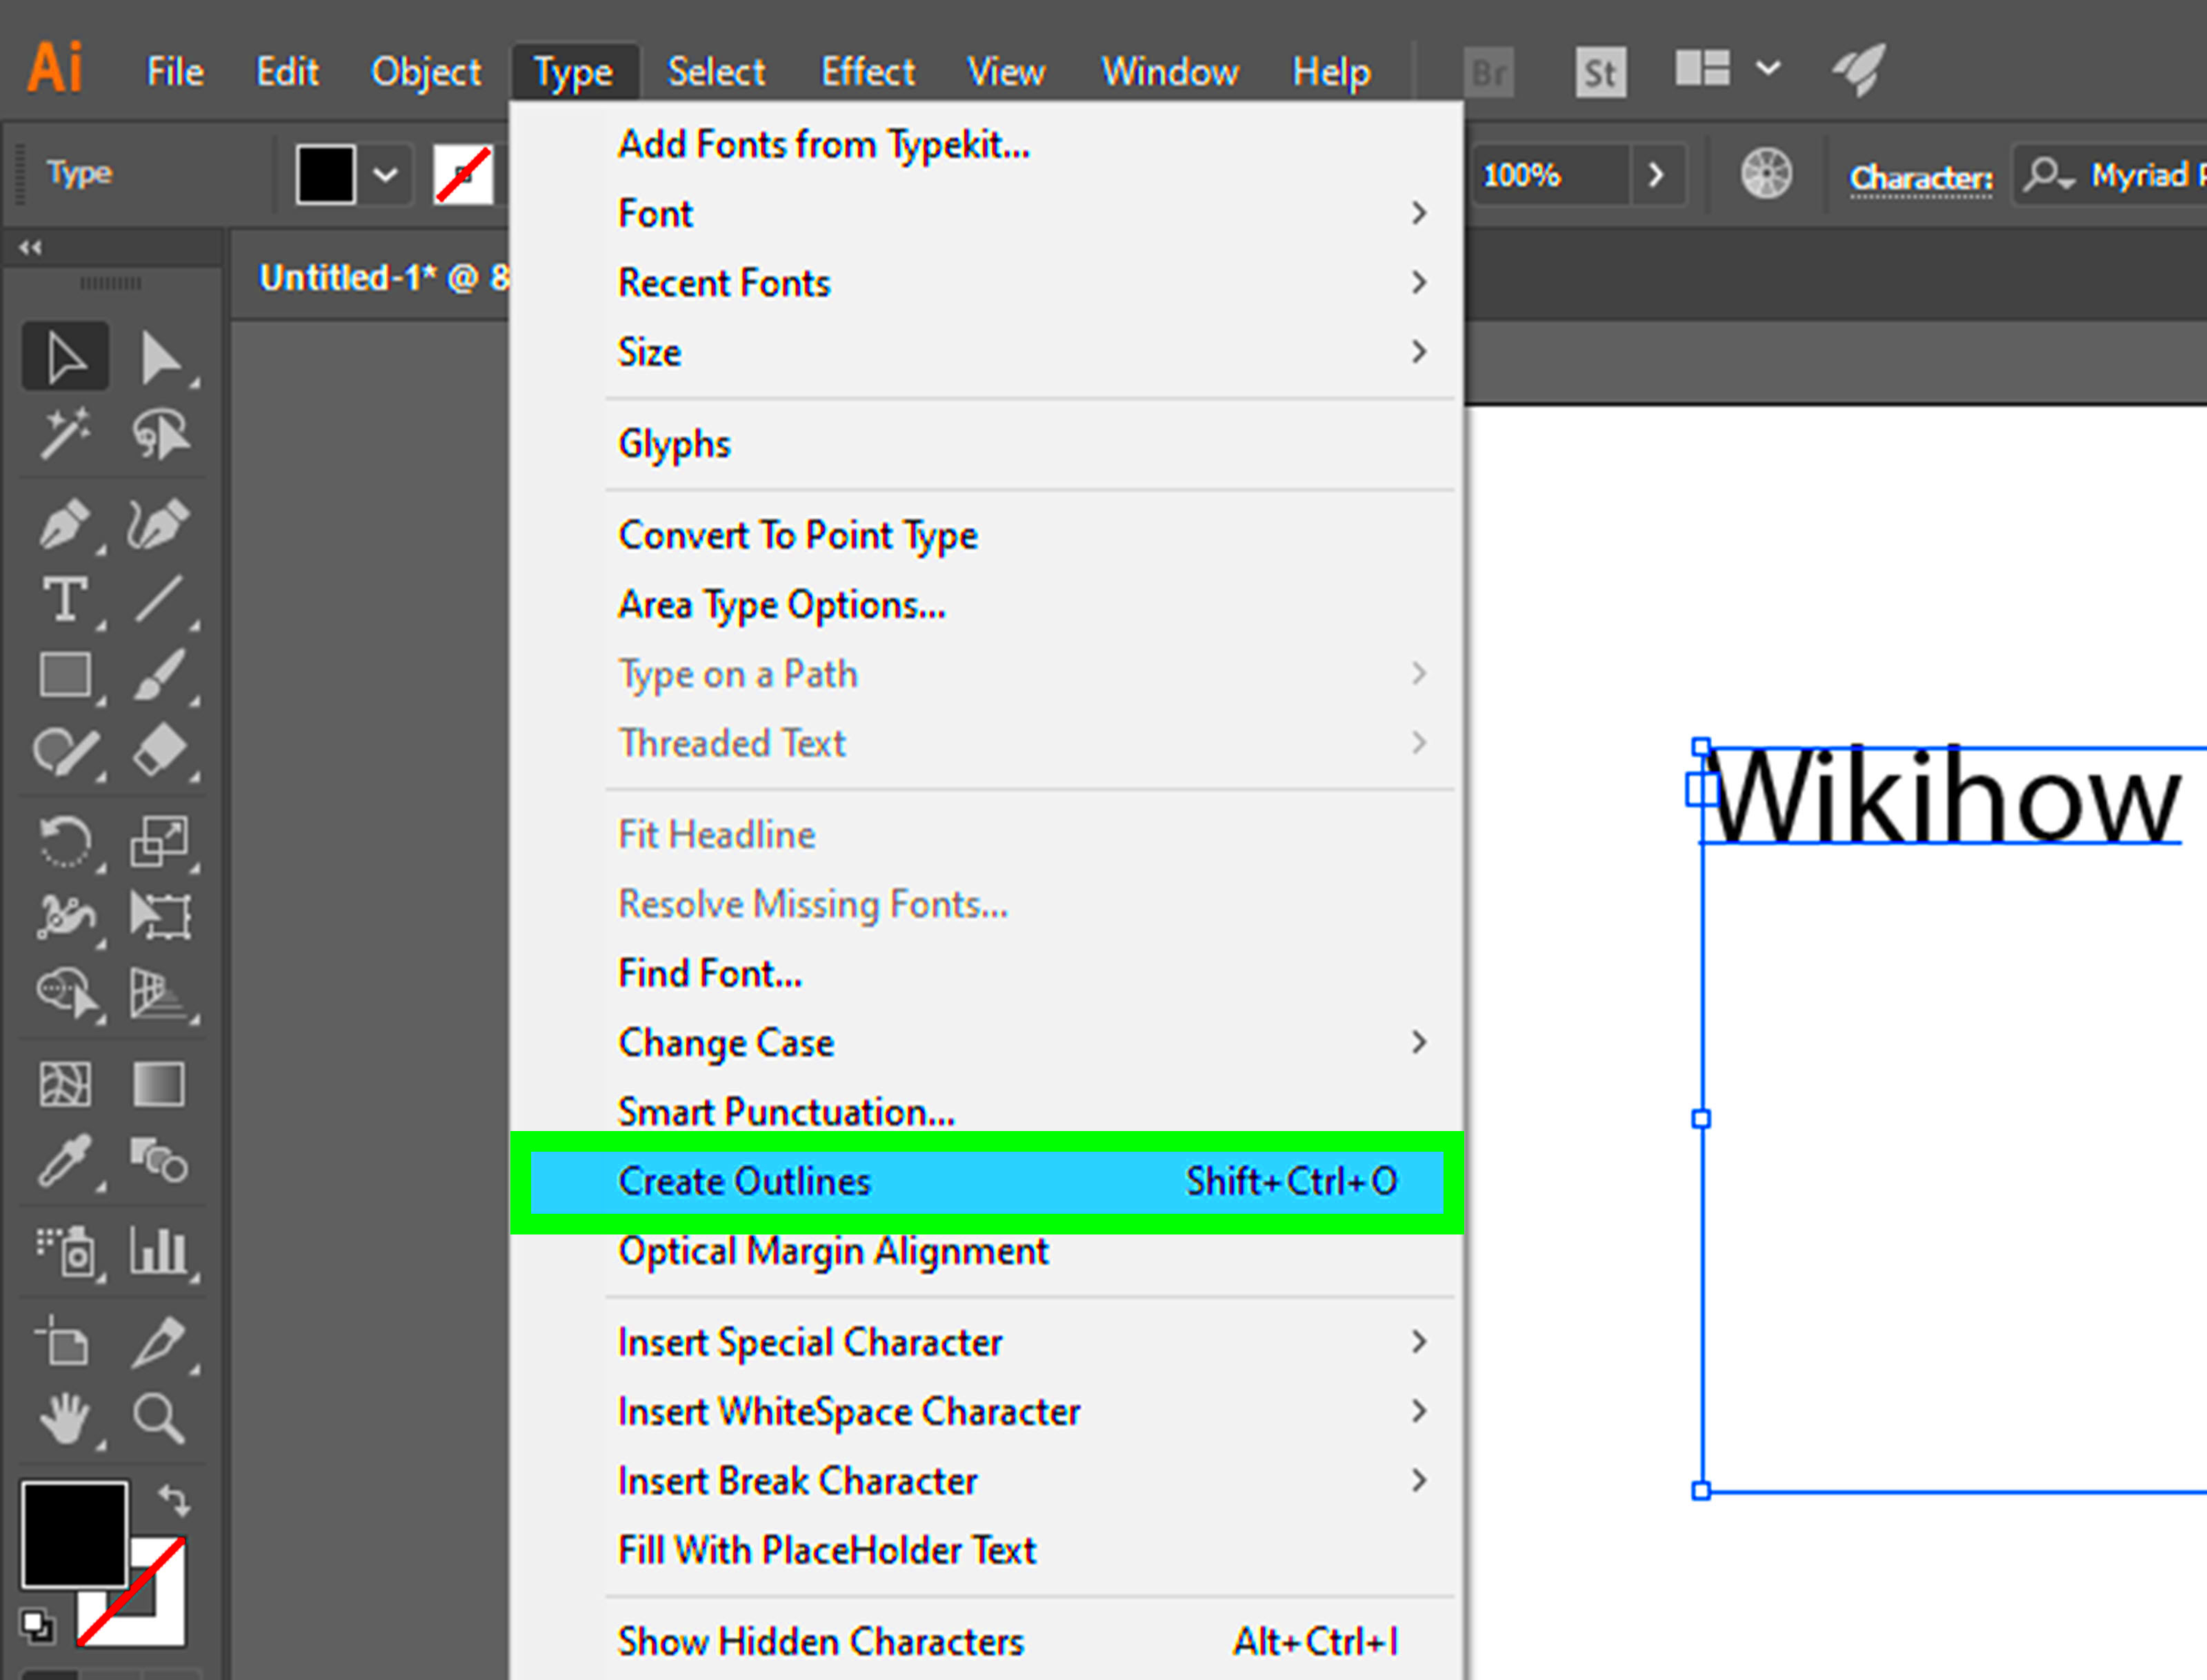
- Adobe Illustrator: For those looking for advanced options, Illustrator offers powerful tools for creating detailed outlines from images.
Select the most suitable software for your requirements. A majority of these programs feature user-friendly interfaces that make them easy to use.
Also Read This: Engaging in Technology Workshops and Seminars Happening in the USA
Steps to Create an Outline from Your Image
All it takes to create a contour from a photo is just following few simple steps here. Hence, in this post you will find every detail on how to do so:
- Insert Your Image: Open your chosen software and insert the image you selected. Make sure it's positioned well on the page.
- Identify Key Elements: Look at the image and identify the main points. These could be text, shapes, or significant visual details.
- Create Headings: Start writing headings based on the key elements. Each heading should represent a main idea from the image.
- Add Subpoints: Under each heading, list supporting details or subpoints. This helps flesh out your outline and provides a clearer structure.
- Use Bullet Points: Use bullet points or numbered lists for clarity. This makes it easier to read and follow your outline.
- Review and Revise: Go through your outline. Check if the flow makes sense and if all key points are included. Make adjustments as necessary.
In order to be able to generate an organized and coherent outline from an image, it is essential that you adhere to the following steps.
Also Read This: Reverse Image Search on 123RF: Discover Similar or Identical Images
Tips for Enhancing Your Outline
Improving your outline can make it work even better than before. Here are several helpful hints:
- Color Coding: Use different colors for headings and subpoints. This helps visually separate ideas and makes it easier to navigate.
- Images and Icons: Include small icons or images next to headings to represent the content visually. This can help with memory recall.
- Consistent Formatting: Keep your formatting consistent. Use the same font styles and sizes throughout your outline.
- Interactive Elements: If you are using digital tools, consider adding links or notes that provide additional information or resources.
- Feedback: Share your outline with others for feedback. They may offer insights that enhance your work.
If any participant is not participating then other participants will be required to come up with additional ideas in order to accommodate that gap.
Also Read This: Import Adobe Stock into Premiere Pro Easily
Saving and Exporting Your Outline
All together that above said height up-outlined, saving and exporting it would be necessary. This is the way, thus, to do it.
- Save Your Work: Always save your outline in the original format of the software you are using. This ensures you can edit it later if needed.
- Export Options: Choose the right export format. Common formats include PDF for easy sharing or DOCX for further editing.
- Cloud Storage: Consider saving your outline in cloud storage. This way, you can access it from any device and share it easily with others.
- Print a Copy: If you prefer a hard copy, use the print option. Make sure to check the print settings for proper formatting.
As per the suggested procedures, you'll help your plan remain in good shape and available for utilization at any time.
Also Read This: Download Dexterity: How Can You Download Your Entire Photobucket
Common Mistakes to Avoid
Common mistakes are easy to do while outlining from a picture. Nothing particularly stands there in the following:
- Overcomplicating the Outline: Sometimes, people include too much detail. Remember, the outline should highlight key points, not be an exhaustive explanation.
- Ignoring the Image’s Context: Make sure you understand the context of the image. Outlining without considering its background can lead to missed or irrelevant points.
- Skipping the Review Process: Always review your outline before finalizing it. Skipping this step can result in errors and unclear points.
- Not Using Visual Cues: Visual elements like color coding or icons can enhance your outline. Not using these can make your outline less engaging.
- Neglecting to Organize Ideas Logically: Arrange your headings and subpoints in a logical order. A jumbled outline can confuse readers.
To have a better and more orderly outline, you must avoid the following blunders.
Also Read This: How to Create a QR Code for Your YouTube Video
FAQ
Questions relating to how to form outlines from images are as follows:
Can I use any image for outlining?
Sure, but make sure you pick appropriate and clear images that can help you make sense of the essential points to take out of it.
What software is best for creating outlines?
Some of the best example programs are Microsoft Word, Google Docs, Canva and Adobe Illustrator. Choose one that best suits your personal requirements and preferences.
How detailed should my outline be?
Your map must be detailed enough to convey the main ideas and supportive points without being very complex. Concentrate on clarity and organization.
Can I collaborate on my outline?
Sure! With Google Docs, it is easy to share thoughts because numerous individuals can work on one outline at once.
Conclusion
Generating an outline from an image can essentially help you in properly arranging your ideas and thoughts. Following the procedure in this guide, picking the right image, and evading frequent errors allows you to create an easy-to-follow and also a precise outline. Furthermore, it’s crucial to incorporate visual markers into your outline and keep it in a suitable format for you. As you practice, this will be a versatile skill in various tasks. Hence start off by grabbing a photo and making some notes!
 admin
admin


