In Google Drive, you might discover some of your images to be upside down or sideways. This could be caused by the way the camera takes pictures or the manner in which files are saved. Thankfully, rotating these pictures is a very simple operation that Google Drive enables hence seeing them in their proper orientation is made easy. We will examine why rotating images is important and how it enriches your experience on Google Drive in this part.
Steps to Access Your Images in Google Drive
To begin with, you have to access the image in Google Drive if you want to rotate it. The steps are as follows:
- Open Google Drive: Launch your web browser and go to drive.google.com. Log in with your Google account if prompted.
- Navigate to Your Files: Look through the folders on the left sidebar to find the image you want to rotate.
- Use the Search Bar: If you have many files, use the search bar at the top. Type in the image name or file type (e.g., .jpg, .png) to find it quickly.
Now that we have found the image, we can proceed with rotating it. Next in line!
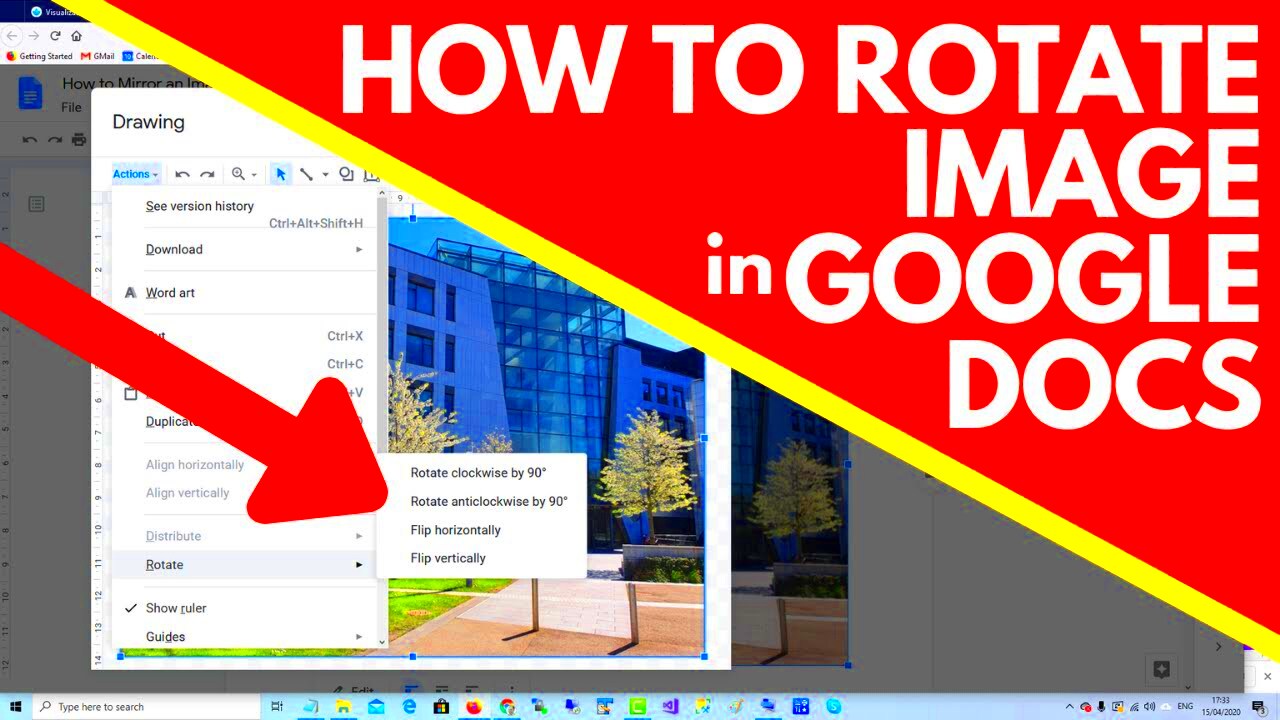
Also Read This: how do you rotate an image in google docs
How to Rotate Images Using the Built-In Tool
In Google Drive, rotating pictures is uncomplicated. Here’s how to do it step by step:
- Open the Image: Double-click on the image to open it in the preview mode.
- Click on the Rotate Icon: Look for the rotate icon, which resembles a circular arrow. It’s typically located at the top of the preview screen.
- Rotate as Needed: Each click on the rotate icon will rotate the image by 90 degrees. Click until the image is in the desired orientation.
- Save Changes: After you’re satisfied with the rotation, close the preview window. Google Drive automatically saves your changes.
And that’s all! You’ve turned your image successfully. This function can help in maintaining an organized photo library and allow you to share or present images without awkward orientations more easily.
Also Read This: How to Convert an Image to EPS Format
Using Google Drive on Mobile for Image Rotation
Taking charge of your pictures from anywhere has become a walk in the park, all thanks to the Google Drive mobile application. On either Android or iPhone devices, rotating images is a simple task that can be done through the app. This way, you can keep your pictures neat regardless of where you are. Let’s take a look at how to rotate images in the Google Drive app on a mobile phone.
This is how you can accomplish it:
- Open the Google Drive App: Locate the Google Drive app on your device and tap to open it. Make sure you’re logged in to your Google account.
- Find Your Image: Use the search function or browse through your folders to find the image you want to rotate.
- Open the Image: Tap on the image to view it. It will open in a full-screen mode.
- Rotate the Image: Look for the three vertical dots (more options) in the top right corner. Tap it, then select “Rotate.”
- Save Your Changes: After rotating, tap “Save” or simply go back to exit the image. Your changes will be saved automatically.
In any place, now you can easily manipulate your photos such that they‟re always facing the right way!
Also Read This: Roblox Rhythms: Playing SoundCloud While Immersed in Roblox – A Multisensory Experience
Common Issues When Rotating Images and Their Solutions
Despite the fact that rotating images in Google Drive is relatively simple, there are certain challenges that could be experienced during the process. Conversely, being aware of these common problems can allow for effective troubleshooting. Below are some of the most recognizable issues and how to solve them:
| Issue | Solution |
|---|---|
| Image not rotating | Ensure you are using the latest version of the app or browser. Restart the app or refresh the page. |
| Changes not saving | Check your internet connection. If it’s weak, changes may not be uploaded. Try again in a stable network. |
| Image quality decreases after rotation | Try rotating the image in an external editing app and then upload it back to Google Drive. |
An unblemished process while dealing with your images is possible if only you are aware of these recurring problems and solution measures to them.
Also Read This: Cutting Out Images in Procreate for Perfect Detailing
Tips for Maintaining Image Quality After Rotation
Maintaining intact quality of images after they have been rotated in Google Drive is essential. A low-quality image will annoy you especially when you intend to share or print it. To help you keep your image quality here are some tips that might be helpful:
- Use High-Resolution Images: Start with images that are high quality. The higher the resolution, the better it will look after editing.
- Avoid Repeated Rotations: Each time you rotate an image, especially if it’s saved as a different file format, you risk losing quality. Try to make all rotations at once.
- Save in the Original Format: When downloading or sharing, keep the original file format (like .jpg or .png) to prevent any loss in quality.
- Consider Using an Editing App: If you notice a drop in quality after rotation, use a dedicated photo editing app before uploading to Google Drive.
To make sure that your pictures are always clear and bright, no matter how many times you edit them, take into account these suggestions.
Also Read This: Ranking Factors for a Successful YouTube Channel Tips for Content Creators
Frequently Asked Questions about Image Rotation in Google Drive
Here are some of the frequent questions about rotating images in Google Drive, with their corresponding answers to help you clarify any doubts:
| Question | Answer |
|---|---|
| Can I rotate multiple images at once? | No, Google Drive currently allows you to rotate one image at a time. You’ll need to repeat the process for each image. |
| Will rotating my image affect its quality? | Generally, rotating an image in Google Drive shouldn’t affect its quality. However, if you save it in a different format, you might see changes. |
| Is there a way to revert changes after rotating an image? | Yes, you can use the “Version History” feature in Google Drive to revert to an earlier version of the image before it was rotated. |
| Can I rotate images in Google Drive offline? | Unfortunately, the rotation feature requires an internet connection, as changes are saved directly to the cloud. |
| What file types can I rotate in Google Drive? | You can rotate most common image formats, including .jpg, .png, and .gif. |
These frequently asked questions will guide you on how best to go about rotating images in Google Drive without much trouble. For additional queries, access Google Drive's help center without fear.
Conclusion on Image Rotation in Google Drive
To make your photo collection management easier, rotating pictures on Google Drive is a fast and simple process. The built-in tools let you ensure that your images are always in correct orientation on all devices, whether computer or mobile. With the understanding of common problems, quality maintenance and frequent asked questions (FAQs), it can help improve image editing at Google Drive.
 admin
admin


