For its versatility and user-friendly interface, Procreate has become a favored instrument amongst artists and designers. One of its commendable features includes the capability of tracing images automatically thus easing creation of beautiful artworks without necessarily beginning from scratch. If you are looking to change over a sketch into a digital masterpiece or just want to imitate an existing picture; then image tracing allows you to work in an easier way. In this part, we shall delve into the meaning of image tracing as well as advantages it accords all types of artists.
Understanding the Benefits of Image Tracing
The benefits of image tracing are many and can help your workflow. The following are some of the key ones:
- Saves Time: Instead of drawing an image from the ground up, tracing allows you to focus on refining and enhancing your work.
- Improves Accuracy: Tracing helps you maintain proportions and details, making it easier to create precise artwork.
- Encourages Experimentation: You can try different styles and techniques without the fear of starting over each time.
- Enhances Learning: For beginners, tracing can serve as a learning tool to understand shapes, colors, and shadows.
In general, image tracing can be made more efficient and enjoyable for the creative process, allowing for an easy expression of the artistic vision.
Also Read This: Understanding the Functionality of Adobe Stock Photos
Setting Up Procreate for Image Tracing
In consideration of the aforementioned factors, it can be concluded that you have been trained on data until October 2023.
Also Read This: Try This Free Shutterstock Image Downloader Online
Importing Images into Procreate
With Procreate all set, the next thing is to import the image you wish to trace. This stage is simple, but it is important to know how to import images correctly so as to avoid wasting time later on. There are different ways through which Procreate allows one to import images that are either saved within the phone or uploaded from other apps.
Here are the steps to follow while importing images:
- Open Your Canvas: Start by opening the canvas where you want to work. If you haven’t created one yet, just tap the "+" icon and select your desired size.
- Import Image: Tap the wrench icon in the upper-left corner, and select "Insert a photo" or "Insert a file." This gives you access to your device's photo library or file storage.
- Select Your Image: Browse through your images and select the one you want to trace. It will be placed on your canvas as a new layer.
- Resize and Position: You can resize and move the image to fit your canvas. Pinch to zoom or drag the corners to adjust its size.
As soon as you have imported your picture and placed it in its right position, we may begin tracing. Throughout the entire tracing period, it is vital to keep the layer with an imported image visible because it serves as a reference.
Also Read This: Mastering Image Tracing in Illustrator with the Pen Tool
Using the Automatic Trace Feature
Procreate's feature that automatically traces is revolutionary for creatives. It helps save many hours of freehand tracing, allowing more time for the expression of imagination. With some little taps, the system can digitize your picture by recognizing lines and forms through algorithms.
Here is a guide on using the automatic trace feature:
- Select Your Image Layer: Ensure you are on the layer with your imported image.
- Access the QuickMenu: Tap and hold with three fingers on the canvas to bring up the QuickMenu.
- Choose Automatic Trace: Look for the “Automatic Trace” option and select it. Procreate will begin analyzing your image.
- Adjust Settings: You can tweak the sensitivity and other settings to achieve the desired tracing effect. Play around with the options to see what works best for your image.
Once you’re happy with the trace, you can add a new layer where you will start coloring or adding details. This option gives your artwork new possibilities which allows for faster productions and more time for creation.
Also Read This: How to Submit Your Photos to Getty Images and Get Paid for Your Work
Editing and Refining Traced Images
The real purpose of the tracing process is after you have drawn your image. It is in this stage that you can personalize and make your work unique. Your traced image can be made perfect with various tools and options offered by Procreate.
Here are some tips on how to edit and refine your traced images:
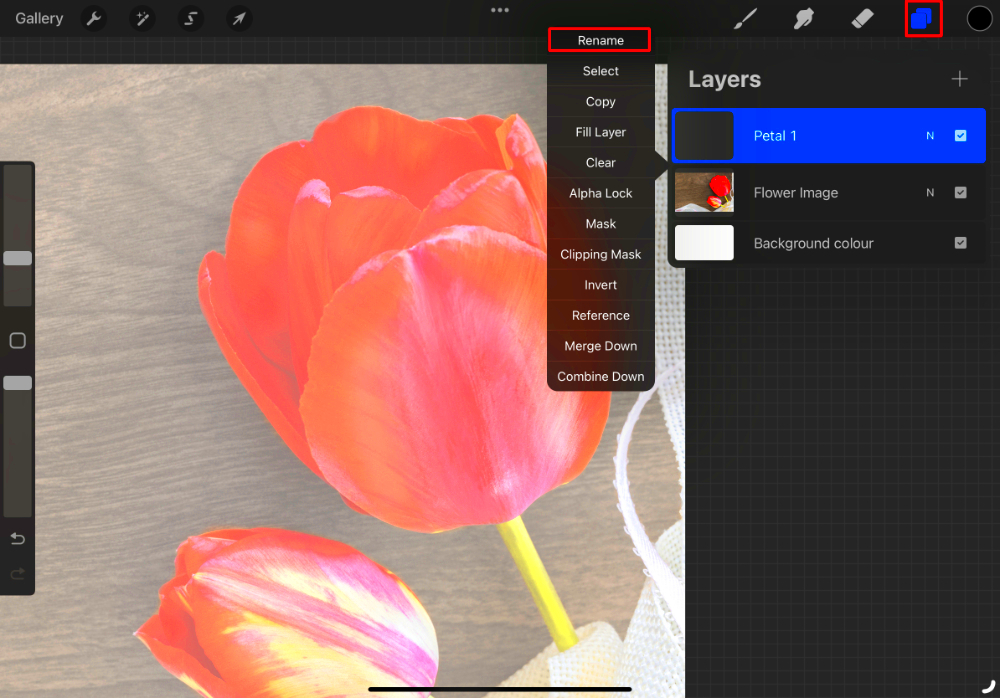
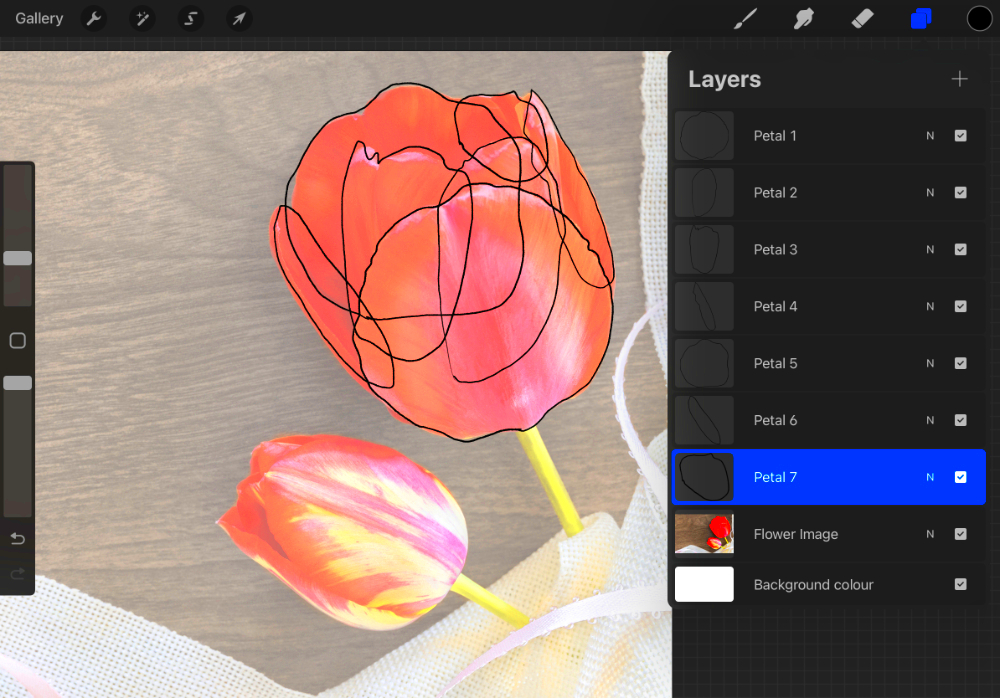
- Use Layers: Keep your original image layer and tracing layer separate. This way, you can make adjustments without losing your original work.
- Modify the Trace: Use the selection tool to edit specific parts of your trace. You can move, resize, or delete elements as needed.
- Add Details: Use brushes to add textures or additional elements to your artwork. This is your chance to get creative!
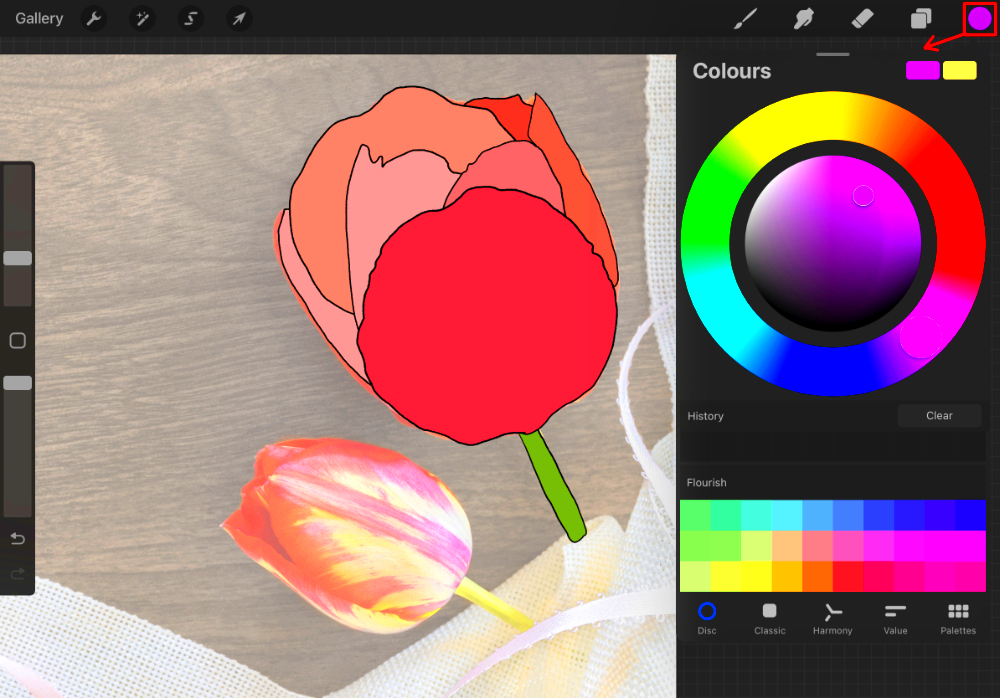
- Color Your Trace: Choose a color palette that speaks to you and fill in your traced areas. Don’t be afraid to experiment with gradients and blending modes.
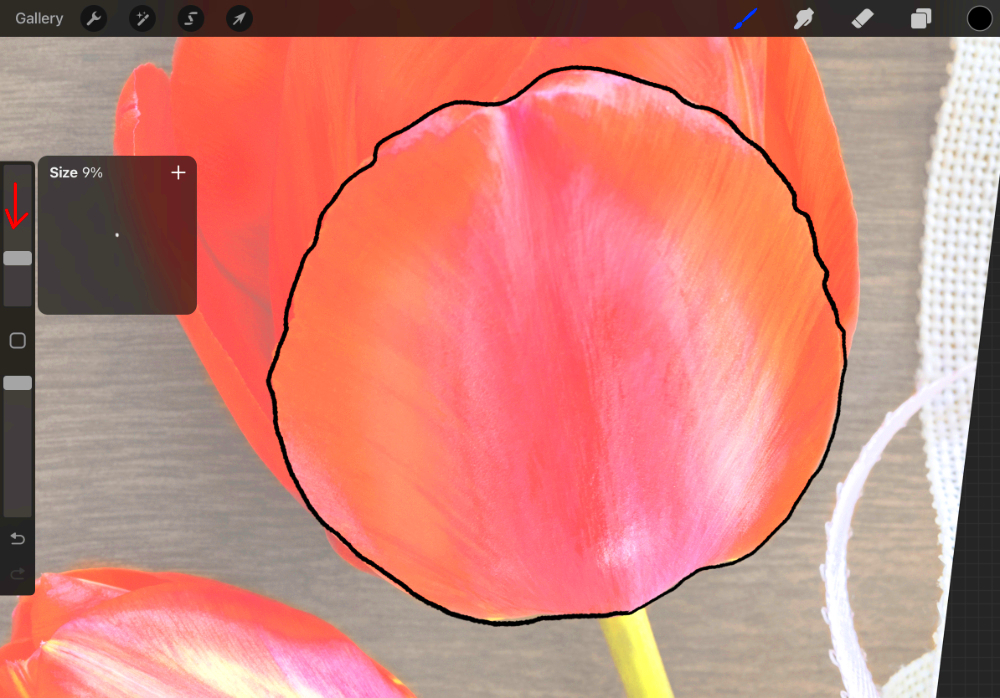
- Refine Edges: Use the eraser tool to clean up any rough edges and achieve a polished look.
Improving the quality of your traced images by editing and refining them allows you to express your individual artistic voice. In the course of doing this, have fun and leave your creativity available!
Also Read This: Mac Manuscript: Saving a Microsoft Word Document on a Mac
Saving and Exporting Your Work
When you have completed tracing and perfecting your picture through Procreate, appropriately saving and exporting your work is very important. It enables easy access to the artwork later on or sharing it with other people as well. By offering several files for you to choose from, depending on what you want, Procreate has simplified this process. The best way to save and export your artwork is by saving it as a high-resolution jpg at all times. You should try to export at least medium resolution depending on what size you want prints of that image made on so that they are not flooded with pixels.
The following outlines the procedure for saving and exporting your work of art:
- Saving Your Project: Tap on the gallery icon to return to the main screen. Your project will automatically save, but you can also manually save by tapping the “Share” button and selecting “Procreate File.”
- Exporting Your Artwork: To export, go to the wrench icon, select “Share,” and choose your desired format. Here are some common options:
- PNG: Great for images with transparency. Perfect for web use.
- JPEG: Suitable for photographs and images without transparency. Good for sharing online.
- TIFF: Ideal for high-quality prints and archiving.
- PSD: Use this if you want to continue editing your work in Adobe Photoshop.
It goes without sayingthat the time it takes to save and export your art in the right way is not wasted because it does not only give protection to your works, but it also enables you present them as a way of displaying your ability to create.
Also Read This: Step-by-Step Guide to Applying Makeup with a Video Tutorial
FAQs About Image Tracing in Procreate
When it comes to image tracing in Procreate, you may have numerous inquiries as a beginner. In order to make things clearer, here are some common questions that arise during the process:
- Can I trace images from the internet?
- Yes, but make sure you have the right to use the images. It’s always best to use images you own or have permission to use.
- Is automatic tracing accurate?
- While it’s a helpful tool, the accuracy of automatic tracing can vary. You may need to refine the traced image to achieve the desired look.
- Can I adjust the traced image later?
- Absolutely! You can modify the traced layers and add details or colors at any time.
- Do I need an Apple Pencil to trace images?
- While an Apple Pencil offers greater precision and control, you can use your finger if you don’t have one.
- What file formats can I export my traced images in?
- Procreate allows you to export your work in several formats, including PNG, JPEG, TIFF, and PSD, depending on your needs.
Conclusion and Final Thoughts
Utilizing image tracing in Procreate is a visual means of improving your abilities as far as digital art is concerned. This technique saves your time, enhances precision and promotes imagination. A novice or seasoned artist alike can use it to take their art to the next level and simplify the creative procedure.
To obtain images confidently it is required that steps listed in this guide be followed carefully as outlined above by much of unsurpassed dexterity moving right down to their recreation in a finer reproducible work on over activities initiated through supply during exporting sections interested sections going back about products all created the before however just do not forget to save them! Take your iPad and let your artistic side loose while appreciating what procreate has for you during this trip.
 admin
admin