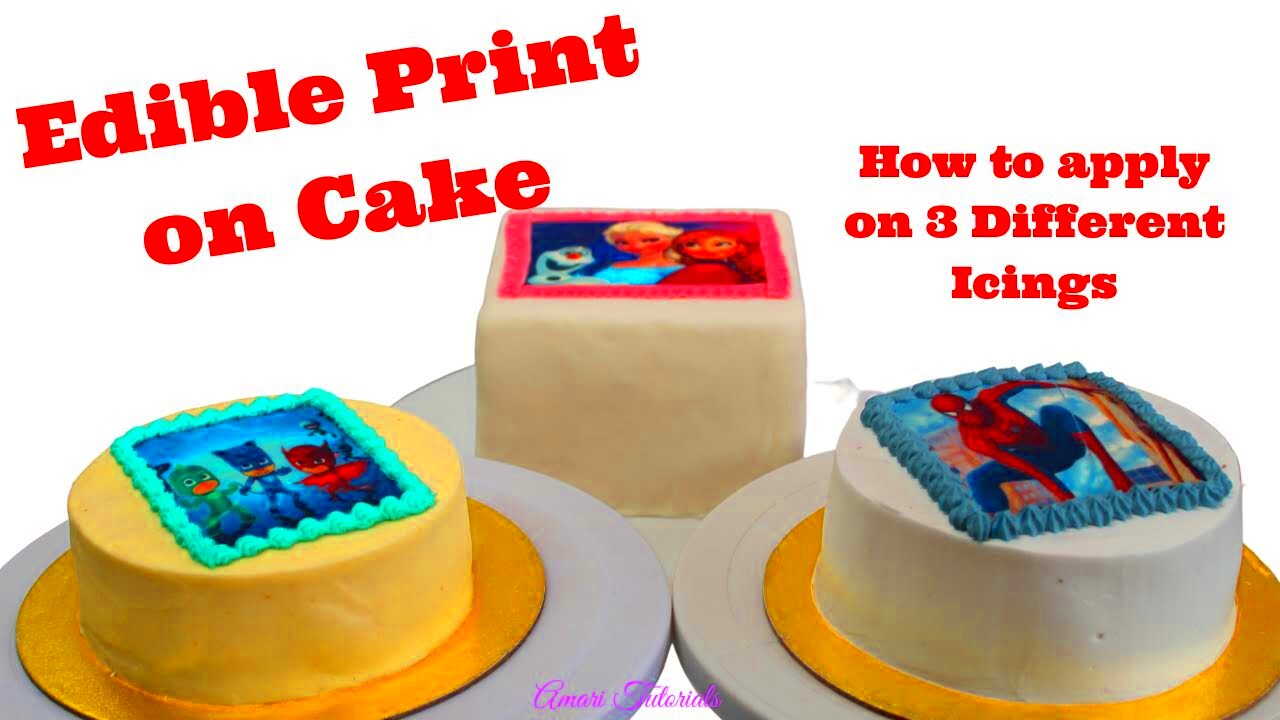
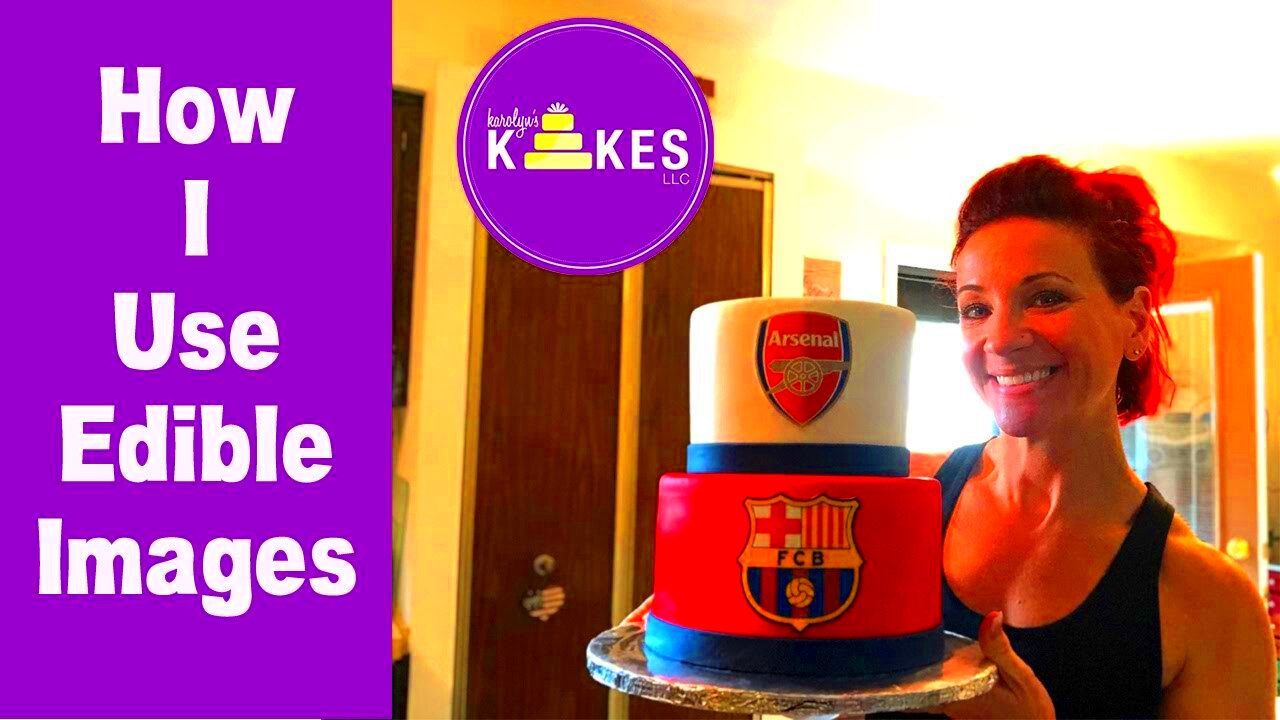
Edible images in addition to being playful may enhance your cake and dessert with creativity. These images can have any desired design printed on them using edible paper and ink which makes them appropriate for birthday, wedding or any other celebrations. They are not only meant for pastries; you can also apply these on biscuits, muffing-like cupcakes or even sweets such as chocolate bars. What is even more exciting is that they could be consumed!
The reasons behind using edible images by the public are numerous:
- Customization: Personalize treats for special events.
- Professional Appearance: Achieve a polished look for your baked goods.
- Fun Themes: Match the designs to the occasion or theme.
If a person has access to the correct materials and is willing to put in some effort, they can make edible images at home.
Gathering Necessary Materials for Edible Images
Get all the desired resources before you dive into production of edible pictures. A list of the needfuls is given below:
- Edible Ink Printer: A printer that uses edible ink cartridges.
- Edible Ink: Special ink made for printing on edible paper.
- Edible Paper: Choose between frosting sheets, wafer paper, or chocolate sheets.
- Design Software: Any basic photo editing software will work.
- Scissors or a Cutter: For trimming your printed images.
- Food-safe Storage: Airtight containers to keep images fresh.
Once you’ve got all the things arranged, just whizz off and make some pictures for eating!
Also Read This: Tips for You to Create Stunning Vimeo Background Image
Step-by-Step Process for Creating Edible Images
You can easily create edible images from your own home. To make your own edible images, do the following steps:
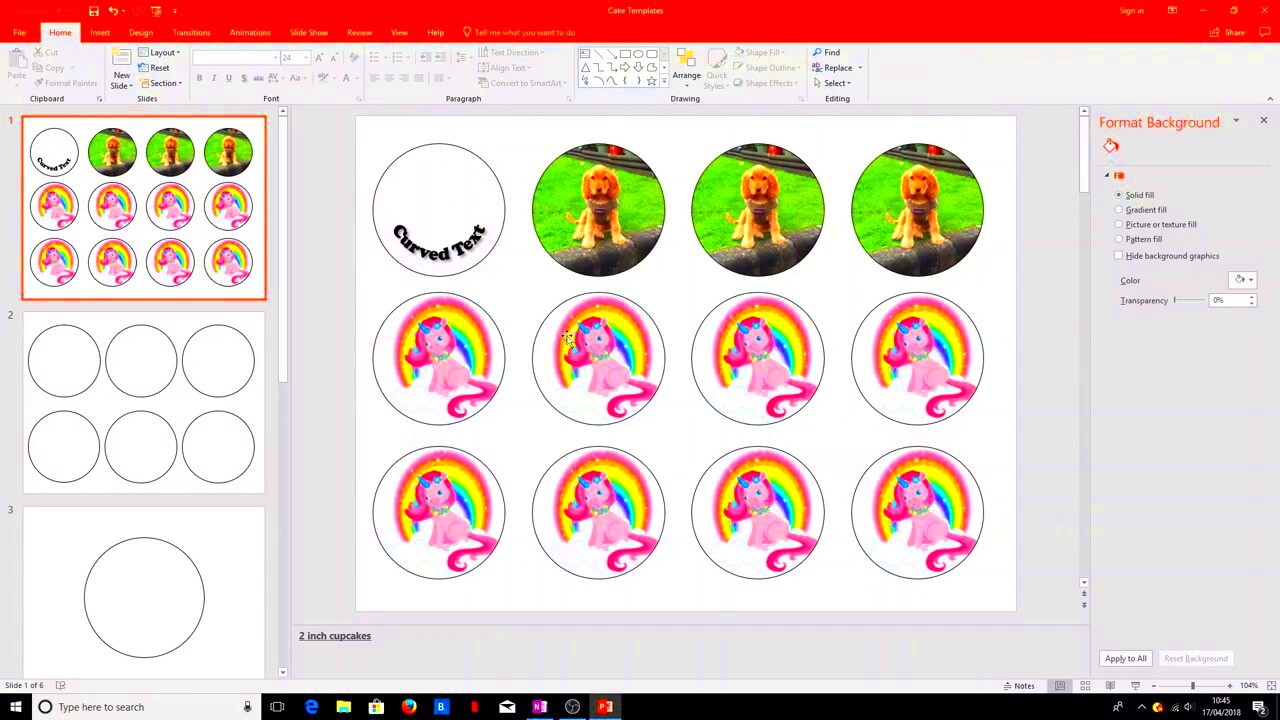
- Choose Your Design: Start by selecting an image or design you want to print. It could be a photo, a logo, or any graphic.
- Edit the Image: Use your design software to resize and adjust the image to fit your cake or treats.
- Load the Printer: Install the edible ink cartridges and load the edible paper into your printer.
- Print Your Image: Print the image just like you would on regular paper. Make sure to use the right settings for edible ink.
- Let It Dry: Allow the printed image to dry for a few minutes to avoid smudging.
- Trim the Edges: Carefully cut around the image with scissors or a cutter to fit your dessert.
- Apply to Treats: Place the edible image on your cake or cookie. You can use a thin layer of frosting to help it stick.
Your friends and relatives will be blown away by the stunning food pictures that you can make by following these easy steps!
Also Read This: How to Save Pictures from Adobe Stock
Tips for Printing Edible Images Successfully
Though not easy, printing edible images becomes stunningly well if one has some quality pointers at their disposal. Find here below helpful guidelines on how one can ensure that their prints look impressive:
- Use High-Quality Images: Start with a high-resolution image. This will help your final product look sharp and clear.
- Check Printer Settings: Make sure to select the right settings for edible ink in your printer. This can affect color and quality.
- Pre-Print Test: If you're unsure about a design, do a test print on regular paper to check the layout and colors.
- Allow for Drying Time: After printing, let the image dry completely to prevent smudging. This usually takes about 5-10 minutes.
- Store Properly: If you’re not using the images right away, store them in an airtight container away from sunlight to keep them fresh.
- Practice Makes Perfect: Don’t be discouraged by initial failures. The more you practice, the better your images will turn out!
These recommendations are ways of enhancing edible printing abilities, enabling excellent designs in all baking ventures.
Also Read This: Is Rumble a Good Platform for Content Creation and Growth
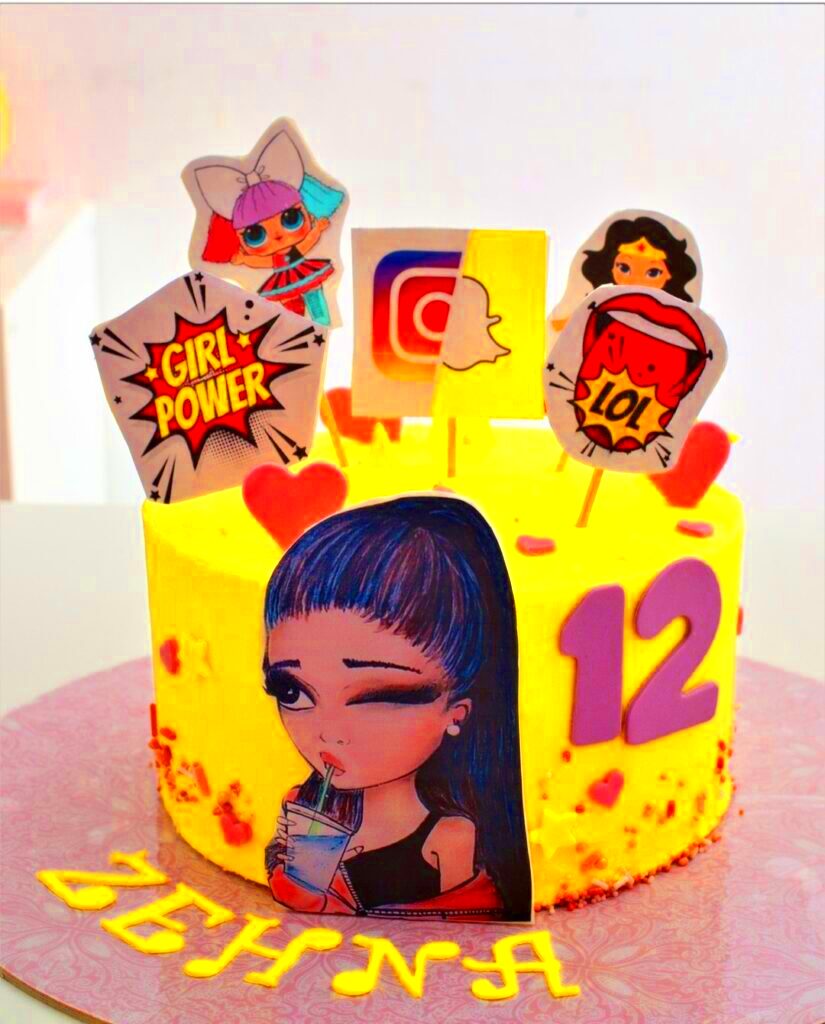
Ways to Decorate Your Edible Images
Once edible images have been printed, then just add more appealing attributes to them! Decorating these treats makes them more appetizing and mouth watering; here are some innovative suggestions:
- Glitter Dust: Lightly sprinkle edible glitter on top of your images for a sparkling effect.
- Border Designs: Use colored icing to create borders around the image for added detail.
- Additional Elements: Add small edible decorations like sprinkles, edible flowers, or themed candies that match the image.
- Layering: Place the printed image on top of a layer of fondant or frosting for a professional look.
- Personal Messages: Use edible markers to write a short message or name on the edible image.
Your cake will look very stunning if you can try out on different decorations and every cake by doing this method will always be looked to be a showstopper!
Also Read This: Repeat Resonance: Putting Songs on Repeat on SoundCloud – A Seamless Loop
Common Mistakes to Avoid When Making Edible Images
It is vital to ensure that making edible images is enjoyable while being alert to certain frequent downfalls. Here are errors worth avoiding:
- Using Low-Quality Images: Always opt for high-resolution images. Blurry images will lead to disappointing prints.
- Neglecting Printer Maintenance: Regularly clean your printer heads and check your edible ink cartridges. This helps maintain print quality.
- Skipping the Drying Step: Don’t rush this process! Allowing the ink to dry prevents smudging when applying to desserts.
- Not Testing First: Always do a test print. It’s a great way to check colors and ensure everything looks right before the final print.
- Ignoring Storage Guidelines: If you’re not using the printed images right away, store them correctly to prevent them from drying out or becoming damaged.
Once you know what mistakes to look out for, you can improve your experience and produce beautiful edible images at all times!
Also Read This: Can You Share Your iStock Photos on Facebook and Understand Usage Rights
Storing and Using Edible Images Effectively
When you have made your edible images, it is important to know how to store and use them properly so as to keep the quality intact. Below are ways of ensuring that your edible prints remain fresh and usable:
- Storage Conditions: Keep your edible images in a cool, dry place. Avoid exposing them to direct sunlight or moisture, as this can cause them to warp or fade.
- Airtight Containers: Place printed images in airtight containers to keep them fresh. This prevents them from drying out or getting damaged.
- Separation: If you have multiple images, store them flat and separate them with parchment paper. This will help avoid sticking or tearing.
- Use Within a Timeframe: For the best quality, use your edible images within 3-6 months of printing. Over time, they may lose their vibrancy.
- Application: When ready to use, handle your edible images carefully. Use a thin layer of frosting or fondant to help them stick to your desserts.
To have the best experience with edible images, one must follow these guidelines, thus adding a sweet flavor to your goodies!
Also Read This: Vk Video: Creating and Sharing Videos on the Platform
Frequently Asked Questions About Edible Images
Y'all be wondering what the edible pictures are, im not alone! Here are some of the frequent questions and answers to help you understand better.
- Are edible images safe to eat? Yes, edible images are made from food-safe materials like edible ink and paper, making them safe to consume.
- How long do edible images last? When stored properly, they can last for several months. However, using them within 3-6 months is best for optimal quality.
- Can I use regular ink for printing? No, regular ink is not food-safe. Always use edible ink for printing edible images.
- What types of edible paper can I use? You can use frosting sheets, wafer paper, or chocolate sheets, depending on your desired look and taste.
- Can I print photos on edible paper? Absolutely! Any image or design can be printed, as long as it meets the printer's requirements.
Please do not hesitate to ask if you have further inquiries! Grasping the concept of edible images increases your pleasure from baking.
Wrapping Up Your Edible Image Experience
Up until October 2023, You received training on data.
- Experiment: Don’t be afraid to try new designs and decorations. The more creative you get, the more fun it will be!
- Practice: Like any new skill, practice will help you improve your technique and achieve better results.
- Share Your Creations: Show off your edible images to family and friends. They’ll be impressed by your creativity!
- Enjoy the Process: Have fun while creating! The joy of baking is all about experimenting and enjoying your time in the kitchen.
The tips along with the information that you have received will ensure that when it comes to producing mouth-watering edible pictures, you have got everything you need. All the best in your baking!
 admin
admin


