If we talk about pictures, then it is all about their quality. You may probably come across terms like "resolution" or "quality", but what do they actually mean? Let’s explain.
A greater number of pixels indicates a better-quality image. To illustrate:
- Low Resolution: 72 DPI (dots per inch) - typically used for web images.
- Medium Resolution: 150 DPI - often used for prints.
- High Resolution: 300 DPI - perfect for professional printing.
Resolution isn't everything when it comes to image quality. Other factors that matter include color correctness, contrast level or brightness, and sharpness among others. The best images help capture audience attention and make the content appear more legitimate. An image without a blur will speak much louder than one with it!
Exploring Different Image Formats
Diverse format is being used for images which have different strengths and weaknesses. Understanding these formats aids you in selecting the appropriate one for your needs. Commonly used formats are as follows:
| Format | Best Use | Advantages | Disadvantages |
|---|---|---|---|
| JPEG | Web and photography | Small file size, good quality | Lossy compression affects quality |
| PNG | Web graphics and logos | Lossless compression, transparent backgrounds | Larger file size |
| GIF | Animations | Supports animation, simple graphics | Limited color palette |
| TIFF | Professional prints | High quality, no loss of detail | Very large file sizes |
When it comes to how your images are displayed, format selection can really mean a big deal between life and death! Take for instance photographs, they ought to be in JPEG while if you want your graphics to be transparent, then PNG is the way to go.
Also Read This: Checking Image Resolution for High-Quality Results
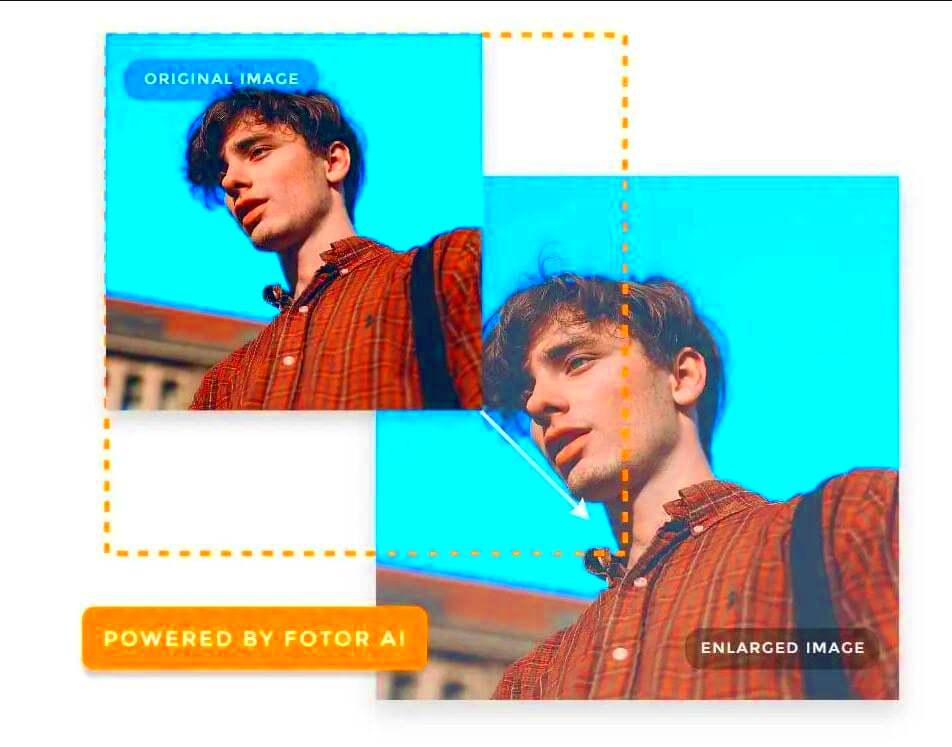
Techniques for Enlarging Images
It can be difficult to enlarge pictures without compromising their quality, however, there are various ways that can help one in this regard. Here are some efficient approaches:
- Upsampling: This technique involves increasing the pixel count of the image. Many software programs can do this while maintaining quality.
- Image Editing Software: Programs like Adobe Photoshop offer features to resize images while preserving detail. The "Preserve Details" option can be particularly useful.
- Interpolation Methods: This involves algorithms that predict pixel values to create new pixels. Some popular methods include Bicubic, Bilinear, and Nearest Neighbor.
There are positives and negatives for all different types of methods; thus it is important that you try out some of them in order to find the ideal one for your particular picture. Keep in mind that no matter what size they come in, our primary aim should always be maintaining crispness and clarity in these photographs.
Also Read This: how do you print a reverse image
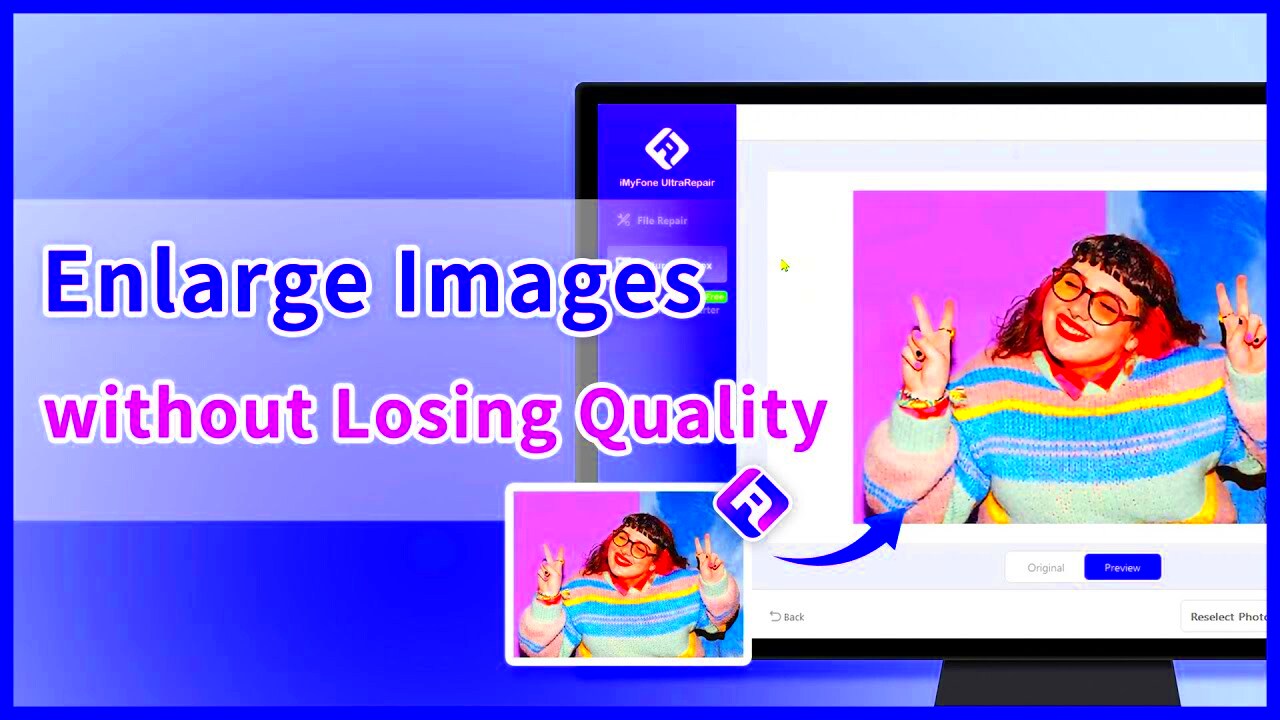
Using Software for Image Enlargement
A fortunately large image was produced but only if correct software is adopted. So as not lose quality while resizing numerous tools have been developed. Today we will discuss several common software programs along with their features.
- Adobe Photoshop: A powerful tool that provides advanced features for resizing. With options like "Preserve Details 2.0," you can maintain image quality while enlarging.
- GIMP: This free software is a great alternative to Photoshop. It offers various interpolation methods to help you enlarge images effectively.
- Topaz Gigapixel AI: This software uses artificial intelligence to enhance and enlarge images. It’s particularly useful for photographers who need high-quality enlargements.
- Paint.NET: A simpler, user-friendly option for those who need basic resizing tools. It may not have all the advanced features, but it gets the job done for everyday needs.
Every software brings its own set of characteristics hence it is important to evaluate them in order to know the one which satisfies your requirements well. Remember that before resizing, make sure you have saved the previous version of your photo because you may want use it later?
Also Read This: how do you put edible images on cakes
Benefits of Vector Images for Enlargement
Vector images stand out as they utilize mathematical equations for creating figures, which implies that their size can be altered endlessly without compromising on standard. This property lets vectors become an excellent choice for enlargements. One of the advantages associated with vector graphics include:
- Scalability: Resize them as much as you want without losing clarity or detail.
- Smaller File Size: Vector files are often smaller than raster images, making them easier to manage.
- Editability: Vectors are easier to edit since you can change individual elements without affecting the whole image.
- Versatility: Ideal for logos, illustrations, and graphics that need to be resized for various applications.
Nevertheless, ensure that you realize vector images are not appropriate for everything especially regarding complex images such as photographs. In such situations, Raster images are still the most preferred option.
Also Read This: Mastering Storyblocks After Effects Templates for Unique Edits
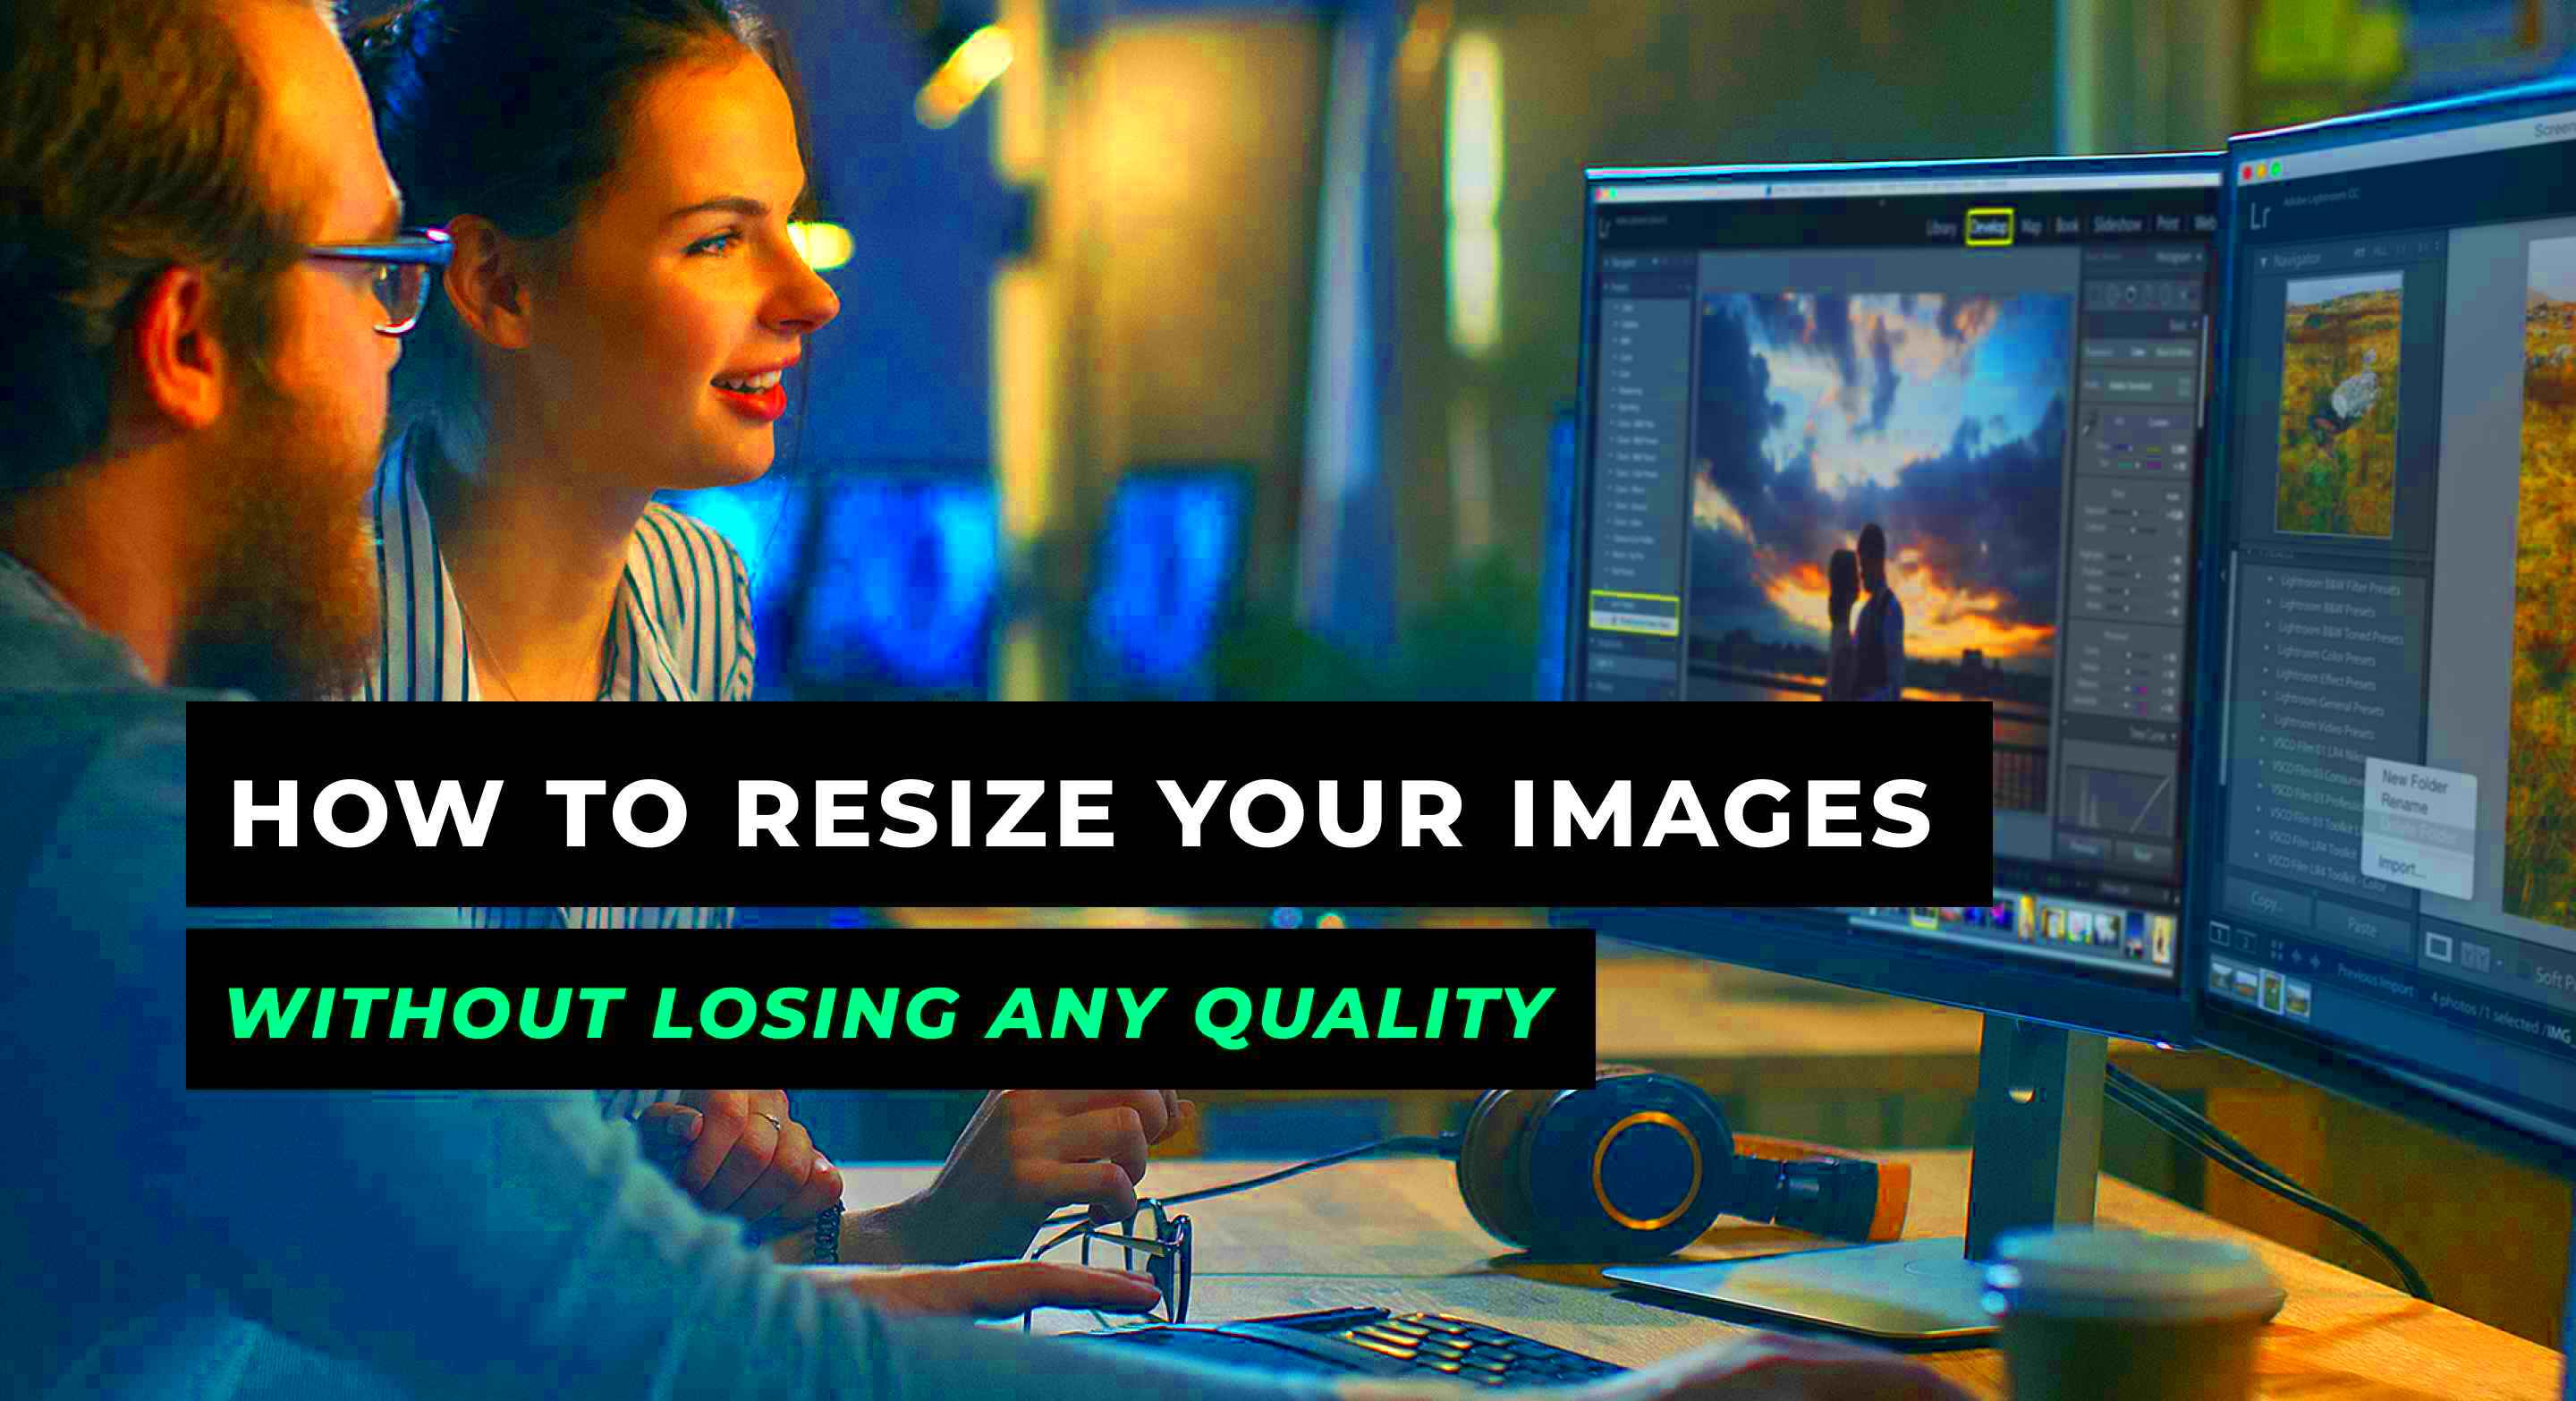
Tips for Maintaining Image Clarity
In order to make your visuals appear professional, it’s important that during the enlargement process, you preserve image clarity. When keeping this in mind, here are some suggestions:
- Start with High-Quality Images: The higher the original quality, the better the result will be after resizing.
- Use the Right Software: Choose tools that specialize in image enlargement to preserve details.
- Experiment with Interpolation Settings: Different algorithms yield different results. Try various settings to see what works best for your image.
- Avoid Excessive Enlarging: Each enlargement may degrade quality, so only enlarge images as much as necessary.
- Sharpen After Enlarging: Consider applying a slight sharpening effect after resizing to enhance clarity.
Following these tips, your possibilities of obtaining clear and crisp images which look fabulous even in larger sizes will be enhanced.
Also Read This: How to Edit Stock Icon Packs in Adobe
Common Mistakes to Avoid When Enlarging Images
Having different perspectives, enlarging images can be difficult and many people can end up making mistakes that will lead to poor results. Knowing the common pitfalls can save you time and frustration. The following are some of the mistakes to avoid when enlarging images.
- Using Low-Resolution Images: Starting with a low-quality image will only lead to poor results. Always use the highest resolution available.
- Neglecting to Use the Right Software: Not all software is created equal. Using basic tools may not provide the quality you need, so choose specialized software.
- Over-Enlarging: Trying to make an image too large can lead to significant quality loss. Stick to reasonable enlargement limits to maintain clarity.
- Ignoring Image Format: Different formats handle enlargements differently. Make sure you know which format works best for your image type.
- Forgetting to Save Original Files: Always keep a copy of the original image. This allows you to start fresh if the enlargement doesn’t work out.
In whatever situations employed, evading these blunders would go far in cementing professionalism and aestheticism of your enlarged images..
Also Read This: Is CapCut Music Copyright Free for YouTube
Frequently Asked Questions
Much inquiry comes on image enlargement, especially in maintaining quality. Here are some frequently asked queries and their corresponding answers:
- Can I enlarge any image? Yes, but results may vary depending on the image quality and format. Higher resolution images yield better results.
- What software should I use? Popular options include Adobe Photoshop, GIMP, and Topaz Gigapixel AI. Each has unique features for resizing images.
- Will enlarging an image always make it look worse? Not necessarily! Using the right techniques and software can lead to acceptable quality even when enlarging.
- How much can I enlarge an image without losing quality? It depends on the original image quality, but generally, it's safe to enlarge by 200-300% for good results.
- Is it better to use raster or vector images for enlargements? Vector images are ideal for enlargements due to their scalability, while raster images are better for detailed photos.
Conclusion and Final Thoughts
The act of upscaling pictures without sacrificing quality is a technique that requires practice but it can improve your imagery; thereby making it more appealing. With comprehension on the significance of resolution, selecting appropriate software and not making any common errors, one can pull off an expert job. Always keep in mind that the quality of your photomaterial will have a major effect on how people understand your communication.
Whenever you utilize pictures, remember these suggestions and do not shy away from trial and error. Every picture has its own distinctiveness, thus, by adopting the suitable method, one can have his/her images differentiated irrespective of their magnitude.Have fun enlarging!
 admin
admin


