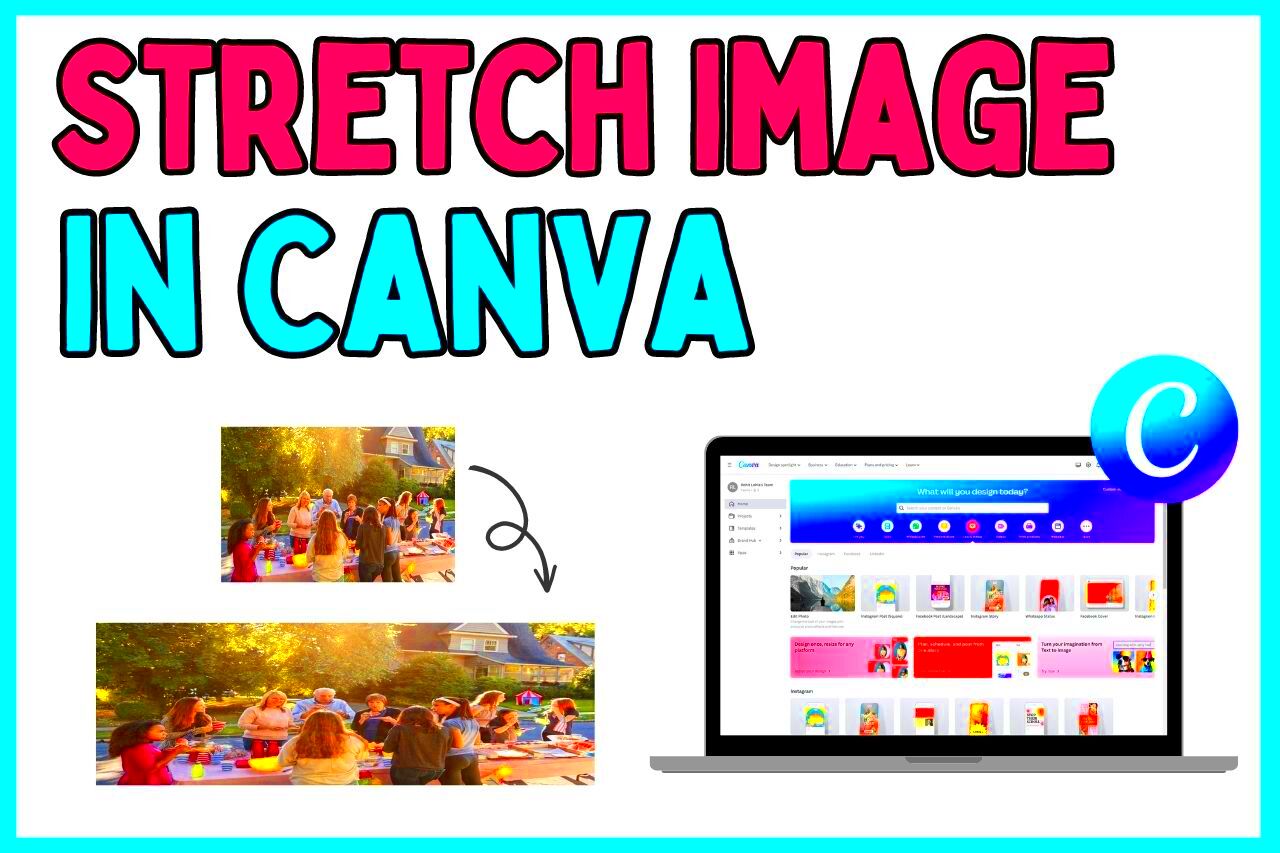
Concerning shrinking/stretching a photo too much I have also heard people say it creates an effect of elongation. In order to prevent such from happening we need to always embrace those measures that take into consideration preservation of visual integrity. When enlarging or reducing an image size follow these recommendations and you will have just the right proportions.
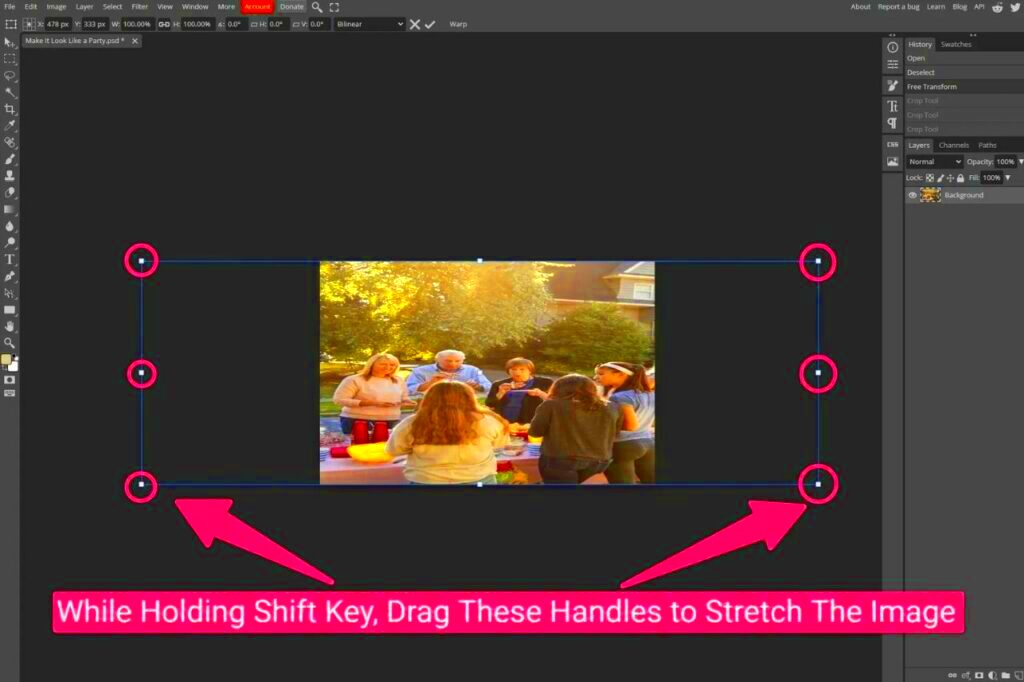
- Use the Corner Handles: Always resize using the corner handles in Canva. This ensures that the image stretches proportionally, maintaining its aspect ratio and avoiding warping.
- Work with High-Resolution Images: Start with high-quality, high-resolution images. Stretching a low-resolution image can cause pixelation and make the final result blurry.
- Resize in Small Increments: Instead of dragging the image to the desired size all at once, resize it gradually. This helps you monitor any potential distortion along the way.
- Preview the Design: After stretching the image, preview your design in full-screen mode. This will give you a better sense of how the stretched image looks in the final composition.
- Use Canva's "Crop" Tool to Balance Composition: While the goal is to avoid cropping, you can use Canva's crop tool creatively to trim unnecessary background while focusing on the subject, rather than stretching it too much.
Use canva with you images which don’t distort, by following these best practices, to make them stretched so that your work appears professional and quality.
Common Mistakes to Avoid While Stretching Images

In terms of stretching visuals, different designers are found to make several mistakes unconsciously. Such mistakes damage design and lower visual quality. These pitfalls must be avoided if Image will maintain its sharpness and professionalism.
- Ignoring Aspect Ratio: Dragging the side handles instead of the corner ones can distort the image by stretching it too much in one direction. Always stretch proportionally by using the corner handles.
- Using Low-Quality Images: If the original image is low in resolution, stretching will only make it worse. It's important to start with the highest quality image you have available.
- Overstretching: Stretching an image beyond its limits can result in blurry, pixelated visuals. Keep in mind that every image has a limit to how much it can be resized without losing quality.
- Not Previewing the Final Design: Many designers forget to preview their designs after stretching images. Viewing the entire composition allows you to see if the image still fits the overall aesthetic.
- Not Using Grids or Guidelines: Canva provides useful gridlines and guides. Ignoring them can lead to awkward layouts or unbalanced images. These tools help ensure that stretched images align well with other elements.
By steering clear of such blunders, you’ll not only spare yourself valuable minutes but also shield your work from looking untidy and haphazard.
Also Read This: How to Add a Link on Behance Project for Your Portfolio
How to Maintain Image Quality While Stretching in Canva

It is majorly important, when manipulating an image in size on Canva to keep the quality of that picture. These are some of the tricks you can use to maintain its quality while resizing.
- Start with High-Resolution Images: Always begin with a high-resolution image. The higher the resolution, the better the image will handle stretching without losing quality.
- Limit the Amount of Stretching: Try to avoid extreme stretching whenever possible. Minor adjustments typically retain the original sharpness of the image, while excessive resizing can lead to pixelation.
- Use Vector Images for Better Scaling: Vector graphics (like logos or illustrations in SVG format) are ideal for stretching because they don't lose quality, no matter how much you resize them.
- Apply Filters and Enhancements: After stretching an image, consider using Canva’s editing tools to sharpen the image or add filters to enhance its appearance. This can sometimes help disguise any minor loss of quality.
- Export at the Right Resolution: When you’re done, make sure to export your design at a resolution that matches your needs. Canva allows you to adjust the output quality to ensure the image remains sharp.
Images can thus be stretched on Canva without compromising on quality, producing professional designs following the prescribed procedures.
Also Read This: The Evolution of Custom LMS Development: Trends Shaping E-Learning in 2025
Alternatives to Canva for Image Stretching

A number of other options exist when dealing with stretching images without cropping which may come in handy when one needs advanced features, formats or simply would like to have a different interface as Canva is an amazing tool for many people. Here are some alternatives to think about:
- Adobe Photoshop: Photoshop is a powerful tool for image editing. It allows precise control over image stretching and resizing. With options like “Content-Aware Scale,” you can stretch images while protecting important details.
- GIMP: This free, open-source software is a great alternative to Photoshop. GIMP provides various tools for resizing images without losing quality, making it a good choice for users on a budget.
- Fotor: Fotor offers a user-friendly interface for image editing. You can stretch images easily and apply enhancements to improve overall quality. It also has a robust suite of design tools.
- PicMonkey: PicMonkey combines photo editing and design features. Its straightforward interface allows you to stretch images and create beautiful designs effortlessly, making it ideal for social media graphics.
- Visme: Primarily known for presentations, Visme also allows for image stretching and editing. It’s great for users who want to combine visual content with informative presentations.
High school students regularly go to class. Choosing one will depend upon individual needs and specified levels of difficulty a person may have as a generic term for image manipulation software programs. All of them, however can assist you mensureably distorting photos rightly without losing any details.
Also Read This: How to Make an Image Smaller: Quick Tips
Frequently Asked Questions (FAQ)
Often times individuals want to know about stretching images in Canva and other graphic design programs. This can be achieved by reading through some of the most common concerns raised during discussions on this topic; they include:
- Can I stretch images without losing quality? Yes, as long as you start with a high-resolution image and stretch it proportionately using the corner handles, you can maintain quality.
- What is the best resolution for images in Canva? A resolution of at least 300 DPI (dots per inch) is ideal for high-quality prints, while 72 DPI is generally sufficient for web use.
- Can I stretch vector images without quality loss? Absolutely! Vector images are scalable and can be resized without any loss in quality.
- What should I do if my image looks pixelated after stretching? If your image is pixelated, it might be too low in resolution. Try to find a higher-quality version or use a vector graphic instead.
- Are there any tools in Canva that help with image stretching? Yes, Canva provides various tools like grids, guides, and the crop feature, which can help you adjust your images more effectively.
For more inquiries or certain worries don't hesitate asking for help from Canva's support staff as well as community platforms!
Conclusion: Stretching Images Without Cropping in Canva
Stretching images in Canva is one of the simplest ways to improve your designs while preserving key visual features. The key to achieving a professional image each time lies in understanding the best practices, avoiding some of the common mistakes and knowing how to retain image quality.
Bear in mind that, whether you opt for using Canva or checking out some other options, starting off by making use of fine-quality photos and keeping an eye on the stretching should be paramount. In this manner, you can ensure that your designs remain vocal and interesting.
If you are creating fantastic visuals, you will become more confident by implementing these suggestions and practices.This is what you should do!

 admin
admin


