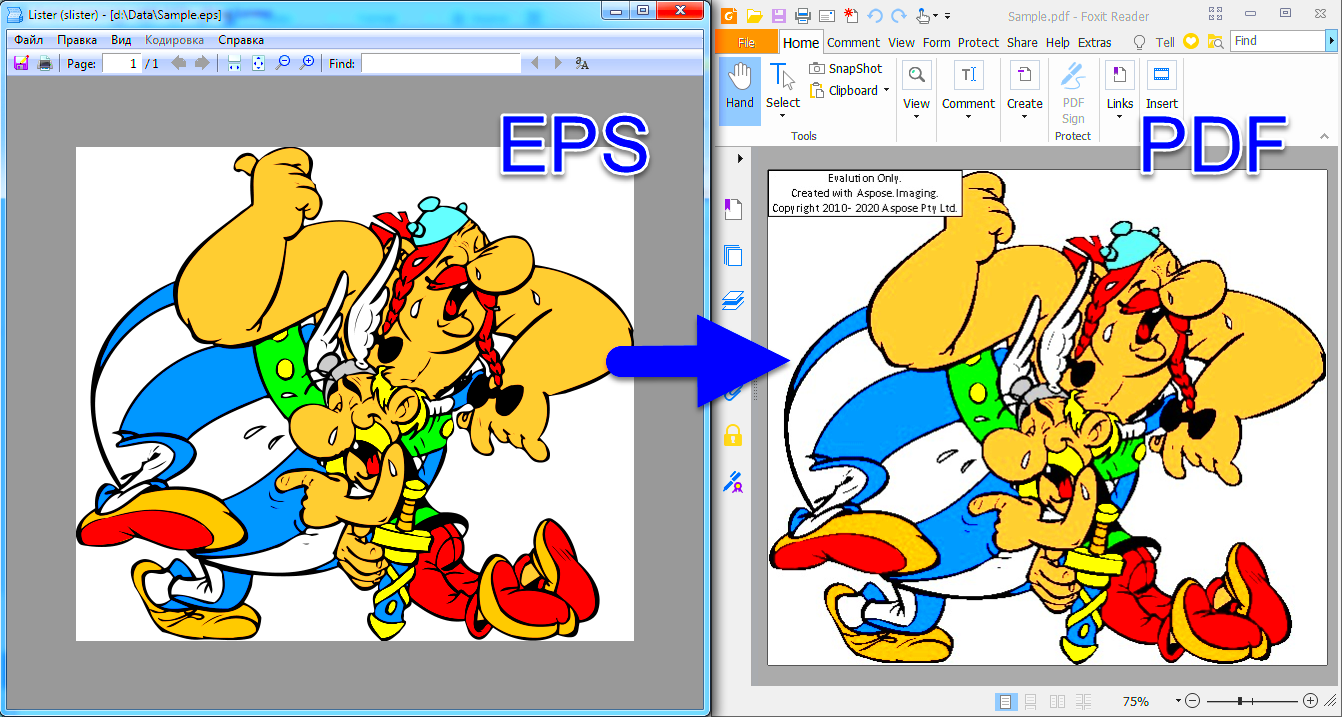
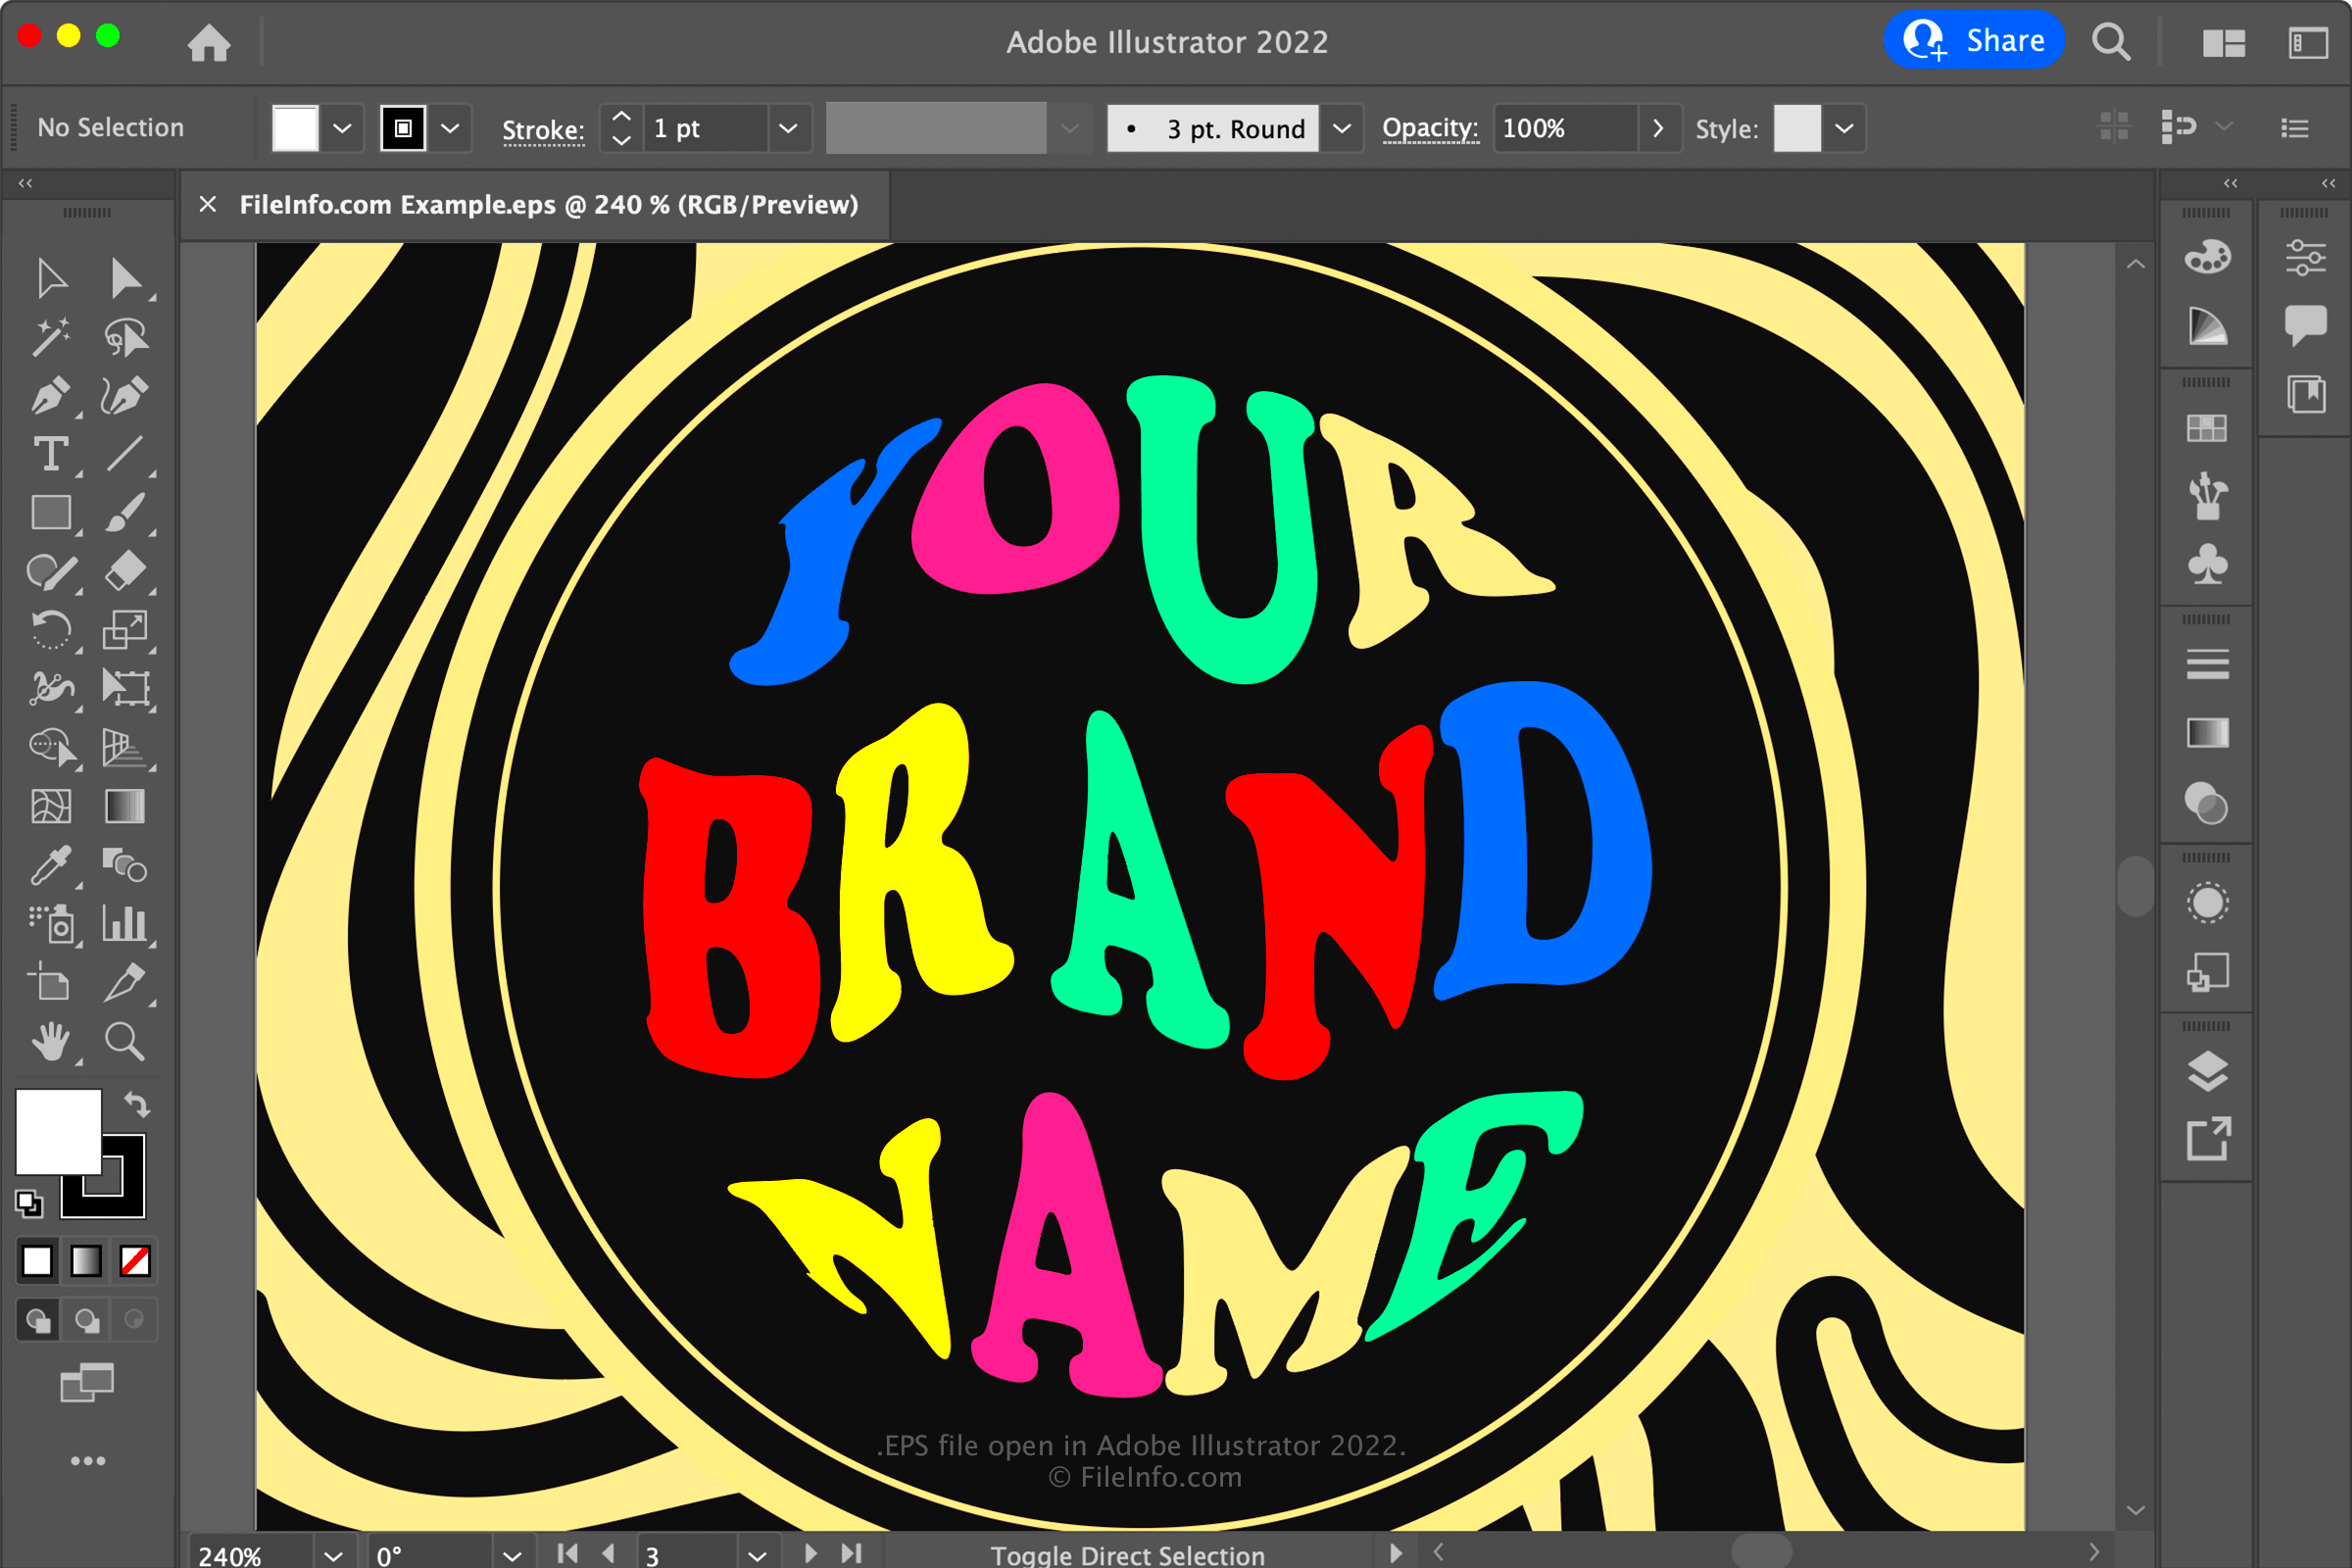
Encapsulated PostScript (EPS) is a graphics file format that is commonly used in the professional printing and graphic design industries. It is a versatile format that can contain both vector and raster graphics, making it ideal for high-quality prints. EPS files are scalable without loss of quality, which is a significant advantage for logos and other design elements that may need to be resized frequently. Understanding EPS format is essential for anyone working with graphics, as it allows for greater flexibility in design and printing processes.
Benefits of Converting Images to EPS

There are several advantages to converting images to EPS format:
- Scalability: EPS files can be resized without losing quality, making them perfect for printing on different media.
- Compatibility: Many graphic design software applications support EPS, ensuring that your files can be used across various platforms.
- High Quality: EPS files maintain image clarity and detail, which is crucial for professional-grade printing.
- Editing Flexibility: The vector component of EPS files allows for easy editing of designs without degrading the image.
- Embedded Color Profiles: EPS files can contain embedded color profiles, ensuring consistent color reproduction in prints.
These benefits make EPS a popular choice among graphic designers and businesses that prioritize high-quality visual content.
Also Read This: Block YouTube on Chromebook for a Distraction-Free Experience
Common Image Formats That Can Be Converted to EPS

Several common image formats can be converted to EPS. Here’s a list of some of the most frequently used formats:
| Image Format | File Extension |
|---|---|
| JPEG | .jpg, .jpeg |
| PNG | .png |
| GIF | .gif |
| BMP | .bmp |
| TIFF | .tiff, .tif |
Converting these formats to EPS can enhance their usability for printing and graphic design. Understanding the potential of these formats is the first step towards effective conversion and usage in professional projects.
Also Read This: how to convert an image to 300 dpi without photoshop
Step-by-Step Guide for Converting Images to EPS

Converting images to EPS format is a straightforward process, and you can do it using various software tools available online and offline. Here’s a simple step-by-step guide to help you through the conversion:
- Choose Your Image: Start by selecting the image you want to convert. Make sure it's in a compatible format, such as JPEG, PNG, or TIFF.
- Open Your Software: Use graphic design software like Adobe Illustrator, CorelDRAW, or a dedicated converter tool.
- Import the Image: Open the image file in your chosen software. Look for the "File" menu and select "Open" or "Import."
- Convert to EPS: Once the image is open, go to the "File" menu again, select "Save As" or "Export," and choose the EPS format from the list of options.
- Adjust Settings: Before saving, you might have options to adjust the EPS settings, such as resolution and color profiles. Make any necessary adjustments.
- Save Your File: Click "Save," and your image will be converted to EPS format. You can now use it for printing or in design projects.
Following these steps will ensure a smooth conversion process and help you create high-quality EPS files.
Also Read This: Discover This Dailymotion Downloader Chrome Extension Magic
Choosing the Right Software for EPS Conversion
Selecting the right software for converting images to EPS can make a big difference in quality and ease of use. Here are some popular options:
- Adobe Illustrator: A powerful tool favored by professionals, offering advanced features for editing and converting images.
- CorelDRAW: Another professional-grade software that supports various graphic formats, including EPS.
- Inkscape: A free and open-source vector graphic editor that allows easy conversion to EPS.
- Online Converters: Websites like Zamzar or Convertio provide quick and easy conversions without the need for software installation.
When choosing software, consider factors like your budget, ease of use, and the specific features you need. Testing a few options can help you find the best fit for your workflow.
Also Read This: How to Update LinkedIn Profile Without Notifying Network
Tips for Optimizing EPS Files
Optimizing your EPS files is essential to ensure they maintain high quality while being efficient for use in various applications. Here are some tips to help you get the best results:
- Use Vector Graphics: Whenever possible, start with vector graphics. They are scalable and will not lose quality when resized.
- Adjust Resolution: For raster images, ensure the resolution is set to at least 300 DPI (dots per inch) for print quality.
- Embed Fonts: If you are using specific fonts, embed them in the EPS file to avoid issues with missing fonts when the file is opened on different systems.
- Simplify Complex Designs: Reduce unnecessary details or layers in your design to keep the file size manageable.
- Save Versions: Keep copies of your original files. This way, you can make changes or revert back if needed.
By following these tips, you can create optimized EPS files that work effectively for both digital and print media, ensuring a professional look every time.
Also Read This: Discover How to Share and Organize Flickr Family Photos in Seconds with This Handy Guide
Potential Issues When Converting to EPS
While converting images to EPS format can be beneficial, it’s essential to be aware of potential issues that might arise during the process. Understanding these challenges can help you navigate them more effectively.
- Loss of Quality: If you convert a low-resolution image to EPS, you might notice a decline in quality. Always start with the highest quality source available.
- File Size: EPS files can be larger than other formats, especially if they contain detailed images or multiple layers. This can lead to difficulties in storage and sharing.
- Software Compatibility: Not all graphic design software supports EPS files equally. This can result in unexpected behavior or errors when opening or editing the files. Always check compatibility before conversion.
- Color Profiles: Issues with color consistency can occur if the EPS file does not embed the correct color profiles. Ensure your color settings are correctly adjusted to avoid discrepancies in print.
- Vector vs. Raster Confusion: Converting raster images to EPS may not provide the desired scalability benefits, as the raster elements remain pixel-based. For best results, use vector graphics.
- Font Problems: If you don’t embed fonts or convert text to outlines, the file may not display correctly on other systems. This can lead to text replacement with default fonts, altering the intended design.
Being aware of these potential issues can help you take the necessary precautions to ensure a successful conversion process. Taking the time to prepare your images and understand the software will lead to better results in your EPS files.
Conclusion on Image to EPS Conversion
Converting images to EPS format is a valuable skill for anyone involved in graphic design or printing. By understanding the EPS format, choosing the right software, and optimizing your files, you can ensure high-quality results. Being aware of potential issues and taking proactive steps can help you avoid common pitfalls and make the most of your EPS conversions.

 admin
admin


