Glass cabochons are beautifully polished stones that come in various shapes and sizes. They have a smooth, rounded surface that makes them perfect for crafting. You might be wondering, what exactly can you do with them? Well, the possibilities are endless! These versatile gems can be used in jewelry making, home decor, and even mixed media art projects. With their transparent quality, cabochons can magnify images underneath, creating stunning visual effects.
Here are a few popular uses for glass cabochons:
- Jewelry Making: Create unique pendants, earrings, and brooches.
- Home Decor: Use them in picture frames, coasters, or decorative magnets.
- Mixed Media Art: Incorporate them into collages or scrapbook pages.
Understanding their properties helps you choose the right images and materials for your projects. Let's dive deeper into what you'll need for your crafting journey!
Gathering the Right Materials for Your Project
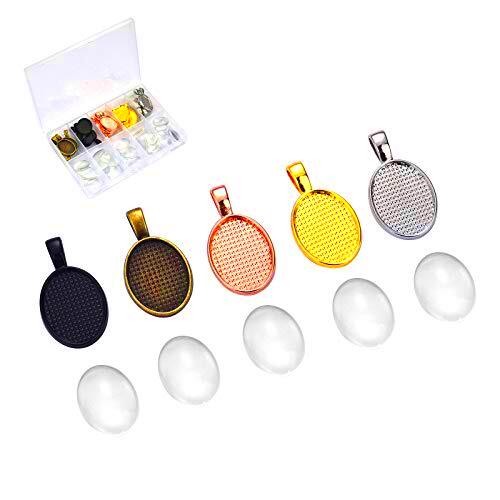
To get started with gluing images to glass cabochons, you’ll need a few essential materials. Gathering everything in advance will make your crafting experience smoother and more enjoyable. Here's a list of items you'll need:
- Glass Cabochons: Choose the size and shape that suits your project.
- Images: Print or cut images that you want to use.
- Adhesive: Select a strong glue suitable for glass, like E6000 or Mod Podge.
- Scissors: For trimming your images to fit the cabochons.
- Sealant (optional): To protect your images and give them a glossy finish.
Once you have all your materials ready, you're one step closer to creating beautiful cabochon crafts. The next step is preparing your images so they fit perfectly under the glass.
Also Read This: Find Out What Shutterstock Wikipedia Is
Preparing the Images for Cabochons
Preparing your images is a crucial step that can significantly impact the final look of your cabochon. Here’s how to do it:
- Select Your Images: Choose images that resonate with you. They can be personal photographs, illustrations, or digital designs.
- Resize and Print: Use photo editing software to resize your images to match the size of the cabochons. Make sure the resolution is high enough for a clear print.
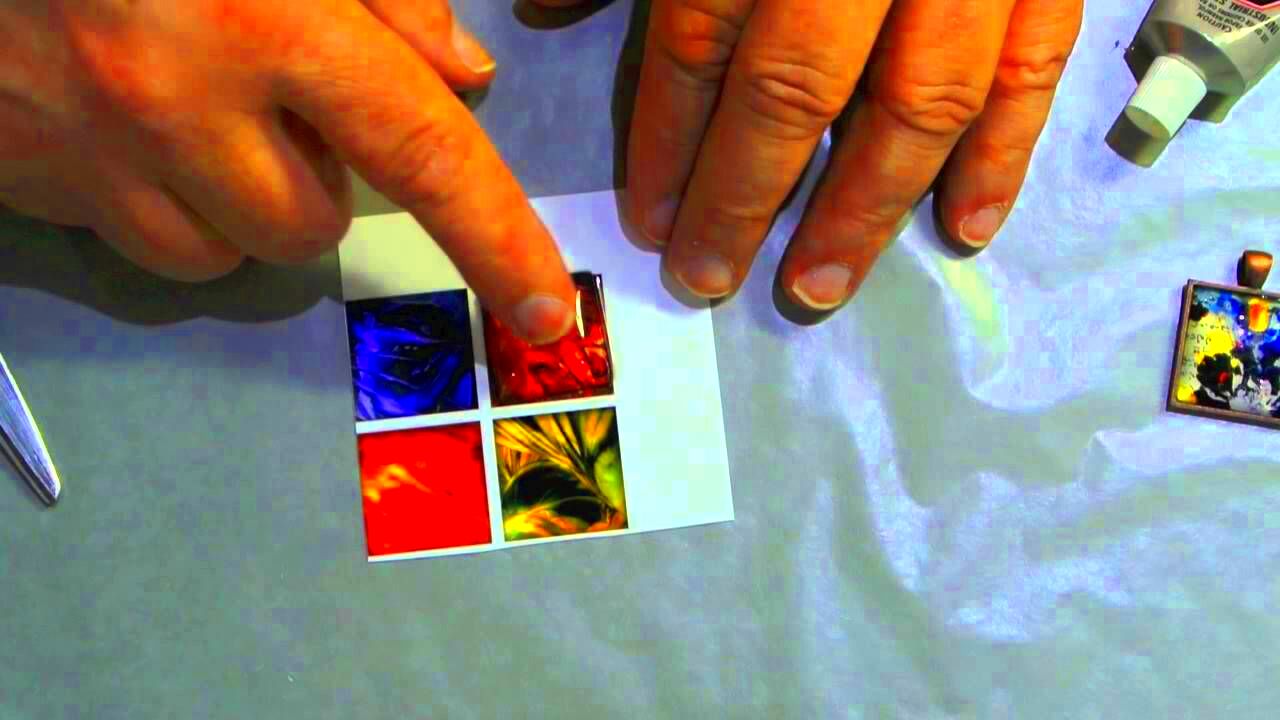
- Cutting: Once printed, carefully cut out your images. Leave a slight margin around the edges for better adhesion.
- Test Fit: Place the image over the cabochon to ensure it fits well. Adjust if necessary.
By taking the time to prepare your images properly, you'll ensure that your finished cabochons look professional and polished. Now, let’s get ready to choose the best glue for your project!
Also Read This: how to dowload an image with a keyboard
Choosing the Best Glue for Glass Cabochons
Choosing the right glue is essential for ensuring your images stay securely attached to your glass cabochons. Not all adhesives work well with glass, so it's important to pick one that offers durability and clarity. In this section, we’ll explore some of the best options available and what makes them ideal for this type of project.
Here are a few popular glues you might consider:
- E6000: This industrial-strength adhesive is known for its flexibility and durability. It dries clear and is waterproof, making it a top choice for glass cabochons.
- Mod Podge: A versatile decoupage glue, Mod Podge can serve as both adhesive and sealant. It’s easy to use and available in different finishes, such as matte and glossy.
- Clear Craft Glue: A simple, easy-to-use option that dries clear and works well for lightweight projects.
- Super Glue: While it offers a strong bond, it can be tricky because it dries quickly and can leave a cloudy residue on glass.
Before you start gluing, consider testing the glue on a small piece of glass to ensure it works well with your materials. With the right adhesive in hand, you’re ready to apply those beautiful images to your cabochons!
Also Read This: What Makes a Good YouTube Video
Applying Images to Glass Cabochons Step by Step
Now that you’ve prepared your images and chosen your glue, it’s time to put everything together. Follow these simple steps to apply your images to the glass cabochons effectively:
- Gather Your Materials: Ensure you have your cabochons, images, glue, and a clean workspace ready.
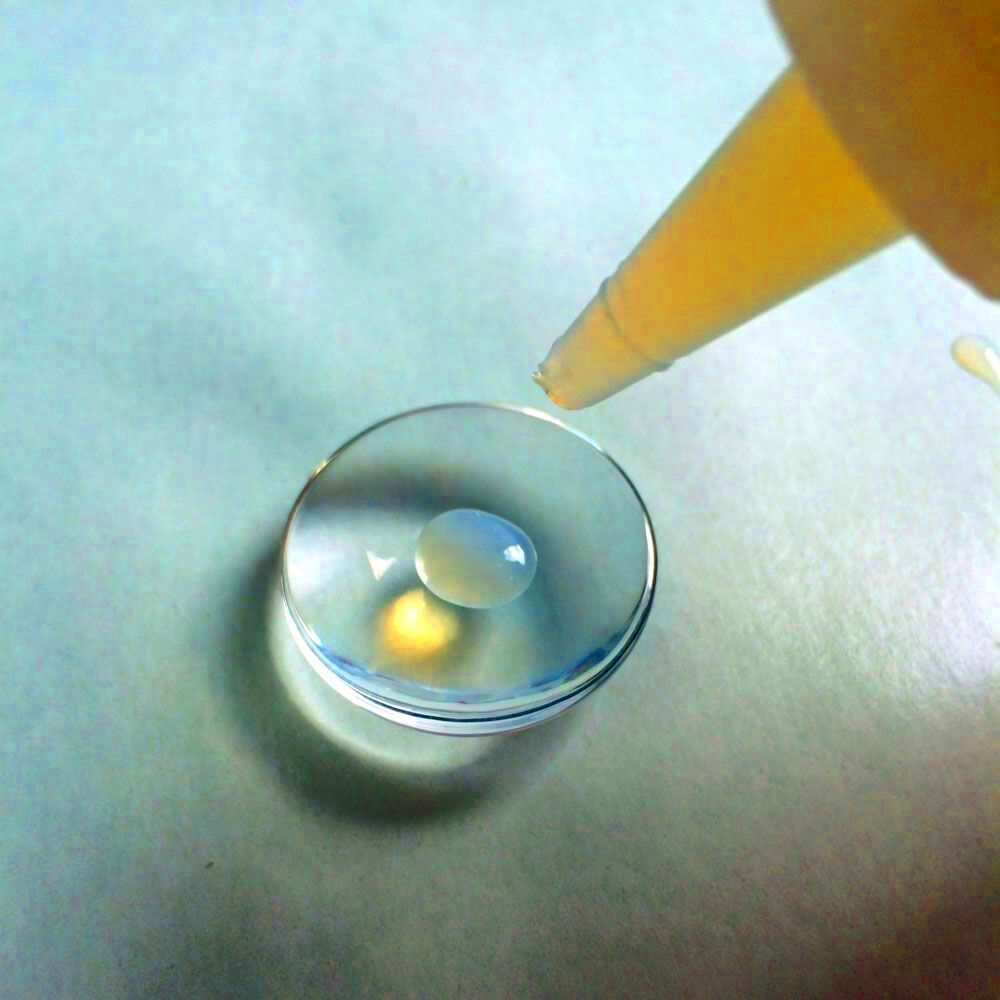
- Apply the Glue: Use a small brush or a toothpick to spread a thin layer of glue on the back of the image. Avoid using too much glue, as it can seep out when you press down the cabochon.
- Position the Cabochon: Carefully place the cabochon over the image, making sure it aligns perfectly. Gently press down to eliminate any air bubbles.
- Let It Dry: Allow the glue to cure according to the manufacturer’s instructions. This could take several hours or overnight for maximum strength.
- Inspect Your Work: Once dried, check for any visible bubbles or uneven edges. You can trim any excess image that might show around the cabochon edges.
Following these steps ensures that your images adhere well and look fantastic under the glass. Let’s move on to the finishing touches that can make your projects stand out!
Also Read This: Understanding YouTube’s Viral Video Criteria
Finishing Touches for Your Craft Projects
Now that you’ve glued your images to the glass cabochons, it’s time to add those finishing touches that will elevate your craft projects. These steps will help you enhance the appearance and durability of your creations.
Consider the following options:
- Sealing: If you used Mod Podge, you could apply a top coat to seal your images. This protects them from scratches and water damage.
- Adding Bails or Attachments: For jewelry projects, consider gluing a bail to the back of the cabochon for easy hanging. Make sure the glue is dry before adding any hardware.
- Creating a Frame: Frame your cabochons in a larger design or incorporate them into necklaces, bracelets, or keychains.
- Cleaning Up: Use a soft cloth to wipe away any excess glue or fingerprints from the cabochon’s surface for a polished look.
Finally, take a moment to admire your work! Whether you're giving these as gifts or keeping them for yourself, these glass cabochon projects will surely impress. Remember, the joy of crafting is in the process as much as the finished product!
Also Read This: Download Likee Videos Without Logo With This Method
Common Mistakes to Avoid When Gluing Images
When it comes to crafting with glass cabochons, it’s easy to make mistakes, especially if you're new to the process. Learning about common pitfalls can save you time and frustration. Let’s take a look at some frequent mistakes and how to avoid them.
- Using the Wrong Glue: Not all adhesives work well with glass. Be sure to choose a glue specifically designed for this material to ensure a strong bond.
- Overusing Glue: It might be tempting to slather on a lot of glue, but too much can seep out, making a mess and ruining your project. A thin layer is usually sufficient.
- Not Allowing Enough Drying Time: Patience is key! Rushing the drying process can lead to loose images or bubbling. Always follow the glue manufacturer's recommended drying time.
- Ignoring Image Quality: Using low-resolution images can result in a blurry or pixelated finish. Ensure your images are high quality and the right size for your cabochons.
- Forgetting to Clean the Glass: Dust or fingerprints on the glass can affect adhesion and appearance. Make sure to clean the cabochons thoroughly before applying the images.
By being aware of these common mistakes, you’ll improve your chances of creating beautiful, durable cabochon crafts that you can be proud of!
Also Read This: Essential Equipment and Tools You Need to Start Making YouTube Videos
Tips for Storing and Displaying Your Finished Cabochons
Once you’ve completed your stunning glass cabochons, you’ll want to store and display them properly to keep them looking their best. Here are some handy tips to help you out.
- Storage: Keep your cabochons in a cool, dry place away from direct sunlight. Use a padded box or a fabric pouch to prevent scratches.
- Organizing: If you have multiple cabochons, consider using small compartments or trays to organize them by size or theme. This makes it easier to find what you’re looking for.
- Displaying: Showcase your cabochons by creating a display case or using shadow boxes. You can also turn them into pendants or keychains for a functional display.
- Avoiding Moisture: Humidity can damage your creations, especially if you used paper images. Consider using silica gel packets in your storage to absorb excess moisture.
These tips will help ensure your finished cabochons remain beautiful for years to come. Whether you’re keeping them for yourself or gifting them to someone special, proper care is essential!
Also Read This: How to Send Auto-Delete Pictures on Telegram
Frequently Asked Questions
As you embark on your glass cabochon crafting journey, you might have some questions. Here are some frequently asked questions to help clarify common concerns:
- Can I use any type of paper for my images? While you can use various types of paper, high-quality photo paper or cardstock works best for durability and clarity.
- How do I fix a mistake if my image isn’t aligned properly? If you catch it early enough, you may gently lift the cabochon and reapply it. If the glue has set, you might need to start over with a new image.
- What’s the best way to clean my finished cabochons? Use a soft, lint-free cloth to gently wipe away any dust or fingerprints. Avoid using harsh chemicals that could damage the glue or image.
- Can I use these cabochons outdoors? If they’re not sealed with a waterproof coating, it’s best to keep them indoors to prevent damage from moisture and sunlight.
- How long will my cabochon crafts last? With proper care and storage, your glass cabochons can last for many years, retaining their beauty and quality.
These FAQs should help guide you through the process and inspire confidence in your crafting skills. Happy crafting!
Conclusion and Final Thoughts
Creating beautiful glass cabochons by gluing images is a rewarding craft that allows you to express your creativity. By understanding the materials, techniques, and common mistakes to avoid, you can produce stunning pieces that are perfect for jewelry, home decor, and unique gifts. Remember to take your time during each step, from choosing the right glue to applying your images with care. Once your cabochons are complete, be sure to store and display them properly to maintain their beauty over time. With a little practice, you’ll develop your own style and techniques, making each project a personal reflection of your artistic vision. So gather your materials, let your creativity flow, and enjoy the wonderful world of glass cabochon crafting!
 admin
admin


