Have you ever uploaded an image to Google Drive only to find it's upside down or sideways? It can be frustrating, but the good news is that rotating images in Google Drive is a simple task. Whether you need to adjust a family photo or a work presentation slide, Google Drive provides an easy way to do it without needing extra software. In this guide, we will walk you through the process step by step, so you can have your images looking just right in no time.
Accessing Google Drive for Image Rotation

To start rotating your images, you first need to access Google Drive. Here’s how you can do that:
- Open your preferred web browser.
- Go to drive.google.com.
- Log in using your Google account credentials if you aren't already logged in.
- Once logged in, you'll see your Drive dashboard with all your files and folders.
After accessing Google Drive, you're ready to find the image you want to rotate. It's essential to be familiar with the layout, as this will help streamline the process.
Also Read This: How to Copy a Transcript from YouTube Videos Easily
Finding the Image You Want to Rotate

Now that you're in Google Drive, let’s locate the image you want to rotate. You can use the following methods:
- Search Bar: If you remember the name of the file, simply type it in the search bar at the top.
- My Drive: Navigate through folders in "My Drive" if you know where the image is stored.
- Recent Files: Check the "Recent" section on the left sidebar to find your recently uploaded or modified files.
Once you locate the image, simply click on it to select it. You are now ready to rotate the image to your desired orientation.
Also Read This: A Comprehensive Guide to Uploading High-Quality Videos on OK.ru
Using the Built-in Image Viewer

Now that you have your image selected in Google Drive, it’s time to open it using the built-in image viewer. This viewer is user-friendly and allows for quick edits like rotation. Here’s how to access it:
- Double-click on the image file. This action will open the image in a viewer.
- Alternatively, right-click on the image and select Open with, then choose Google Docs. This method also opens the image in a viewer.
Once the image is open, you’ll see a toolbar at the top with options like zoom in and out, and a rotating tool. This viewer supports various image formats, making it a versatile option for your image editing needs. Remember, if you make a mistake, don’t worry! You can easily start over or make additional adjustments.
Also Read This: how to print an image onto a shirt
Rotating the Image
With the image open in the viewer, rotating it is a breeze. Follow these simple steps:
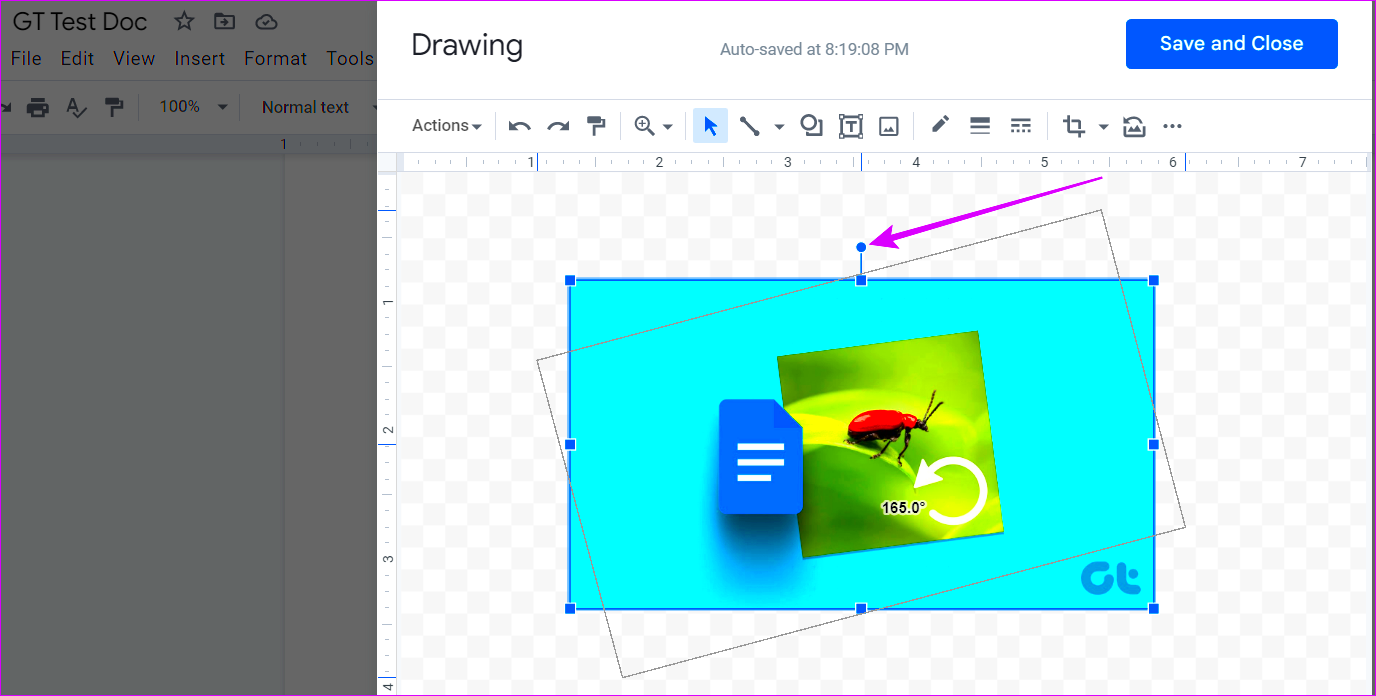
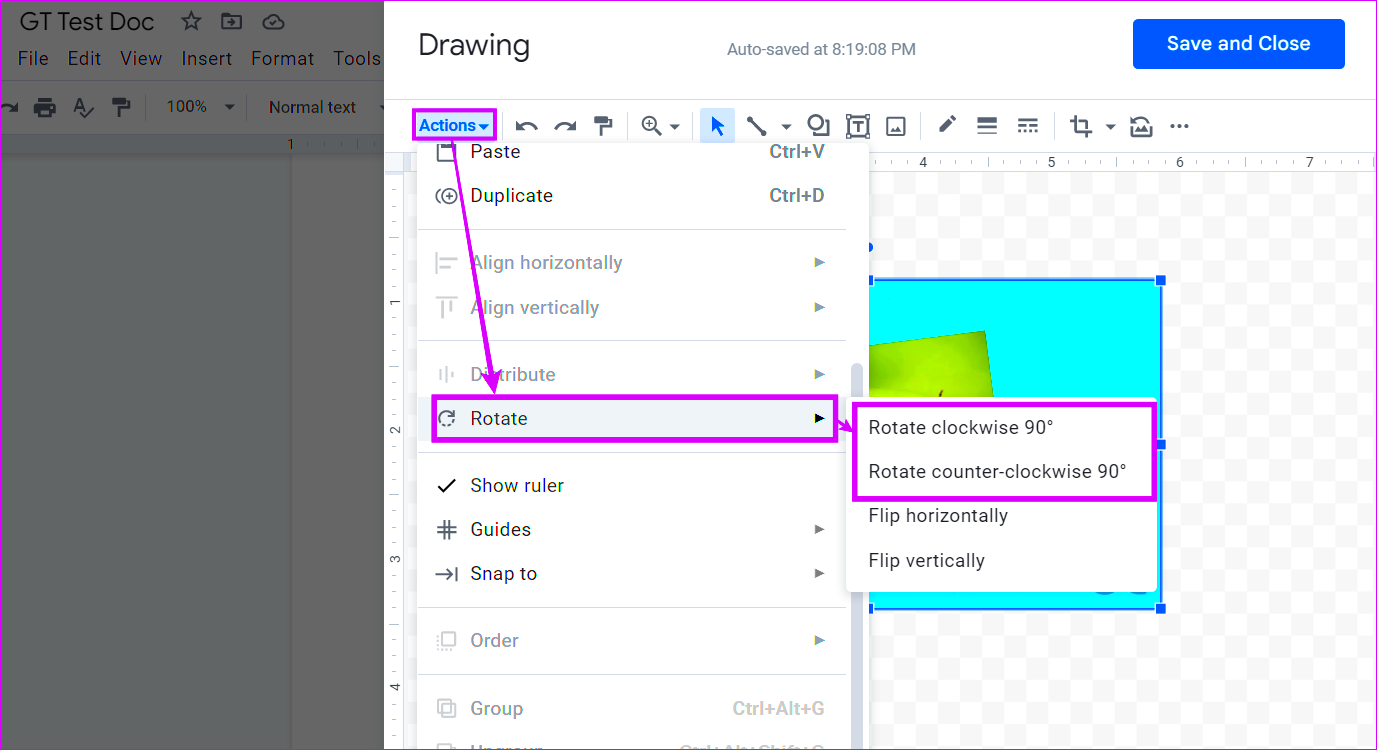
- Look for the Rotate button, usually depicted as a circular arrow on the toolbar.
- Click the rotate button to turn the image 90 degrees clockwise. If you need to rotate it back, just click the button again.
- Keep clicking until the image is in the desired orientation.
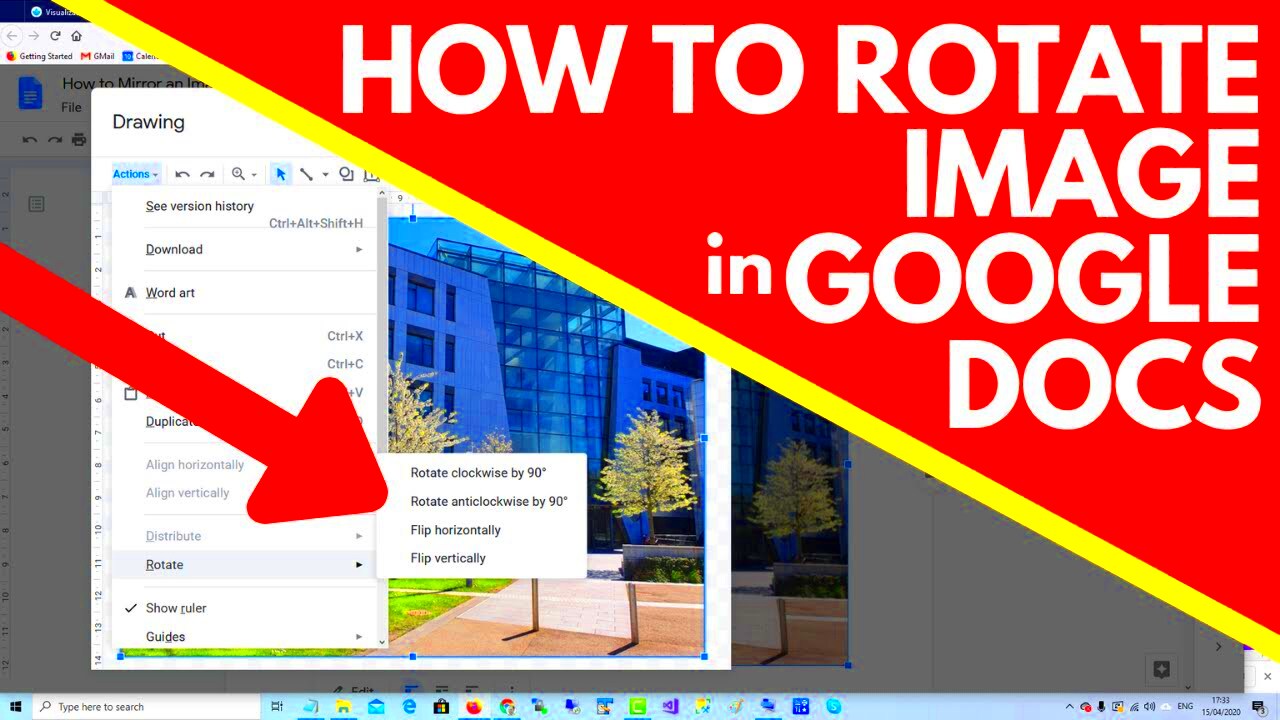
If you need to rotate the image counterclockwise, some viewers have a separate button for that as well. This feature allows for easy adjustments, ensuring your image looks just how you want it. It’s quick and straightforward, so you can spend more time on what matters—sharing your images or adding them to your projects.
Also Read This: Tips for Overlapping Images in Word Like a Pro
Saving the Changes
After you’ve successfully rotated the image, it’s crucial to save the changes to ensure you don’t lose your adjustments. Here’s how to do that:
- Close the image viewer by clicking the X in the top right corner.
- Google Drive typically saves changes automatically, so you might not need to do anything further. However, it’s a good practice to check by refreshing your Drive.
- To confirm, click on the image again and check if it’s in the new orientation.
Additionally, if you want to keep the original image untouched, you can create a copy before making edits. To do this, right-click on the image in Google Drive, select Make a copy, and then rotate the copy. This way, you have both the original and the edited version available.
Also Read This: How to Effectively Search for Stock Images on Adobe
Common Issues When Rotating Images
While rotating images in Google Drive is generally a straightforward process, you might encounter a few common issues. Understanding these can help you troubleshoot effectively. Here are some potential problems:
- Image Not Rotating: Sometimes, the rotation button may not respond. This could be due to a temporary glitch. Try refreshing your browser or re-opening the image.
- Loss of Quality: After rotation, you might notice that the image quality has decreased. This can happen if the image is overly compressed. Ensure you upload high-quality images for the best results.
- Unsupported Formats: Google Drive supports various image formats, but if your image is in an uncommon format, it might not open in the viewer. Convert the image to a supported format like JPG or PNG.
- Auto-save Issues: While Google Drive usually saves changes automatically, ensure that you have a stable internet connection to avoid losing edits.
If you face any of these issues, don’t hesitate to try re-uploading the image or clearing your browser's cache. Most problems can be resolved with a little patience and troubleshooting.
Also Read This: How to Change Background in Photoshop CS3 with Ease
FAQ About Rotating Images in Google Drive
Got questions about rotating images in Google Drive? You’re not alone! Here are some frequently asked questions that can help clarify any uncertainties:
| Question | Answer |
|---|---|
| Can I rotate multiple images at once? | No, you need to rotate each image individually in Google Drive. |
| What formats can I rotate in Google Drive? | You can rotate most common formats, including JPG, PNG, and GIF. |
| Will rotating my image affect its original file? | If you save changes, the original file will be updated. Create a copy if you want to keep the original intact. |
| Is there a limit on the size of images I can rotate? | While there is no specific limit for rotation, Google Drive has storage limits that could affect large files. |
If you have more questions, don’t hesitate to reach out to Google Drive support or explore their help center.
Conclusion on Image Rotation in Google Drive
Rotating images in Google Drive is a simple yet essential task that can enhance your photo organization and presentation. With just a few clicks, you can ensure that your images are oriented correctly, making them easier to view and share. Remember to access the built-in viewer, use the rotation feature, and save your changes to keep everything tidy.
By understanding common issues and having answers to frequently asked questions, you can navigate Google Drive confidently. Whether you’re preparing family photos or important work documents, mastering image rotation is a handy skill that saves you time and effort. So go ahead, give it a try, and enjoy your perfectly oriented images!

 admin
admin


