Tracing images on Photoshop is a fundamental skill that can help you create precise artwork, vector graphics, or even just refine your drawing skills. For beginners, it might seem challenging, but with the right tools and techniques, Photoshop makes it easy to trace any image. Whether you're looking to trace an existing photo or design from scratch, this guide will walk you through the process step by step. Let’s get started with the basics to make tracing a breeze.
Understanding the Basics of Photoshop for Tracing
Before diving into the actual tracing process, it's essential to understand the tools and features in Photoshop that make tracing possible. Photoshop offers several methods for tracing, and knowing the right tools can significantly impact the outcome.
Here are some key tools for tracing in Photoshop:
- Pen Tool: Ideal for creating precise paths and smooth curves. It is often the go-to tool for tracing outlines and shapes.
- Brush Tool: A more freehand approach to tracing, the Brush tool is useful when you want to add personal flair or work on smaller details.
- Layer Opacity: Lowering the opacity of your reference image allows you to see your tracing work clearly while still using the image as a guide.
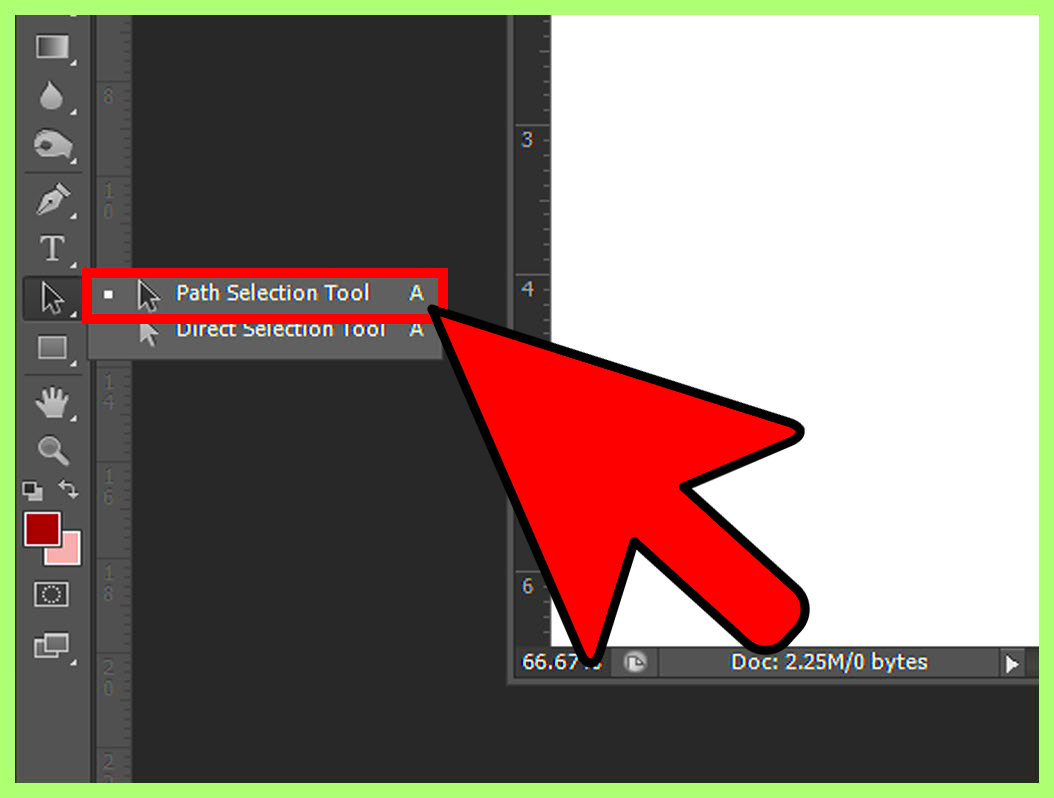
- Paths Panel: This panel helps manage and adjust the paths you create, making it easier to edit your tracing as you go.
Getting comfortable with these tools and understanding how they function will make the tracing process smoother and more efficient. It’s all about practice and experimenting with different techniques to find what works best for your specific project.
Setting Up Your Workspace for Image Tracing
Before starting your tracing project, setting up your workspace in Photoshop is crucial for a more efficient workflow. A well-organized workspace ensures that you can access the tools you need quickly and focus on tracing with precision.
Here’s how to set up your workspace:
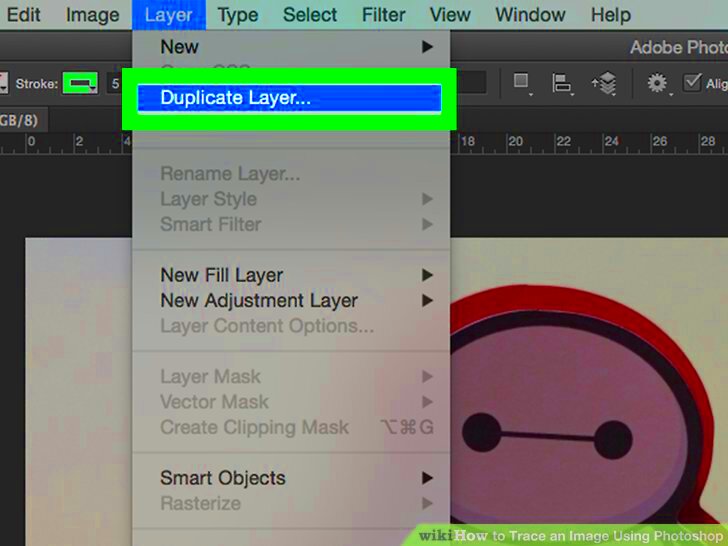
- Create Layers: Start by placing your reference image on a separate layer. Always trace on a new layer above the reference to keep your tracing separate from the original image.
- Adjust Opacity: Lower the opacity of the reference image layer to around 50%. This makes it easier to see both the image and your tracing without the original image dominating the workspace.
- Set Up Rulers and Guides: Use the ruler (Ctrl + R) to create guides for aligning your tracing. You can drag guides from the ruler to ensure your lines and shapes are straight and precise.
- Customize Your Toolbar: Make sure the tools you’ll be using most, like the Pen Tool, Brush Tool, and Selection Tools, are easily accessible in your toolbar. You can customize the toolbar in Photoshop to fit your specific needs.
- Enable Snap to Grid (Optional): If you’re tracing geometric shapes, enabling the Snap to Grid feature can help you align your lines more accurately.
By setting up your workspace effectively, you can focus more on tracing and less on searching for tools, making the process smoother and more enjoyable.
Step-by-Step Guide to Tracing Images Using Pen Tool
The Pen Tool is one of the most precise tools in Photoshop, perfect for tracing images when you need clean, sharp lines. Although it might feel tricky at first, mastering the Pen Tool will make your tracing projects look professional. Follow these steps to start tracing using the Pen Tool:
- Open Your Image: Start by opening your reference image in Photoshop. Create a new layer above it for tracing.
- Select the Pen Tool: From the toolbar, select the Pen Tool (shortcut: P). This tool allows you to create paths by clicking points on your image, forming shapes and lines.
- Begin Placing Anchor Points: Click on your image to place anchor points. For curves, click and drag to adjust the curve of your path. The fewer points you use, the smoother your trace will be.
- Close the Path: Once you’ve traced a shape, connect the final point to the first one to close the path. This is especially important for tracing complete objects.
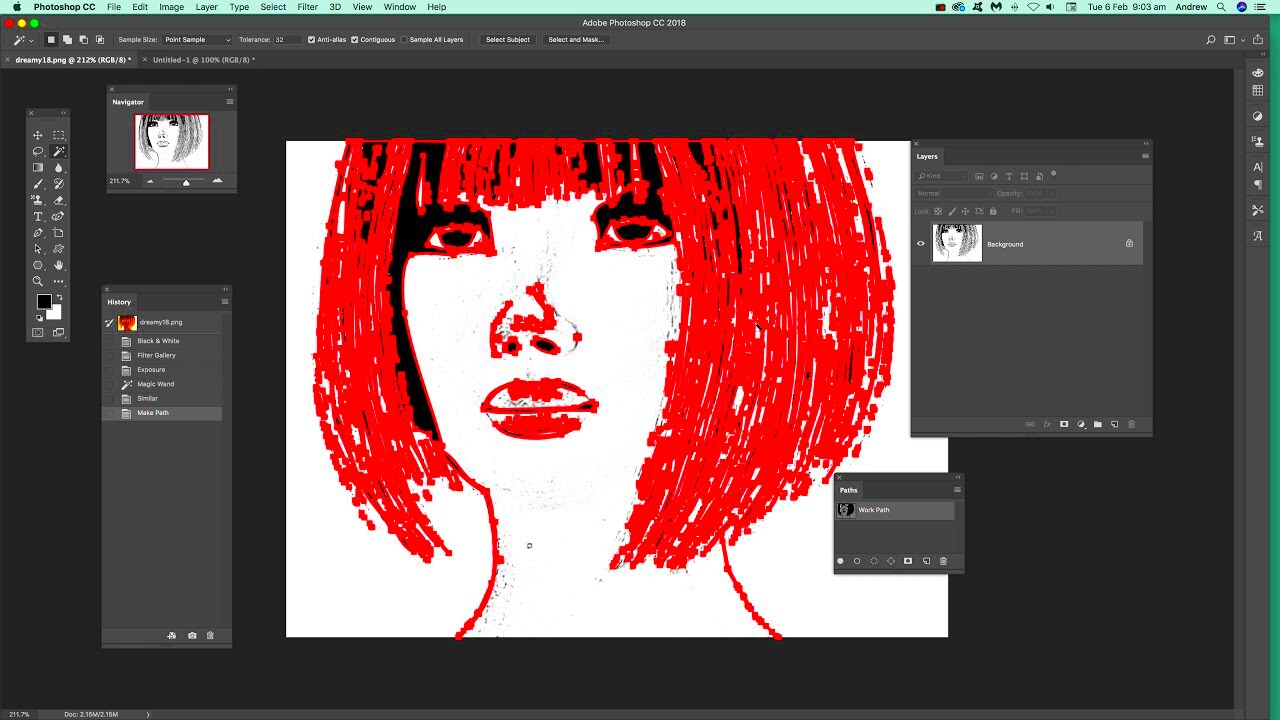
- Convert Paths to Selections (Optional): If you want to fill your trace or create a cutout, right-click the path and choose “Make Selection.” You can then fill it with color or apply other edits.
With practice, you’ll find that the Pen Tool gives you total control over your tracing, allowing you to follow every curve and edge with precision.
Using the Brush Tool for Freehand Tracing
If you're looking for a more organic or artistic tracing method, the Brush Tool is your best friend. The Brush Tool offers a more fluid and intuitive tracing experience, great for adding personal touches to your project.
Here’s how you can use the Brush Tool for freehand tracing:
- Choose the Brush Tool: Select the Brush Tool from the toolbar (shortcut: B). You can adjust the size and hardness of the brush depending on how detailed you want your tracing to be.
- Create a New Layer: Always work on a new layer above your reference image to keep the trace and original separate.
- Adjust Brush Settings: You can adjust the opacity, flow, and smoothing of the brush in the options bar. This is especially useful for making your lines smoother or giving them a hand-drawn look.
- Start Tracing Freehand: Begin tracing your image by following the lines and curves using the Brush Tool. If you make a mistake, simply use the Eraser Tool or undo the last action (Ctrl + Z).
- Refine Your Tracing: Once the basic trace is complete, you can go back and refine the lines by adjusting the brush size for finer details or cleaning up the edges.
The Brush Tool allows for creative flexibility. It’s ideal when you're not aiming for perfection but want a more personal or artistic touch in your tracing.
Tips to Enhance Your Tracing Skills
Tracing can be both a technical skill and an art form. To improve your tracing abilities in Photoshop, here are a few useful tips that can make a big difference:
- Zoom In for Detailed Work: Don’t hesitate to zoom in (Ctrl + +) when working on intricate parts of your trace. This ensures you get more precision on the finer details.
- Use Multiple Layers: Tracing different parts of the image on separate layers makes it easier to edit later. You can trace outlines on one layer, and details on another.
- Adjust Pen Pressure (for Tablets): If you’re using a graphics tablet, adjusting the pen pressure for the Brush Tool can give your tracing a more natural, varying line thickness.
- Take Advantage of Shortcuts: Memorize keyboard shortcuts like Ctrl + Z (Undo) or Ctrl + T (Transform) to speed up your workflow and correct mistakes quickly.
- Practice Tracing Different Images: The more you practice, the better you’ll get. Try tracing a variety of image types like portraits, logos, or even landscapes to broaden your skill set.
- Refine Your Lines: After completing a trace, don’t hesitate to go back and smooth out your lines. The “Smooth” function on the Brush Tool can help with this, or you can use the Pen Tool to adjust individual anchor points.
With these tips, you can take your tracing from basic to professional. It’s all about patience and practice, so keep experimenting with different tools and techniques!
Common Mistakes to Avoid When Tracing Images
Tracing images in Photoshop can be a rewarding task, but there are several common mistakes that beginners often make. Being aware of these errors will help you improve your results and avoid unnecessary frustration.
Here are some mistakes to watch out for:
- Using Too Many Anchor Points: When using the Pen Tool, placing too many anchor points can make your tracing look jagged and unnatural. Use as few points as possible to create smoother curves.
- Not Adjusting Opacity of the Reference Image: Forgetting to lower the opacity of the reference image can make it harder to see your tracing. It’s best to reduce the opacity of the image layer to around 50%, so you can clearly see both the image and your trace.
- Ignoring the Importance of Layers: Many beginners trace directly on the reference image layer, which can make it hard to edit your work later. Always trace on a separate layer to keep your work organized and non-destructive.
- Rushing the Process: Tracing can be time-consuming, but rushing through it often leads to uneven lines and poor results. Take your time, especially around curves and fine details.
- Skipping Smoothing and Refining: After tracing, it’s easy to think the job is done. However, taking time to refine and smooth out the lines, whether using the Brush Tool or adjusting paths with the Pen Tool, can make a big difference in the final result.
Avoiding these common mistakes will help you create cleaner and more polished traces, making your work look more professional from the start.
Frequently Asked Questions (FAQs)
Beginners often have a lot of questions when starting with tracing in Photoshop. Here are some of the most common questions and their answers:
| Question | Answer |
|---|---|
| What’s the best tool for tracing in Photoshop? | The Pen Tool is considered the most precise tool for tracing, especially for creating clean and smooth lines. However, the Brush Tool is great for freehand tracing and adding a personal touch. |
| Can I trace any image in Photoshop? | Yes, you can trace almost any image in Photoshop. However, some images with complex details might require more advanced techniques or tools. |
| How can I make my tracing smoother? | To create smoother lines, use fewer anchor points when using the Pen Tool, and take advantage of Photoshop’s “Smoothing” option when using the Brush Tool. |
| Do I need a graphics tablet for tracing? | No, you can trace using a mouse, but a graphics tablet can give you more control, especially for freehand tracing or if you want pressure-sensitive strokes. |
| Can I change my traced lines after finishing? | Yes, if you use the Pen Tool, you can always go back and adjust anchor points or refine your paths. For Brush Tool users, you may need to erase and redraw parts of the trace. |
Conclusion and Final Thoughts on Image Tracing for Beginners
Tracing images on Photoshop is a valuable skill that can take your design projects to the next level. While it may seem intimidating at first, especially with tools like the Pen Tool, patience and practice will lead to improvement. Start with simple images and gradually work your way up to more complex designs.
Remember to keep your layers organized, avoid common mistakes, and use the tools that suit your style of tracing. Whether you're using the Pen Tool for sharp, clean lines or the Brush Tool for a more freehand approach, tracing can be an enjoyable process that enhances your Photoshop skills.
With time and persistence, you’ll find that tracing in Photoshop not only improves your accuracy but also boosts your overall design confidence. So don’t rush—take your time, experiment with different techniques, and watch your skills grow!
 admin
admin