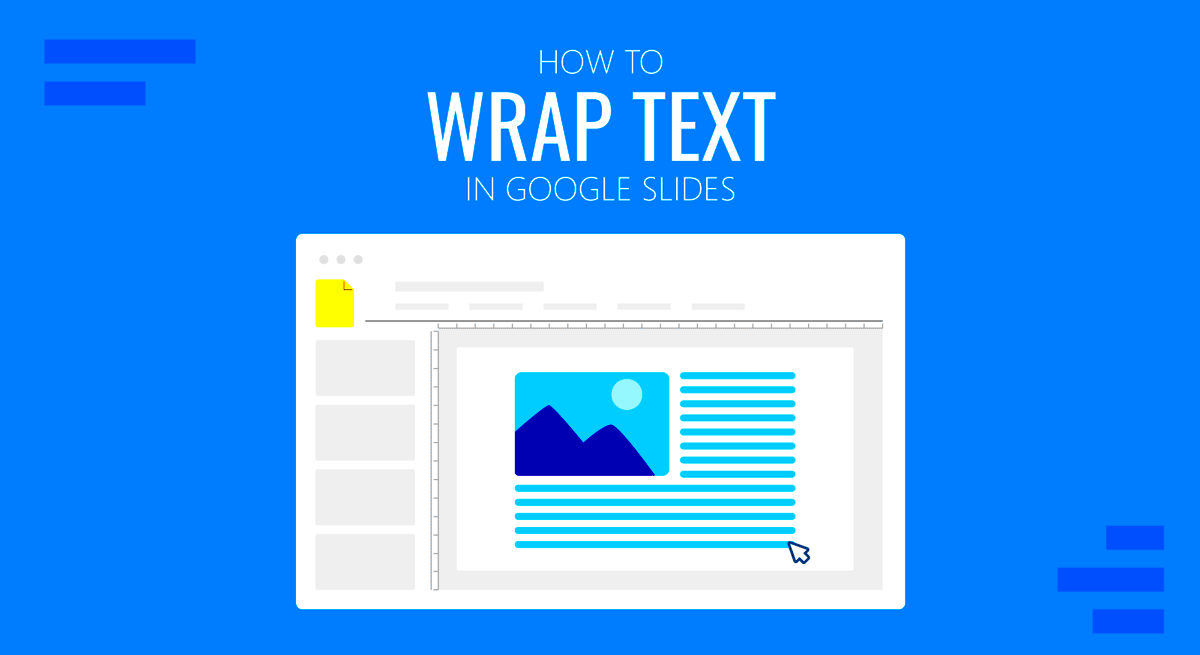
The use of text wrapping feature in Google Slides is a good practice that enables the incorporation of images into the flow of text making your presentation looking nice and easy to read. Your text will not be broken by images but you have an option where both items join together providing unbroken design. By packaging the whole slide together, its appearance is improved while allowing for better communication of the content.
Text wrapping around images will help you direct the viewer's attention to your most important content. If you know how to use this feature effectively, it can really boost your presentation skills. Next, we will see how text can be wrapped in Google Slides.
Steps to Insert an Image in Google Slides
Adding an image in your Google Slides presentation is really easy. All you have to do is follow these simple steps:
- Open your Google Slides presentation.
- Navigate to the slide where you want to add the image.
- Click on the Insert menu at the top of the screen.
- Select Image, and choose from the options:
- Upload from computer
- Search the web
- Drive
- Photos
- By URL
- Once you select an option, follow the prompts to insert your image.
When the picture is set, you may alter its dimensions and location if required. The next step involves configuring it for text wrap.
Also Read This: Understanding the Super Rumble Trend on Instagram Stories
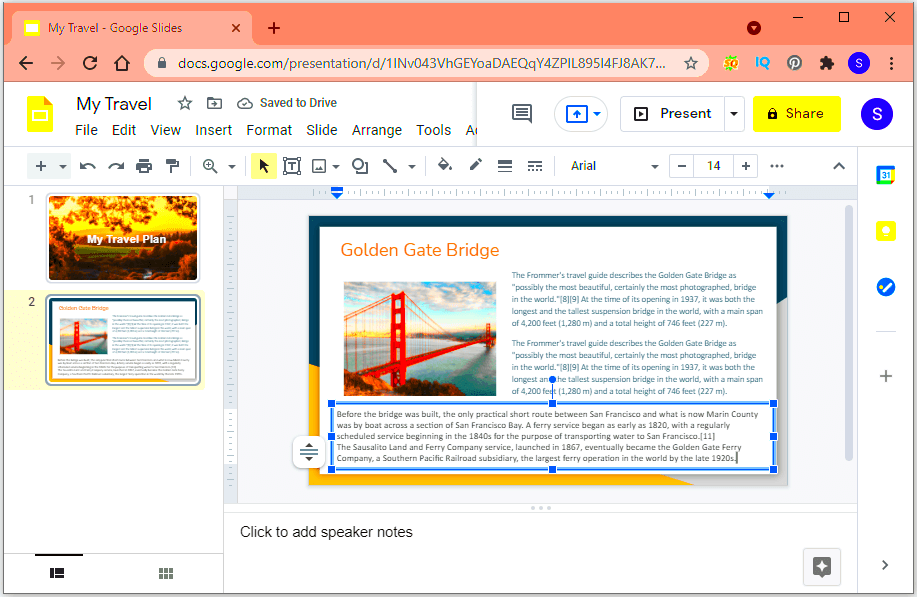
Adjusting Image Position for Text Wrapping
After inserting the image, it’s important to adjust its position for effective text wrapping. Here’s how to do it:
- Click on the image to select it.
- Drag the image to the desired location on the slide. Common positions include:
- Aligned to the left
- Aligned to the right
- Centered
- Once positioned, you’ll need to ensure the text wraps around it. To do this, click on the Text Box and adjust the text flow. You may need to resize the text box or image for the best effect.
Image positioning has a huge effect on audience perception of proposed information. Move around with other positions until you find those that suit best with your design. In this way, you’ll end up with an exciting presentation slide.
Also Read This: how to upload image to leonardo ai
Choosing the Right Text Wrapping Option
The important thing about selecting a correct text wrapping option in Google Slides is that it helps to create a polished, professional presentation. Text wrap determines how your text will interact with the picture you have put on the screen. Google Slides provides various choices that assist you in sorting out which one is best for your layout. Therefore, let’s take a closer look at different wrapping options available along with their selection criteria.
Here are the instructions for accessing the options that wrap texts:
- Select the image on your slide.
- Click on the three vertical dots in the toolbar (the "More" options).
- Select Format Options.
- Navigate to the Text Wrapping section.
Below there will be an assortment of choices:
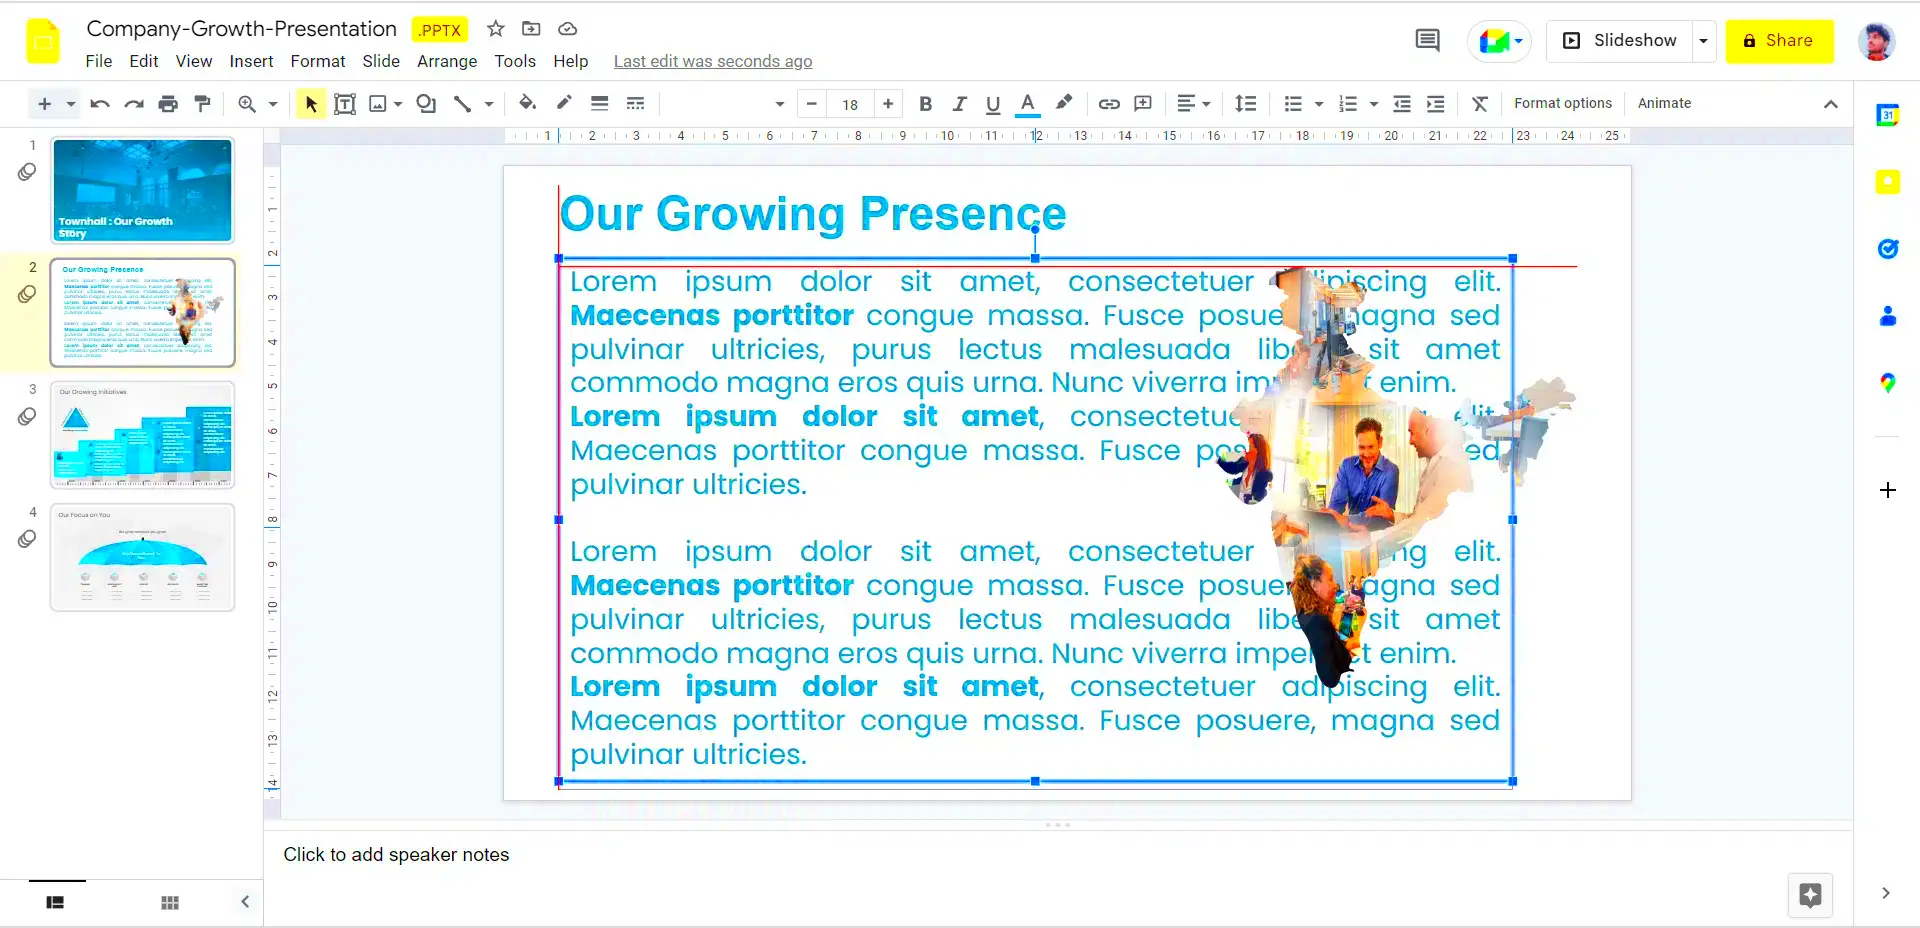
- In Line with Text: The image behaves like a text character. It sits inline with your text and moves with it.
- Wrap Text: The text flows around the image, creating a more integrated look.
- Break Text: The text will sit above and below the image, leaving a clear space on either side.
Based on the kind of material offered, every possibility possesses its own distinct perks. For instance, wrapping text could be achievable so as to highlight a picture and have its textual logic still carry through. Play around with them a little and see which option suits your delivery style best.
Also Read This: Steps to Remove Color from an Image for a Clean Look
Customizing Text Placement Around Images
Having chosen your preferred text wrapping style, you will now proceed to adjusting the position of the words as they relate with other existing images around them. The outcome is an artistic blend within the presentation made. Placing text properly on visual aids serves two main purposes that are making salient points stand out and enhancing legibility. There are various ways of doing this:
- Resize Your Image: Start by resizing the image if necessary. A larger image may require more space for the text to wrap around it.
- Adjust Text Box Size: Click on the text box and drag its edges to make it larger or smaller. This can help create more room for the text to flow.
- Change Text Alignment: Use the alignment options in the toolbar to adjust how the text aligns relative to the image. You can center it, left-align, or right-align.
- Play with Margins: Add space between the text and the image by adjusting the margins in the text box settings. This can enhance readability.
With the placement of your texts around the images that you have inserted, a slide can be made to look more appealing thus communicating easily to its viewers. Feel free to play around with various settings until you come up with an ideal layout.
Also Read This: Creating Clickable Images in Shopify for User Engagement
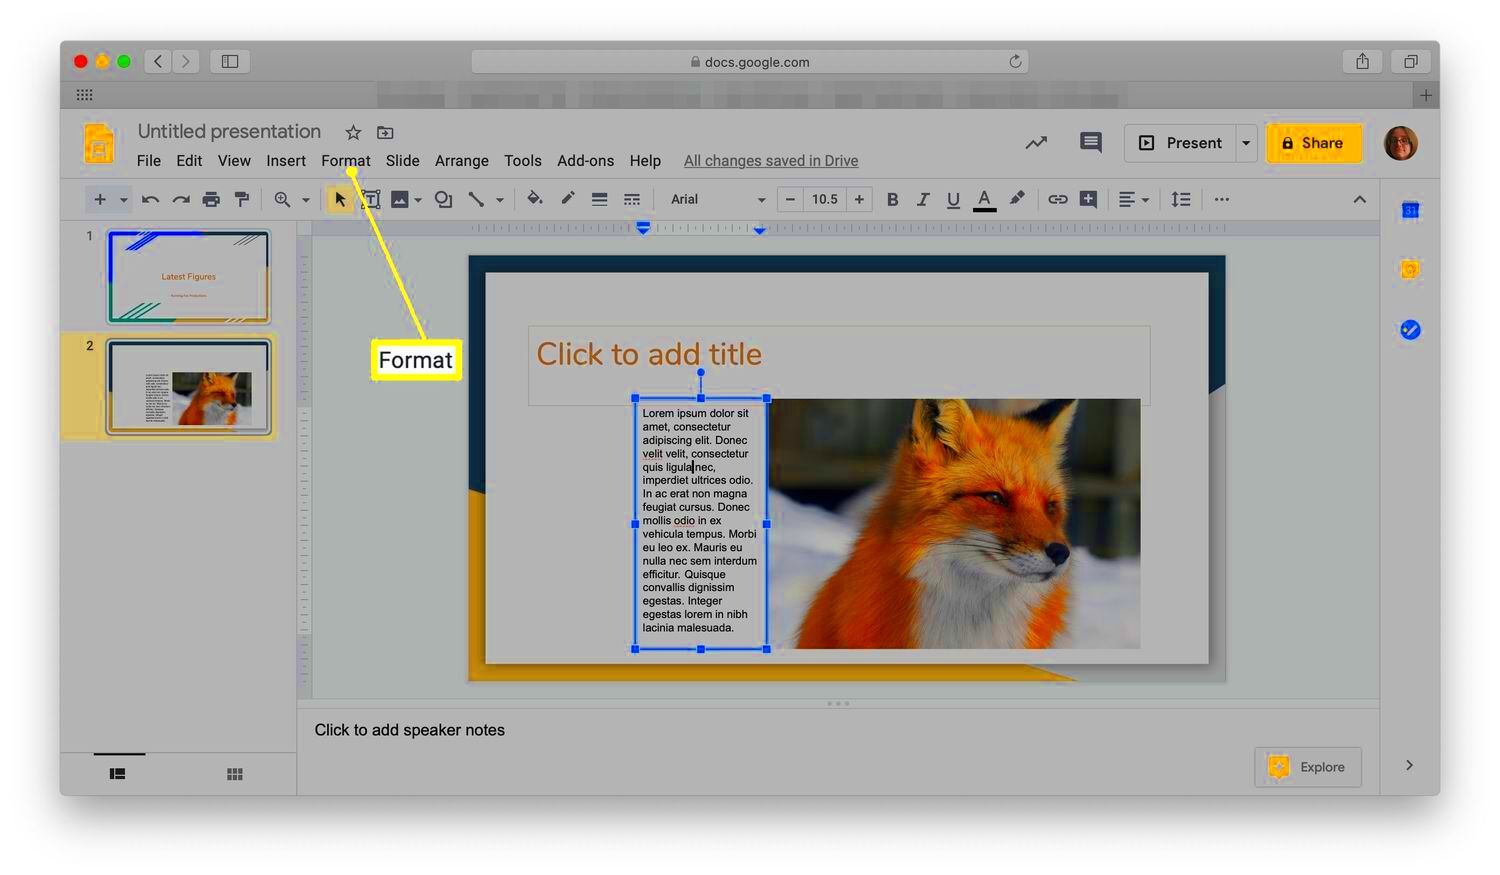
Using the Format Options for Better Control
Google Slides Format Options make for a strong method of exercising more control over the way your images and text interact. These options provide you with an opportunity to execute some refinements on different components of your slides so that they appear exactly as you wish them to look like. This is how you can use these options in a proper way:
- Select Your Image: Click on the image to bring up the format options.
- Access Format Options: Right-click on the image and choose Format Options from the menu. This will open a sidebar with multiple settings.
- Explore Image Options: In the sidebar, you can adjust various aspects, including:
- Size and Rotation: Change the dimensions or rotate the image to fit your layout better.
- Position: Fine-tune where the image sits on the slide.
- Text Wrapping: As mentioned earlier, select your preferred wrapping style.
- Set Up Background and Border: You can also add borders or adjust the background to enhance your image further.
When you make use of these formatting choices, it allows you the authority to develop an integrated and good-looking show. It is worth your while going through every alternative since little modifications could enhance your general layout significantly.
Also Read This: How to Select Part of an Image
Tips for Effective Design in Google Slides
It is important for grabbing the audience’s attention to have a good looking presentation. A good design will make sure that your message is well communicated and keeps the audience interested in what you are saying. Given below are some of the ways in which you can improve your Google Slides presentations:
- Choose a Consistent Theme: Use a cohesive color palette and font style throughout your slides. This helps create a professional look. You can find pre-designed themes in Google Slides or create your own.
- Limit Text on Slides: Aim for concise bullet points rather than large blocks of text. A good rule of thumb is to keep text to no more than six lines per slide.
- Use High-Quality Images: Ensure that your images are clear and relevant to your content. Low-quality images can distract from your message.
- Incorporate White Space: Don’t be afraid of empty space! It can help your content stand out and make your slides easier to read.
- Utilize Charts and Graphs: When presenting data, visual aids like charts and graphs can help your audience understand complex information quickly.
- Stay on Brand: If you're presenting for a company or organization, make sure your design aligns with their branding guidelines, including logos and color schemes.
The overall impact of your message will be enhanced, you will make Google Slides presentations that are informative but very attractive.
Also Read This: How to Print Multiple Images on One Page
Frequently Asked Questions
Google Slides is an application that is often used by many people and raises similar conundrums for the users. The following are some questions that can assist you in navigating through your slideshows in a better way:
- Can I add audio or video to my Google Slides? Yes, you can insert audio and video from your Google Drive or other sources. Just go to the Insert menu and select Audio or Video.
- How do I share my presentation with others? Click on the Share button in the top right corner and enter the email addresses of those you want to share it with. You can also set their permissions (view, comment, or edit).
- Is there a way to present offline? Yes, you can enable offline access for Google Slides. This allows you to work on your presentations without an internet connection.
- Can I collaborate with others in real time? Absolutely! Google Slides is designed for collaboration. You and your team can work on the same presentation simultaneously.
- How do I export my presentation? To download your presentation, go to File, select Download, and choose your preferred format (e.g., PowerPoint, PDF).
This set of frequently asked questions will help you maximize Google Slides and improve your experience while giving a presentation.
Conclusion
So, just to end this up, if you want to really totally blow the minds of your audience when giving a presentation then you must learn how to use Google Slides well. You can also improve your presentations by learning such features as text wrapping, image placement and formatting among others that will enable you create slides that are beautiful and informative.
Envision that your idea holds consistency while using high standard images embracing emptiness as an instance of design This perception will realize individual’s performance in creating presentations which captivate everyone’s attention.
Be wonderin’ if ya ehtve any queries or wantin’t additional help thang on a plane, hit up one of them there resourcen ands’things in the web. Good luck with your presentation!
 admin
admin


