Creating circular images in Google slides gives your presentations a personalized touch. This makes your visuals distinct and offers a neater appearance. Whether you are trying to accentuate some company team members or make the slides attractive, it is important for you to learn how to round your images. This guide will explain how to make an image into a circle or another rounded shape. Let us get started by improving your slides!
Steps for Inserting an Image in Google Slides
To round a image first you must insert it into your Google Slides presentation. Here is how to do this:
- Open Google Slides: Launch Google Slides and open the presentation where you want to add an image.
- Select the Slide: Click on the slide where you want the image to appear.
- Insert the Image: Go to the menu and click on Insert, then select Image. You can choose to upload from your computer, use the web, or select images from your Google Drive.
- Resize the Image: Once the image is inserted, you can click and drag the corners to resize it if needed.
It is time for you to make your image more circular after having put it in position!
Using the Mask Feature to Create Round Images
In Google Slides, creating circular images is a walk in the park because of the mask. This is how to use it:
- Select Your Image: Click on the image you want to round.
- Open the Mask Options: Click on the small arrow next to the Crop Image icon in the toolbar.
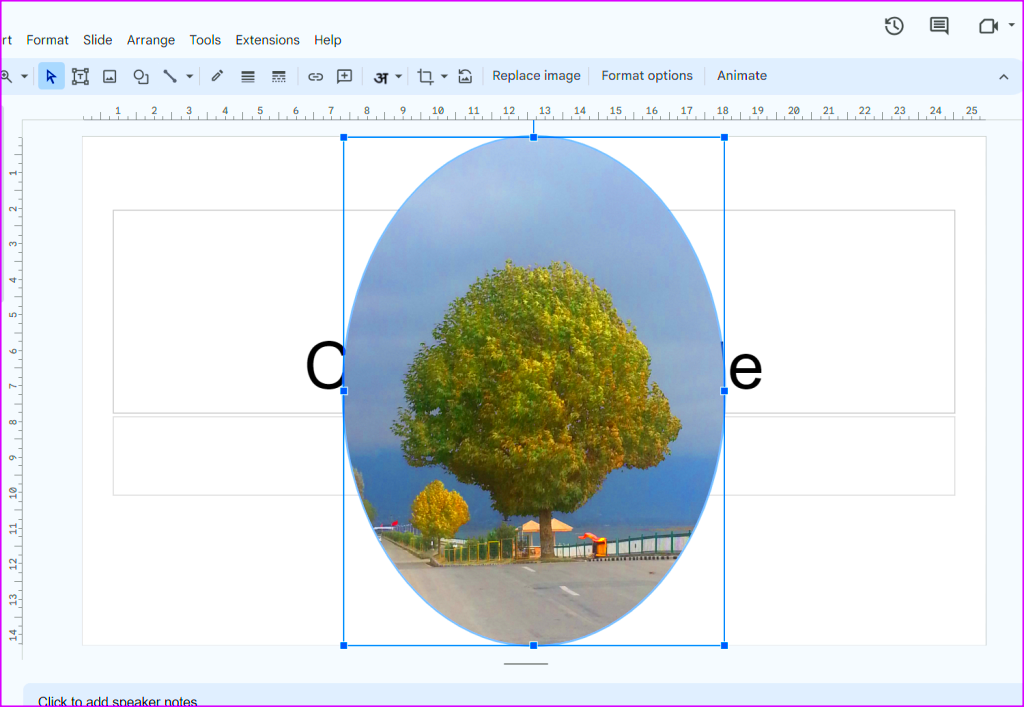
- Choose a Shape: From the dropdown menu, hover over Shapes, and then select the circular shape.
- Apply the Mask: Click on the circular shape, and your image will now be masked into a circle. You can adjust it by dragging the image around inside the circle.
- Finish Up: Click outside the image to finalize the mask. You now have a be
Tips for Enhancing Your Round Images
Once you've created round images in Google Slides, you may want to make them even more engaging. Here are some handy tips to enhance your round images and make them pop:
- Use High-Quality Images: Start with high-resolution images to ensure they look sharp when resized. Blurry images can detract from the overall quality of your presentation.
- Add Borders: A subtle border can make your round images stand out. To do this, click on the image, go to Format options, and select Border. You can choose the color, thickness, and style of the border.
- Adjust Shadow Effects: Adding a drop shadow can create depth. In the same Format options menu, find the Drop shadow section and adjust the settings to create a soft, eye-catching shadow effect.
- Use Background Contrast: Place your round images on contrasting backgrounds to make them pop. For example, a dark background can highlight lighter images and vice versa.
- Group Related Elements: If you have multiple round images, consider grouping them. Select the images while holding the Shift key, right-click, and choose Group. This way, you can move them together and maintain their layout.
These tips can help elevate your presentation's visuals, making your slides more appealing and professional.
FAQs About Making Round Images in Google Slides
When it comes to creating round images in Google Slides, you might have a few questions. Here are some frequently asked questions and their answers:
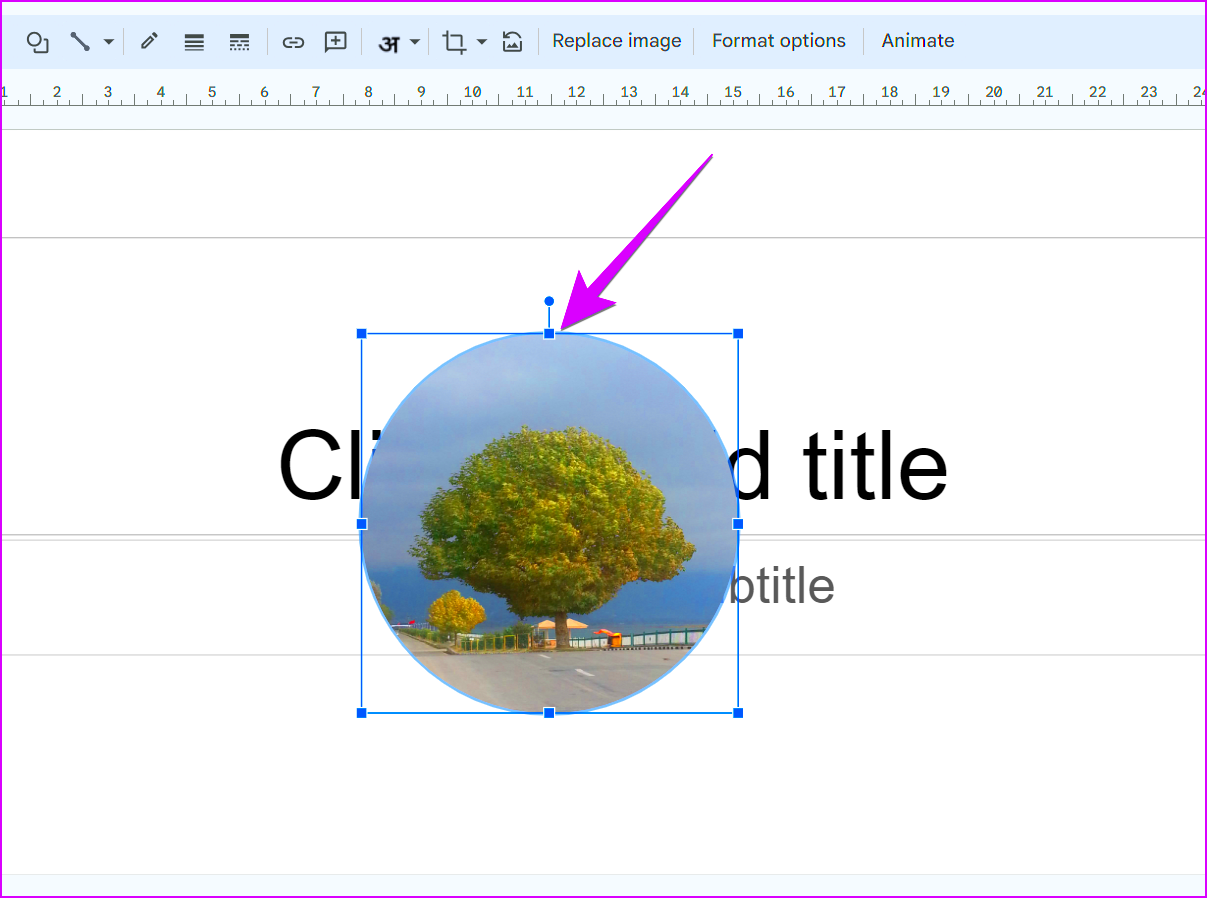
- Can I change the size of a round image after masking it? Yes, you can resize it. Click on the image and drag the corners to adjust the size while maintaining the round shape.
- Is it possible to make other shapes using the mask feature? Absolutely! The mask feature allows for various shapes, so you can create ovals, stars, and more, not just circles.
- What if my image looks distorted after masking? To avoid distortion, always resize your images from the corners to keep the original proportions intact.
- Can I use images from the web? Yes, Google Slides allows you to insert images directly from the web. Just ensure that you have the right to use those images.
- How do I undo changes if I don’t like the result? Simply use the Undo button in the toolbar or press Ctrl + Z (or Cmd + Z on Mac) to revert your changes.
These FAQs should help you navigate the process of making round images more effectively and tackle common issues you might encounter.
Conclusion on Creating Round Images Effectively
Creating round images in Google Slides is a simple yet powerful way to enhance your presentations. With just a few steps, you can transform standard images into visually striking elements that capture attention. Remember to start with high-quality images, utilize masking techniques, and explore various shapes to get the look you desire.
By incorporating tips like adding borders, shadows, and ensuring good contrast, you can elevate your visuals even further. Don't hes
 admin
admin