When it comes to editing images, understanding image quality is crucial. In Photopea, a powerful online photo editor, image quality can significantly impact the final outcome of your work. High-quality images are sharper, clearer, and more appealing, while low-quality images can look pixelated and unprofessional.
Image quality can be influenced by several factors, including:
- Resolution: This refers to the number of pixels in an image. Higher resolution means more detail.
- File Format: Different formats like JPEG, PNG, and TIFF have varying quality levels and compression rates.
- Color Depth: This determines how many colors can be displayed. More colors can result in smoother gradients.
Being aware of these factors will help you make informed decisions while editing images in Photopea.
Exploring Photopea’s Features for Image Enhancement
Photopea offers a wide range of features that allow you to enhance your images effectively. Let’s take a look at some of the most useful tools:
- Adjustment Layers: These allow you to change brightness, contrast, and color balance without affecting the original image.
- Filters: You can apply various filters like blur, sharpen, and noise reduction to improve image quality.
- Transform Tools: These tools help you resize, rotate, and distort images while maintaining quality.
- Text Tool: Add text with customizable fonts, sizes, and colors to create engaging graphics.
Understanding these features will enable you to utilize Photopea to its fullest potential and achieve stunning results in your image editing projects.
Also Read This: Try This Easiest Way to Delete a Video on Rumble
Steps to Improve Image Quality in Photopea
Enhancing image quality in Photopea is straightforward if you follow these steps:
- Open Your Image: Start by uploading the image you want to enhance.
- Check Image Size: Go to Image > Image Size to ensure your image has an adequate resolution.
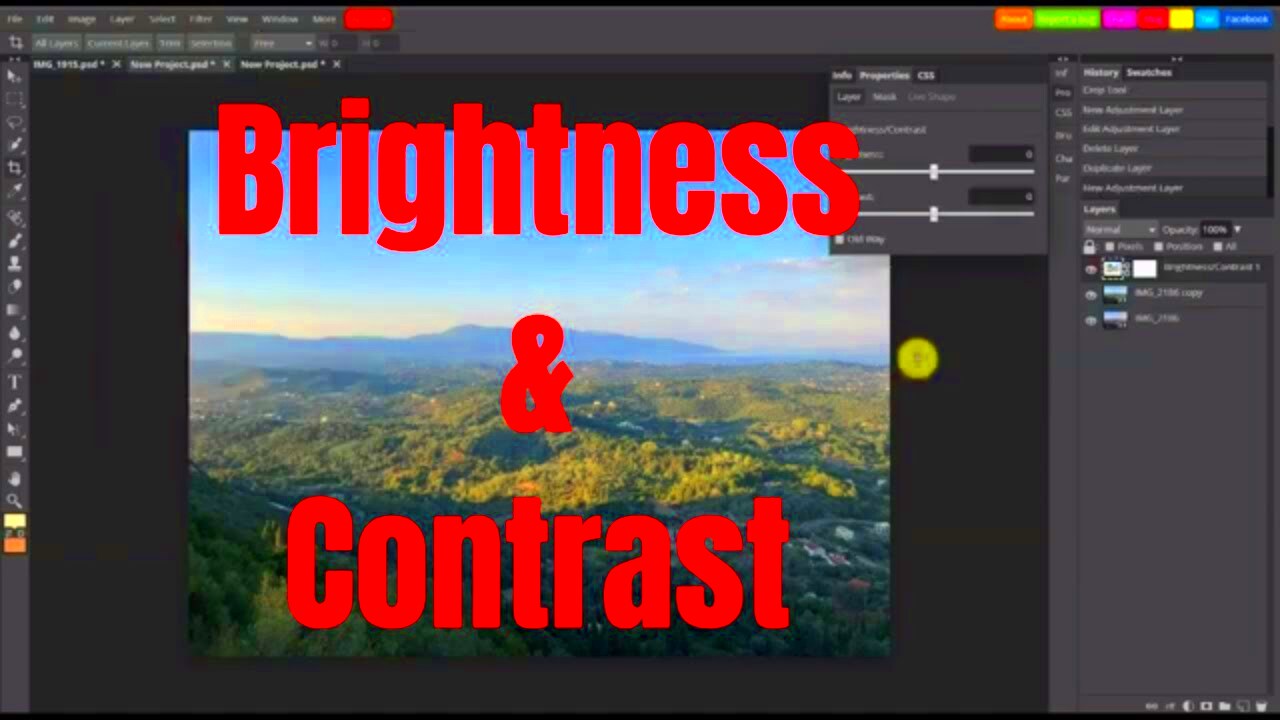
- Adjust Brightness and Contrast: Navigate to Image > Adjustments > Brightness/Contrast and make necessary adjustments.
- Apply Filters: Use filters like Smart Sharpen or Noise Reduction from the Filter menu to refine your image.
- Utilize Adjustment Layers: For non-destructive editing, use adjustment layers to tweak colors and tones.
- Save Your Work: Once you’re satisfied, save the image by choosing the appropriate format to maintain quality.
Following these steps will help you improve the quality of your images effectively while using Photopea. Always remember to keep a copy of the original file to revert back if needed!
Also Read This: How to Remove Adobe Stock Watermark: A Step-by-Step Guide
Using Filters and Adjustments Effectively
Filters and adjustments are key tools in Photopea that can significantly enhance your images. They allow you to manipulate various aspects of an image, from brightness to color saturation. Learning how to use these tools effectively can elevate your photo editing skills.
Here are some common filters and adjustments you can use:
- Brightness/Contrast: Adjust the brightness to lighten or darken your image and tweak contrast to make details stand out.
- Hue/Saturation: Change the overall color tone of your image and modify saturation to make colors pop or appear more muted.
- Sharpening: Use sharpening filters to enhance edges and make your image look crisper.
- Blur Effects: Applying blur can help focus attention on a subject by softening the background.
- Noise Reduction: This feature can help eliminate graininess from your images, especially in low-light photos.
To use these features effectively, start with small adjustments and gradually increase them to avoid overwhelming the image. Always preview changes before applying them to ensure you achieve the desired result.
Also Read This: The Growing Importance of High-Quality Photography in Modern Media
Saving and Exporting Your Enhanced Images
Once you've enhanced your images in Photopea, the next step is saving and exporting them correctly. This step is essential to ensure that your edits remain intact and that your images are in the right format for your needs.
Here’s how to save and export your enhanced images:
- Save Your Project: Before exporting, save your work as a Photopea project (.PSD) so you can make further edits later.
- Exporting the Image: Go to File > Export As to see different format options.
- Select the Right Format: Choose from formats like:
- JPEG: Great for photos with a good balance of quality and file size.
- PNG: Ideal for images with transparency or when you need high-quality graphics.
- GIF: Suitable for simple graphics with limited colors.
By following these steps, you can ensure that your enhanced images are saved correctly and ready for use.
Also Read This: Create Your Own Behance Portfolio with a Personalized URL
Common Issues and How to Fix Them
Even seasoned editors encounter issues while working in Photopea. Knowing how to troubleshoot these problems can save you time and frustration. Here are some common issues and practical solutions:
- Image Quality Issues: If your image looks pixelated, check the resolution settings. Ensure it is set to a higher value to improve clarity.
- Color Distortion: If colors appear off, revisit your color settings under Image > Adjustments. Adjusting the hue and saturation can help.
- Unwanted Noise: If your image has graininess, use the noise reduction filter found under Filter > Noise.
- Accidental Edits: If you make a mistake, don’t panic! Use the undo function (Ctrl + Z) to revert your last action.
- Performance Issues: If Photopea runs slowly, try clearing your browser cache or closing unnecessary tabs to free up resources.
By staying aware of these common issues and knowing how to fix them, you can streamline your editing process and create stunning images with confidence!
Also Read This: How to Record Xbox One Gameplay for YouTube
Tips for Maintaining Image Quality
Maintaining image quality throughout the editing process is crucial for achieving professional results. Whether you’re working on a simple photo or a complex graphic, keeping these tips in mind can help you preserve clarity and detail.
Here are some effective tips to maintain image quality:
- Start with High-Resolution Images: Always begin with the highest resolution image possible. This gives you more flexibility when making adjustments without losing quality.
- Use Adjustment Layers: Instead of applying edits directly to the image, use adjustment layers. This way, you can tweak settings without permanently altering the original photo.
- Avoid Over-Editing: It can be tempting to use every filter and effect available, but too much editing can lead to a loss of quality. Keep your edits subtle for a more natural look.
- Choose the Right File Format: Different formats serve different purposes. For web use, JPEG is often best, while PNG is great for images requiring transparency.
- Save Your Work Regularly: Make it a habit to save your project frequently, especially when working on extensive edits. This ensures you don’t lose any progress.
- Export with Care: When exporting, pay attention to the quality settings. Higher quality exports result in better images but larger file sizes.
By following these tips, you can ensure your images look their best, both during editing and after you export them.
Also Read This: How to Save Favorites on YouTube TV for Quick Access
Frequently Asked Questions
Have questions about enhancing image quality in Photopea? You’re not alone! Here are some frequently asked questions that might help clarify your doubts:
- Can I edit images in Photopea for free? Yes, Photopea is free to use, although there are premium features available.
- What formats can I export my images in? You can export your images in various formats, including JPEG, PNG, GIF, and PSD.
- How do I undo an action? Simply press Ctrl + Z to undo your last action, or you can go to Edit > Undo in the menu.
- Is it possible to restore my original image after editing? If you’ve used adjustment layers or saved your original image, you can easily revert back to it.
- Can I use Photopea on my mobile device? Yes, Photopea works in web browsers, making it accessible on both desktop and mobile devices.
If you have more questions, don’t hesitate to explore the Photopea community or tutorials for additional support!
Conclusion on Enhancing Image Quality in Photopea
Enhancing image quality in Photopea is a rewarding journey that combines creativity with technical skill. By understanding the various tools and features, you can make significant improvements to your images. From using filters and adjustments to knowing how to save and export your work, each step plays a vital role in achieving the best results.
Remember to maintain a keen eye on image quality throughout your editing process. Starting with high-resolution images, utilizing adjustment layers, and avoiding over-editing are all essential practices. With practice and patience, you’ll find yourself becoming more proficient in enhancing images in Photopea.
So, whether you’re a beginner or a seasoned editor, keep exploring and experimenting. The more you use Photopea, the more confident you’ll become in creating stunning images that stand out!
 admin
admin


